• Friends, our 2nd Amendment rights are always under attack and the NRA has been a constant for decades in helping fight that fight.

    We have partnered with the NRA to offer you a discount on membership and Muzzleloading Forum gets a small percentage too of each membership, so you are supporting both the NRA and us.

    Use this link to sign up please; https://membership.nra.org/recruiters/join/XR045103

Next Build - Lancaster

Muzzleloading Forum

Help Support Muzzleloading Forum:

This site may earn a commission from merchant affiliate links, including eBay, Amazon, and others.
Well said

I have had the opposite thing happen to me. I bought a nice well made rifle from a local fellow with the intention of building my own at some point and using it as a reference (not to copy mind you).

However, it fits me so well and also is extremely precise (especially offhand) that I hesitate to start my own project as this rifle is so fantastic.

Not a bad problem to have. proper fit--length of pull-drop-eye relief etc. really enhance the enjoyment far more than I ever considered before.

When I do build my rifle I know exactly how it should be dimensioned to fit me.
 
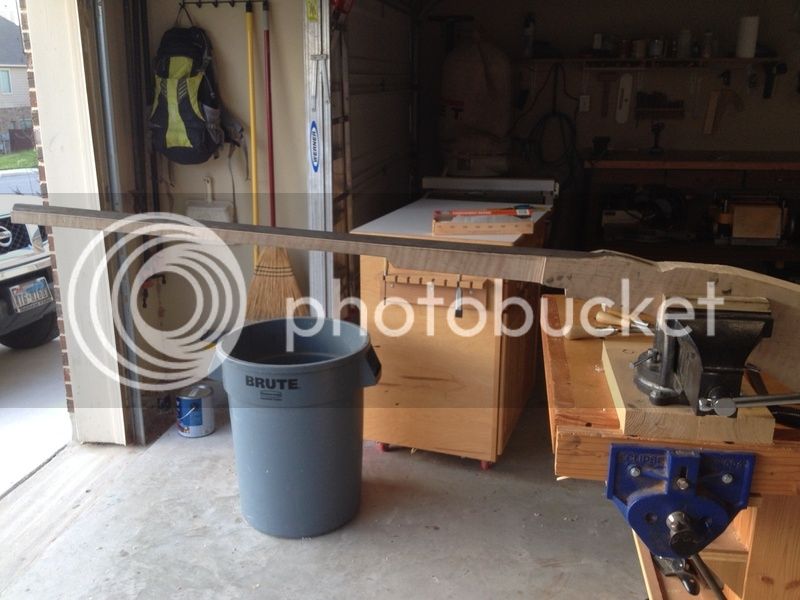
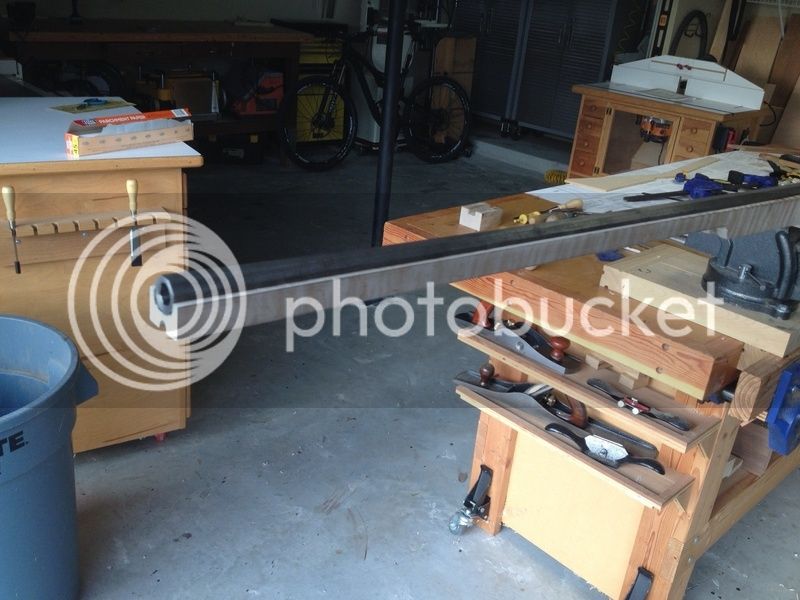
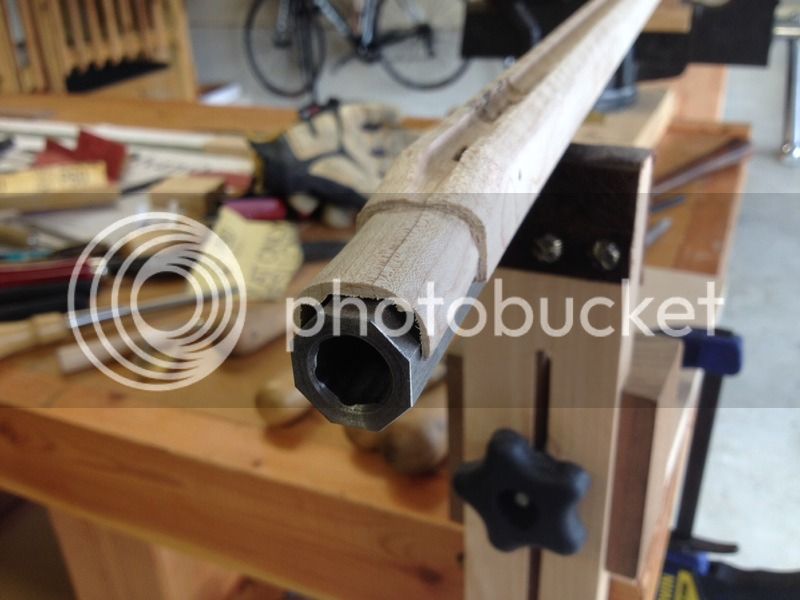
Things in the shop got put on hold for a week or so when I walked into the house and saw rain coming down from the ceiling. !@#$!@#$ hot water heater, in the attic of course, leaked. Anyhoo....we got that fixed, and can now get back to more pressing matters. As a refresher, this is going to be a .54 42" swamped barrel Lancaster inspired rig. On my last post, I was just starting to inlet the barrel. I managed to get the job done, and it took about 10 times longer than I thought it would, however I think I learned quite a bit along the way.

14.jpg


15.jpg


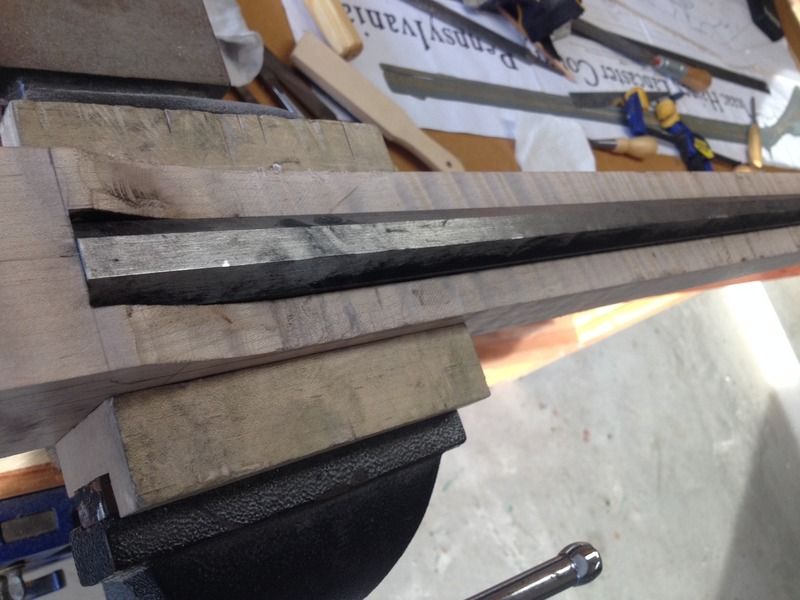
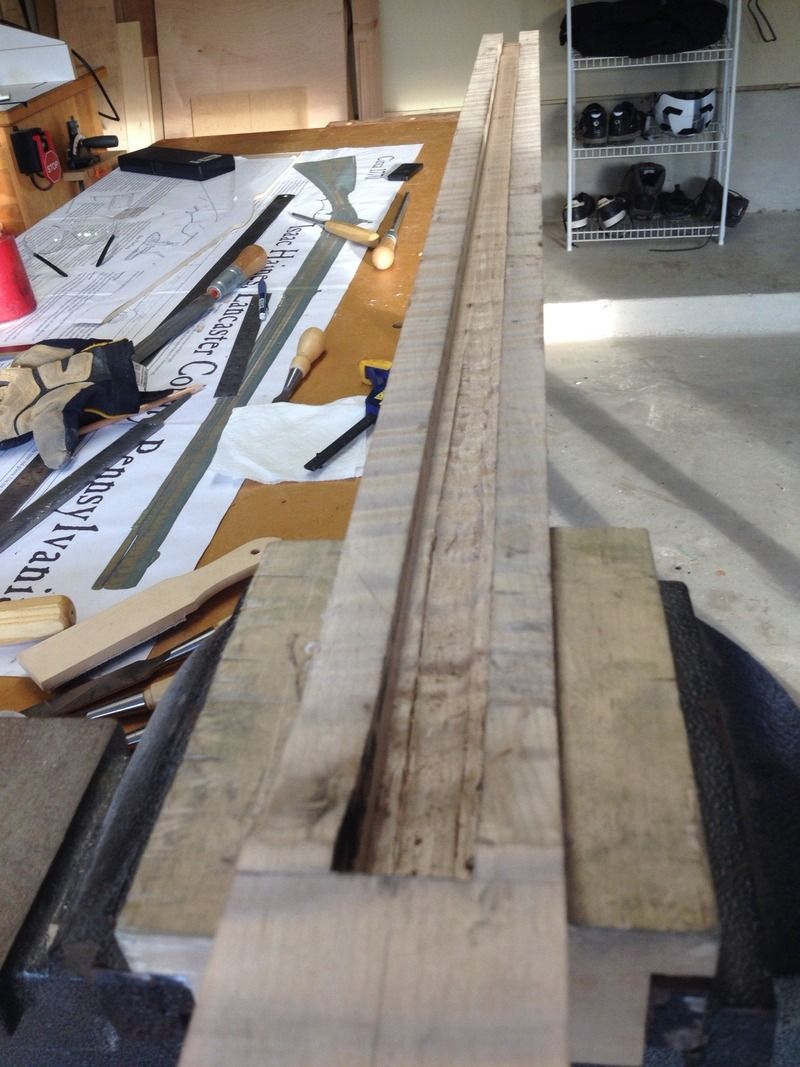
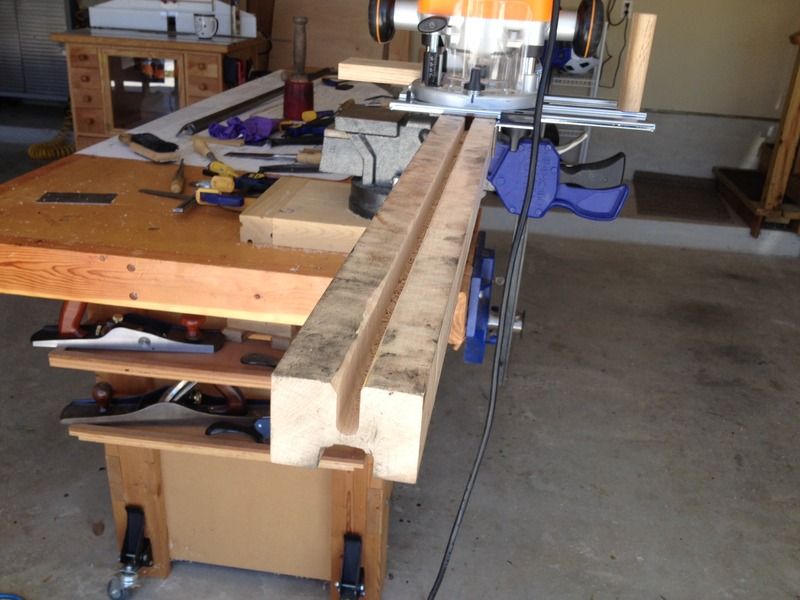
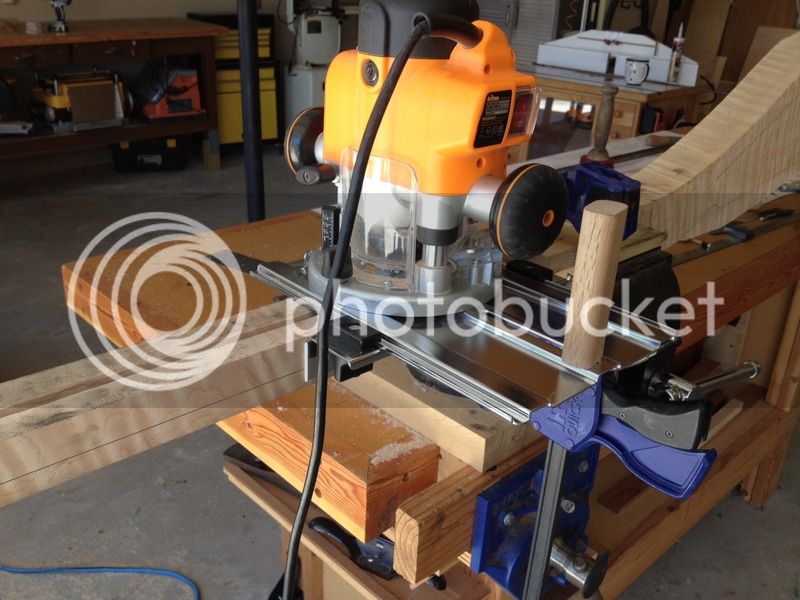
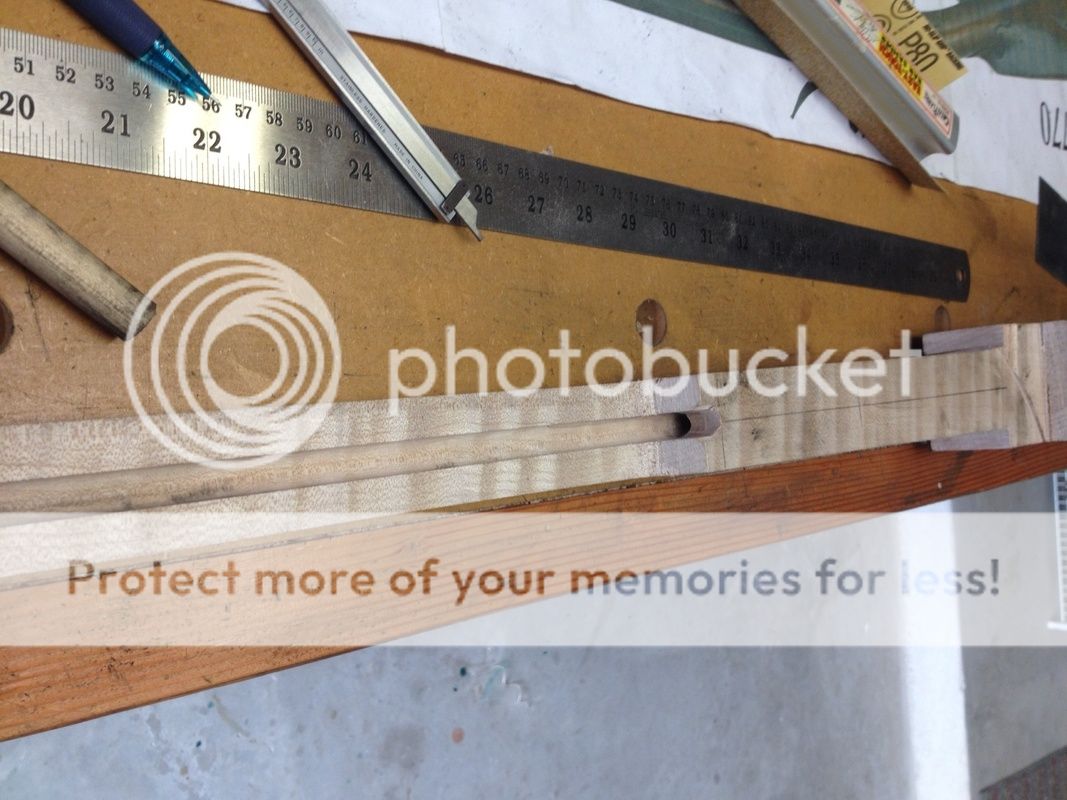
On the first gun, regarding the ram rod channel and hole, I followed the instructions in the book and cut out the rough shape of the gun, with the transition from the upper and lower fore stock. On this one, I thought it would work out much better if I left the stock as is, and routed a deeper channel, then removed the excess wood. This would allow the routed channel to stop exactly at the right spot. On the other rifle, the router stopped 3 inches short, since the base hits the transition point to the upper fore stock.
13.jpg

7.jpg


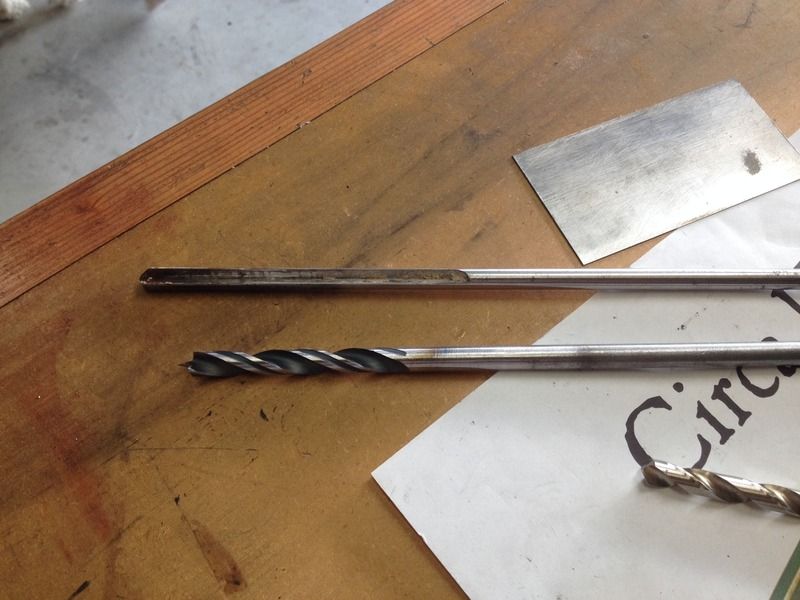
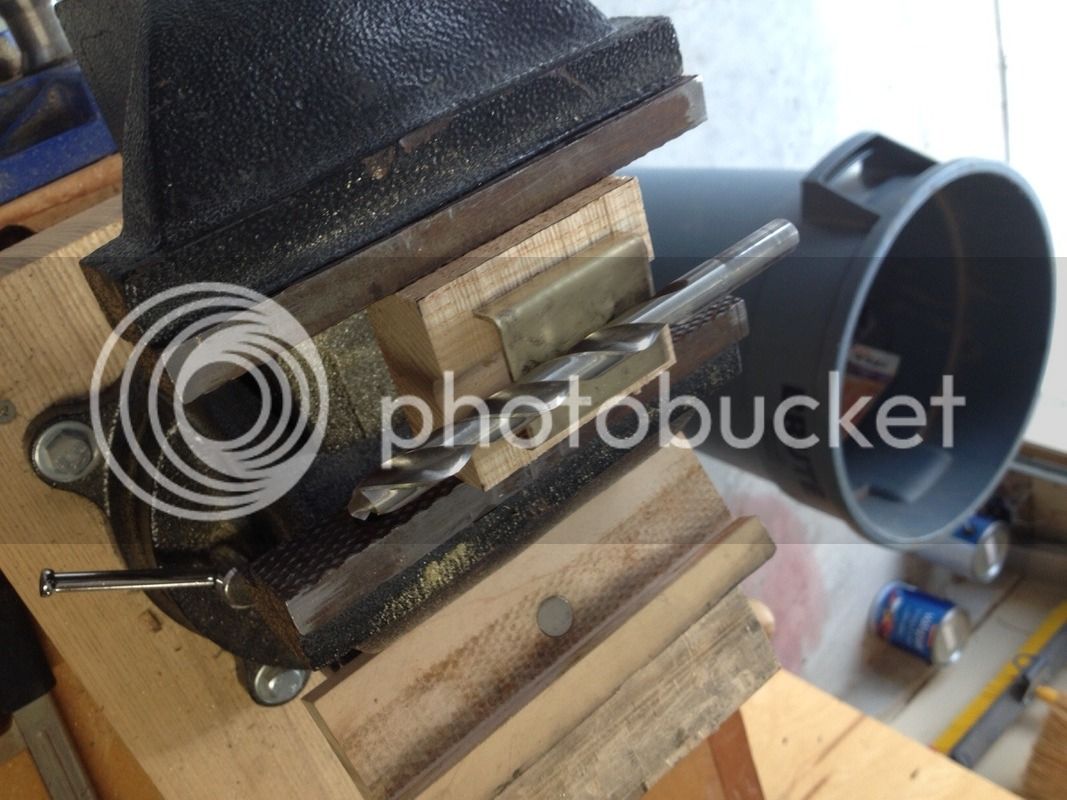
As mentioned, I cut away a portion of the excess after the channel was routed. Next was the ramrod hole. On my first gun I purchased a drill bit from TOW and it veered off course with the first 6-8 inches and ended up punching through the belly of the gun. After thinking about it, I realized that sort of drill point is horrible for end grain. In this case, a brad point is in order, so I found someone at work who can weld a bit to a rod for me. For comparison, below, here is the TOW bit next to the super brad point bit.
21.jpg

Needless to say, I was extremely nervous whilst drilling the hole. To my delight, it came out almost perfect!
4.jpg

Now it's on to rough shaping out the stock. I'm light years away from being finished, but I feel like I jumped over some major hurdles!
11.jpg

20.jpg

5.jpg

Onward! :grin:
 
Got some curl to it, don't it......I use a router set up with the same blue clamp, great minds think a like :wink: :wink: stay busy...Tom
 
not as much time as you would think!...bandsaw times, then spokeshaved, rasped.........about 2 hrs to get a good shaped blank into gunshaped....... :hatsoff:

the final 20% takes me 80% of the time.....but, heh...IT'S a HOBBY!

good work!
marc n tomtom
 
:thumbsup: Nice.
I normally use a 3/4" square bit to go down to the line where you cut with a band saw.. if that makes any sense :haha: Anyway it leaves less work for the 3/8" round bit to work, and you get to keep your profile to cut the ramrod groove the entire length. :v
 
Nice work.

That very same complaint has been heard about 100 times about that Track bit. No telling how many formerly clear forearms have been wrecked with that thing. I wonder if they've heard the complaint directly themselves? Maybe it's a secret plan of theirs to sell more brass forearm belly covering plates?
 
I have never understood how a person gets the diverging angles right when inletting the stock for a swamped barrel. I am not exactly helpless with tools, and I can see it taking me a week or more just to do that part, and maybe ruin the stock to boot and have to buy a new one and start over.
I love swamped barrels as much as anybody, bit it would seem that the difficulty involved in making and inletting one would have limited their popularity and kept them in the realm of rare novelties as compared to round or straight octagon profiles.
Anyone who can do this kind of inletting has my respect.
 
I did a pictorial on inletting a octagon to round barrel.. just scroll down the Builders bench a bit. Shows you the same technique that I use for inletting oct. swamped.. its really not that difficult. :v
 
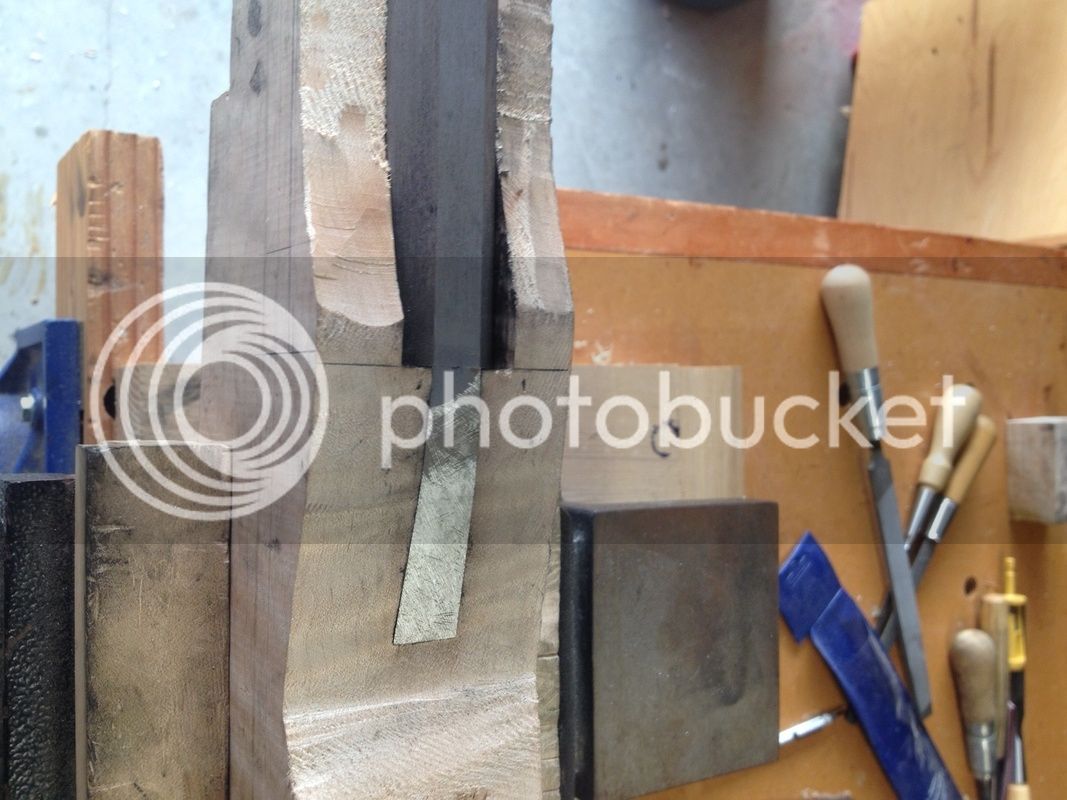
I hear you. The only thing that brought me comfort was that I knew as long as the sides fit well, I could fix any mistakes on the underside of the barrel with a little bondo/epoxy/glass/filler strips :grin: Since I only worked on the thing 30 minutes or so at a time, and I would only get less than a handful of shavings removed every day, I increased the likelihood of not making a major mistake. :grin: I'm sure put the barrel in and out of the stock 52,000 or more times during the process.
 
here's Roy's post, which describes the inlet of an octagon to round barrel: http://www.muzzleloadingforum.com/fusionbb/showpost.php?post/1074852/

as far as a swamped barrel, the best non- power- machine method I've seen is the one described by Peter Alexander in his book The Gunsmith of Grenville County ... if I remember correctly, he keeps the edge where the stock meets the horizontal flats plenty wide, and uses bar stock with screw holes drilled in it every eight inches or less (might be less ... i'll confess to not having read his book in a while) you put the barrel on the stock, center it where you want, and squeeze the bar stock next to it, so the bar stock conforms to the shape of the swamping, and also lies flat on the stock. then you shoot the screws through the holes and remove the barrel ... viola' ... you have the shape of the swamping (in reverse) all set to go ... carefully stab in and you're on your way ...

that's how I remember it, anyway, but then again, perhaps my kids are correct in their assertion that the cranky old man is beyond help and best put out to pasture...

good luck with your project ....

(as an aside, I have heard of methods for inletting a swamped barrel with power tools, but I can't remember how they worked ... I like my chisels personally ... less noise, less speed, less chance of expensive kindling ...

either way, good luck with your project and, as always, make good smoke!
 
Last edited by a moderator:
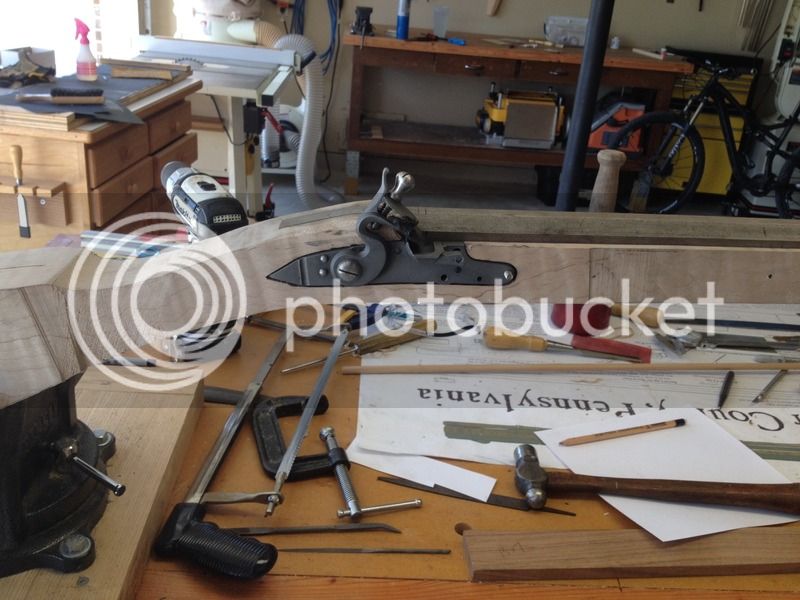
Just a quick update on the on the .54 Lancaster inspired rig. I done got the lock in:
33.jpg

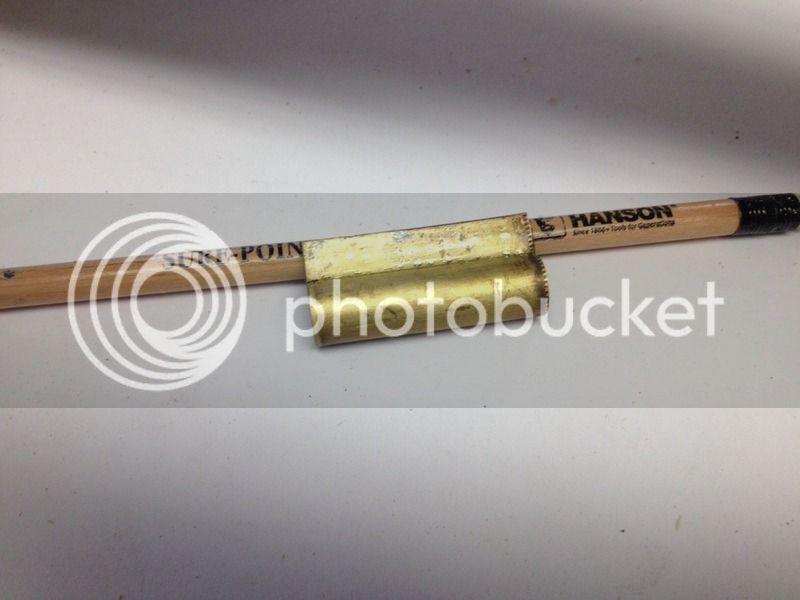
My attempt at making my own ram rod and entry pipes. Making the entry pipe took a year off my life, and it ain't even that great. After my brief experience with trying to bend brass in different directions, I'm pretty sure I would not make a good black smith.... They still need final shaping and decorating:
40.jpg

42.jpg

Pinned in:
49_1.jpg

48_1.jpg

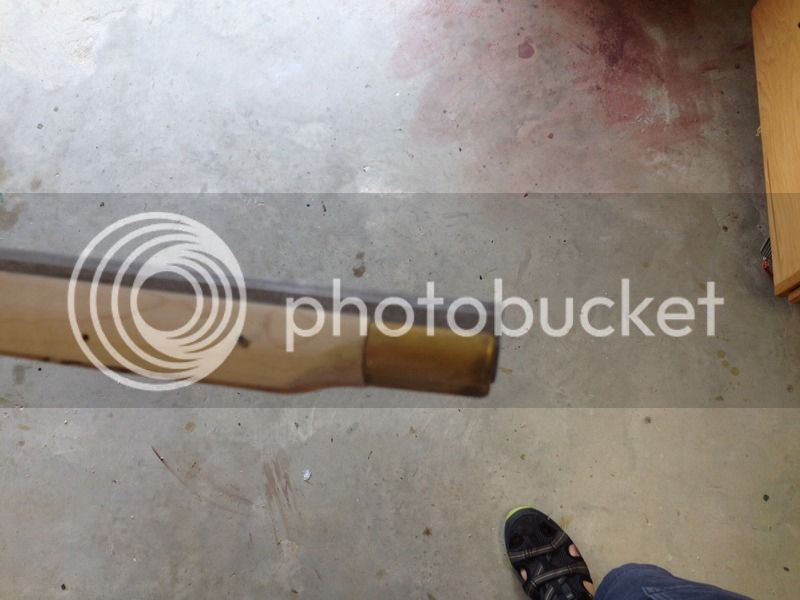
Started on the muzzle cap. It appears I need to move it back away from the muzzle 1/16th or so:
45.jpg

53.jpg


Work will continue this weekend!
 
Great start -- you did a great job on the thimbles - keep us posted - don't rush it :thumbsup: .
 
Back
Top