• Friends, our 2nd Amendment rights are always under attack and the NRA has been a constant for decades in helping fight that fight.

    We have partnered with the NRA to offer you a discount on membership and Muzzleloading Forum gets a small percentage too of each membership, so you are supporting both the NRA and us.

    Use this link to sign up please; https://membership.nra.org/recruiters/join/XR045103

NMLRA Gunsmithing Seminar - Trade Gun Class and my "Type G " pics

Muzzleloading Forum

Help Support Muzzleloading Forum:

This site may earn a commission from merchant affiliate links, including eBay, Amazon, and others.

gonzomann

40 Cal.
Joined
Feb 5, 2006
Messages
123
Reaction score
1
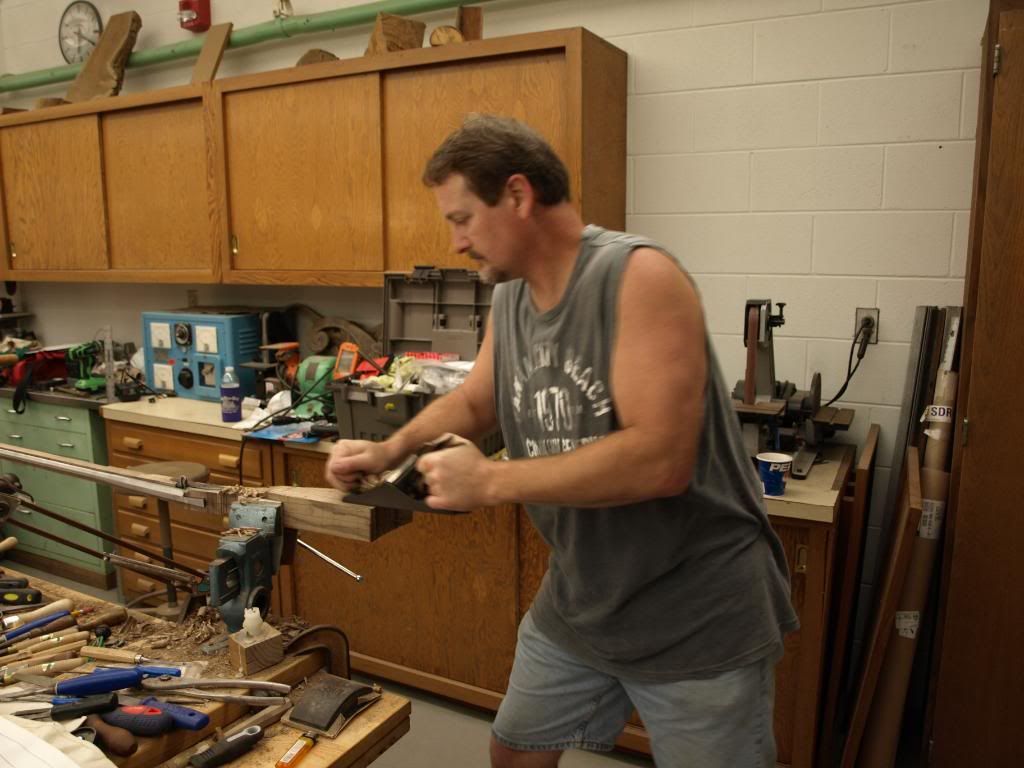
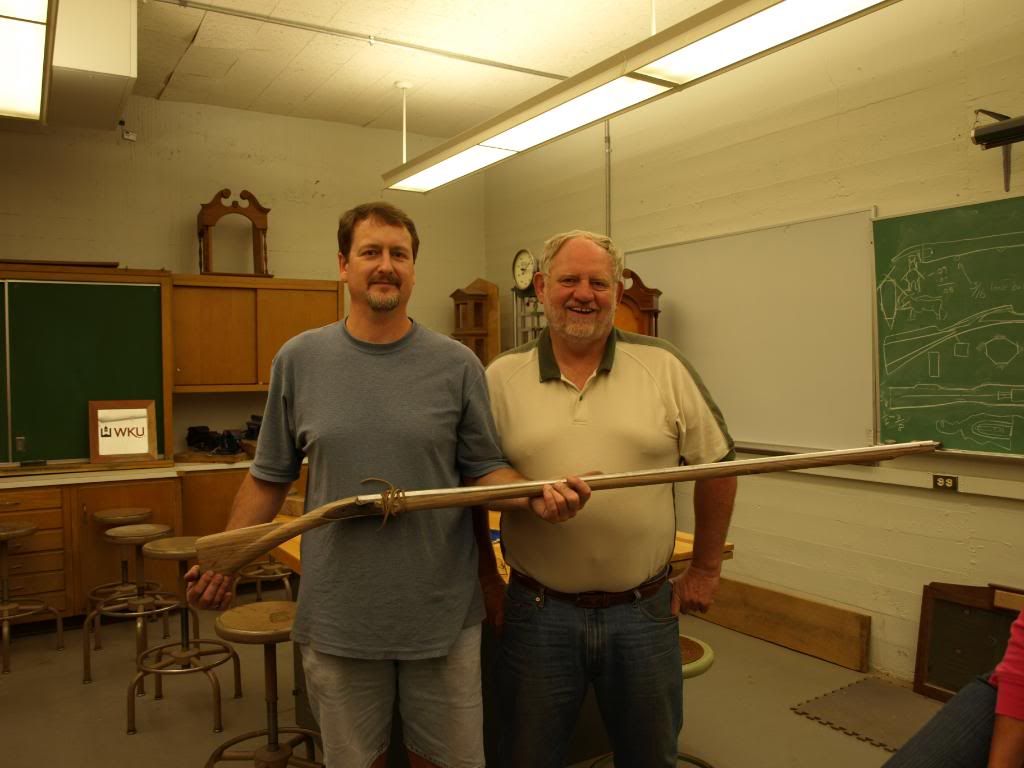
I have been back home from the class for a couple of weeks but I'm just getting around to posting. I just want to say outright that the class was WELL WORTH the time and money invested, it exceeded my expectations for sure. Jack Brooks was the instructor of the Trade Gun Class, he is a top notch instructor as well as a fantastic artisan. From what I could see of the other classes offered, all the other instructors were "Grade A" as well. The guys in my class were a terrific and talented bunch and it was a fun and rewarding experience working and learning with them!

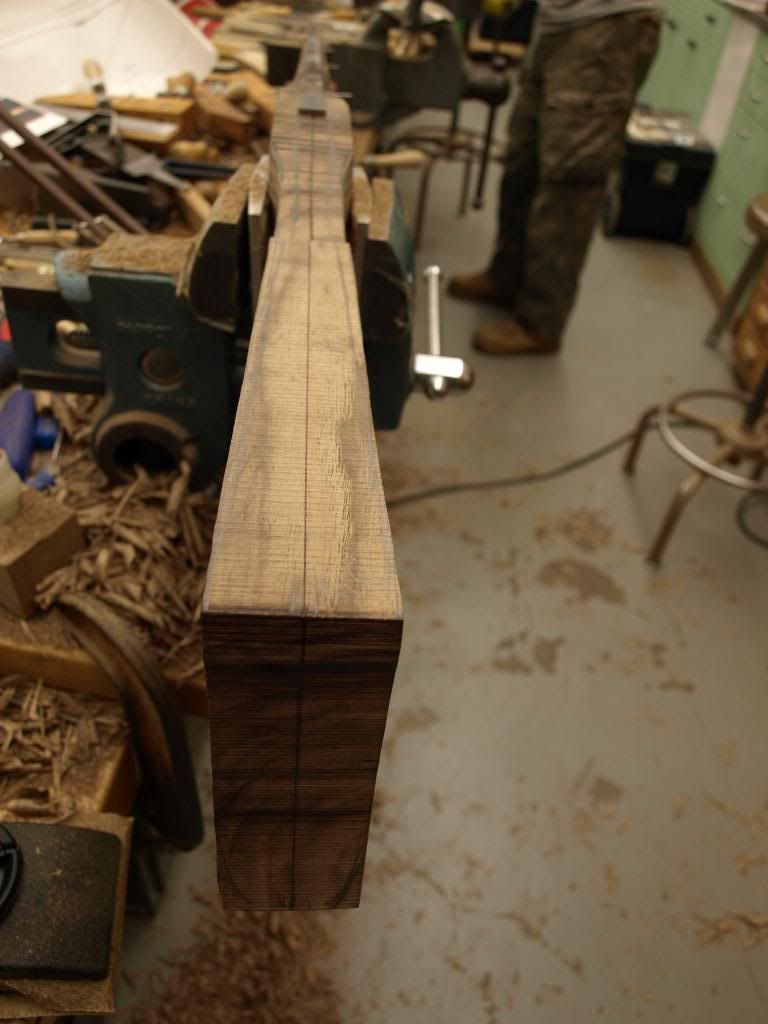
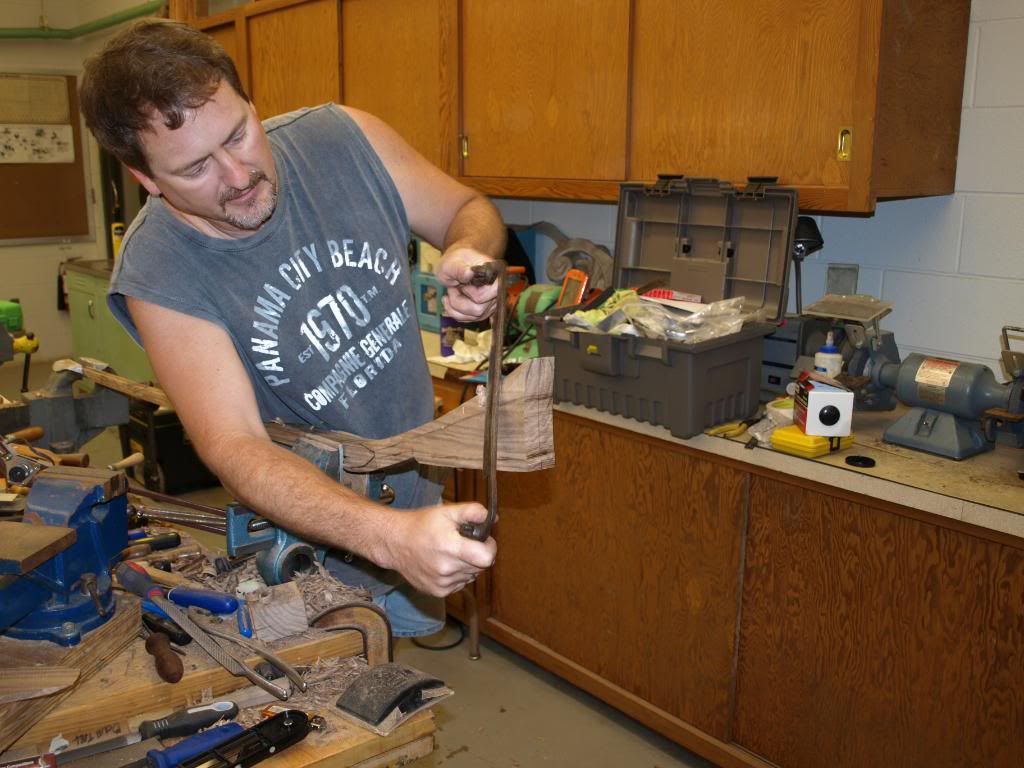
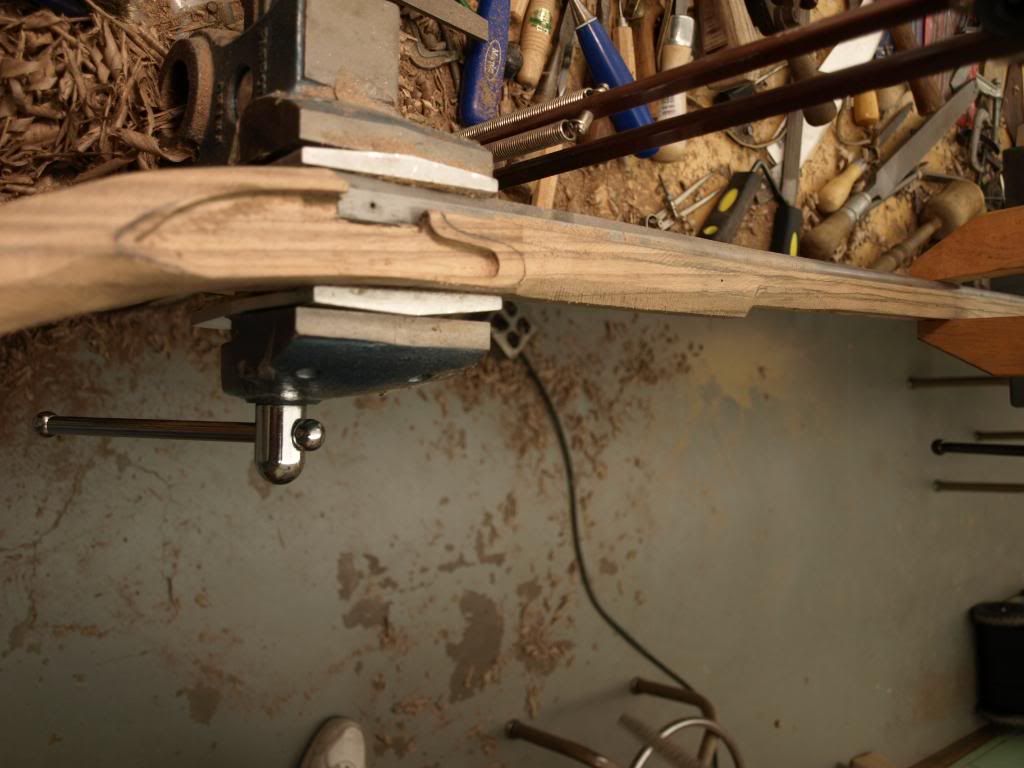
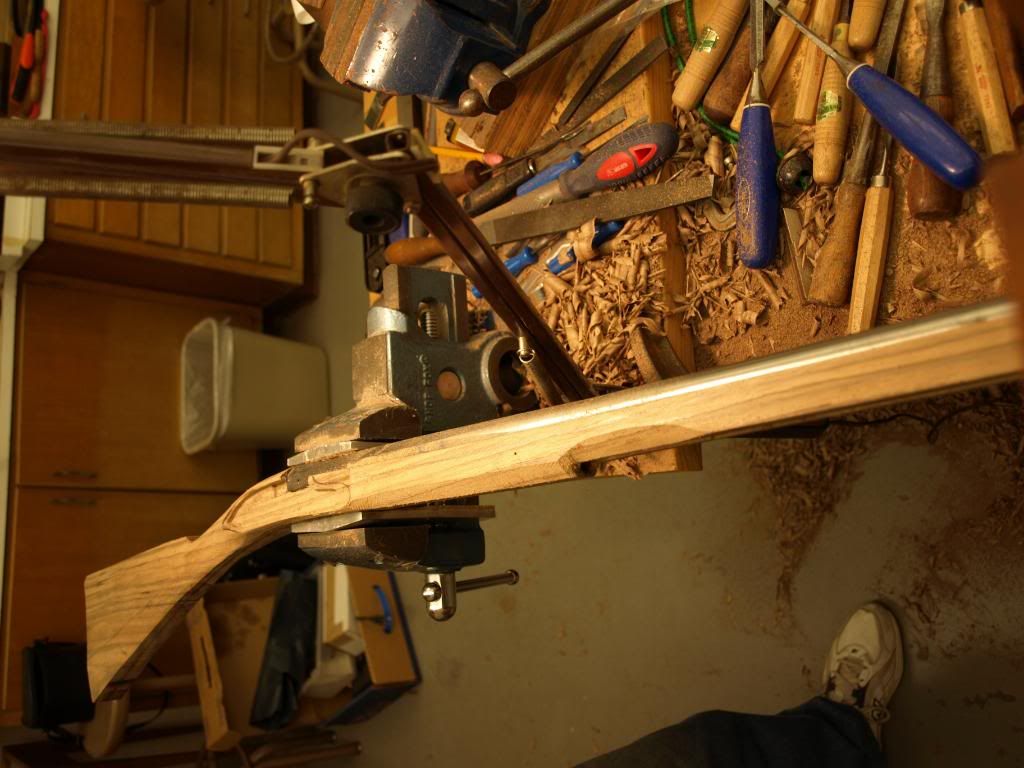
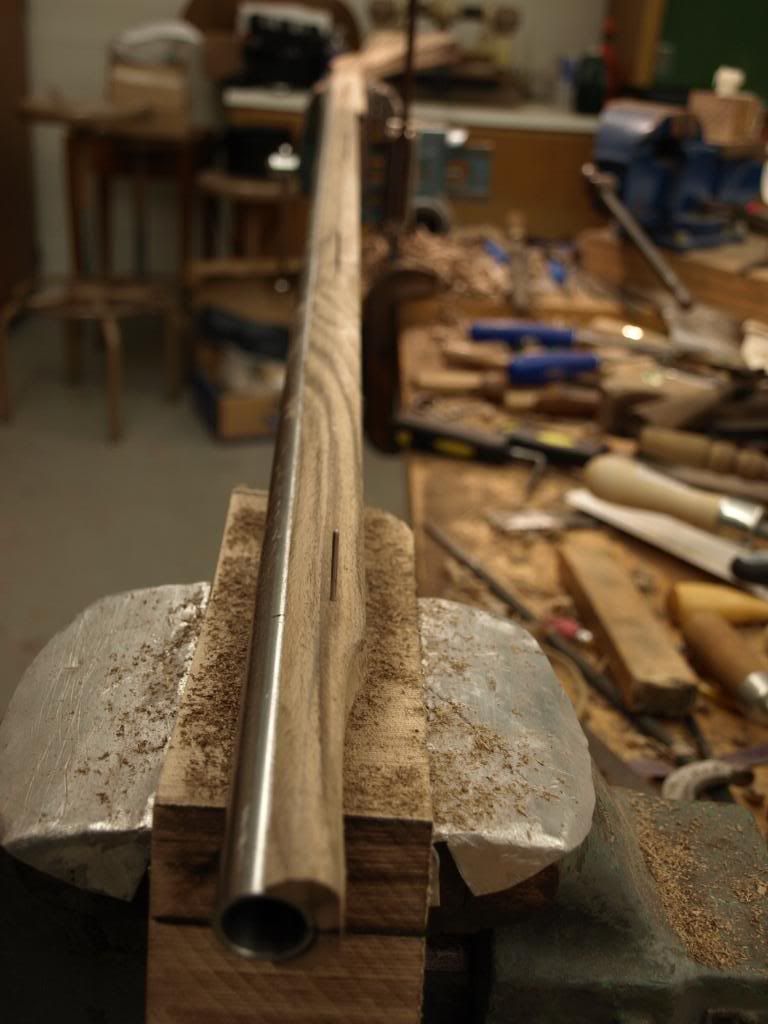
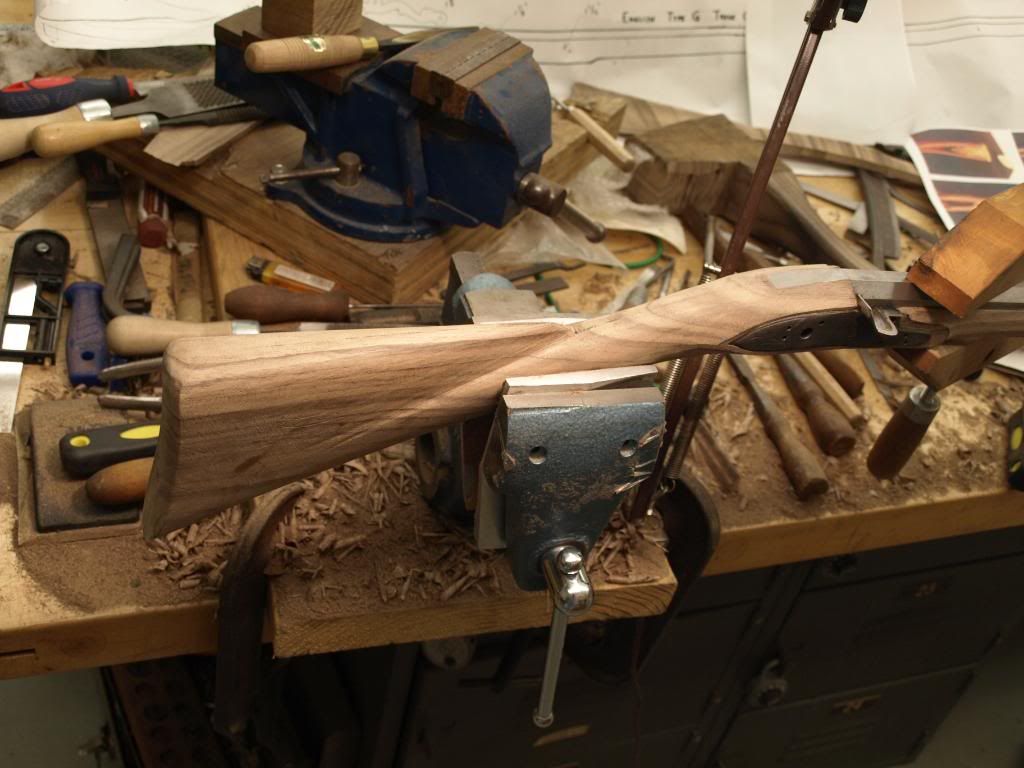
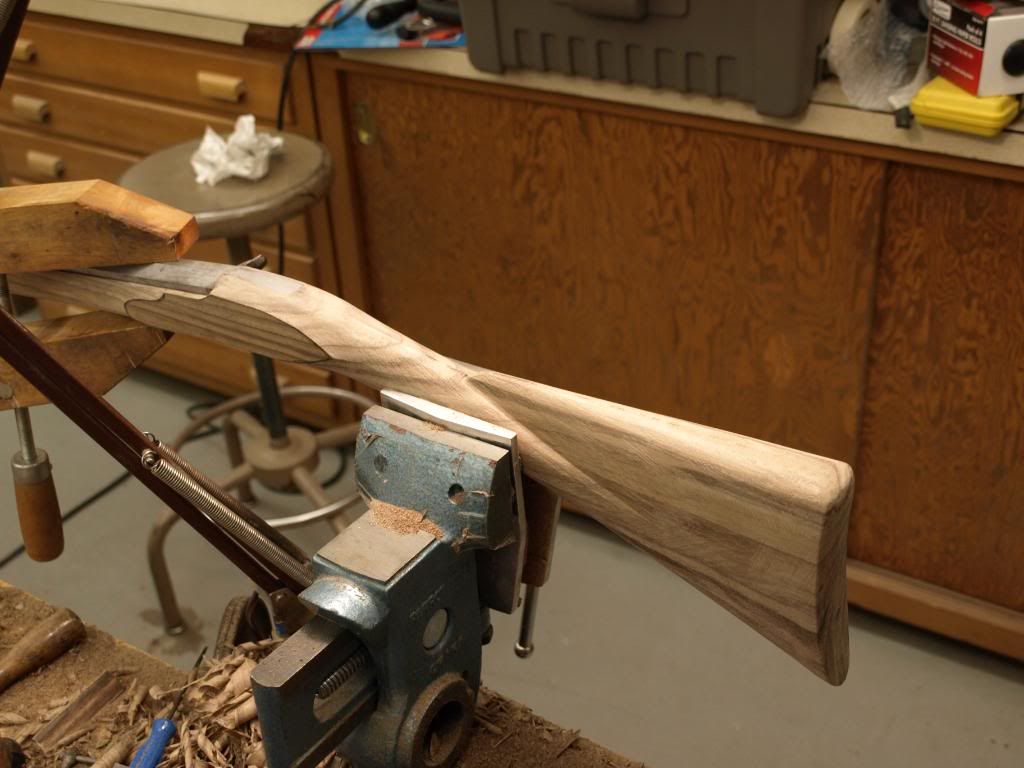
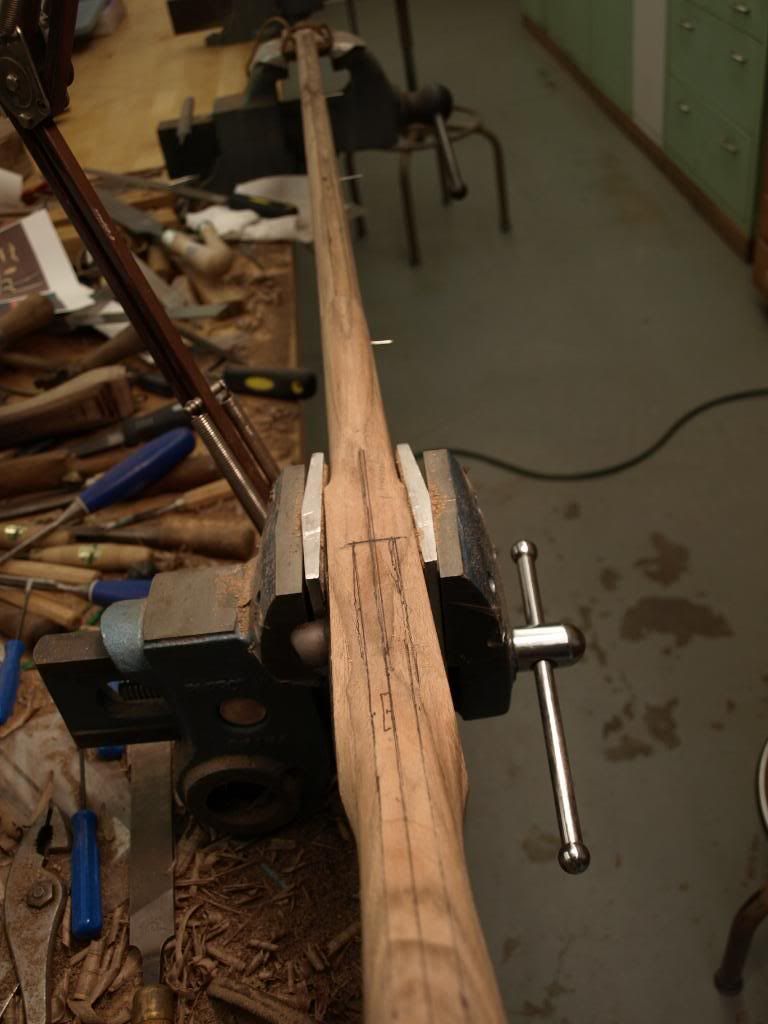
My project was a Type "G" English trade gun, based on a surviving Wilson gun. The gun was started from a blank and all components besides the barrel and lock will be hand made. The barrel is a 46" Getz .62 cal smooth and the lock is R.E. Davis. I didn't have time to finish the gun in class, but the hard part is done. The barrel and lock is inlet, ramrod groove cut and hole drilled, thimbles made and the stock is rough shaped.

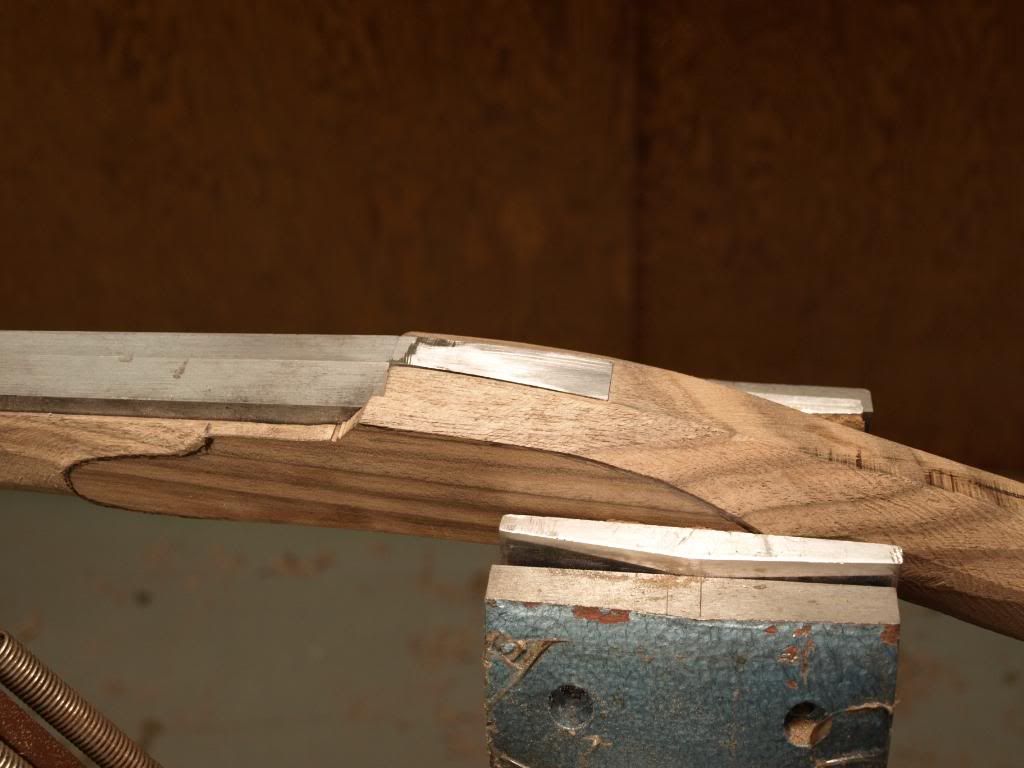
I have struggled with forming and shaping lock panels on both my previous guns. I guess all I can say is - Now I understand! It is amazing what some hands on training can do!

Here are a few pictures of my project in the works:

Working on barrel channel:
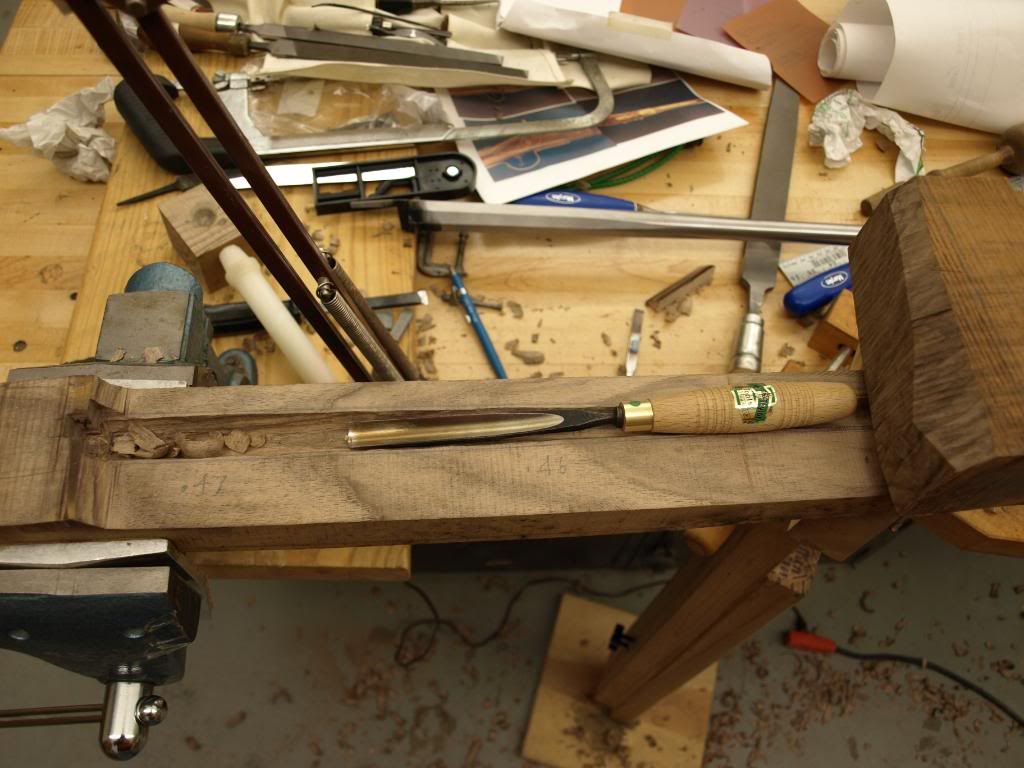
P6030841.jpg


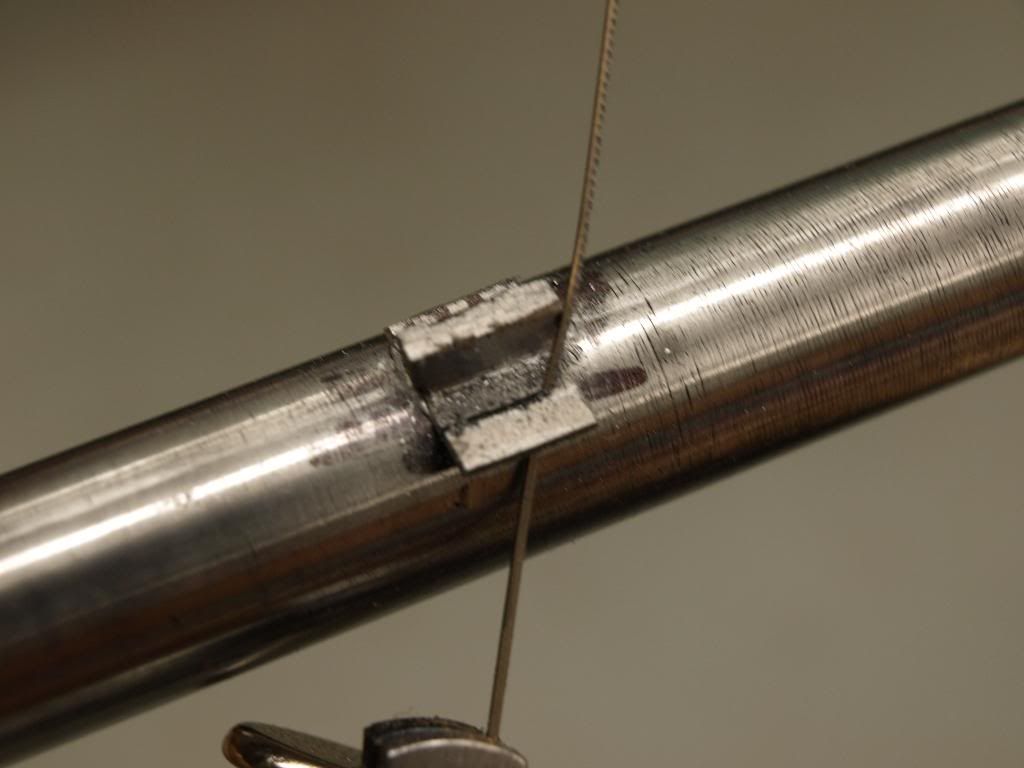
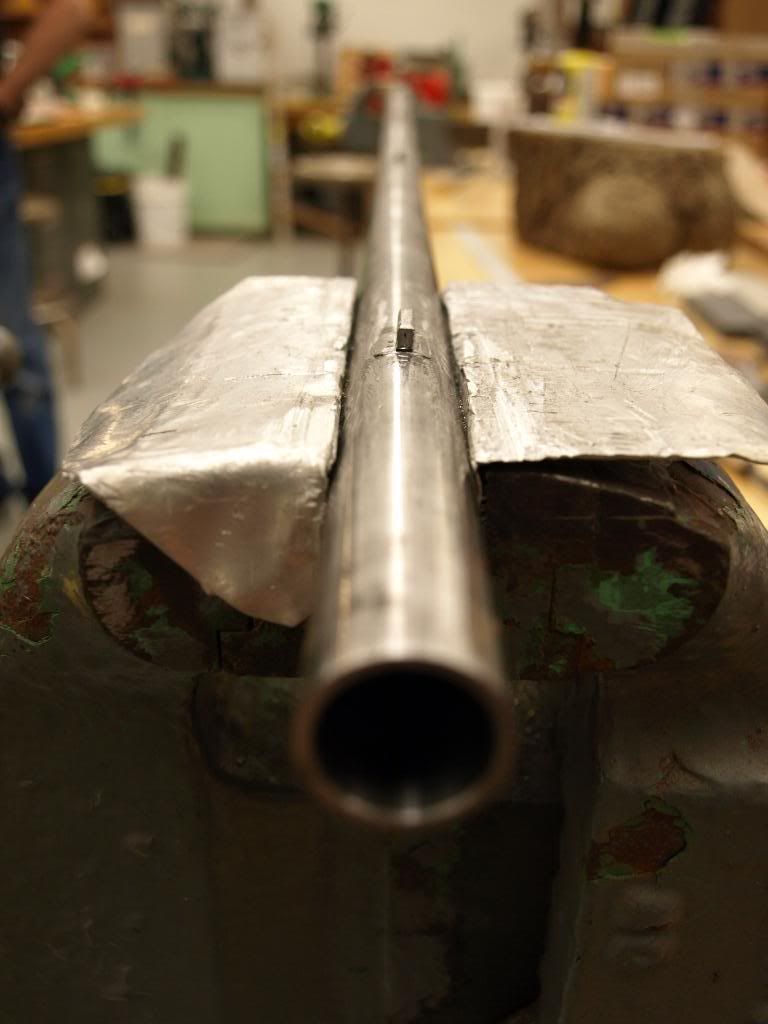
Barrel underlugs:

P6060919.jpg


P6060924.jpg


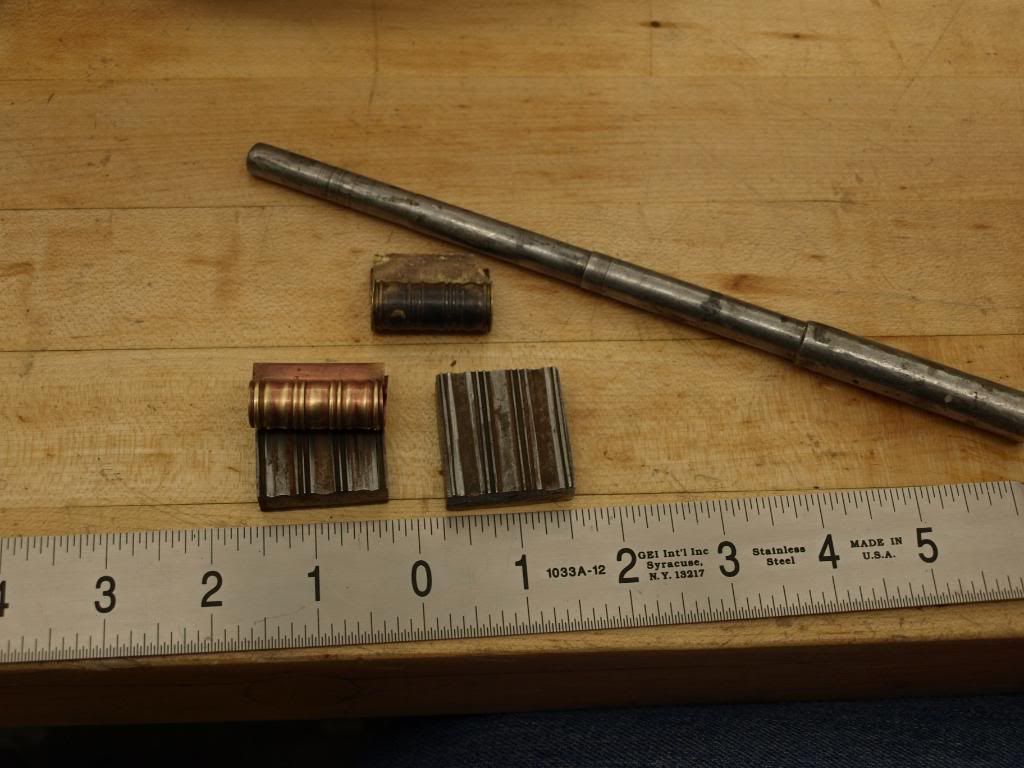
Formed Thimbles:

P6050882.jpg


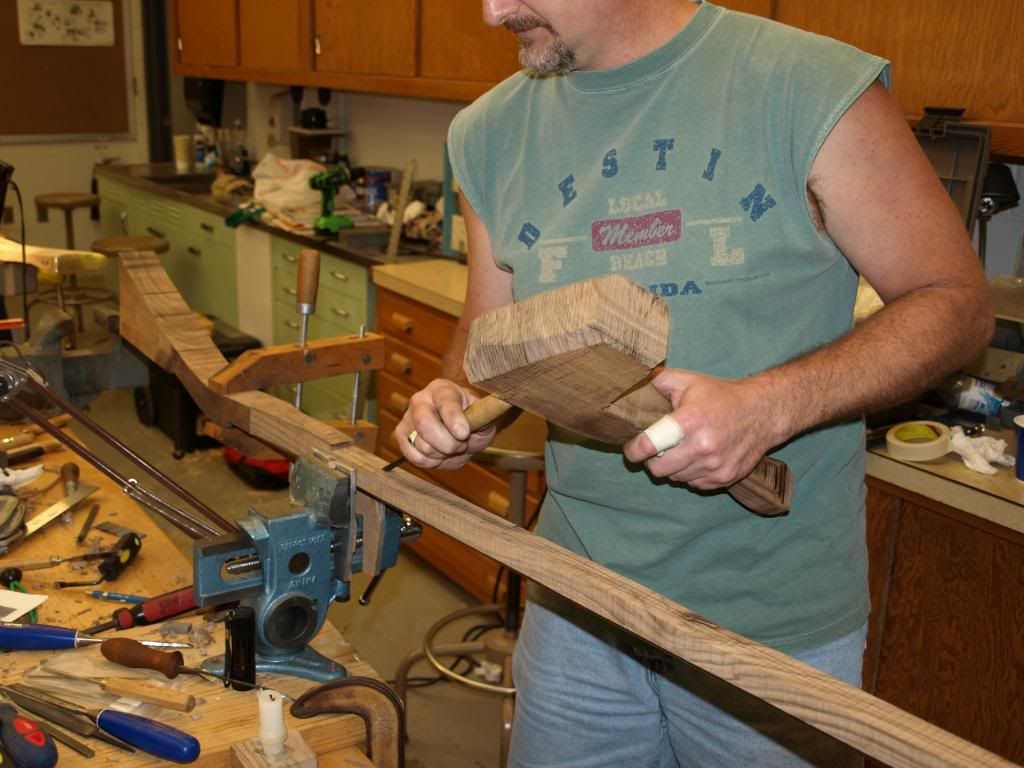
Cutting ramrod groove. Ever use the stock blank cutoff for a mallet?
P6060926.jpg


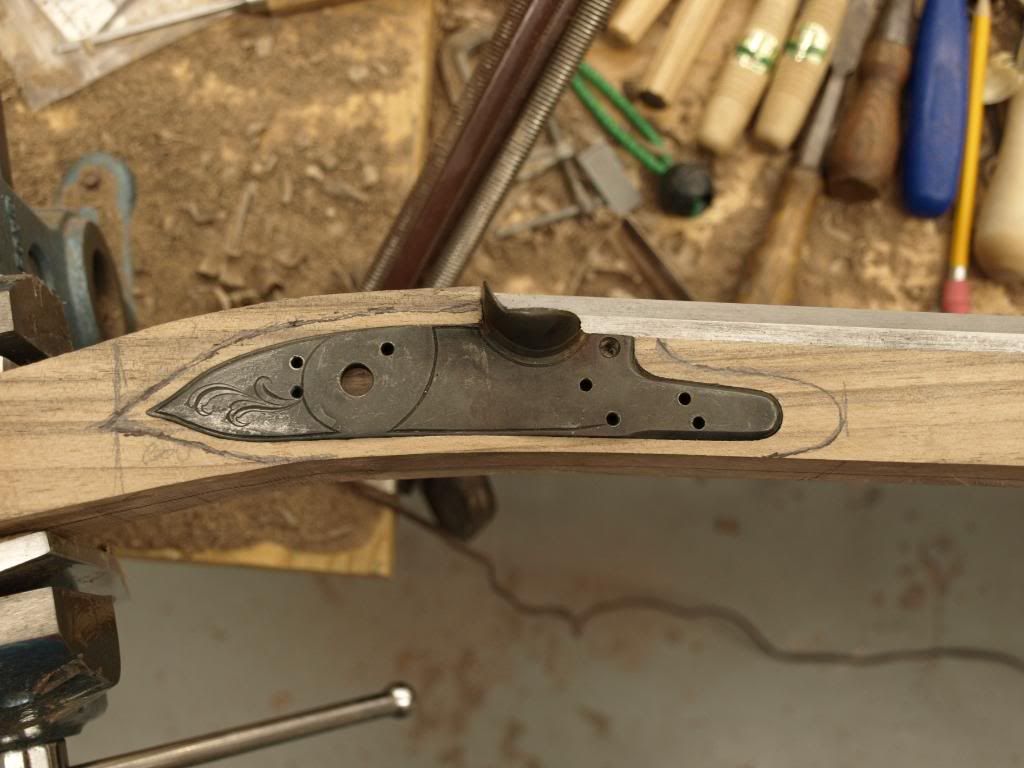
Lock plate inlet:

P6090991.jpg


Shaping stock:

P6091013.jpg


P6091078.jpg


P6091081.jpg


Getting closer:

P6091086.jpg


P6091087.jpg


P6091095.jpg


P6091098.jpg


P6101112.jpg


P6101113.jpg


Class is over!

P6101116.jpg


I will post more pics when I get the trade gun finished. Thanks for looking.
----------------
Curtis Allinson
 
That looks great! Any chance of more pictures of the forearm and ramrod channel? How did you form the ramrod pipes on the blocks in the picture? :thumbsup:
 
Thanks guys!

Double Deuce - Here is a pic where you can kinda see the ramrod channel and forearm... I will try and take some better pics of those areas for you when I post an update.

P6101106.jpg


The ramrod pipes were made by first cutting sheet brass to size and annealing it. The brass rectangle was placed on in the dies with the tab material hanging over the appropriate edges, then the "sandwich" was placed in a vice and pressed together - I stuck half of the sandwich in the vice, cranked it down tight, flipped it over and repeated. Then place it on an anvil and hit it a few times with a big hammer for good measure while trying to keep your fingers out of the way. Bend the tabs 90 degrees and take the brass out of the dies, bend it around a mandrel (or 3/8 drill bit) in a vice like you would making a standard thimble. The dies were hand filed to contour from mild steel stock by Jack Brooks, patterned to match an original Type G thimble. He said it took him an hour or two to file up the dies if I recall correctly. Around .010 - .015 brass is appropriate for the type G thimbles, the originals were fairly thin.
--------------
Curtis Allinson
 
In the fifth picture from the bottom shows the forearm. It looks like you cut slots crosswise. Can you explain that?

It must have been great working with Mr. Jack Brooks.

Matt
 
laffindog said:
In the fifth picture from the bottom shows the forearm. It looks like you cut slots crosswise. Can you explain that?

It must have been great working with Mr. Jack Brooks.

Matt

Matt, the explanation is simple - Optical Illusion! Those "slots" are actually my extra long barrel pins sticking up. I left them long so I could easily grab them with pliers to pull them out. If they get in the way I drive them down till they are sticking out the other side.

Working with Jack Brooks was indeed great. He is very down to earth, extremely knowledgeable as well as talented, and has the patience of a saint. And a sense of humor to boot!
 
Very nice work you lucky devil. I have been trying to get there for a few years now.

Jack is a super guy.
 
Optical Illusion

Doh, now I see. (forehead slap)

I get my new glasses on Monday, maybe that will help.

Thanks,
Matt
 
Thanks Swampy! Cap Jas, you should plan on being there next year. Jack is a super guy and you would enjoy learning from him I'm certain.
 
Thanks for the good words, Tommy. It's good to hear you appreciated seeing the posting... hopefully it will help some folks who are sittin' on the fence wondering if they should try to build a gun to decide to go for it!
 
Back
Top