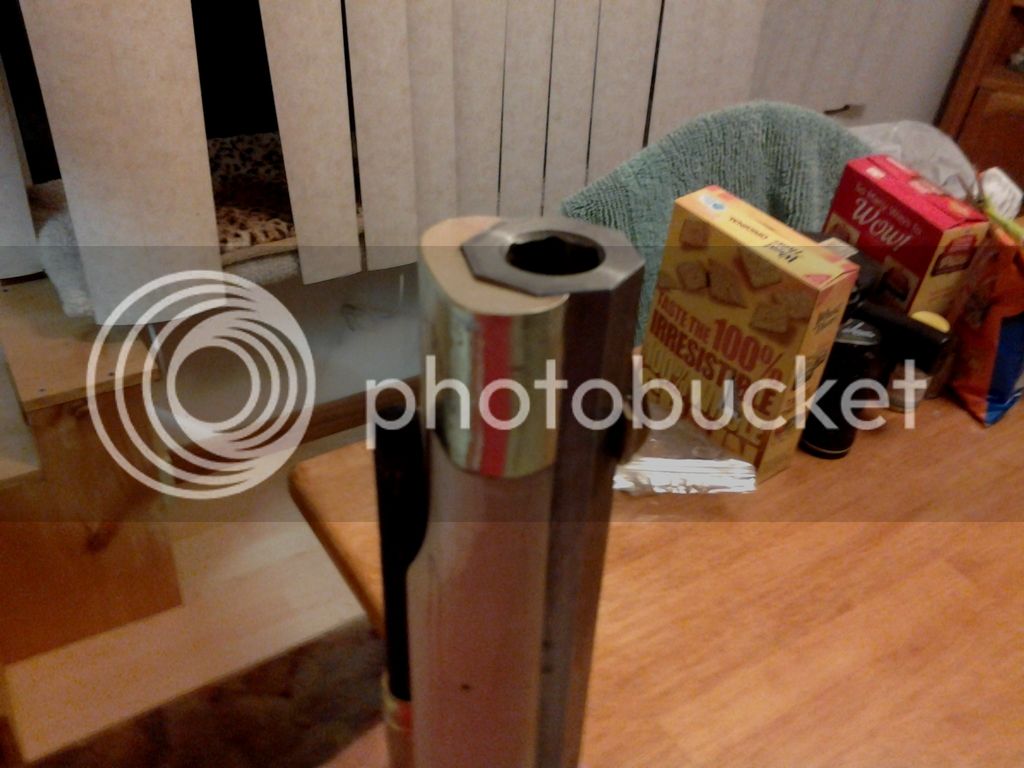
Nose caps

Muzzleloading Forum

Help Support Muzzleloading Forum:

This site may earn a commission from merchant affiliate links, including eBay, Amazon, and others.

kaintuck

54 Cal.
Joined
Jul 12, 2004
Messages
1,811
Reaction score
14
EVERYTHING else about my muzzle loading building is a hobby........except the nose cap!
That's W O R K :doh:

Anneal and bend, tweak, tweak, tweak......anneal again..... :youcrazy:
Got it made, I just need to do the cutout barrel part, that will wait.......I know everyone here has the part least favorite to make guess what mine ! :shake:

Me an tomtomus moronus Maximus vulgarius I
 
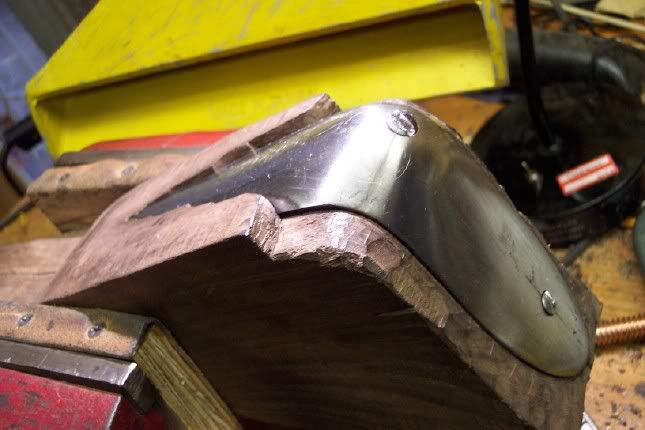
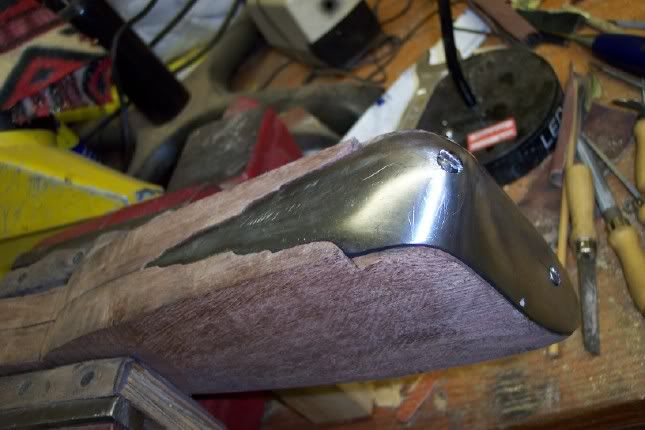
The first part I make of a 2 piece MC is the front plate. It's made from 1/8" thick brass and the octagon bbl profile is filed in and the outside contour is approx. .040 smaller than the finished MC.

This front plate is then seated on the bbl which is in the stock and the undersized contour is scribed onto the stock. This then becomes the "guide" for rough filing the stock.

Then the MC body is formed out of annealed .04 thick brass , using the front plate as a template and the two are hi temp silver soldered together. {the front plate is inside the body} Then the completed MC is fitted to the stock/bbl by applying spotting compound to indicate wood removal.

Some builders butt the front plate onto the body...I just prefer to do it as described above. Either way is satisfactory.

After making a few MCs, the process becomes pretty easy.....Fred
 
I dread doing those big heavy fowler butt plates. That's pure torture to me. The rest is pretty routine.
 
Fowler butt plates #$*&#@!.

I started with a bunch of extra wood so I could "practice" inletting on my way down, big mistake. It took me months to get the butt plate in place.


My next pig problem with this type of buttplate is getting the top screw hole properly positioned, drilled straight and countersunk properly. This one has at least 5 dowels filling the top hole and being redrilled and I still didn't get everything square. I finally filed the screw head off so it looks like it is sitting properly in the countersink. Of course the finished version has a new screw in the hole.

 
A flared nosecap is much harder to make & install, when you are making the nosecap
flare exactly the same as the muzzle of a swamped barrel. But it looks Good ! IMHO. :thumbsup:

As for the Fowler buttplate... Wait til you do a Acanthus Leaf buttplate, &
you have to inlet 4 places at one time & Guess at the fit on 2 of them ! :doh:
I have done well over a dozen of them & they are still a PITA. I have never
liked inletting buttplates. I want them perfectly fitted with no gaps at all, &
it is sometimes had to accomplish.

Keith Lisle
 
Eric, I would have bandsawed that excess off to about 1/8 on each side of
the buttplate.
That was WAY too much work trying to work down all that excess wood.

:grin: But I guess ya know that now ! The excess wood actually makes it harder
rather than easier. :doh:

If one feels the need to Practice, get a chunk of Oak or Maple & practice on it.....
NOT... on the rifle.... As if you need a 13 1/2" LOP, ya may end up with a 12 1/2" LOP
if you desire a perfect fit.

Keith Lisle
 
Entry ram rod pipe & those fancy fowler butt plates are my nemesis :cursing: :cursing: :barf: .
 
Amen to the stupid entry ramrod thimble, for some reason my eyes just can't seem to see how that goes in there, I've heard folks describe how to do it and how easy it can be, but reading, even watching how something is done, and doing it yourself is two different things. One my first build I messed it up so bad that I had to cut the thimble apart, build a new tang piece and solder the two together, from a distance it looks fine, up close you can see what I did, ugly!
 
That's not too bad....my first LR ever, built from a blank, ended up heating my house....in my beautiful wood burning stove. The LR was 80% completed but I screwed up the upper forend shape and after a few sleepless nights went into the shop and broke it over my knee. That settled that!

Salvaging the metal parts wasn't that easy, but the LR was completed and became my super accurate squirrel rifle. Its name is "Ugly".

I now find all aspects of building a LR enjoyable....otherwise I wouldn't build them. But, there might be one exception and this might be caused by my being overly "fussy"....the trigger guard. Just can't tolerate a TG that has scratches and imperfections and above all, doesn't have the edges really thinned down. So...I go at a TG a little at a time which makes it bearable......Fred
 
Last edited by a moderator:
flehto said:
my first LR ever, built from a blank, ended up heating my house....in my beautiful wood burning stove. The LR was 80% completed but I screwed up the upper forend shape and after a few sleepless nights went into the shop and broke it over my knee. That settled that!
Fred

:grin: :haha: :rotf:

Fred, thank you for sharing that. I expect even Michelangelo jumped up and down on his brushes a time or two.
 
Last edited by a moderator:
That's how do it as well, having that 1/8" thickness on the front provides a lot of surface area to solder on the sides/body. 2 piece nose caps are also pc. I secure with two tiny pins or "rivets" that go from the outside lower portion to the 45 degree angle flats in the barrel channel. I prefer that to a screw on the bottom or other methods.
 
I just use a short length of bare copper electrical wire w/ a head formed on one end in a die. It's riveted from the bottom of the MC.....Fred
 
Thanks, guys. I'm going to print this post thread and nail it to the wall when I start work on the Pecatonica parts coming, hopefully this week.

Really intimidated, here, the closer it gets to delivery. I've refinished and improved guns, but never started one.
 
I've done it that way and works well but the two rivet deal- there is more wood to support each rivet. I was finding that putting the rivet on the bottom didn't leave much wood. As I understand both ways are pc. I actually peen the inside end of the pins so they cannot slide out. Once the barrel is on the barrel keeps the pins from sliding inward. The long and short of it is I can punch out the pins and remove the nose cap if I ever so desire.
Sidebar- I originally was mistaken on this set up- I saw the ends of the rivets on either side of the nose cap and I thought there was a single horizontal pin like on a tenon. I was told, nope- the pins were running up at 45 degrees and stopping on the incline flats.
 
Two rivets as you describe are found on some Lehighs and some LRs from surrounding areas. I've found 1 rivet from the bottom retains the MC quite well, but 2 rivets do the same job. Might try 2 rivets on the present Bucks County build.....Fred
 
What ever is pc. My last effort was just sort of a generic "thing" I threw together from spare parts- which was actually sort of fun as I just did as I pleased.
 
0422150528_zps13ekkv5i.jpg

0422150528a_zpslj8lwbbw.jpg

0422150528b_zpsczz743cs.jpg


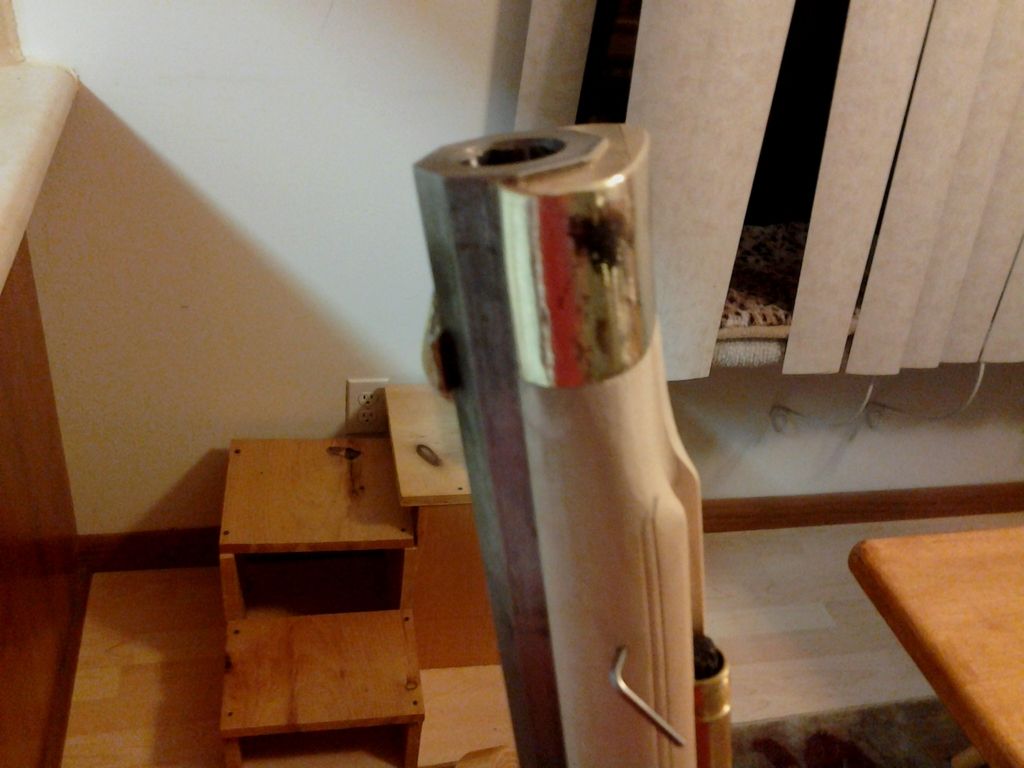
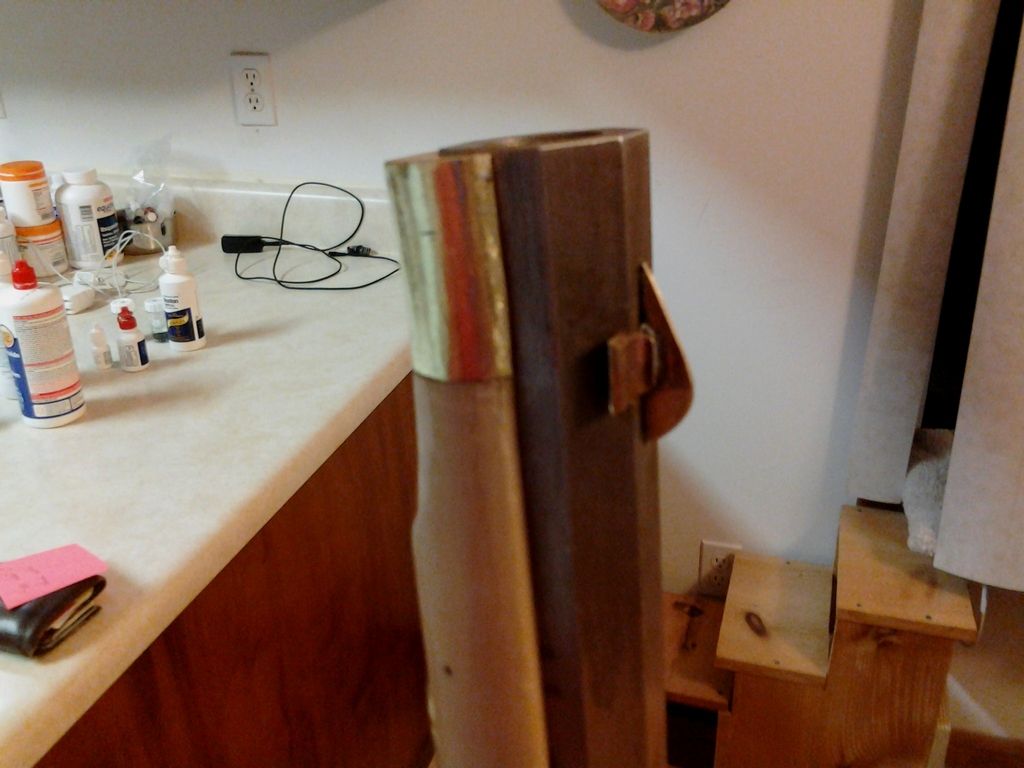
all I need to do is work her down a little, round off the edge~ and pin her...... :grin:

marc
p.s.~I found a way to block the 'negative nellies'...so this commenting is a positive thing~ :grin: I don't even SEE their comments!!!
it's been ALOT better for me to gid rid of self-made-experts!! :doh: :grin:
WONDERFUL!!!!!!!!!!!
 
Col. Batguano said:
How much RR are you going to leave covered when you're done?

that RR in the photo is just a temp/try RR, so when I handle the rifle, put it in the vise etc, it keeps the RR sides nice......
I have a F A T RR that I will turn down to be kinda bulb at the end, and fit the thimbles..... :grin:
so the RR will come to the end of the stock~
marc n tomtom
 
Back
Top