- Joined
- Nov 26, 2005
- Messages
- 5,282
- Reaction score
- 11,261
Hi,
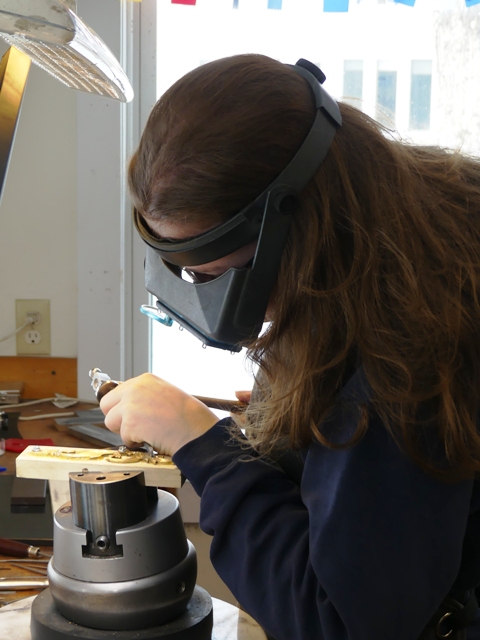
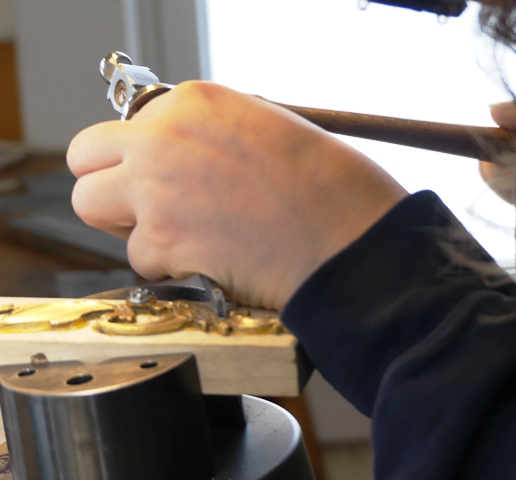
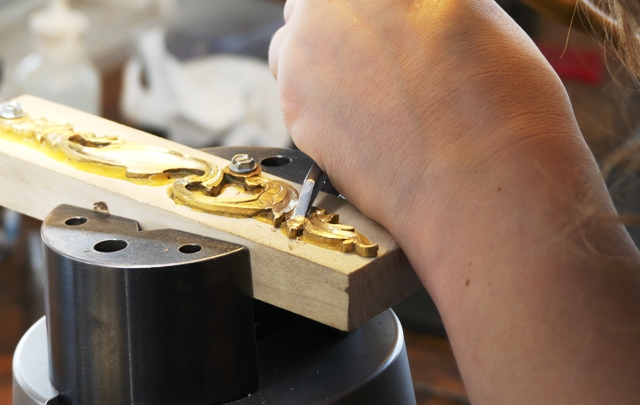
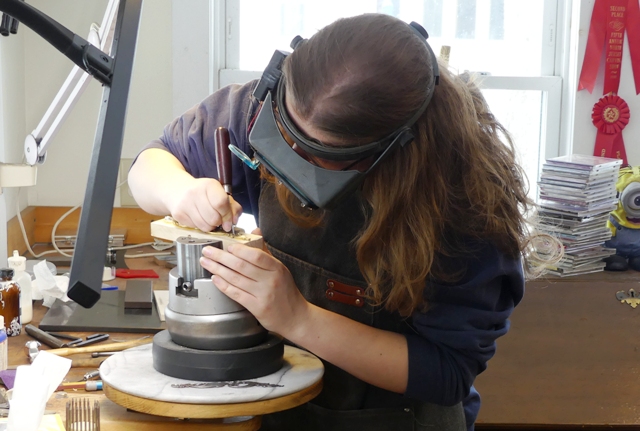
We are very busy. I have not posted much because I have so much work to get done before "Battle Road" in April. Maria was here over her Christmas break and worked on her British officer's fusil. We cast and then she began sculpting the sideplate and wrist plate.
I have 2 pattern 1742 Brown Besses to make but am also working on 2 English sporting rifles. The first is full stocked and inspired by the two famous Twigg rifles shown in Neal's Great British Gunmakers: 1740-1790. I am not copying the rifles because the owner wants some changes. He does not like single set triggers, which were used on the originals but want double sets. I have never seen double set triggers on English flintlock rifles from the 18th and early 19th centuries. That is OK and I will tuck the set trigger in close to the rear of the trigger guard bow so it won't be obvious. Unfortunately, our choices for steel hardware for British guns is dismal. So many options disappeared during the last decade. Anyway, I made do with a trigger guard from TOW. The bow of the guard is much too big and it was probably copied from a double barreled gun. If you use it as is it looks so awkward. So I cut off the forward curl of the bow and made the bow smaller. No set triggers you can buy look anything like triggers used on British sporting guns but the best option for double sets are triggers for Hawken rifles. They have to be modified a lot but they can work although the double triggers probably are a fantasy for British sporting guns. Anyway, I reshaped the trigger guard, welded in a threaded stud and drastically reshaped a Hwken trigger set from L&R.
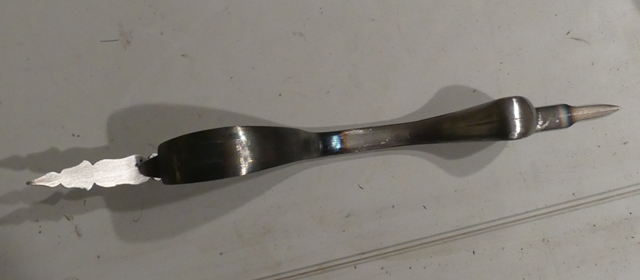
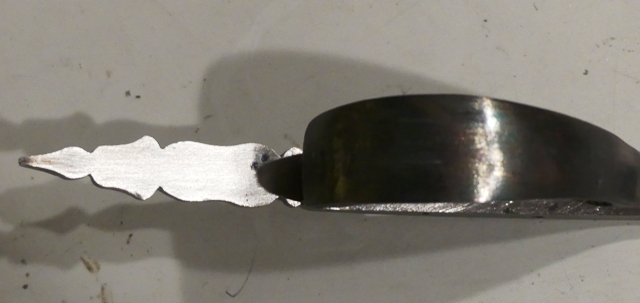
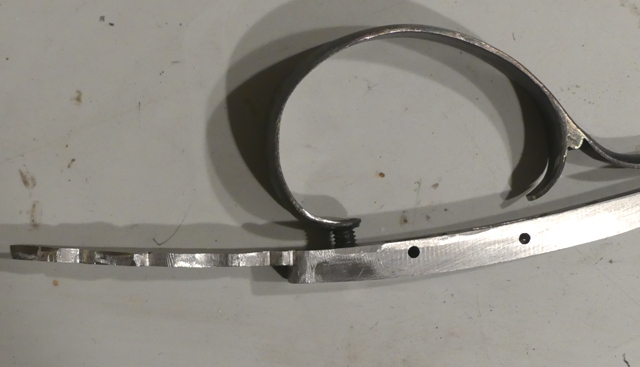
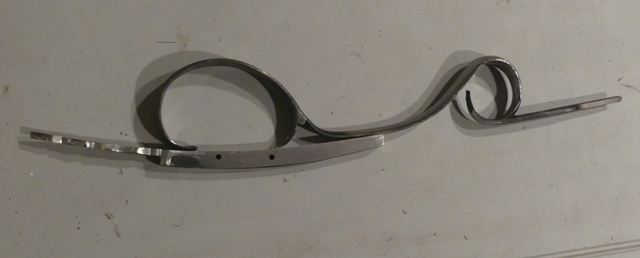
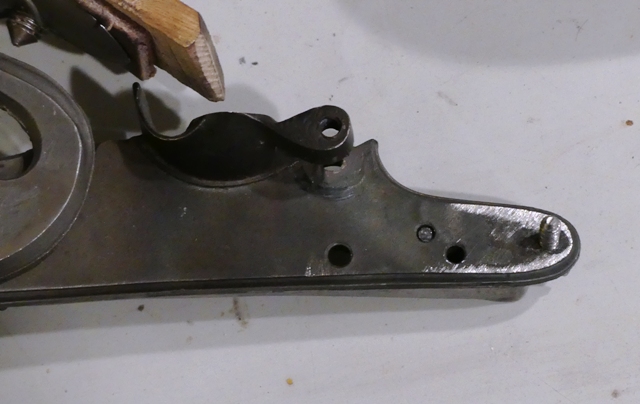
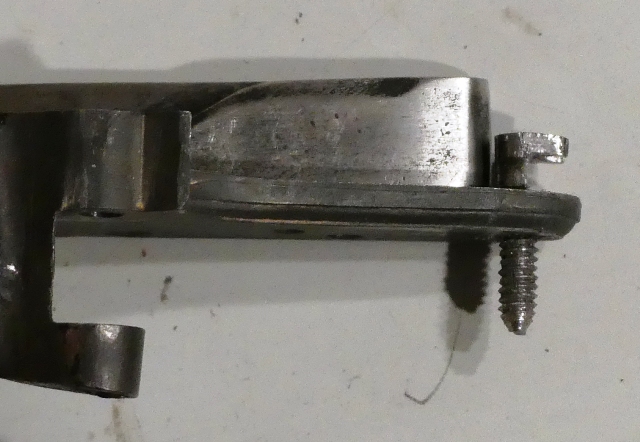
It will work out pretty well. The Davis Twigg lock needed a lot of work. I changed the geometry of the lock and replaced all of the tiny screws they use to hold the internals. On this rifle, the lock is secured by one bolt with the nose of the lock held in place by a hook and screw stud. Here is the hook I made. It is threaded through the lock plate but I will eventually countersink the outside of the hole, cut off the threads leaving about 1/8 inch of excess above the lock plate. Then I will melt that excess with a welding torch to fill the countersink, permanently attaching the lug. When file flush, the hole will disappear.

More to come.
dave
We are very busy. I have not posted much because I have so much work to get done before "Battle Road" in April. Maria was here over her Christmas break and worked on her British officer's fusil. We cast and then she began sculpting the sideplate and wrist plate.


I have 2 pattern 1742 Brown Besses to make but am also working on 2 English sporting rifles. The first is full stocked and inspired by the two famous Twigg rifles shown in Neal's Great British Gunmakers: 1740-1790. I am not copying the rifles because the owner wants some changes. He does not like single set triggers, which were used on the originals but want double sets. I have never seen double set triggers on English flintlock rifles from the 18th and early 19th centuries. That is OK and I will tuck the set trigger in close to the rear of the trigger guard bow so it won't be obvious. Unfortunately, our choices for steel hardware for British guns is dismal. So many options disappeared during the last decade. Anyway, I made do with a trigger guard from TOW. The bow of the guard is much too big and it was probably copied from a double barreled gun. If you use it as is it looks so awkward. So I cut off the forward curl of the bow and made the bow smaller. No set triggers you can buy look anything like triggers used on British sporting guns but the best option for double sets are triggers for Hawken rifles. They have to be modified a lot but they can work although the double triggers probably are a fantasy for British sporting guns. Anyway, I reshaped the trigger guard, welded in a threaded stud and drastically reshaped a Hwken trigger set from L&R.


It will work out pretty well. The Davis Twigg lock needed a lot of work. I changed the geometry of the lock and replaced all of the tiny screws they use to hold the internals. On this rifle, the lock is secured by one bolt with the nose of the lock held in place by a hook and screw stud. Here is the hook I made. It is threaded through the lock plate but I will eventually countersink the outside of the hole, cut off the threads leaving about 1/8 inch of excess above the lock plate. Then I will melt that excess with a welding torch to fill the countersink, permanently attaching the lug. When file flush, the hole will disappear.


More to come.
dave


