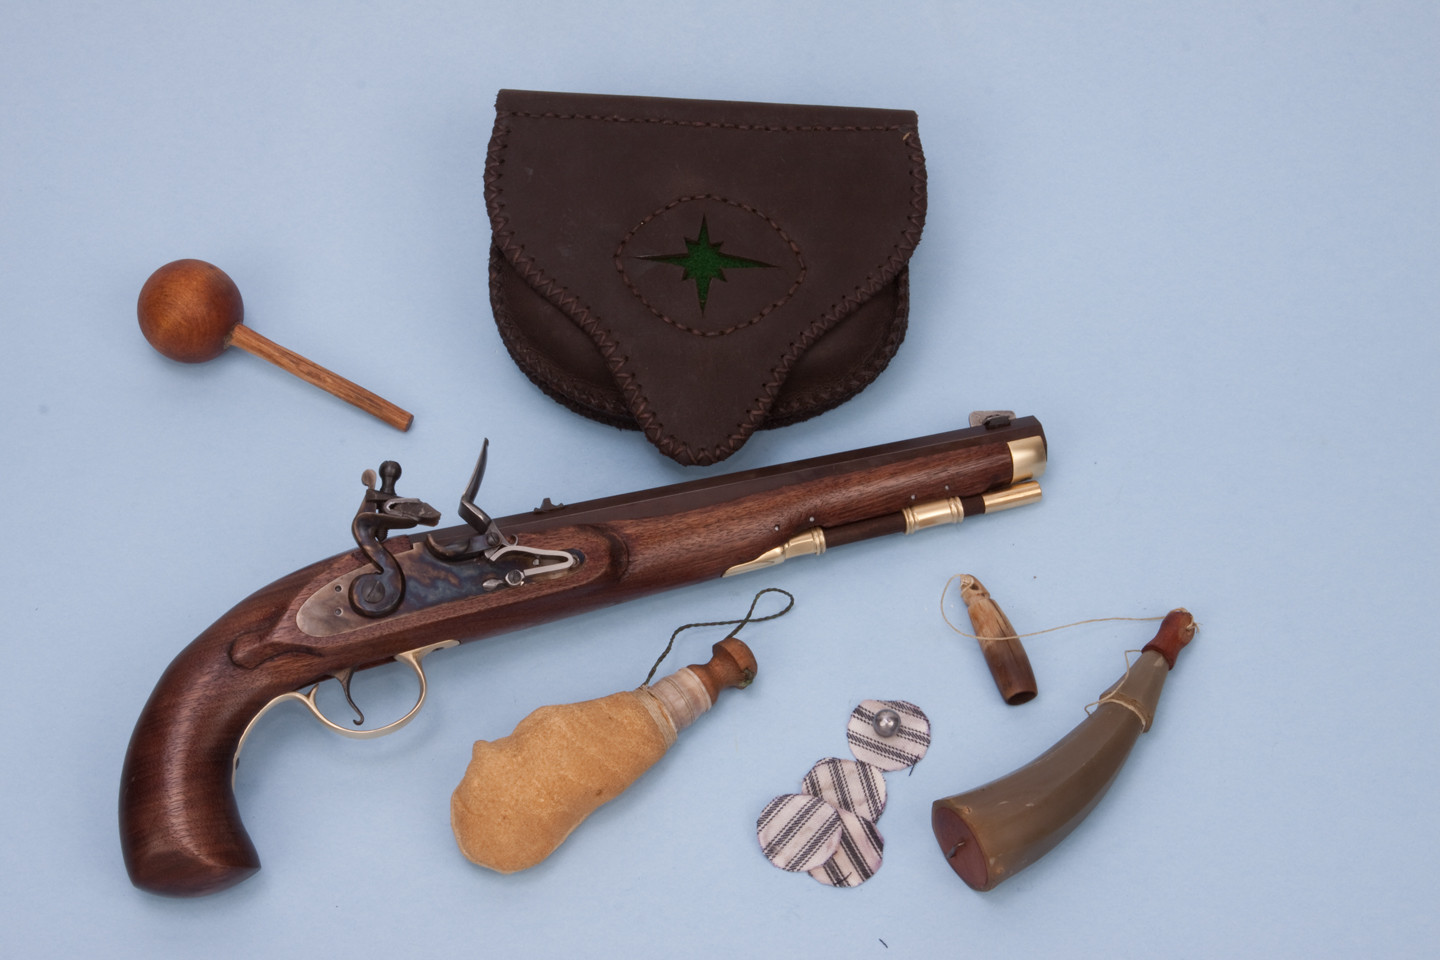
Pedersoli flintlock pistol kit

Muzzleloading Forum

Help Support Muzzleloading Forum:

This site may earn a commission from merchant affiliate links, including eBay, Amazon, and others.

duelist1954

40 Cal.
Joined
Jun 27, 2011
Messages
430
Reaction score
73
I had to put my flintlock rifle build on hold recently when Combat Handguns magazine asked me to write an article about building a flintlock pistol from a kit.

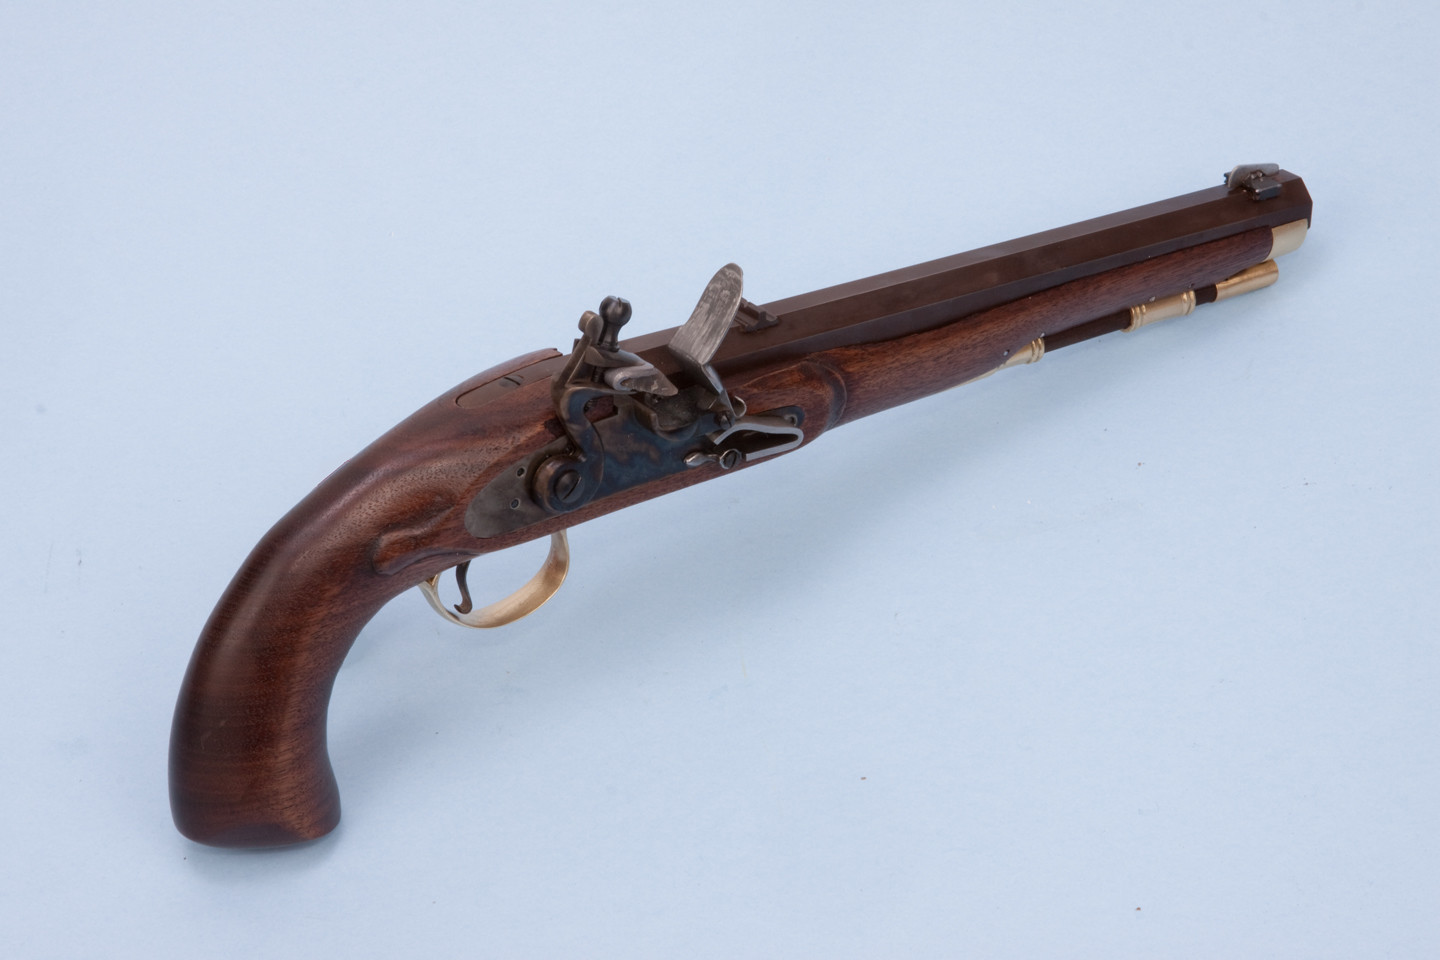
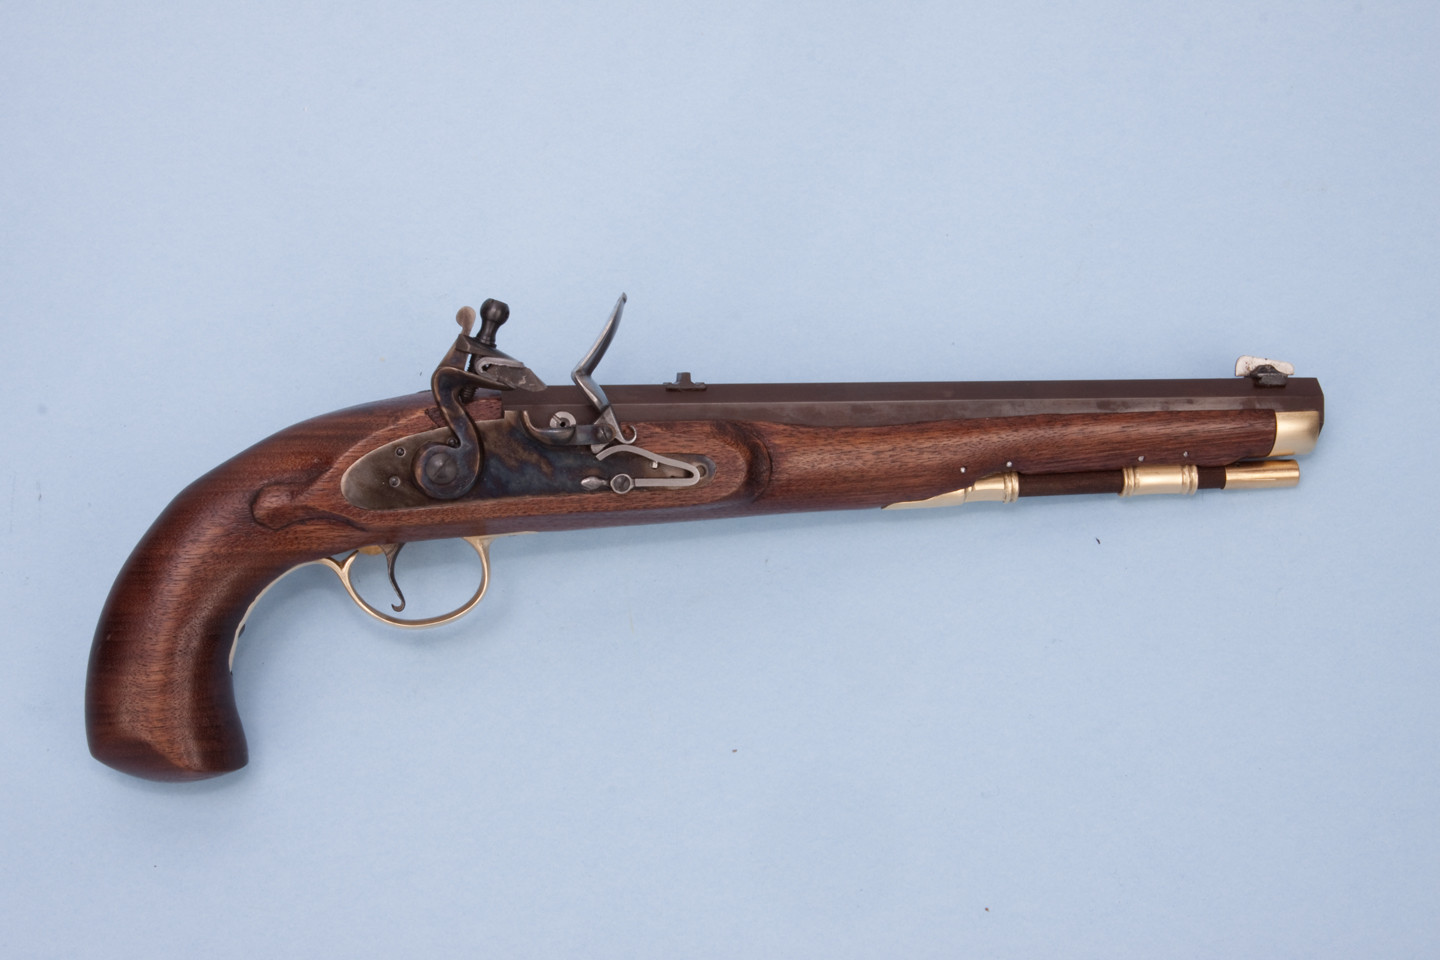
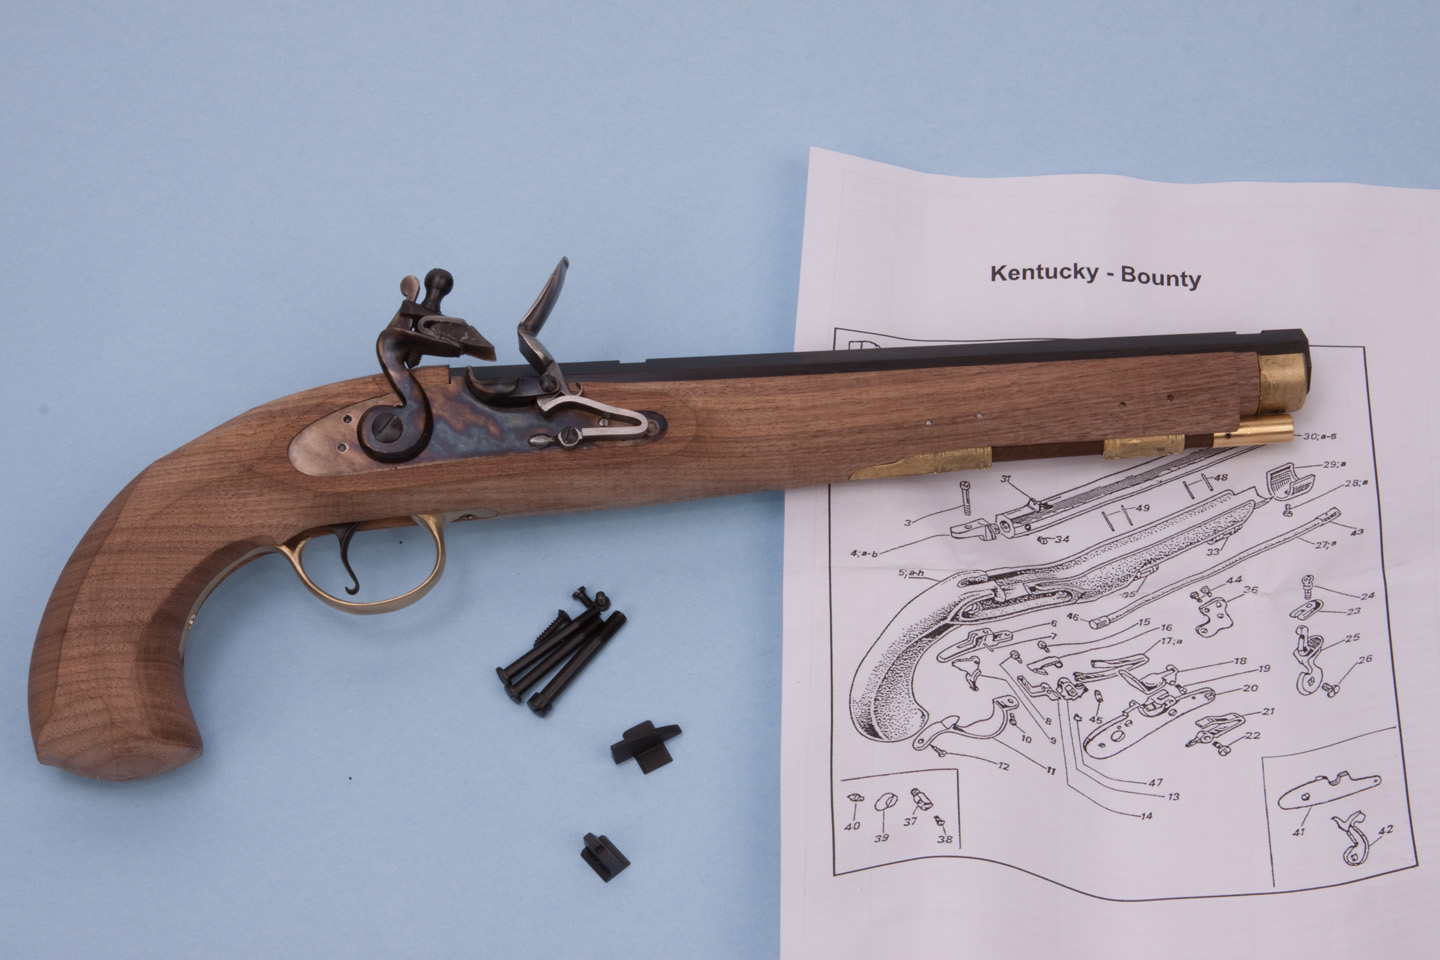
I selected this Pedersoli .45 caliber Kentucky pistol kit from Dixie Gun Works. This is a very easy kit that anyone should be able to build.

I'll do a short video series on assembling the kit. In this first installment I'll show you what comes with the kit, and I'll show you how to shape the nose cap and clean up the brass ramrod thimbles...more updates to come.
https://www.youtube.com/watch?v=nHr0951AXYM
VtgExIF.jpg


69lGQjD.jpg
 
Last edited by a moderator:
Mike, I just finished one in .54 a month ago. Only difference I see in them are that mine had a steel nosecap that came from the factory thin like you had to do to the brass one. I will be curious as to when you shoot it as my barrel has what a will call a "chamber" where the vent liner goes in and you cannot reach the vent "chamber" with the ramrod as there is a stop. So after about 5 shots I had to pull the vent liner to clear the fowling to continue shooting. Not a good design in my mind but as this is the first flintlock pistol I have used don't know if that is standard on pistol barrels or not. Also I do not like the sights and am looking at changing them. Overall I am very pleased with it just has a few quirks.

Great videos by the way and am looking forward to number 13 on the rifle. Thanks.

Dave
 
Dave,

Mine has a similar chamber. I saw it when I removed the vent liner and shined a bore light through it so I could check the bore.

I don't get it either.
 
If you folks use the nosecap to hold the front of the barrel into the stock like it is designed remember to keep you powder loads on the light side.

More than one person has built these Pedersoli Kentucky pistols and charged the barrel with heavy powder loads or a heavy bullet only to find that the recoil of the barrel sheared off that little wooden projection that is trapped by the barrel and muzzle cap.

You can head this problem off at the pass if you install a barrel underlug to the barrel a few inches behind the muzzle.
Then, install a small pin thru the stock and the underlug like they do on rifles.

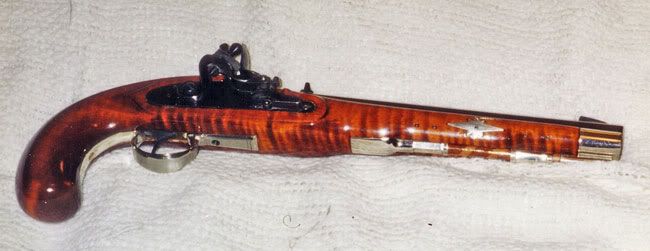
You can see where I located my barrel's underlug on this Kentucky pistol. The pin goes thru the center of escutcheon inlay.

(I used the Pedersoli flintlock pistols barrel and lock to build this curly maple mounted version).
 
Great video, and it is just in time. I have been looking at this very kit. Can't wait for the next installment.
 
I have the .45 version of that pistol and it also has that weird set-up. I don't understand why they did it that way.
 
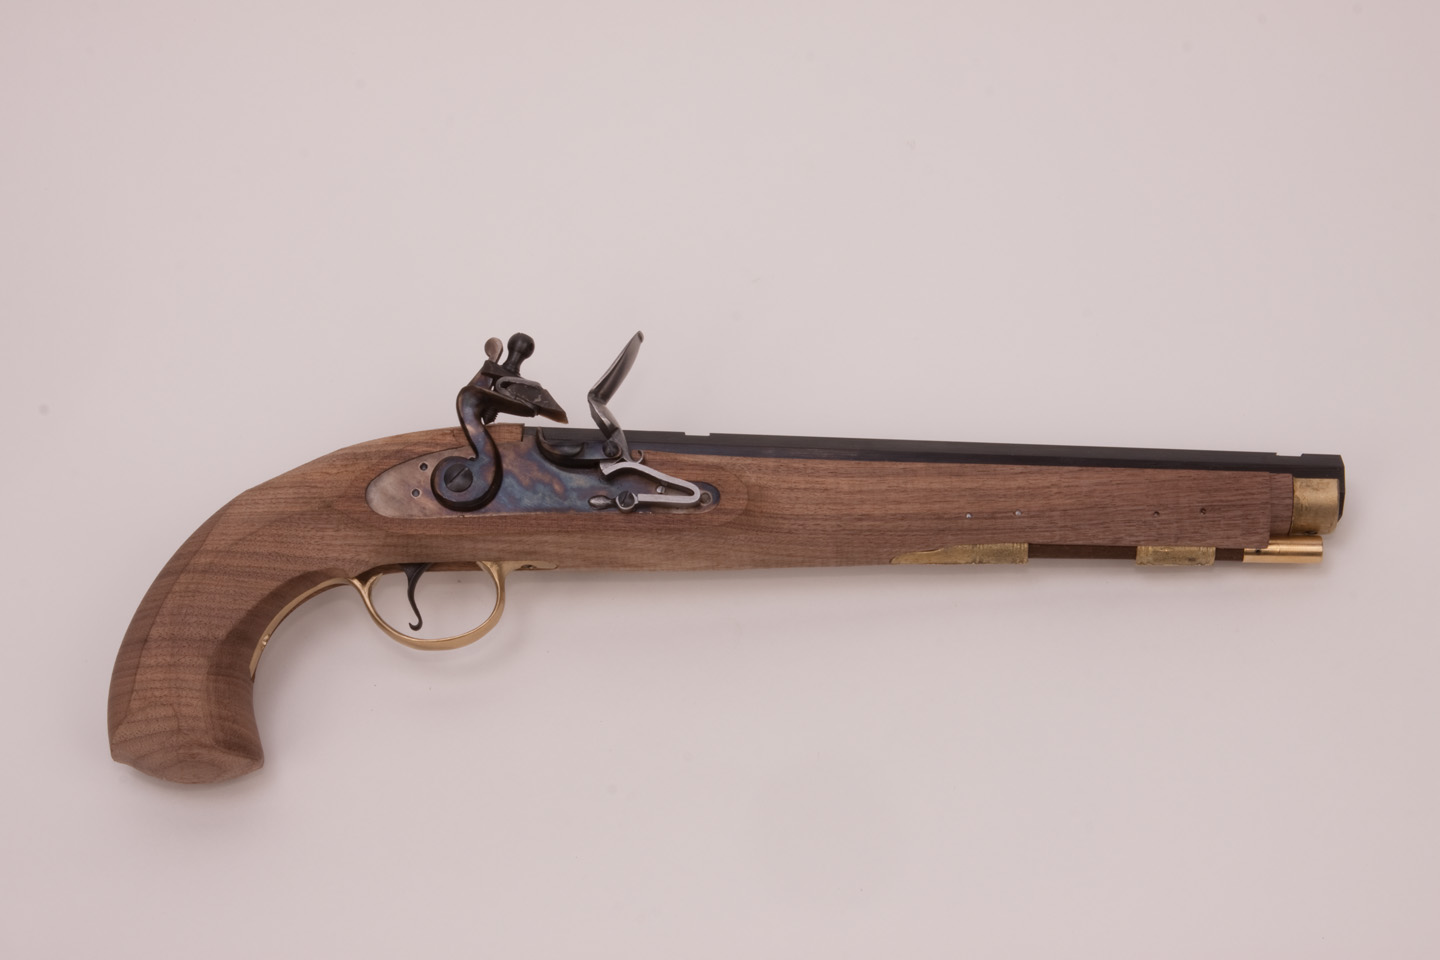
I finished the Pedersoli flintlock pistol kit today. I'll still do a couple of more videos showing the rest of the process, but I thought I'd post a few pictures now.

Once again I demonstrated my ability to take $400 worth of parts and turn them into a gun worth $200. :hmm:

On the whole I'm pleased with the pistol, but I did pull some major boners.

First of all, a good sized sliver of wood broke off at the top of the right forearm, and it resisted all efforts to glue it back in place, so I have a decent dip there.

OKfed9v.jpg


Then I cut the lips of the ramrod channel pretty low, which I wanted to do, but I didn't realize it would show off the inletting for the entry thimbal, which was done with a router.

mnfmIE9.jpg


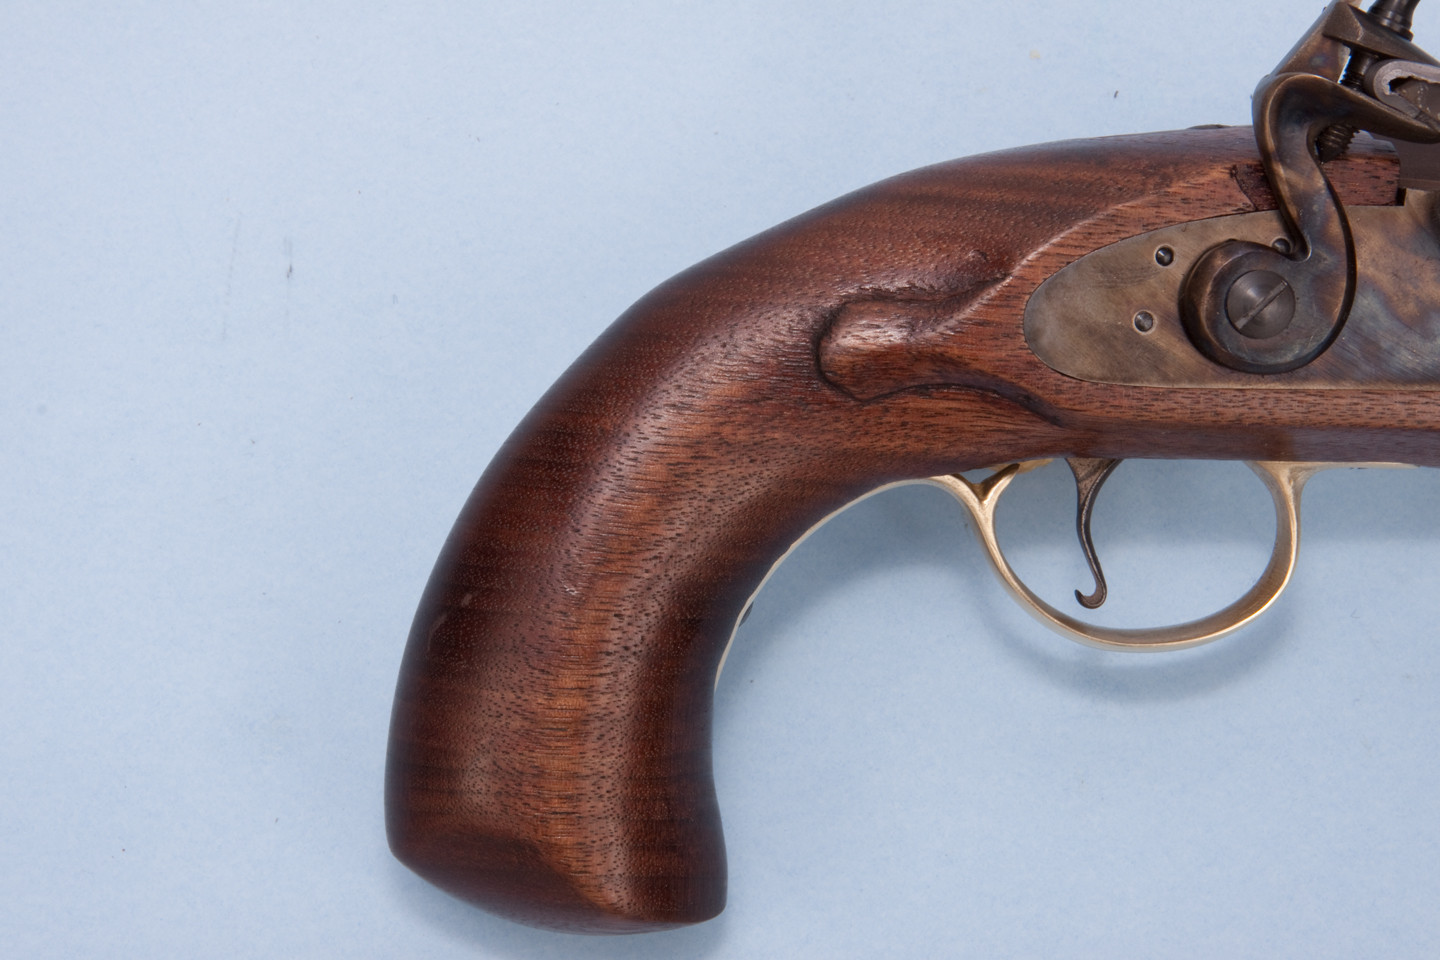
This is the first gun I ever did lock beavertails for...or any molding for that matter. I figured it would be good practice for my rifle build. They certainly didn't come out perfect. I found the walnut very difficult to cut cleanly, compared to maple.

I tried a different outlining technique on each panel. On the lock panel I used a 3mm V gouge and on the side plate panel I used a knife. I had issues either way...ordered some books on carving because I have no clue...

dRYbXlX.jpg


Still, I'm not totally displeased with the pistol. I'm looking forward to shooting it.

cuaNGkz.jpg
 
I like it! It would be fun to use that walking around after woodchucks.

TinStar
Soli Deo Gloria!
 
Zonie, nice looking pistol. Any words of wisdom on the barrel having the "chamber" in it? You have any issues with having to take the vent liner out after 4 or 5 shots to clean it out?

I have been shooting mine with the max load of 30 grains so I assume I should be OK but am considering your suggestion. What loads do you shoot? Thanks.

Dave
 
Actually, I sold this gun years ago so I can't answer your questions about its powder chamber or loads to shoot in it.

I also didn't pay any attention to how the breech of the pistol was made but I hope it was a better design than the Pedersoli Queen Anne.

Reading your post tells me it was because the Queen Anne doesn't have a vent liner. Just a long, tiny hole thru the wall of the breech.

As for needing to clean anything out after 4 or 5 shots, that tells me the touch or vent hole is probably too small.

The flintlocks I have shot are pretty much self cleaning if the vent is large enough.

You might want to stick a 1/16" drill bit into your pistols vent. If it doesn't go, get a electric drill and enlarge the hole so the drill will go thru it.
 
Back
Top