Plain wood ramrod, no corkscew.

Muzzleloading Forum

Help Support Muzzleloading Forum:

This site may earn a commission from merchant affiliate links, including eBay, Amazon, and others.
You did a nice job on that ramrod, Runewolf. Sometimes I think tapered ramrods are on their way to becoming a forgotten art. There are a lot of ways to do it. I have a four foot piece of pine tongue-and-groove lumber that I clamp horizontally in a vise with the groove side up. I put pencil marks on the rod, close together in the regions that need to be tapered and farther apart on the main body of the rod that just needs to be reduced in diameter. The marks are "rings" that go around the circumference of the rod. I lay the rod in the groove, and start shaving off pencil marks with a low angle block plane. The pencil marks help ensure uniform removal of stock, and need to be renewed as you go. From there, it's just a matter of time. It takes me at least an hour to taper and take down the diameter of a 42" rod, but I like working with hand tools and enjoy the process. It makes a shoebox full of fine, curly shavings that are good for fire starting. There are probably faster ways to do it, but what's time to a piece of wood?

I would be interested in knowing how you tapered your rod... It turned out very well. You got a good color and finish on it, too. There have been a couple of threads on this and other forums recently about problems staining hickory. My dad used nitric acid (aqua fortis) for hickory rods, and neutralized it with ammonia when he achieved the color he wanted. I did a couple that way when I was much younger, but recent projects were stained with Laurel Mountain Forge Nut Brown stain followed by Permalyn finish, or for a strictly utilitarian rod, I just treat it with Danish Oil and don't worry about it. I've been thinking of getting some nitric acid and ammonia, and trying Dad's method again. Just need to do it.

Regarding the patch staying on the jag, friction keeps it in place if the jag is sized properly. Commercial brass jags are sized about 0.040" under bore diameter for rifles (land to land), and I think this is a good rule of thumb. I have a Kleen-Bore 20 gauge jag for modern guns that is more like 0.050" under bore size, probably to fit through a choked bore, but it works on my muzzle loaders well enough. The Kleen-Bore jag has a little pointy projection on the end to retain the patch, if you're worried about it coming off, although I managed to bash the pointy thing flat against the breech plug face of my fowling piece and finally just filed it off. The jag works fine for me without it.

Again, you showed good workmanship on that rod, and I want to commend you for keeping the "dying art" of making tapered ramrods alive.

Notchy Bob
 
That rod came out nice. I've been wanting one, actually two, like that. How did you turn it down? And, how do you figure out that the broom handle is hickory?


Sorry my bad, I don't know for certain that it was actual hickory, but it was very straight grained and super tough. It works great and now that I figured out how to do it, I can always make myself one out of a hickory rake or hoe handle. There is a place called Tennessee Hickory that makes them. This ramrod was more just an experiment.
 
You did a nice job on that ramrod, Runewolf. Sometimes I think tapered ramrods are on their way to becoming a forgotten art. There are a lot of ways to do it. I have a four foot piece of pine tongue-and-groove lumber that I clamp horizontally in a vise with the groove side up. I put pencil marks on the rod, close together in the regions that need to be tapered and farther apart on the main body of the rod that just needs to be reduced in diameter. The marks are "rings" that go around the circumference of the rod. I lay the rod in the groove, and start shaving off pencil marks with a low angle block plane. The pencil marks help ensure uniform removal of stock, and need to be renewed as you go. From there, it's just a matter of time. It takes me at least an hour to taper and take down the diameter of a 42" rod, but I like working with hand tools and enjoy the process. It makes a shoebox full of fine, curly shavings that are good for fire starting. There are probably faster ways to do it, but what's time to a piece of wood?

I would be interested in knowing how you tapered your rod... It turned out very well. You got a good color and finish on it, too. There have been a couple of threads on this and other forums recently about problems staining hickory. My dad used nitric acid (aqua fortis) for hickory rods, and neutralized it with ammonia when he achieved the color he wanted. I did a couple that way when I was much younger, but recent projects were stained with Laurel Mountain Forge Nut Brown stain followed by Permalyn finish, or for a strictly utilitarian rod, I just treat it with Danish Oil and don't worry about it. I've been thinking of getting some nitric acid and ammonia, and trying Dad's method again. Just need to do it.

Regarding the patch staying on the jag, friction keeps it in place if the jag is sized properly. Commercial brass jags are sized about 0.040" under bore diameter for rifles (land to land), and I think this is a good rule of thumb. I have a Kleen-Bore 20 gauge jag for modern guns that is more like 0.050" under bore size, probably to fit through a choked bore, but it works on my muzzle loaders well enough. The Kleen-Bore jag has a little pointy projection on the end to retain the patch, if you're worried about it coming off, although I managed to bash the pointy thing flat against the breech plug face of my fowling piece and finally just filed it off. The jag works fine for me without it.

Again, you showed good workmanship on that rod, and I want to commend you for keeping the "dying art" of making tapered ramrods alive.

Notchy Bob


I actually made it for the most part on my 2x72 belt grinder with a 36 grit belt I use for knifemaking. It removes a lot of material very fast. I had to first square off the piece, then I put octagonal sides to it closer to dimension. Just gradually whittling away at it with my grinder. After that I just carefully started rotating it across the belt to get it somewhat round and just left one end with more meat on it for the taper. When it was close to final dimension, I chucked one end in a hand drill and set the rod down on my 6x48 belt sander. So the the drill was rotating it in one direction really fast and the belt sander was sanding the opposite direction. It hopped and skipped around on the belt for a bit, but all the high spots came out and I was left with a nice round, tapered rod. I was actually quite suprised it worked, lol.
 
You did a nice job on that ramrod, Runewolf. Sometimes I think tapered ramrods are on their way to becoming a forgotten art. There are a lot of ways to do it. I have a four foot piece of pine tongue-and-groove lumber that I clamp horizontally in a vise with the groove side up. I put pencil marks on the rod, close together in the regions that need to be tapered and farther apart on the main body of the rod that just needs to be reduced in diameter. The marks are "rings" that go around the circumference of the rod. I lay the rod in the groove, and start shaving off pencil marks with a low angle block plane. The pencil marks help ensure uniform removal of stock, and need to be renewed as you go. From there, it's just a matter of time. It takes me at least an hour to taper and take down the diameter of a 42" rod, but I like working with hand tools and enjoy the process. It makes a shoebox full of fine, curly shavings that are good for fire starting. There are probably faster ways to do it, but what's time to a piece of wood?

I would be interested in knowing how you tapered your rod... It turned out very well. You got a good color and finish on it, too. There have been a couple of threads on this and other forums recently about problems staining hickory. My dad used nitric acid (aqua fortis) for hickory rods, and neutralized it with ammonia when he achieved the color he wanted. I did a couple that way when I was much younger, but recent projects were stained with Laurel Mountain Forge Nut Brown stain followed by Permalyn finish, or for a strictly utilitarian rod, I just treat it with Danish Oil and don't worry about it. I've been thinking of getting some nitric acid and ammonia, and trying Dad's method again. Just need to do it.

Regarding the patch staying on the jag, friction keeps it in place if the jag is sized properly. Commercial brass jags are sized about 0.040" under bore diameter for rifles (land to land), and I think this is a good rule of thumb. I have a Kleen-Bore 20 gauge jag for modern guns that is more like 0.050" under bore size, probably to fit through a choked bore, but it works on my muzzle loaders well enough. The Kleen-Bore jag has a little pointy projection on the end to retain the patch, if you're worried about it coming off, although I managed to bash the pointy thing flat against the breech plug face of my fowling piece and finally just filed it off. The jag works fine for me without it.

Again, you showed good workmanship on that rod, and I want to commend you for keeping the "dying art" of making tapered ramrods alive.

Notchy Bob


I have a properly sized cleaning jag on my .50 cal Pedersoli rifle and after using that and the tied on patch idea, I came to the conclusion that I like the tied on patch much better. It works especially well if you are the type like me that just plugs the touchhole with a toothpick to clean. You can really srub things out well without getting that strong pistoning/suction effect and all you do is rinse the patch off under some water while it is still attached and it is ready for another scrub. If you push the cloth piece down the bore ahead of the rod, it cleans out the breech bottom too. I even reused the same piece of linen thread and the same cloth, so there is no waste.

I also found before that water would seep through the toothpick a little and drip into the lock mortise. What I did was I just put a small piece of paper towel over the touch hole and then pushed the toothpick in. It sealed it up really well and no more leaks.
 
Last edited:
I've been using a plain wooden ramrod with no ferrule for several years with my smoothbore. So far I haven't dry-balled, but I know that if/when I do I'll just have to take the gun home. Otherwise I've had no problems. I use a worm and tow to clean in the field, it a good method. I have used cloth with the worm, simply punched the end through the cloth, no problem.

I've occasionally wanted to change from shot to ball or visa versa, or to salvage the shot/ball and tow at the end of the day, and have used the worm to pull the tow wads, likewise, no trouble. Not being a fan of anything being lost down the barrel, I took the precaution of carving screw threads on the end of my ramrod to match the worm, and that has worked very well. It stands up to a pretty hefty tug.

DSC_0040.JPG


DSC_0041.JPG


Spence
 
Spence,

You did a nice job carving threads for your wire coil worm. That's a great idea, and I suspect at least some of the native people did the same. I was reading recently... somewhere... That native people were expected to install and remove these worms as needed. I put one on a tapered rod without carving threads for it, and completely wrecked the worm trying to get it off again. It was on there! This may explain why you see images with the worm permanently attached to a separate rod, as in the photo I posted earlier, and in Bodmer's painting of the Assiboine hunter, Nothing But Gunpowder.

I think I'll revisit this. I have a Northwest Gun that needs a proper tapered ramrod, and maybe I'll follow your example and carve threads for a wire coil worm instead of installing a ferrule.

Notchy Bob
 
I have found when I make a coil for a ramrod, that the coil will start to cut the threads on the rod. The coil will naturally follow the previous indentations. After a few installations of the coil, I can then deepen the marks on the ram rod to better hold the coil in place. I may have to twist the coil to tighten the turns up, but between the deep thread at the end, the shallow threads hold the coil tightly to the rod. Pulling on the coil will only tighten the coil to the rod. I've never pulled one off. I use a thin clothes hangar wire for the coil.
 
I made a tapered mandril out of a really long threaded bolt and used it to wrap heavier gauge ferrous wire around in the fashion of one of those tow worms that you just screw on the end of a bare wood rod. I believe these were quite the trade item back in the day.
I would heat them up cherry red and simply quench them in water. Actually found old coat hanger wire worked good. Simple and cheap.
 
If I might add:
Obtain a matching coarse threaded bolt and nut as tools for modification. Use these.
Use the nut to start threads on the end of your wooden ramrod (putting a slight taper on the rod's end will help start the nut).
As described previously, form your metal coil around the bolt, then fit it onto the threaded wooden rod.
I REALLY LIKE Einsiedler's idea of hardening the wire coil to keep it in place!

Don't need a coil. My notched ramrod works perfectly.
 
How do you pull a wad? Your notched rod can't grab a wad.


Good point. It works great fot cleaning, but pulling wads not so much. I could probably just carry some regular brass snare wire with me for now. I have pulled patches and wads with that before, just not the heavy leather wads. I do intend on trying one of the coil things, just haven't made one yet.
 
I do intend on trying one of the coil things, just haven't made one yet.

Track of the Wolf has traditional wire coil worms made of "tempered spring steel," in two sizes, for under two bucks each:
Small Wire Coil Worm
Large Wire Coil Worm

...unless, of course, you just want the experience of making it yourself, which I think all of us can appreciate. I bought several from Track a few years ago. They are very strong and springy.

Notchy Bob
 
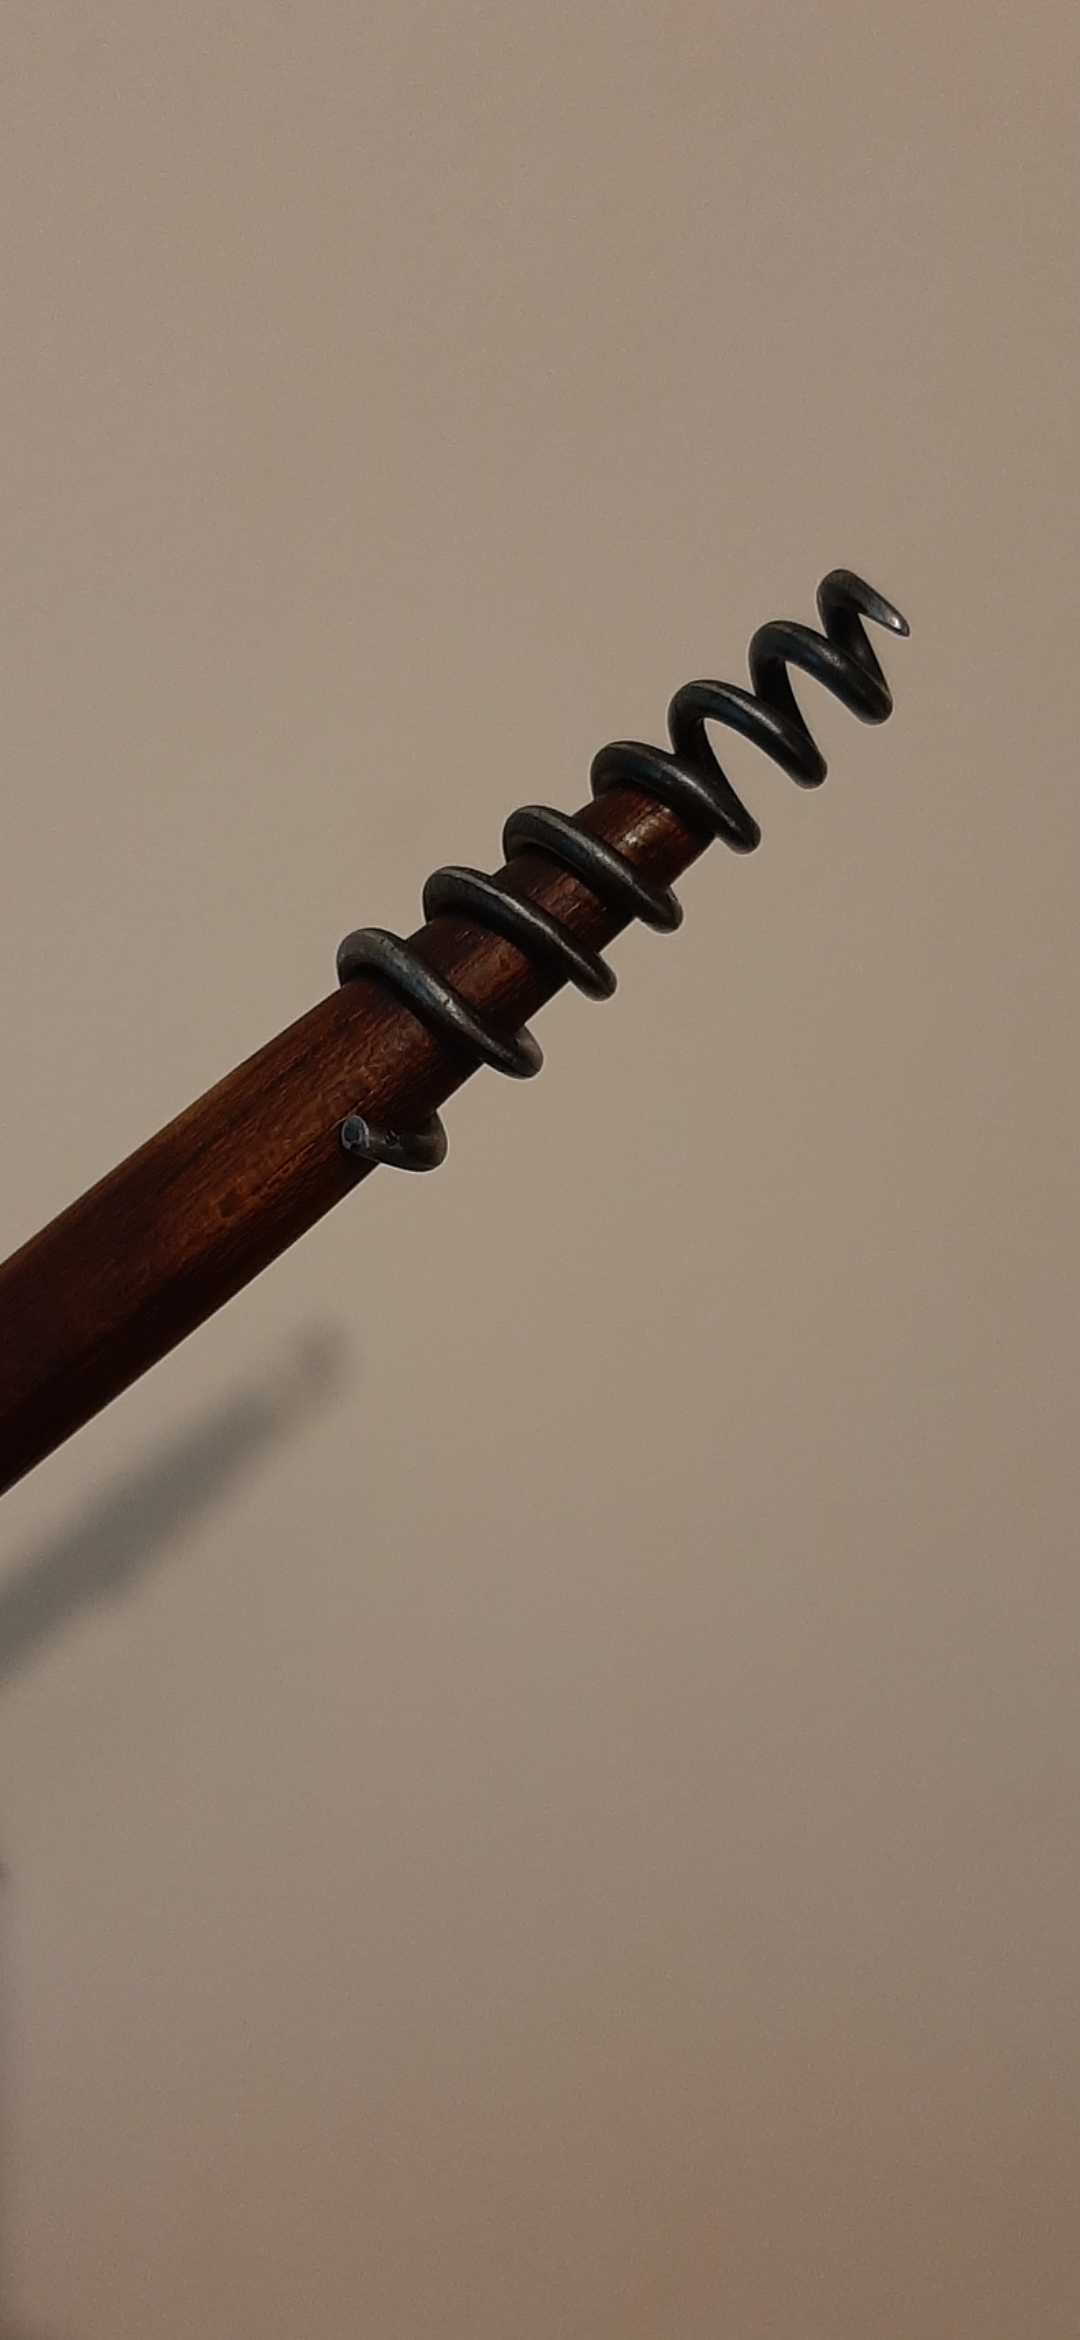
So I ended up making a coil worm from a piece of coat hanger wire that I just wound around the tapered end of a center punch. There is not enough carbon in coat hanger wire to harden the metal by heating and quenching, but it seems to function really well regardless.

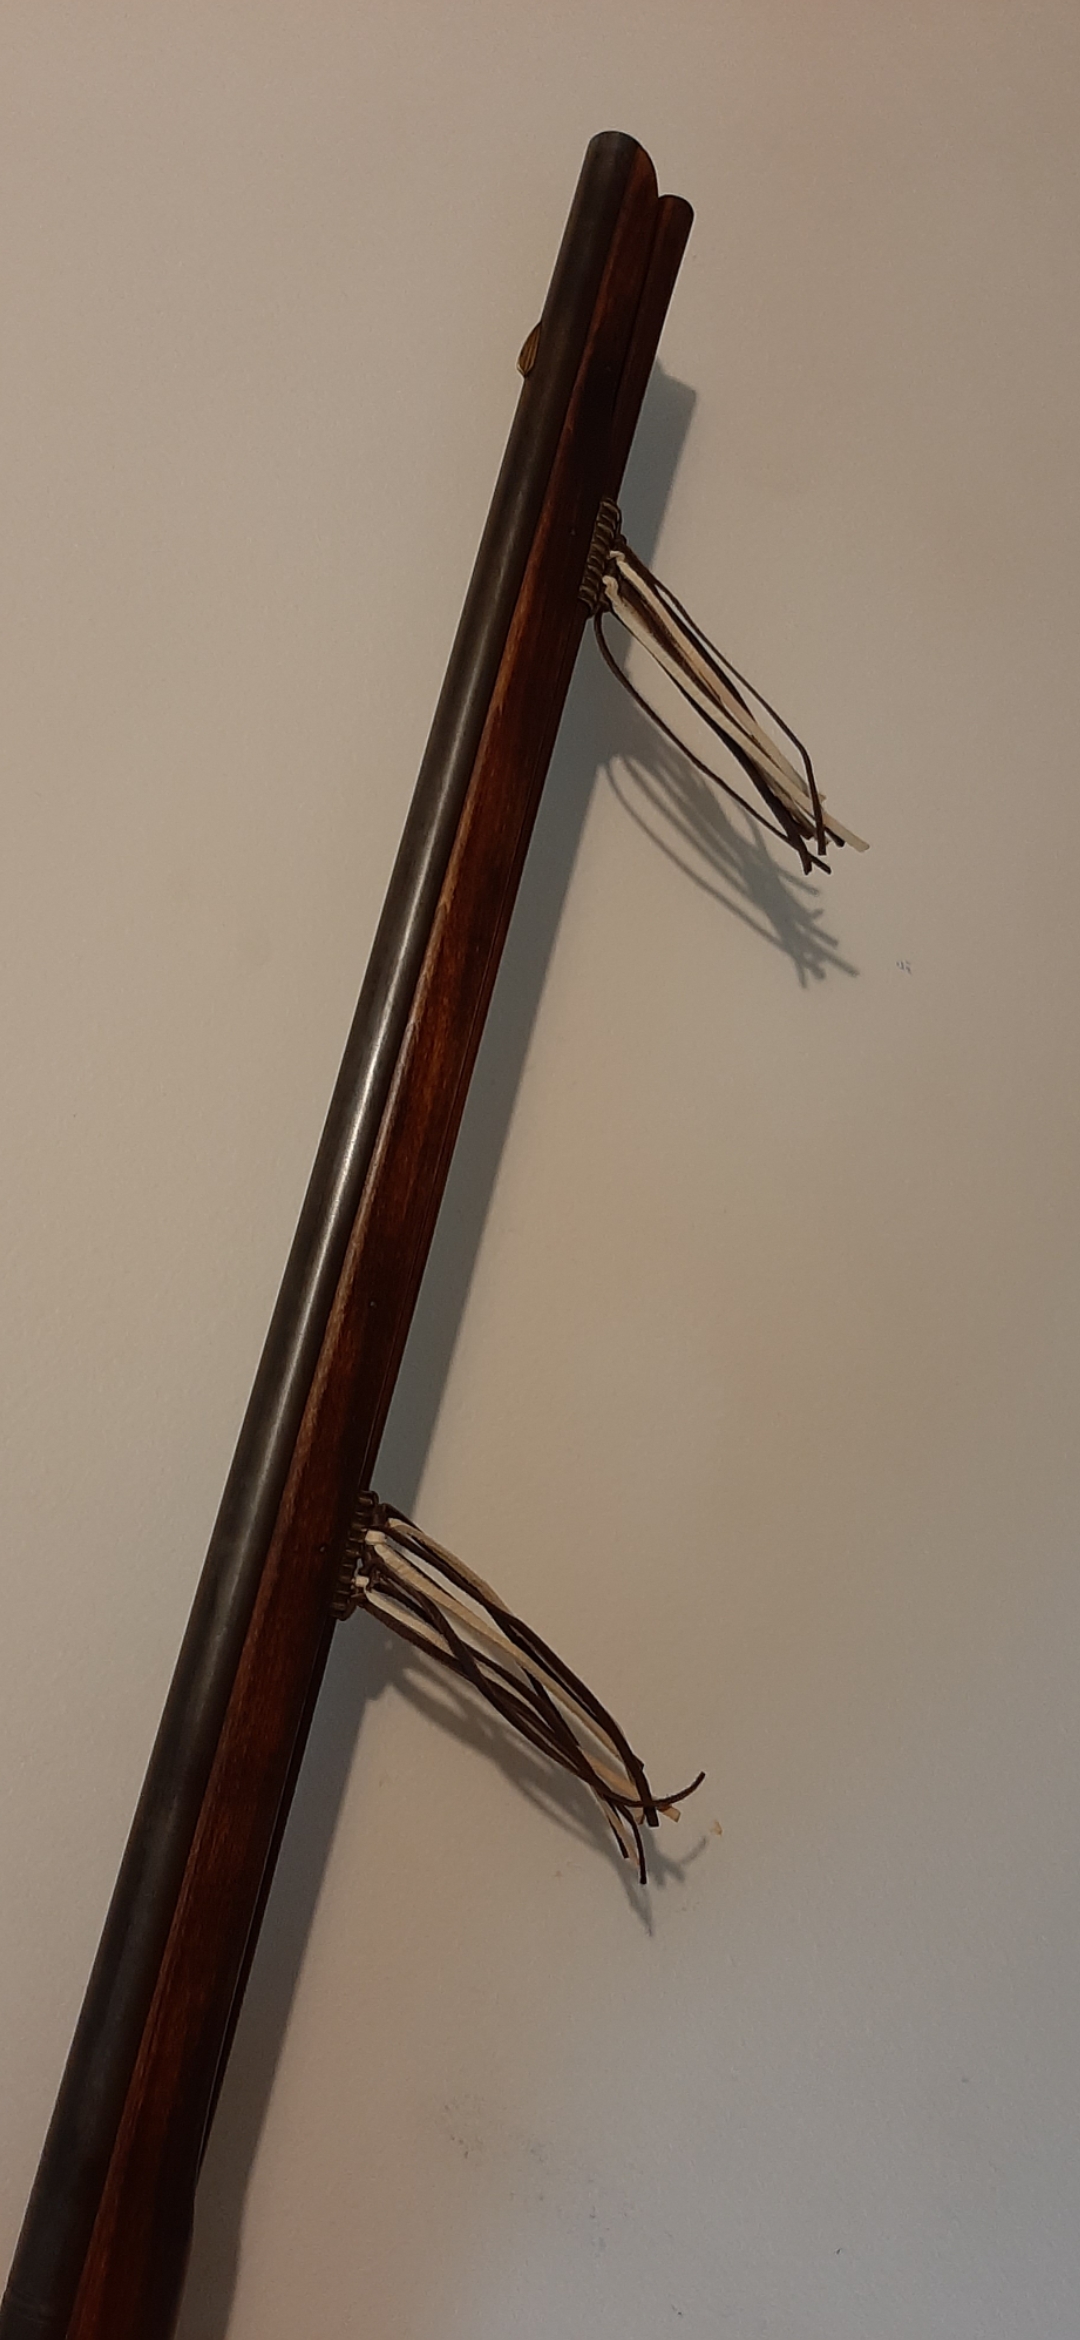
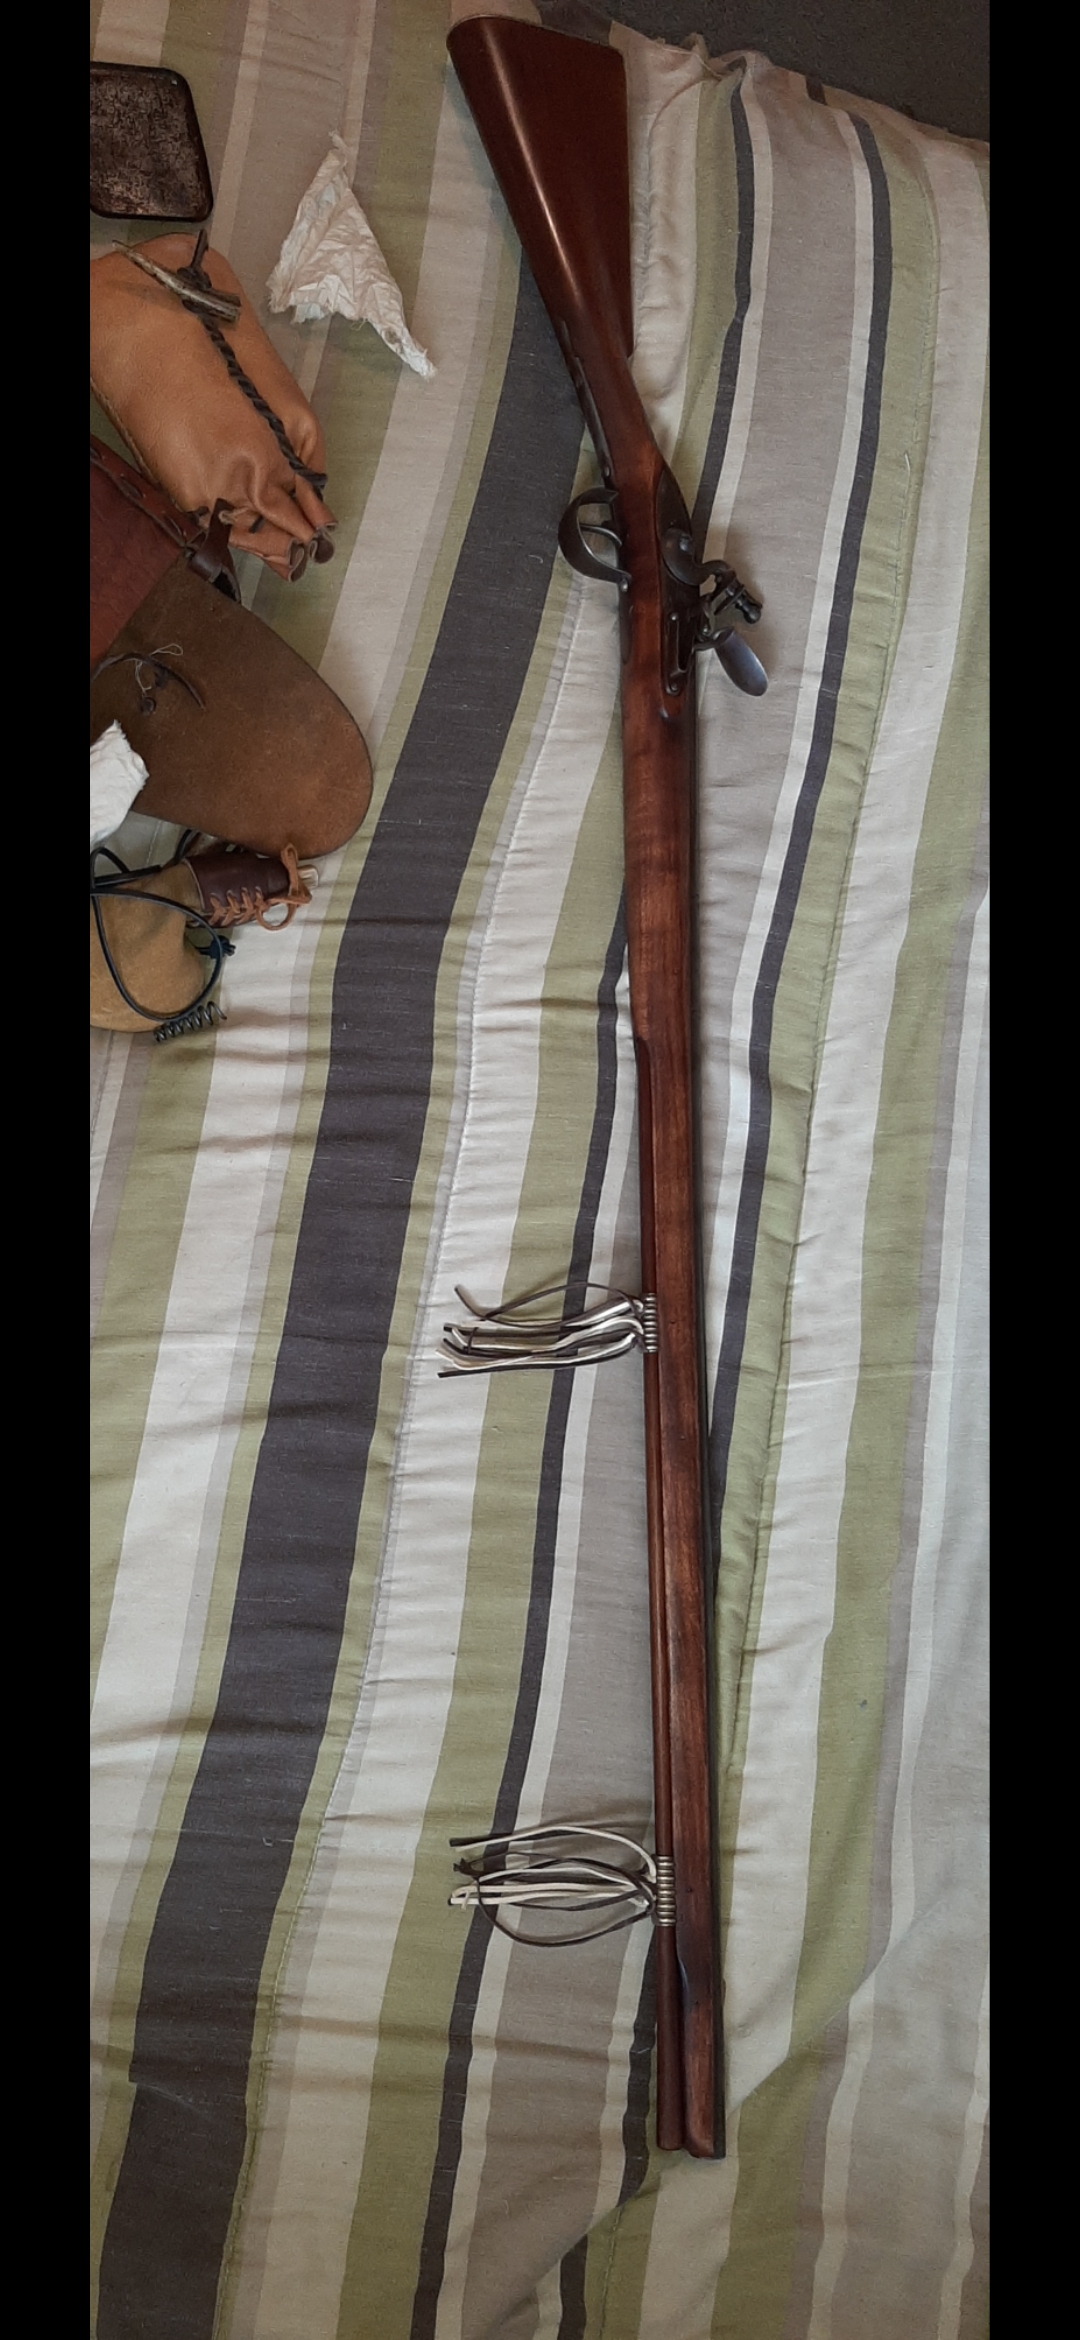
I tapered the end of the ramrod to accept the coil better, but in doing so, found that the wood ramrod was a bit loose inside the channel of the gun. What I ended up doing to make the ramrod fit snug was I put some leather tassles on the tubes. What do you guys think? Does this look good on my NW trade gun?

Screenshot-20200613-170436-Gallery.jpg

Screenshot-20200613-170423-Gallery.jpg

Screenshot-20200613-173240-Gallery.jpg
 
Last edited:
I'm in the process of making a separate wiping stick with a notched end for tying on a cleaning cloth that will be carried in the bore of my gun. That way I got two sticks just like they used to carry historically from what I understand. I'm thinking it will be about 6" longer than the ramrod and about 1/2" thick. I'm not abandoning the tied on patch idea, just doing it with a separate stick. I think it should make a good combo.
 
Last edited:
The worm looks good, Runewolf. I think one made of spring steel may hold up better over time, but the one you made looks great!

I haven't seen leather tassels on a trade gun before, but here is one with a tassel made of hair:

Blanket Gun 1.jpg


The gun is an old one that was pictured on the Ambrose Antiques website.

Notchy Bob
 

Latest posts

Back
Top