Possibles bag patterns

Muzzleloading Forum

Help Support Muzzleloading Forum:

This site may earn a commission from merchant affiliate links, including eBay, Amazon, and others.
I really like the simplicity of the "Gussler, early Virginia," bag. Especially the use of a button on one back corner to attach the strap and provide length adjustments via button holes in the strap. No buckles you have to fit and attach.
20171106_152109.jpg20171106_152116.jpg20171106_152139.jpg20180213_134629.jpg20180213_193618.jpg

Note that where the other end of the strap is sewn to the bag, the stitching is parallel to the long sides of the strap, not across the strap. Crossing it nearest the tag end is okay as there is little to no stress here. Crossing it through other end of the stitching creates a weak point that wants to tear.
 
So would this be stitched inside out.

Yes, it goes together inside out. When it's all stitched you wet it out thoroughly and then turn it. If you are going to welt it, sew it in with the finish side facing you so it will face out after it's turned.


And the gusset goes on the bottom?

Yes.

Also, if you want pockets inside or out, sew those in first. Really hard to do when the front and back are sewn together. :)

There's so much more to this though. It's not hard to do but hard to explain all the details here on the forum. TC Albert's book would be the best source I know of. You would not regret purchasing it.

EDIT, we were typing at the same time. :)
 
Except for his use of glue, and of a running stitch that he goes back over from the opposite side to create what looks like a saddle stitch, I would also recomend the Ken Hamilton DVDs on recreating the Kentucky rifle hunting pouch.
 
These include a gusset. You don't need to do the more complicated strap system.

View attachment 44796View attachment 44797View attachment 44798View attachment 44799View attachment 44800View attachment 44801View attachment 44802View attachment 44803View attachment 44804View attachment 44805

For the flap you use the same pattern as the back to obtain the size and fit for the upper portion and then you can re-shape the lower portion to suit your taste.
Where and how does the flap attach
 
I made these from a kit you can buy from Crazy Crow. The kit comes with a gusset. I stitched them with waxed linen thread. The lighter one had the gusset. The darker one does not have the gusset. The little collar on the back is for holding a patch knife in it's sheath.
1601556186679.png
 
Where and how does the flap attach

You can stitch it flat across the top edge of the front side of the, back which is common, or you can do it as a hinge with a separate piece of leather or simply stitched across the top so that it will fold over as though it's a continuation of the back. You can also make the back and flap a single piece but you should stitch a stiffener across rhe top where it bends to assure that it maintains the shape where it folds over.

This is as clear as mud! :)
 
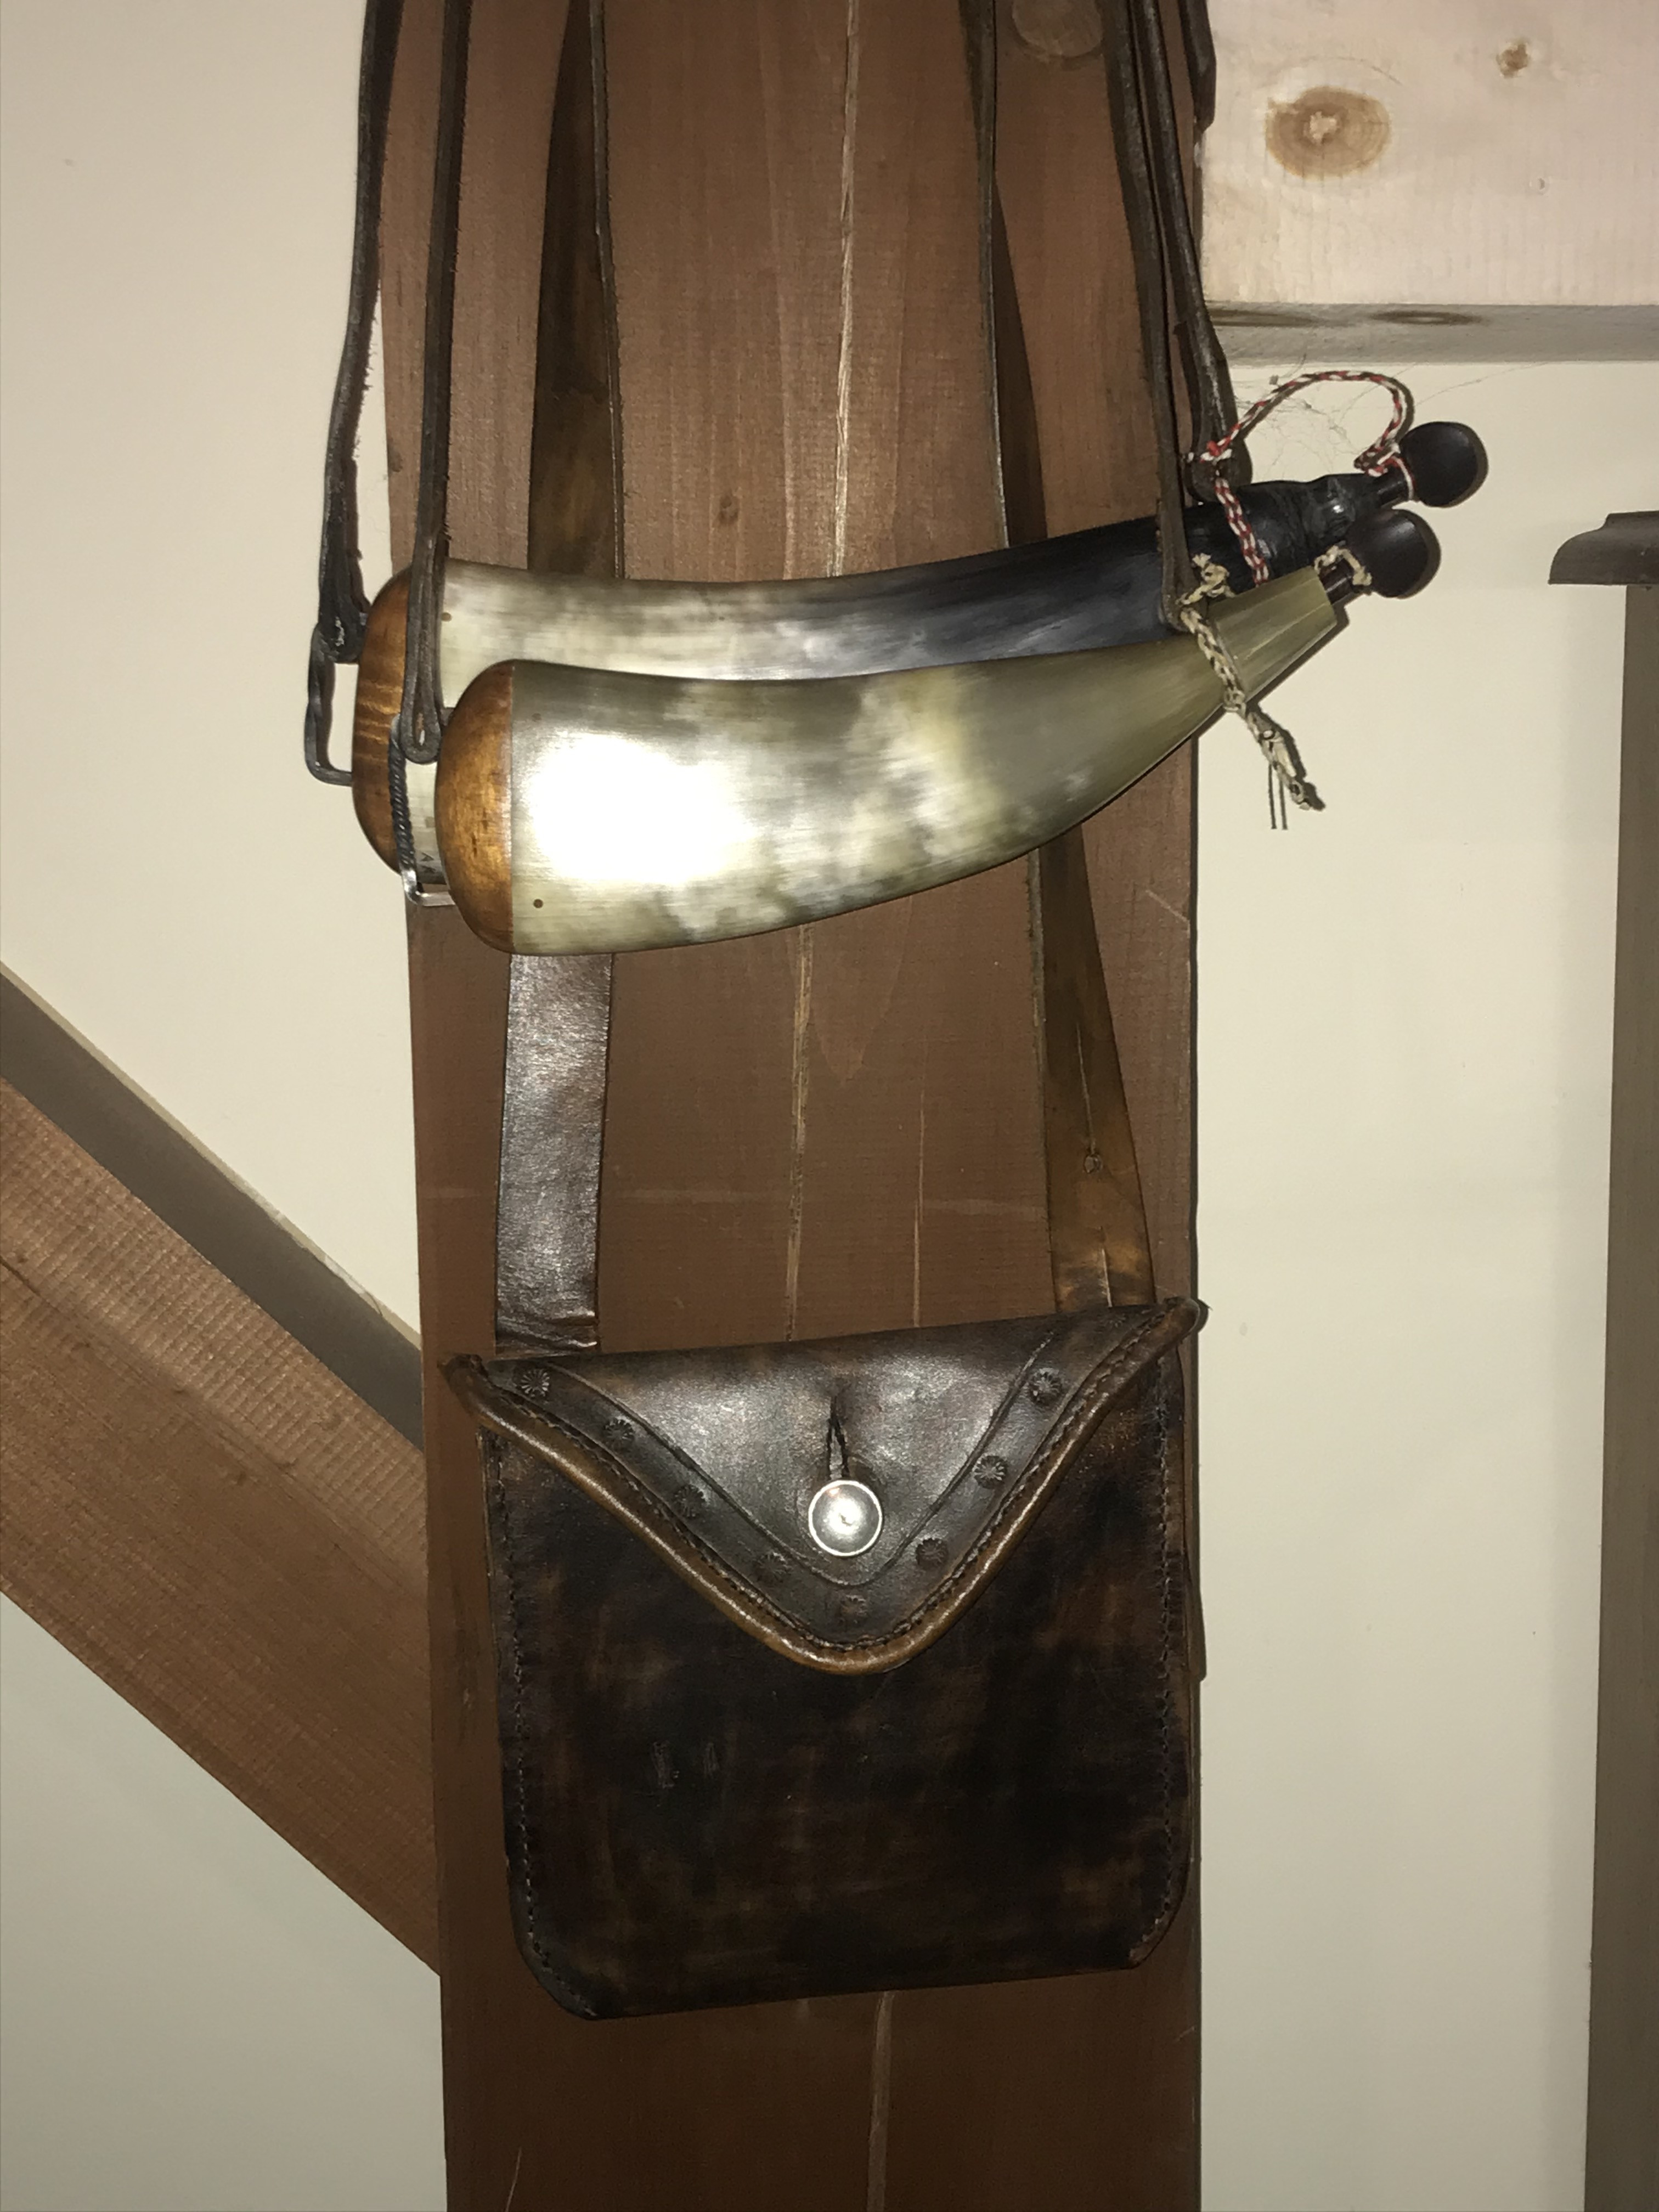
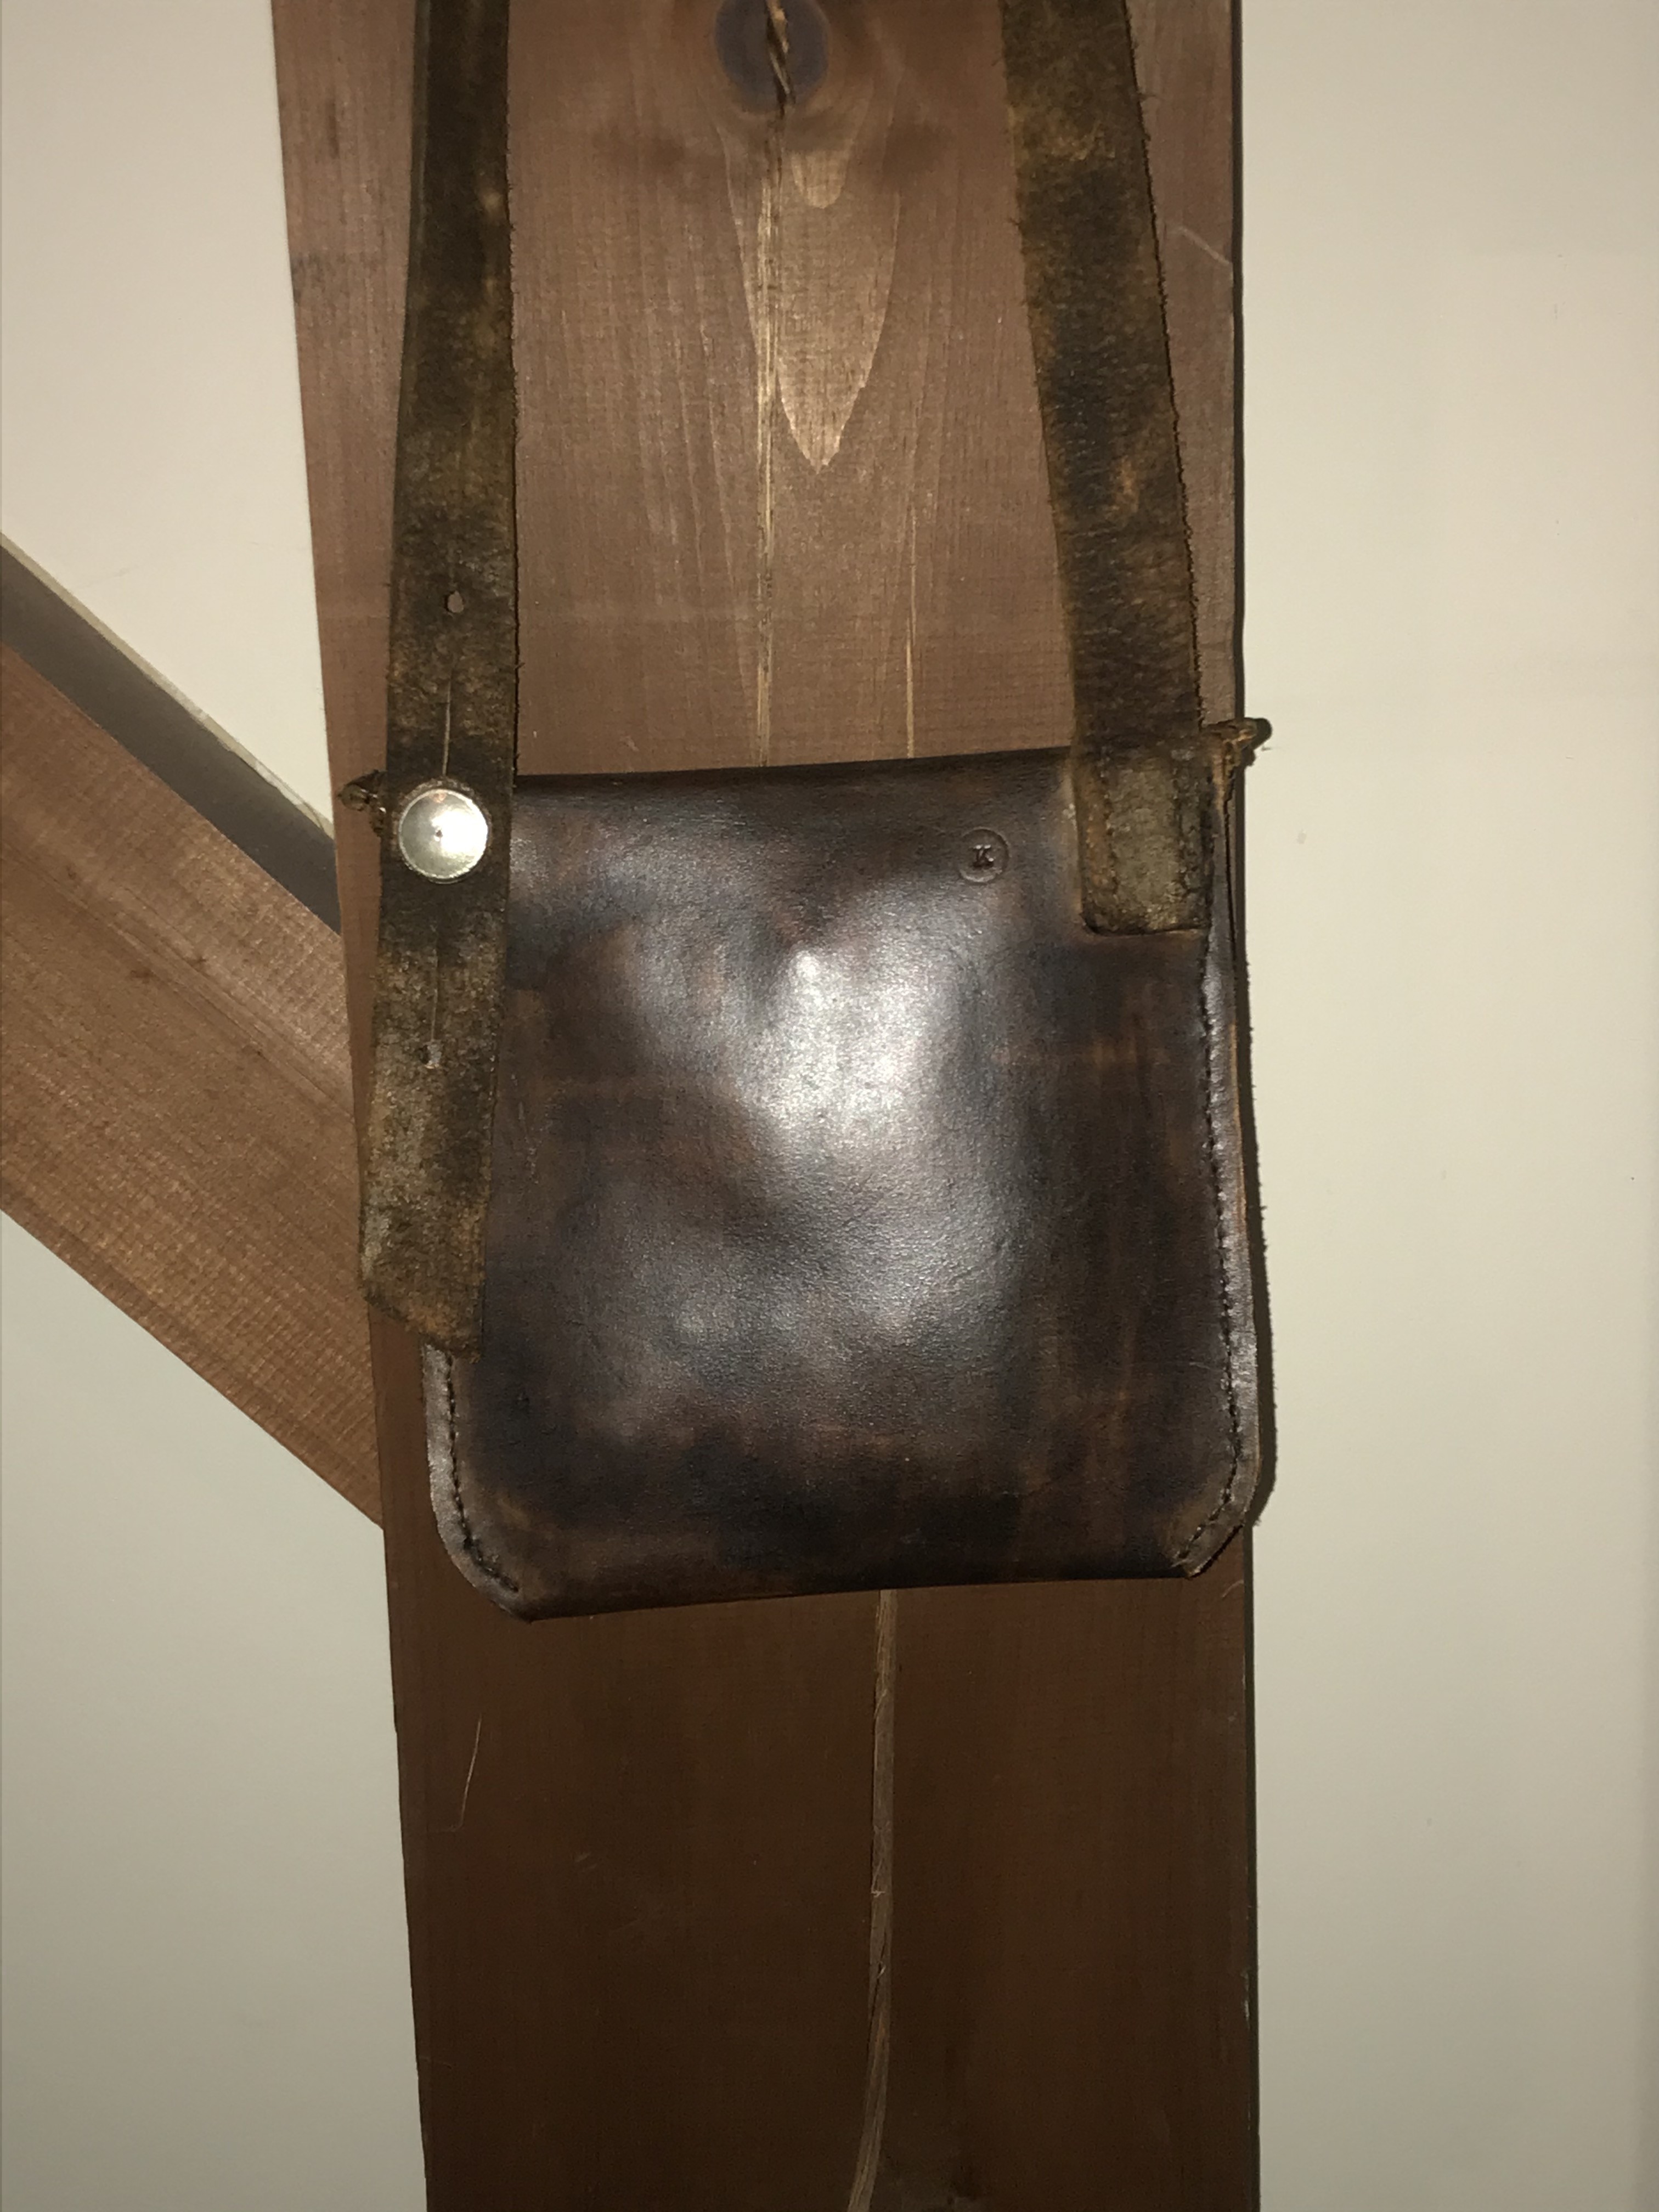
Here is a try at making a Lemuel Lyman pouch (circa mid 18th Century). It is nice and small and reasonably easy to make.
Wuar-NMJl-Qje-Zkbf-y-EL8v-Q.jpg

pb-C-EOx-RSu-Sxr-WK9-WB8l-EQ.jpg

fullsizeoutput-27fc.jpg


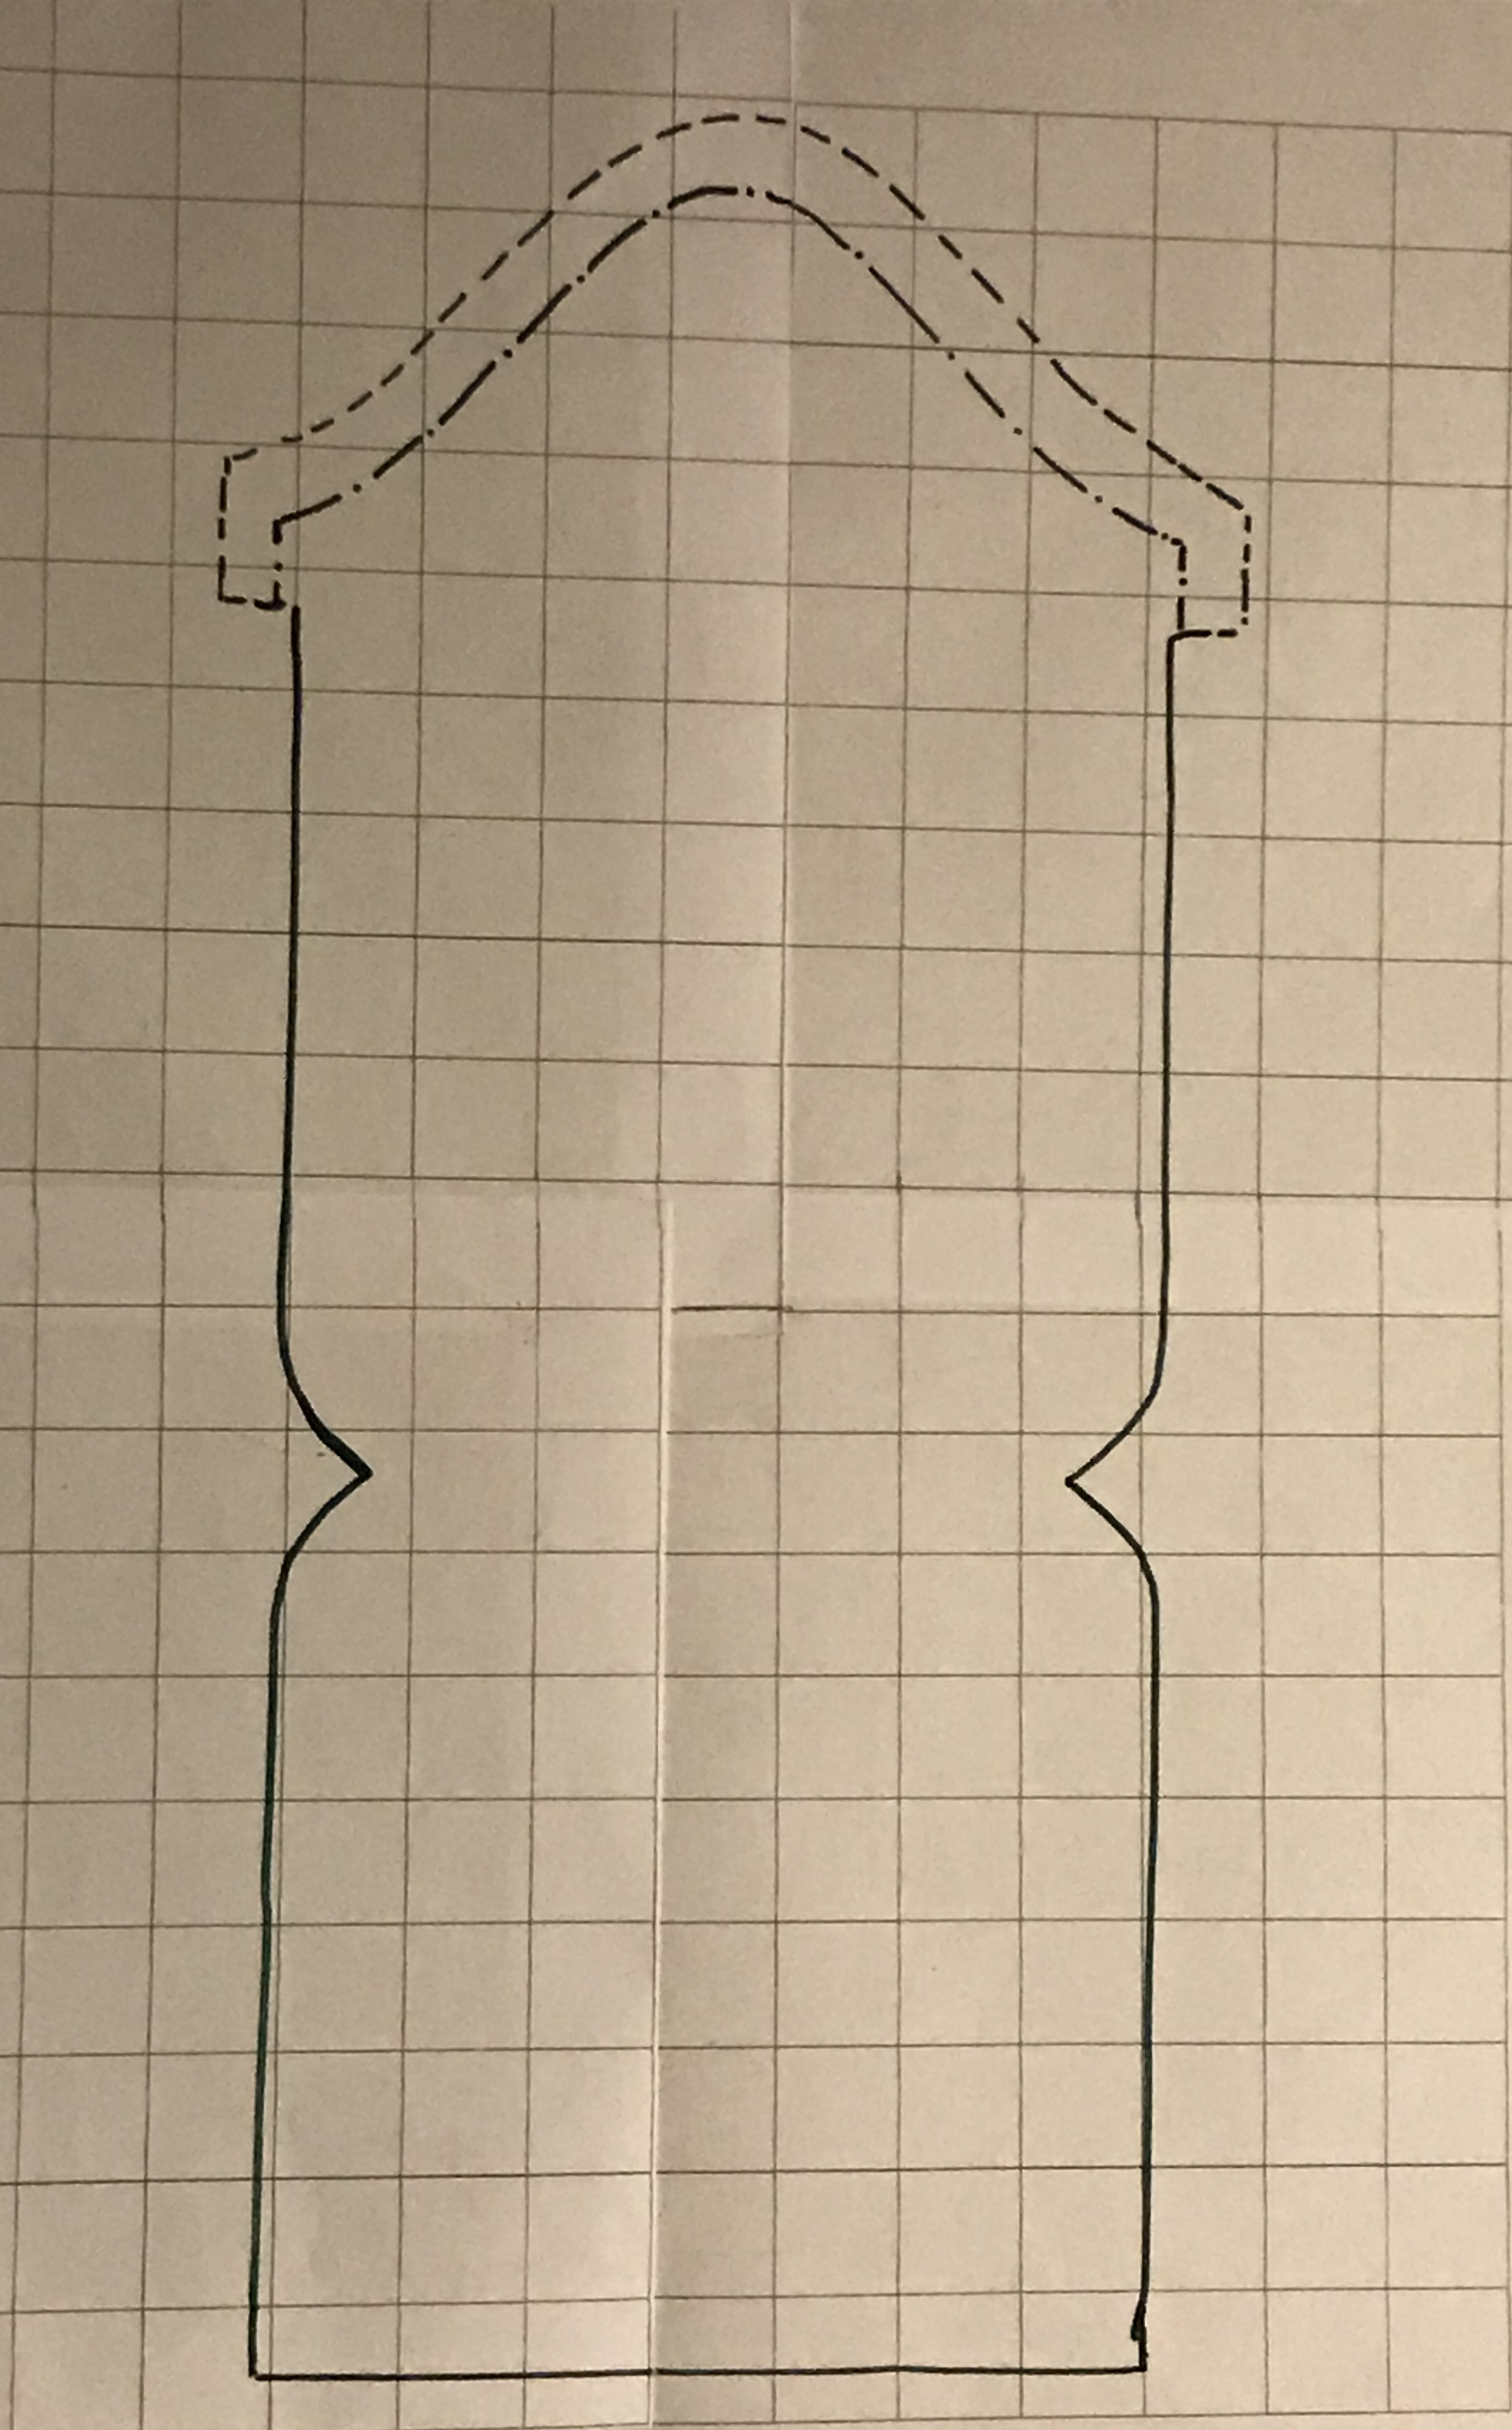
The pattern is drawn on 1" squares. The area above the "dot-dash" to the "dash-dash" can be used in one of two ways. 1) folded under and sewn or 2) separate piece from thinner leather and folded as an edging as can be seen in the first photo.

Closure is a simple pewter button as is the attachment of the strap on the back side. Or, belt loops could be attached.
More information on the Lemuel Lyman pouch can be obtain via the internet after a simple search via Bing or whatever search engine you use.
Thanks for the diagram. Others show bags and pouches but that's not a lot of good when it comes to making one. I'm giving this one a try as soon as my leather arrives this week. Thanks
 
Just saw your post about making a possible bag and thought I could still help you out. It sounds like a really cool project. If you're looking for patterns, you should check out Pinterest or some craft forums. They usually have a bunch of free or cheap ones you can use.
 
Troyfairweather:
My recommendation would be to use 4-5 oz. Oil tanned leather. Click on the following link, TheleatherstoreCo it's an Etsy store. Talk to Brad Trakel. He owns the tannery and has great leathers at very reasonable prices. My second recommendation would be to get about 3 sq. ft. of it for your bag. You can get nice woven strap at Hobby Lobby.com fairly cheap. You'll want to look for "Cotton Belting." This is only my $0.02. I'm sure there are others here who will dispute these opinions. But this has worked for me. Just trying to help.
Good luck with your project. Post pics. when you're done.
God bless:
Two Feathers
I wouldn't recommend oil tanned leather for any pre Civil War bag if historical correctness is a concern. Most oil tanned leather is going to be chrome tanned, which didn't exist before the mid nineteenth century. Vegetable (veg) or bark tanned leather is what would have been used, with brain tanned leather being a possibility as well, however it will not keep its shape without a liner, which significantly complicates construction.
If you just want a bag that sort of looks authentic, then oil tanned leather will make a nice looking bag.
 
I've done what Hatchet Jack did , bought a cheap kit bouch from Crazy Crow , and made tracings of the parts to make as many bags as I need. Also , the pattern can be changed to meet a special need , like an enlarged cover flap for a hunting bag to make the pouch more weather proof. Another option , is the larger hunting pouch flap can hide a fist sized powder horn in bad weather. Affix the short horn straps up high to the front of the pouch under the flap.
 

Latest posts

Back
Top