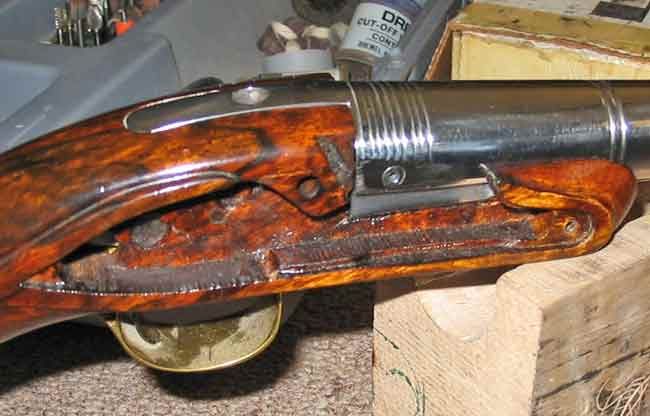
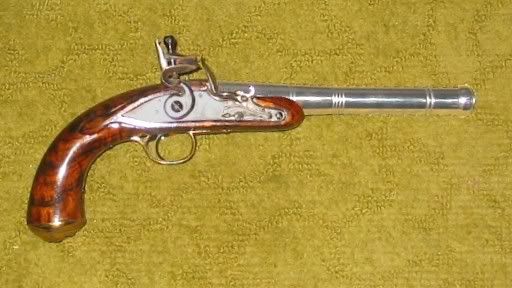
Several people including myself own a Pedersoli Queen Anne Pistol.
Although it's a nice looking gun, it has a problem with missfires due, IMO to the very small, long vent hole connecting the pan to the bore. In my gun this tiny hole was .288 long just to get thru the barrel wall!
To improve this, I drilled mine out from the tiny hole the factory used to a .078 diameter but this didn't really improve things much.
A sectional drawing of the slightly modified pistol (on the left) and my proposed improvement (on the right) looks like this:
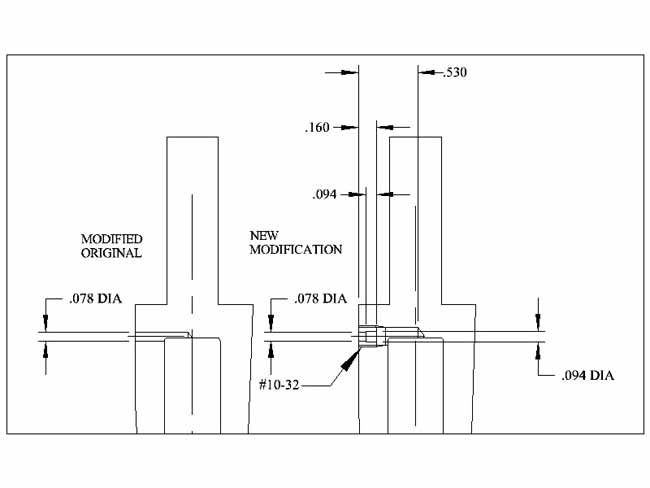
Notice the addition of the vent liner and the greatly enlarged hole connecting the new liner with the bore.
(This drawing is to scale for my pistol.)
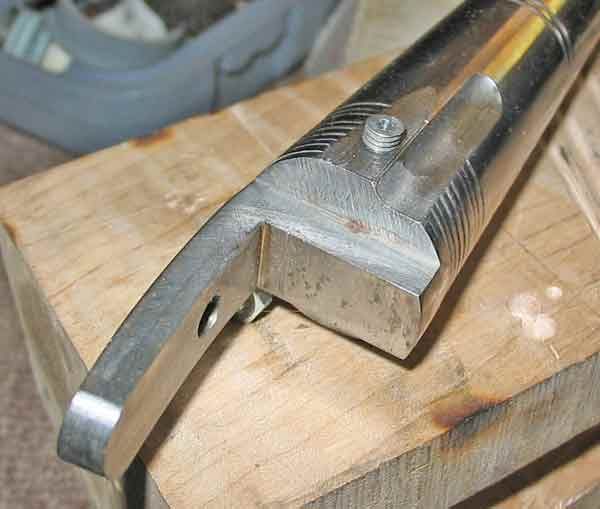
Before the modification, the guns vent looked like this:
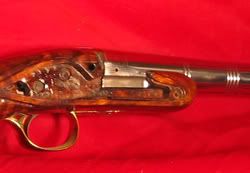
As can be seen, there isn't enough room to install a standard 1/4 inch liner, but there is enough to install a #10-32 sized one.
For material, I cut off a standard #10-32 screw and drilled a .078 diameter hole thru it. I also drilled a 3/32 dia hole half way thru it to shorten the distance the flash would have to travel to the powder.
The biggest problem with this job was holding the small, short threaded stock to drill the holes and to file the ends flat and smooth without frinkleing up the threads.
To solve this problem, I slotted a #10-32 nut as shown in the following picture.
This slot doesn't have to be perfect and the offset one I ended up with worked fine.
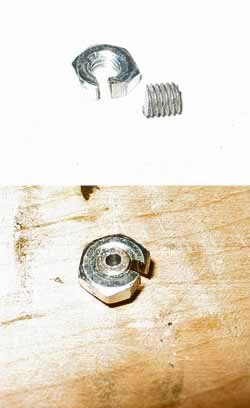
With the little screw installed and then both the screw and slotted nut clamped in a vise (or Vise-Grips) it is very easy to work on.
With the screw in the slotted nut, center punch the center to keep the drill from walking and drill thru with the 5/64 drill. Then counterbore it with a 3/32 dia drill leaving about .060 of the smaller hole.
Use the existing vent hole in the barrel as a guide and tap drill using a 5/32 dia drill. The depth I used resulted in a nice hole thru the wall of the barrel and a 1/2 hole in the breech going to the center of the bore.
Tap the new hole using a #10-32 tap to obtain at least .160 length of full threads. Tapping deeper is OK, but IMO serves no useful purpose.
Although it's a nice looking gun, it has a problem with missfires due, IMO to the very small, long vent hole connecting the pan to the bore. In my gun this tiny hole was .288 long just to get thru the barrel wall!
To improve this, I drilled mine out from the tiny hole the factory used to a .078 diameter but this didn't really improve things much.
A sectional drawing of the slightly modified pistol (on the left) and my proposed improvement (on the right) looks like this:

Notice the addition of the vent liner and the greatly enlarged hole connecting the new liner with the bore.
(This drawing is to scale for my pistol.)
Before the modification, the guns vent looked like this:

As can be seen, there isn't enough room to install a standard 1/4 inch liner, but there is enough to install a #10-32 sized one.
For material, I cut off a standard #10-32 screw and drilled a .078 diameter hole thru it. I also drilled a 3/32 dia hole half way thru it to shorten the distance the flash would have to travel to the powder.
The biggest problem with this job was holding the small, short threaded stock to drill the holes and to file the ends flat and smooth without frinkleing up the threads.
To solve this problem, I slotted a #10-32 nut as shown in the following picture.
This slot doesn't have to be perfect and the offset one I ended up with worked fine.

With the little screw installed and then both the screw and slotted nut clamped in a vise (or Vise-Grips) it is very easy to work on.
With the screw in the slotted nut, center punch the center to keep the drill from walking and drill thru with the 5/64 drill. Then counterbore it with a 3/32 dia drill leaving about .060 of the smaller hole.
Use the existing vent hole in the barrel as a guide and tap drill using a 5/32 dia drill. The depth I used resulted in a nice hole thru the wall of the barrel and a 1/2 hole in the breech going to the center of the bore.
Tap the new hole using a #10-32 tap to obtain at least .160 length of full threads. Tapping deeper is OK, but IMO serves no useful purpose.


