- Joined
- Mar 7, 2007
- Messages
- 710
- Reaction score
- 2,221
I really need another project like I need another root canal......nonetheless, I have begun a refurbishment of the full size cannon I built 50 years ago when I was a junior in high school. Don't ask me why after 50 years I have to do this now, but there are some issues with the gun that have bothered me for 50 years and if I don't get to correcting them now....well.....I don't need to explain any of that to this crowd.
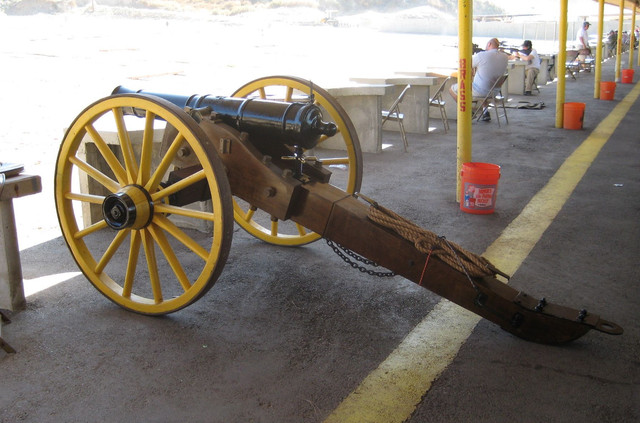
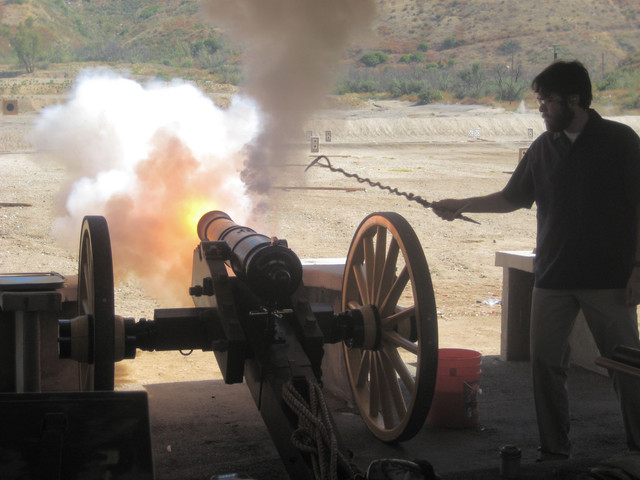
So, many of you have seen these pictures before, but here is the cannon again for those who may not have seen it.......
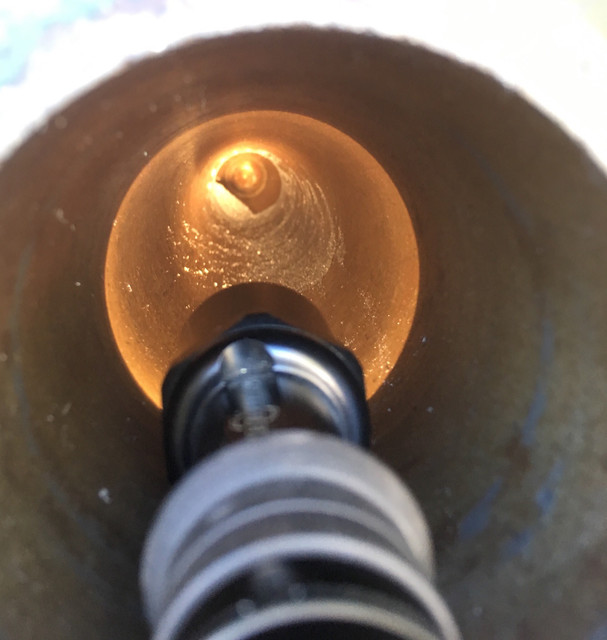
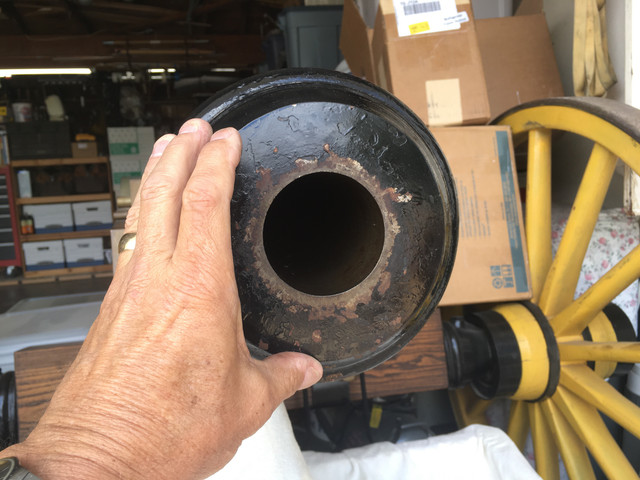
One of the things that has always bothered me was that there is a very slight step in the bore about half way down. Now the nominal bore is 2.75 inches and the step is about 0.005 inches on a radius which amounts to about 0.36% of the bore diameter. For a cannon, this isn't bad and since I use cannon balls that have about 0.050" windage, the step never really mattered. However, several years ago now, I went back to Pennsylvania to see Ray Rapine about purchasing his bullet mold business. (Another story). During the course of our conversations, Ray also had a full scale mountain howitzer with a 3 inch bore that he was selling. Hanging on the wall behind the gun was a target with several 3 inch holes cleanly punched in a 36 inch diameter black bulls eye painted on 1/4" plywood. He told me he had shot that target at 600 yards with the howitzer. I looked to see if it was rifled and it was not. I asked him how he could get that kind of accuracy with a smooth bore. Ray told me the bore in the gun was very good and that he had made a custom mold to cast zinc round ball that only had 0.003" windage on the diameter of the ball rather than the usual 0.050" or so. Then he said, "There wasn't much wind that day. Of course wind don't matter much to a 4 pound ball." Then he winked. Ever since I have wanted to get that slight step out of the bore of my cannon and then modify my ball mold to cast a much tighter ball. There are several other things I want to improve about the cannon (I know a lot more about how things should be now than I did when I was 17 in 1970), but I wanted to start with the bore.
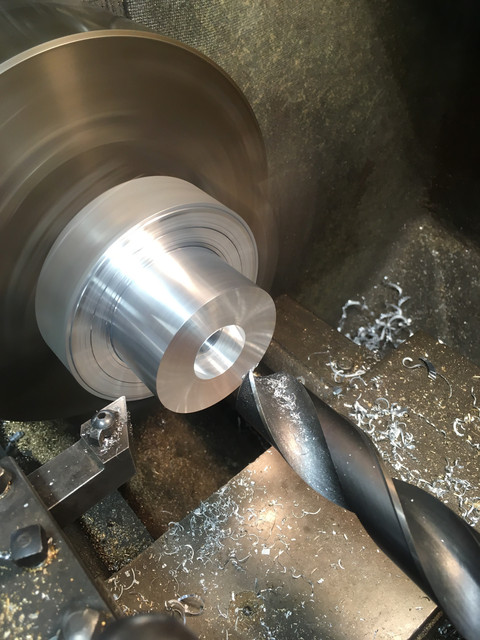
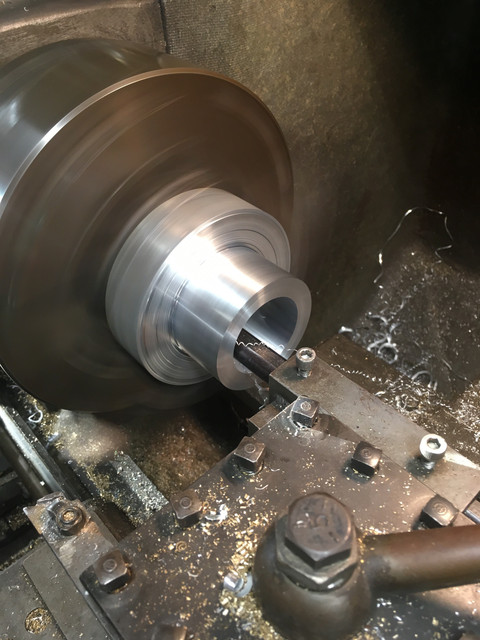
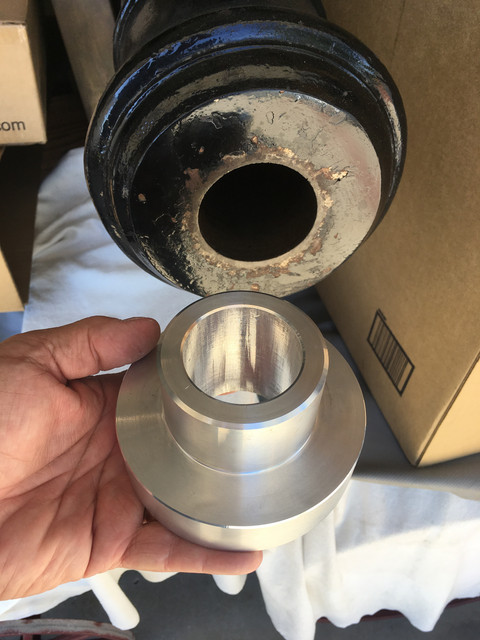
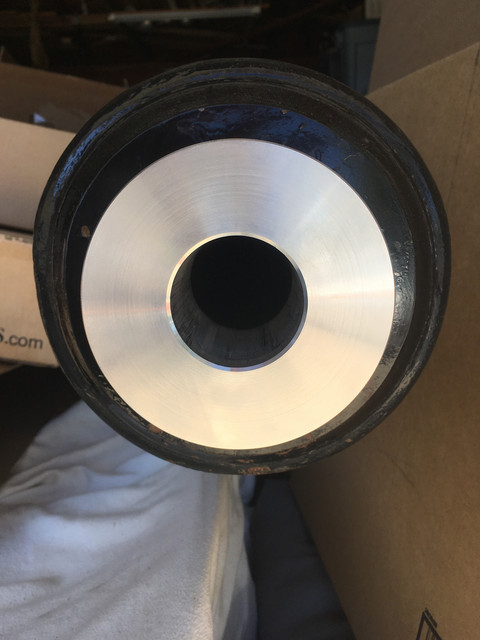
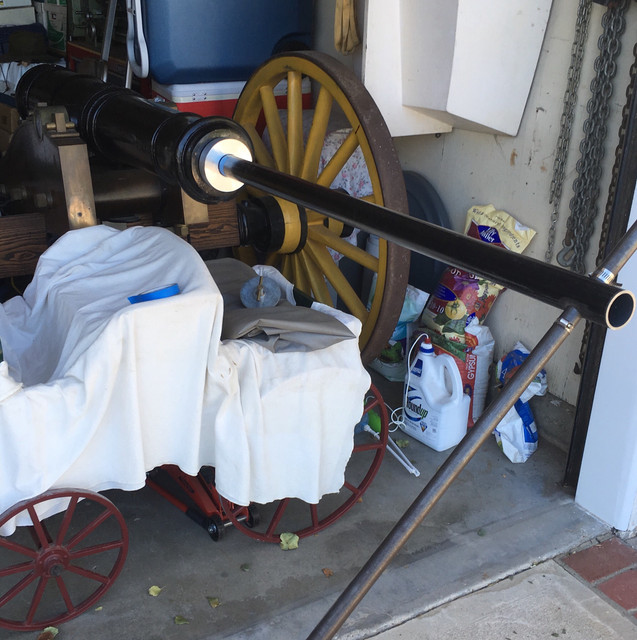
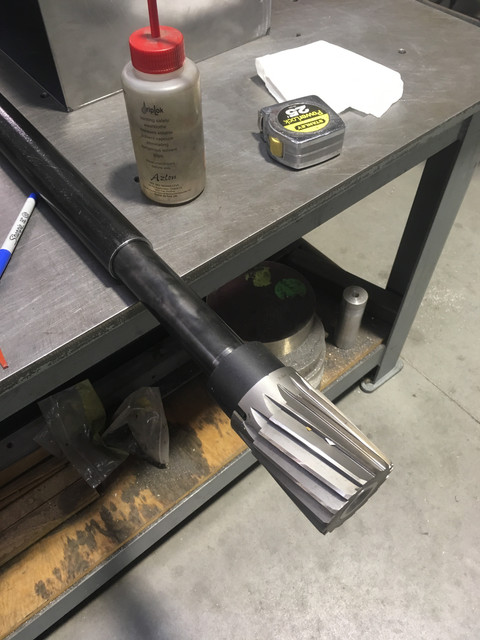
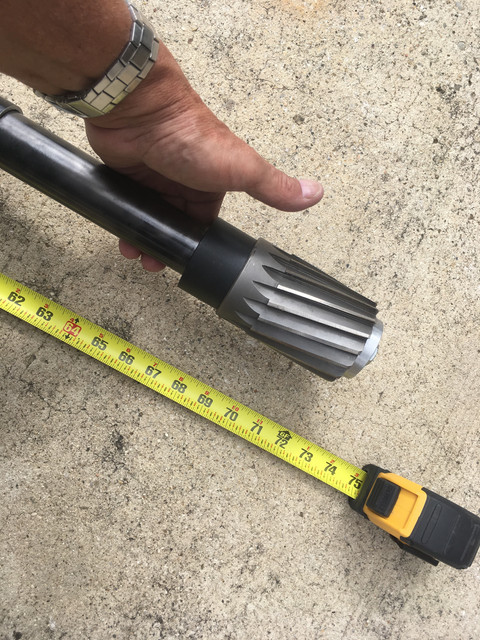
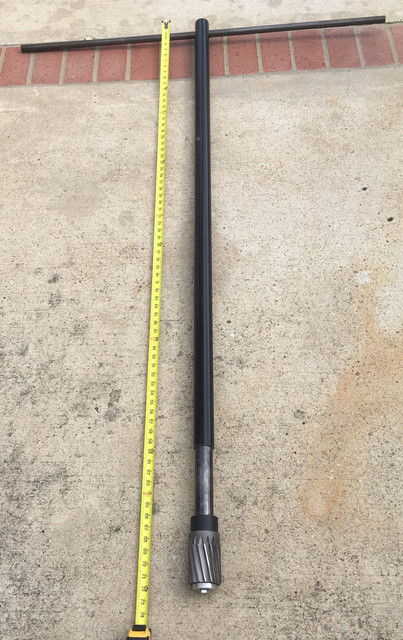
So here is the 6 foot long reamer that I just finished to clean up the bore. I have to make a muzzle guide yet but when that's done, I should be able to clean up the full length of the bore.
More on the project as this progresses.....
So, many of you have seen these pictures before, but here is the cannon again for those who may not have seen it.......


One of the things that has always bothered me was that there is a very slight step in the bore about half way down. Now the nominal bore is 2.75 inches and the step is about 0.005 inches on a radius which amounts to about 0.36% of the bore diameter. For a cannon, this isn't bad and since I use cannon balls that have about 0.050" windage, the step never really mattered. However, several years ago now, I went back to Pennsylvania to see Ray Rapine about purchasing his bullet mold business. (Another story). During the course of our conversations, Ray also had a full scale mountain howitzer with a 3 inch bore that he was selling. Hanging on the wall behind the gun was a target with several 3 inch holes cleanly punched in a 36 inch diameter black bulls eye painted on 1/4" plywood. He told me he had shot that target at 600 yards with the howitzer. I looked to see if it was rifled and it was not. I asked him how he could get that kind of accuracy with a smooth bore. Ray told me the bore in the gun was very good and that he had made a custom mold to cast zinc round ball that only had 0.003" windage on the diameter of the ball rather than the usual 0.050" or so. Then he said, "There wasn't much wind that day. Of course wind don't matter much to a 4 pound ball." Then he winked. Ever since I have wanted to get that slight step out of the bore of my cannon and then modify my ball mold to cast a much tighter ball. There are several other things I want to improve about the cannon (I know a lot more about how things should be now than I did when I was 17 in 1970), but I wanted to start with the bore.
So here is the 6 foot long reamer that I just finished to clean up the bore. I have to make a muzzle guide yet but when that's done, I should be able to clean up the full length of the bore.


More on the project as this progresses.....


