Seized actions on Revolutionary War era military muskets

Muzzleloading Forum

Help Support Muzzleloading Forum:

This site may earn a commission from merchant affiliate links, including eBay, Amazon, and others.

dogfood

45 Cal.
Joined
Jun 12, 2013
Messages
506
Reaction score
344
Location
OH 45385
Hi all,
I recently took on a position at a local historical society up in the Northeast. In a store room waiting to be formally added to the collection are (among other things) a number of Besses and French military muskets. Most of these were gifted at some point by private donors and are in attic storage condition. As a consequence, many of the actions are seized.
Given that these muskets are A) not my own, and B) historical artifacts, is there any way to unseize the actions in-house without running the risk of mucking up their condition? I'm not sure if there are funds available send them out to a specialist, though I can find out tomorrow.
Thanks for your help,
dogwood
 
Well..… first of all it will take a person who is very precise and extremely patient.

I would begin by laying them lock side up on a table and using wood dowels, blocks and thin wedges, to ensure the locks are level. Next I would use a syringe filled with Kroil penetrating oil and put just a little bit of that oil on the two side plate screw holes so the oil would soak down into the threads, but not so much oil it drips down off the lock plate and onto the wood. 24 hours later, I would then ensure I was using a screw driver bit that precisely fit the slots in the side plate screws and if I had to, I would grind/file a bit especially for the slots. Then I would gently try to turn the screws, if they didn't move, then more Kroil oil as before and wait another 24 hours. I would continue that until the screws turned freely and the lock could be removed.

With the lock outside the stock, you can liberally oil it with Kroil penetrating oil and that may be all it needs for the parts to move freely. If not, then the lock will have to be disassembled using the same care and procedures you used to loosen the side plate screws, carefully lightly cleaned and oiled and reassembled.

A huge argument can begin over whether all the rust on the metal parts should be removed, but most museums today don't want to do that, they only want to stabilize the metal in the condition it is.

Gus
 
Well..… first of all it will take a person who is very precise and extremely patient.

I would begin by laying them lock side up on a table and using wood dowels, blocks and thin wedges, to ensure the locks are level. Next I would use a syringe filled with Kroil penetrating oil and put just a little bit of that oil on the two side plate screw holes so the oil would soak down into the threads, but not so much oil it drips down off the lock plate and onto the wood. 24 hours later, I would then ensure I was using a screw driver bit that precisely fit the slots in the side plate screws and if I had to, I would grind/file a bit especially for the slots. Then I would gently try to turn the screws, if they didn't move, then more Kroil oil as before and wait another 24 hours. I would continue that until the screws turned freely and the lock could be removed.

With the lock outside the stock, you can liberally oil it with Kroil penetrating oil and that may be all it needs for the parts to move freely. If not, then the lock will have to be disassembled using the same care and procedures you used to loosen the side plate screws, carefully lightly cleaned and oiled and reassembled.

A huge argument can begin over whether all the rust on the metal parts should be removed, but most museums today don't want to do that, they only want to stabilize the metal in the condition it is.
Gus

I've had good luck with this type of patience when removing difficult, stubborn, and stuck screws. I found on my Pedersoli 1766 Charleville, the Jim Chambers combo tool is a perfect fit for the slots on the tumbler/cock (hammer) screw, and the lock screws. It is hardened too. If I had any of these screws to remove on an original musket and they were seized, rusted badly, I would do what Gus has suggested. If you have access to a drill press, I would probably modify the combo-tool so I could use it in the drill press chuck (this is an old gunsmith trick been used probably ever since drill presses been around). By doing that I would ensure the tool couldn't so easily slip and twist UP and out of the slot. I will post some pictures below of the tool I speak of. You can see it has a square area in the center of the blade where the extension screws on. You can do this with modified screwdrivers as well.
Combo Tool - Version 2.jpg
Image 5-22-19 at 11.09 PM.jpg Image 5-22-19 at 11.09 PM.jpg
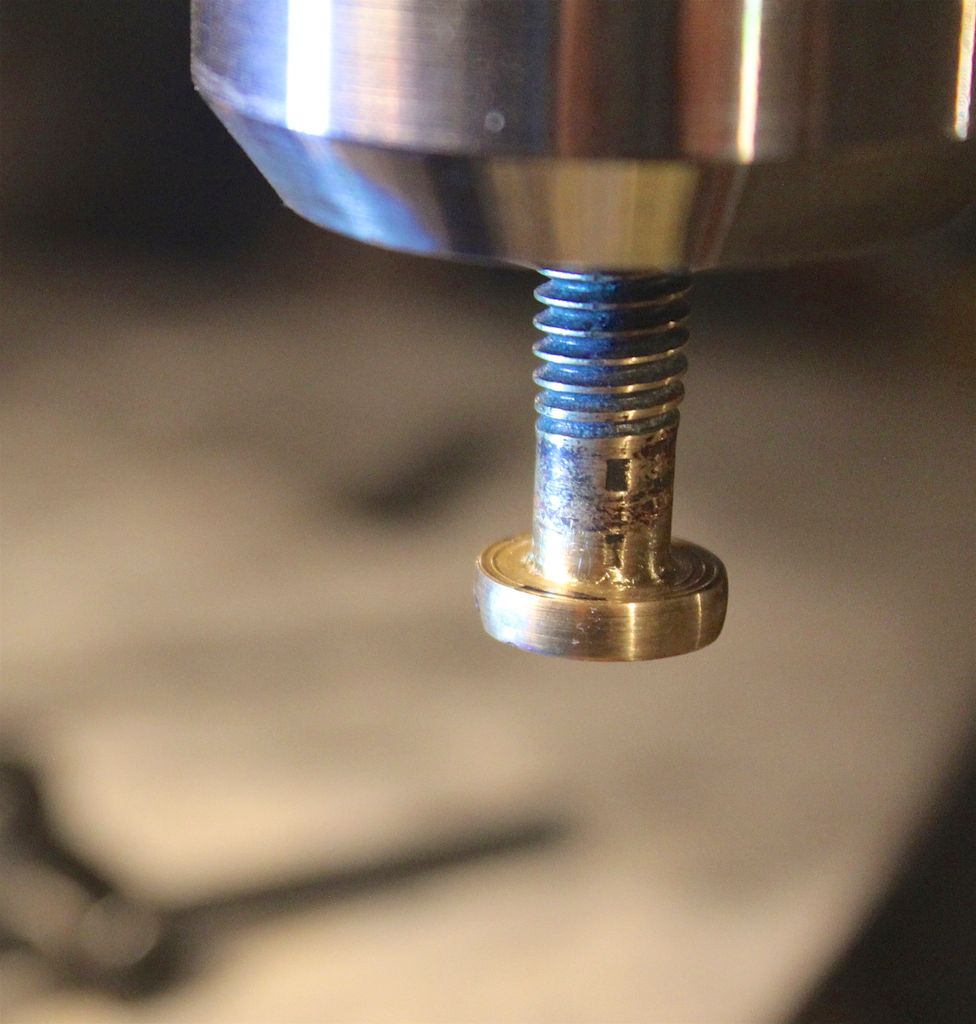
Below is mine with adapters for use on the Charleville. I would probably have to grind or file the hammer at the head so it is the same diameter os the round boss just above the square piece, but maybe not. I'd put hte chuck jaws on the top of the square piece. By putting slight pressure on the tool with the drill quill, and locking it in place, you can then use a wrench on the square part to turn the screw. On my tool, I might have to true up the screwdriver flat so it is perpendicular to the hammer head part, mine appears to be at a slight angle. In any event this is some food for thought. This tool seems like it was almost made for this kind of work. If you look closely at the picture you can see the thin slot marks from my drill press chuck on the brass adapter extension. I've used it to polish screws heads, and in my cordless DeWalt hand drill to polish the bore with a extra long bore mop made for that chore. Not a mirror polish.
Image 5-22-19 at 11.11 PM.jpg
Image 5-22-19 at 11.12 PM.jpg
Image 5-22-19 at 11.13 PM.jpg

I don't know how wide the slots on original muskets were. You can get some idea of the size of mine on the David Pedersoli reproduction. This lock was disassembled and tuned by me, so all screws have seen a screwdriver, some more than once.
Image 5-23-19 at 12.28 AM.jpg

Image 4-5-19 at 7.39 PM.jpg

Good luck with the project. Dave Person probably has a whole bag of tricks of this sort to remove seized screws. He restores badly, and I mean BADLY abused, reenactor's muskets, especially Brown Bess's that have never had the action or barrel removed! He has in depth tutorials posted on the forum. Amazing stuff. He's taken muskets that were what I would have thought a total loss, buggered up, banged up, corroded and abused, and restored them to HC works of art! His encouragement and help on my lock tune were invaluable. Let us know how things progress with the seized actions on those old muskets please.
George
 
Last edited:
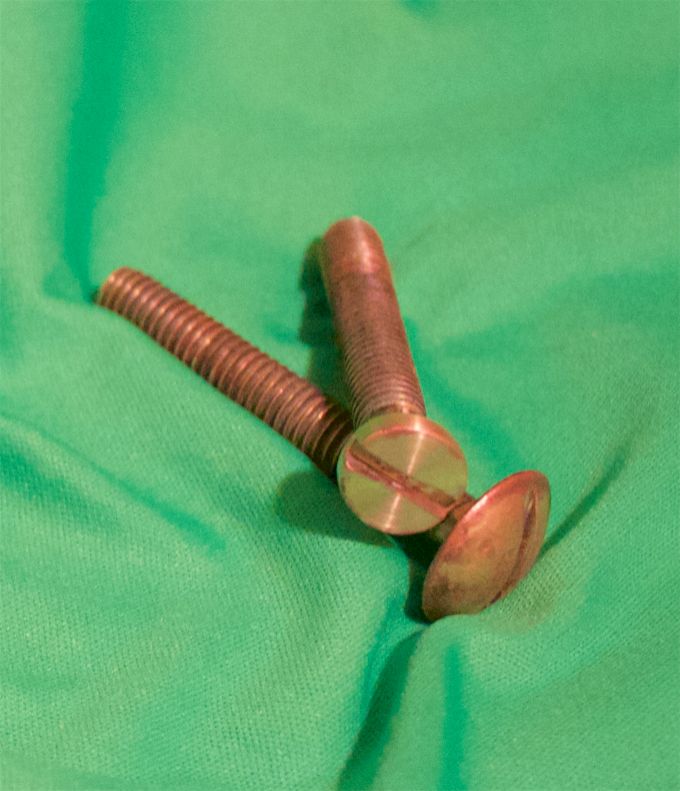
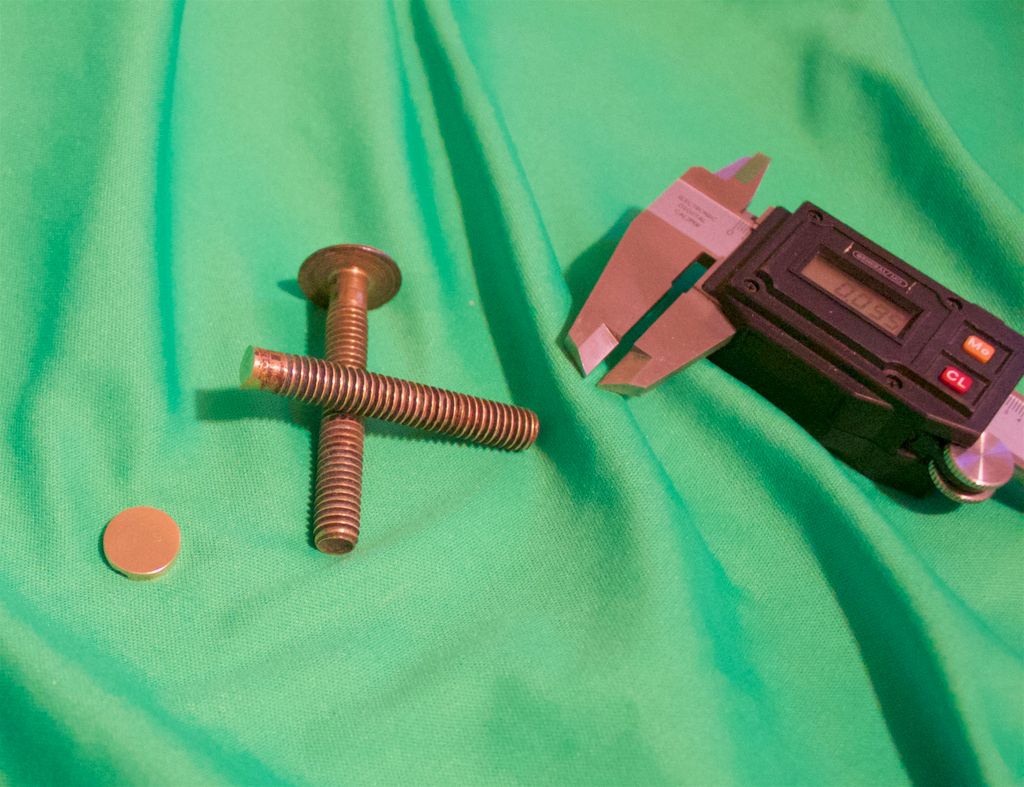
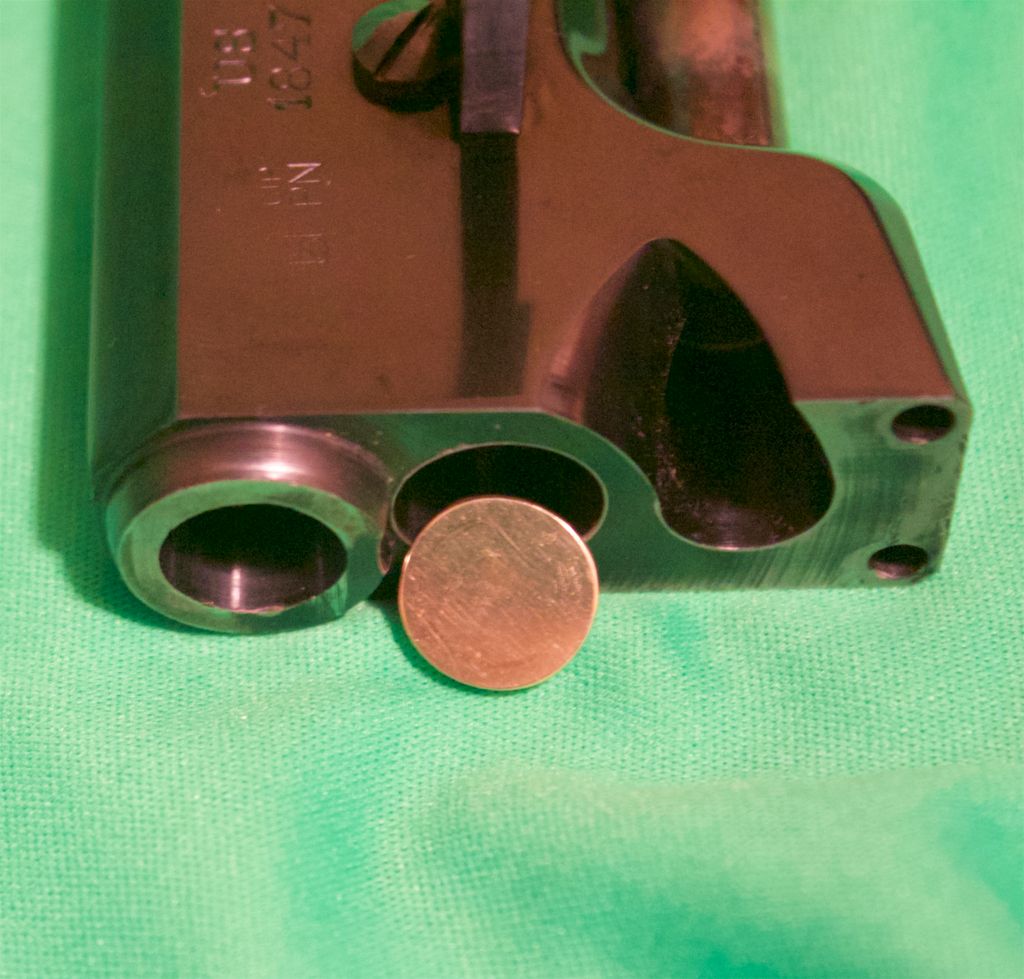
If you don't have a lathe, a drill press can come in very handy for a number of jobs. Here are some pictures of a .095" brass shim I made of the arbor of my Uberti 1847
Walker.
IMG_0991_zpsconjmpj8.jpg

IMG_0987_zpsusfsrnva.jpg

IMG_0996_zps90l7rmoz.jpg
IMG_1010_zps1af8cwuz.jpg

IMG_1008_zpspsc4ulyg.jpg
 
Last edited:
The problem with some 18th century screw slots is some of them are "V" shaped instead of parallel sided. If you run across one of the "V" shaped slots, you will almost have to make a screwdriver bit to fit it.

Gus
 
The problem with some 18th century screw slots is some of them are "V" shaped instead of parallel sided. If you run across one of the "V" shaped slots, you will almost have to make a screwdriver bit to fit it.

Gus
Wow, I did not know that, practically begging to twist out and bugger up! Making removal even more difficult.
 
Wow, I did not know that, practically begging to twist out and bugger up! Making removal even more difficult.

Parallel Slots are more common on 18th century military guns, as most of the guns mentioned seem to be. However, when those arms were repaired by Artificers/Armorers or later by others, they may have some V shaped slots in some screws.

Gus
 
Hi Dogfood,
Where is the museum? I am in central Vermont.

dave

Hi Dave,
The museum is down in Providence. While it would be nice to get them back in a more functional state, given the amount of labor and skill required to do so is making me think they might just have to stay as the are, unfortunately.
Cheers,
ken
 
Parallel Slots are more common on 18th century military guns, as most of the guns mentioned seem to be. However, when those arms were repaired by Artificers/Armorers or later by others, they may have some V shaped slots in some screws.

Gus

One thing to always remember is that 18th century firearms were not made with the same quality steel we have today. Many of the guns were made with lower quality wrought Iron Steel, that never really hardens (to our standards) when heated and tempered. Most of the time the fasteners they used were surface hardened, not through and through as we see in many modern day repros. The lower quality steel also tends to erode and pit at a faster pace than most repros. We also use higher quality lubricants and anti moister conditioners, most of what was available at the time was not of high quality oils.

I’ve cleaned up a few seized up flintlocks over the years most were 1816 and later. I worked on an 1803 harpers ferry by Euroarms a few years ago, but the action seized up most because the geometry of the lock was just not right, the sear was off, the mainspring anchor was too loose and the springs were crapy, with use this caused the lock to pretty much get mangled so there were spurs on the springs, tumblers and sear notches needed to be chamfered.
 
Last edited:
I've had good luck with this type of patience when removing difficult, stubborn, and stuck screws. I found on my Pedersoli 1766 Charleville, the Jim Chambers combo tool is a perfect fit for the slots on the tumbler/cock (hammer) screw, and the lock screws. It is hardened too. If I had any of these screws to remove on an original musket and they were seized, rusted badly, I would do what Gus has suggested. If you have access to a drill press, I would probably modify the combo-tool so I could use it in the drill press chuck (this is an old gunsmith trick been used probably ever since drill presses been around). By doing that I would ensure the tool couldn't so easily slip and twist UP and out of the slot. I will post some pictures below of the tool I speak of. You can see it has a square area in the center of the blade where the extension screws on. You can do this with modified screwdrivers as well.
View attachment 10054View attachment 10055 View attachment 10056
Below is mine with adapters for use on the Charleville. I would probably have to grind or file the hammer at the head so it is the same diameter os the round boss just above the square piece, but maybe not. I'd put hte chuck jaws on the top of the square piece. By putting slight pressure on the tool with the drill quill, and locking it in place, you can then use a wrench on the square part to turn the screw. On my tool, I might have to true up the screwdriver flat so it is perpendicular to the hammer head part, mine appears to be at a slight angle. In any event this is some food for thought. This tool seems like it was almost made for this kind of work. If you look closely at the picture you can see the thin slot marks from my drill press chuck on the brass adapter extension. I've used it to polish screws heads, and in my cordless DeWalt hand drill to polish the bore with a extra long bore mop made for that chore. Not a mirror polish.
View attachment 10057 View attachment 10058 View attachment 10059
I don't know how wide the slots on original muskets were. You can get some idea of the size of mine on the David Pedersoli reproduction. This lock was disassembled and tuned by me, so all screws have seen a screwdriver, some more than once.
View attachment 10061
View attachment 10063
Good luck with the project. Dave Person probably has a whole bag of tricks of this sort to remove seized screws. He restores badly, and I mean BADLY abused, reenactor's muskets, especially Brown Bess's that have never had the action or barrel removed! He has in depth tutorials posted on the forum. Amazing stuff. He's taken muskets that were what I would have thought a total loss, buggered up, banged up, corroded and abused, and restored them to HC works of art! His encouragement and help on my lock tune were invaluable. Let us know how things progress with the seized actions on those old muskets please.
George

Those reinactors are hard on their muskets for sure. I took apart a bicentennial charleville and had to remove at least 3 feet of duct tape in the barrel channel, and the trigger was so corroded it seized up and had to be sanded down with 60 grit then refinished.

I’ve longed to find another one of those bicentennial charlevilles, they were full stocked walnut and were excellent copies of the 1766/68 Charleville muskets.
 
One thing to always remember is that 18th century firearms were not made with the same quality steel we have today. Many of the guns were made with lower quality wrought Iron Steel, that never really hardens (to our standards) when heated and tempered. Most of the time the fasteners they used were surface hardened, not through and through as we see in many modern day repros. The lower quality steel also tends to erode and pit at a faster pace than most repros. We also use higher quality lubricants and anti moister conditioners, most of what was available at the time was not of high quality oils.

If the quality of the surface hardening of the side plate screws and especially on the heads and screw slots were not up to par, the screw slots quickly became buggered up on Military Guns.

I don't know about the French, but British Soldiers and British American Soldiers (Colonial American Militia who were on campaign with the Regulars) were expected to take their locks off and clean/oil them on a daily basis. That can lead to really buggered up screw slots on the side lock screws if the troops did not have a turnscrew (period name for a screwdriver) that fit the screw slots correctly.

Gus
 
An old plumbers trick on getting old iron or steel pipes to loosen is, before you try to unscrew the pipe, first turn it just a small amount in the direction that would tighten it. Then, when it moves slightly, reverse the pipe wrench and unscrew the pipe.

For reasons known only to the powers that be, doing this will cause the rusted threads to break free and unscrew rather easily.

I've seen this done many times and done it myself and it works.

The same principle can work with regular threads on nuts and bolts. Just remember, you only want to tighten just to the point where it starts to turn. You really don't want to tighten the nut or bolt.
 
If the quality of the surface hardening of the side plate screws and especially on the heads and screw slots were not up to par, the screw slots quickly became buggered up on Military Guns.

I don't know about the French, but British Soldiers and British American Soldiers (Colonial American Militia who were on campaign with the Regulars) were expected to take their locks off and clean/oil them on a daily basis. That can lead to really buggered up screw slots on the side lock screws if the troops did not have a turnscrew (period name for a screwdriver) that fit the screw slots correctly.

Gus

A lot of the earlier side bolts were oval/domed head and shallow, its not uncommon to see them replaced with the later thicker post style heads that were beefed up.

The British for the most part used slightly thicker screws than the French and Spanish, but the quality of steel still remained pretty low until around the 1830’s when guns were equipped with the latest high quality alloys.

I’m not familiar with the British arms manual but I do believe they often were not permitted to remove their locks for cleaning, they were only permitted to tow swab the bore and grease cloth wipe down the locks and outer steel. Same with removing the barrel, not permitted because of the risk of damage.

The Americans really didn’t have rules when it came to caring for their weapons, they were simply lucky to have working muskets with bayonets that fit. Most earlier muskets of the continental army were left overs from Militia houses; these would have been Long Land Brown Besses and Contract muskets that were creeping up on 30-60 years of age and cheaper Dutch muskets. No amount of oil or cleaning can true up a 30-60 year old flintlock, I think Baron Von Steuben called them “old and ugly” at Valley Forge lol .

I would suspect that most who were armed with their own personal arms cared for them the best; cleaning and oiling.

Nick
 
An old plumbers trick on getting old iron or steel pipes to loosen is, before you try to unscrew the pipe, first turn it just a small amount in the direction that would tighten it. Then, when it moves slightly, reverse the pipe wrench and unscrew the pipe.

For reasons known only to the powers that be, doing this will cause the rusted threads to break free and unscrew rather easily.

I've seen this done many times and done it myself and it works.

The same principle can work with regular threads on nuts and bolts. Just remember, you only want to tighten just to the point where it starts to turn. You really don't want to tighten the nut or bolt.

For unseizing breech plugs I soak in hot oil for a few days. Heat generally helps to contract iron on its surface. However being these are historical items, I’m not sure.

I won’t lie... I’ve broken off a few screws in my time and had to spend extra time tapping out the holes.
 
For unseizing breech plugs I soak in hot oil for a few days. Heat generally helps to contract iron on its surface. However being these are historical items, I’m not sure.

I won’t lie... I’ve broken off a few screws in my time and had to spend extra time tapping out the holes.

Me too! And with small screws it is easy to believe the screw is breaking free and turning, when in fact it is just twisting and breaking off. When it gets easy to turn fast, it is usually too late. Brass screws are the worst for this. I always pray that brass screws in wood were soaped or waxed when installed.
 

Latest posts

Back
Top