Phil Coffins
69 Cal.
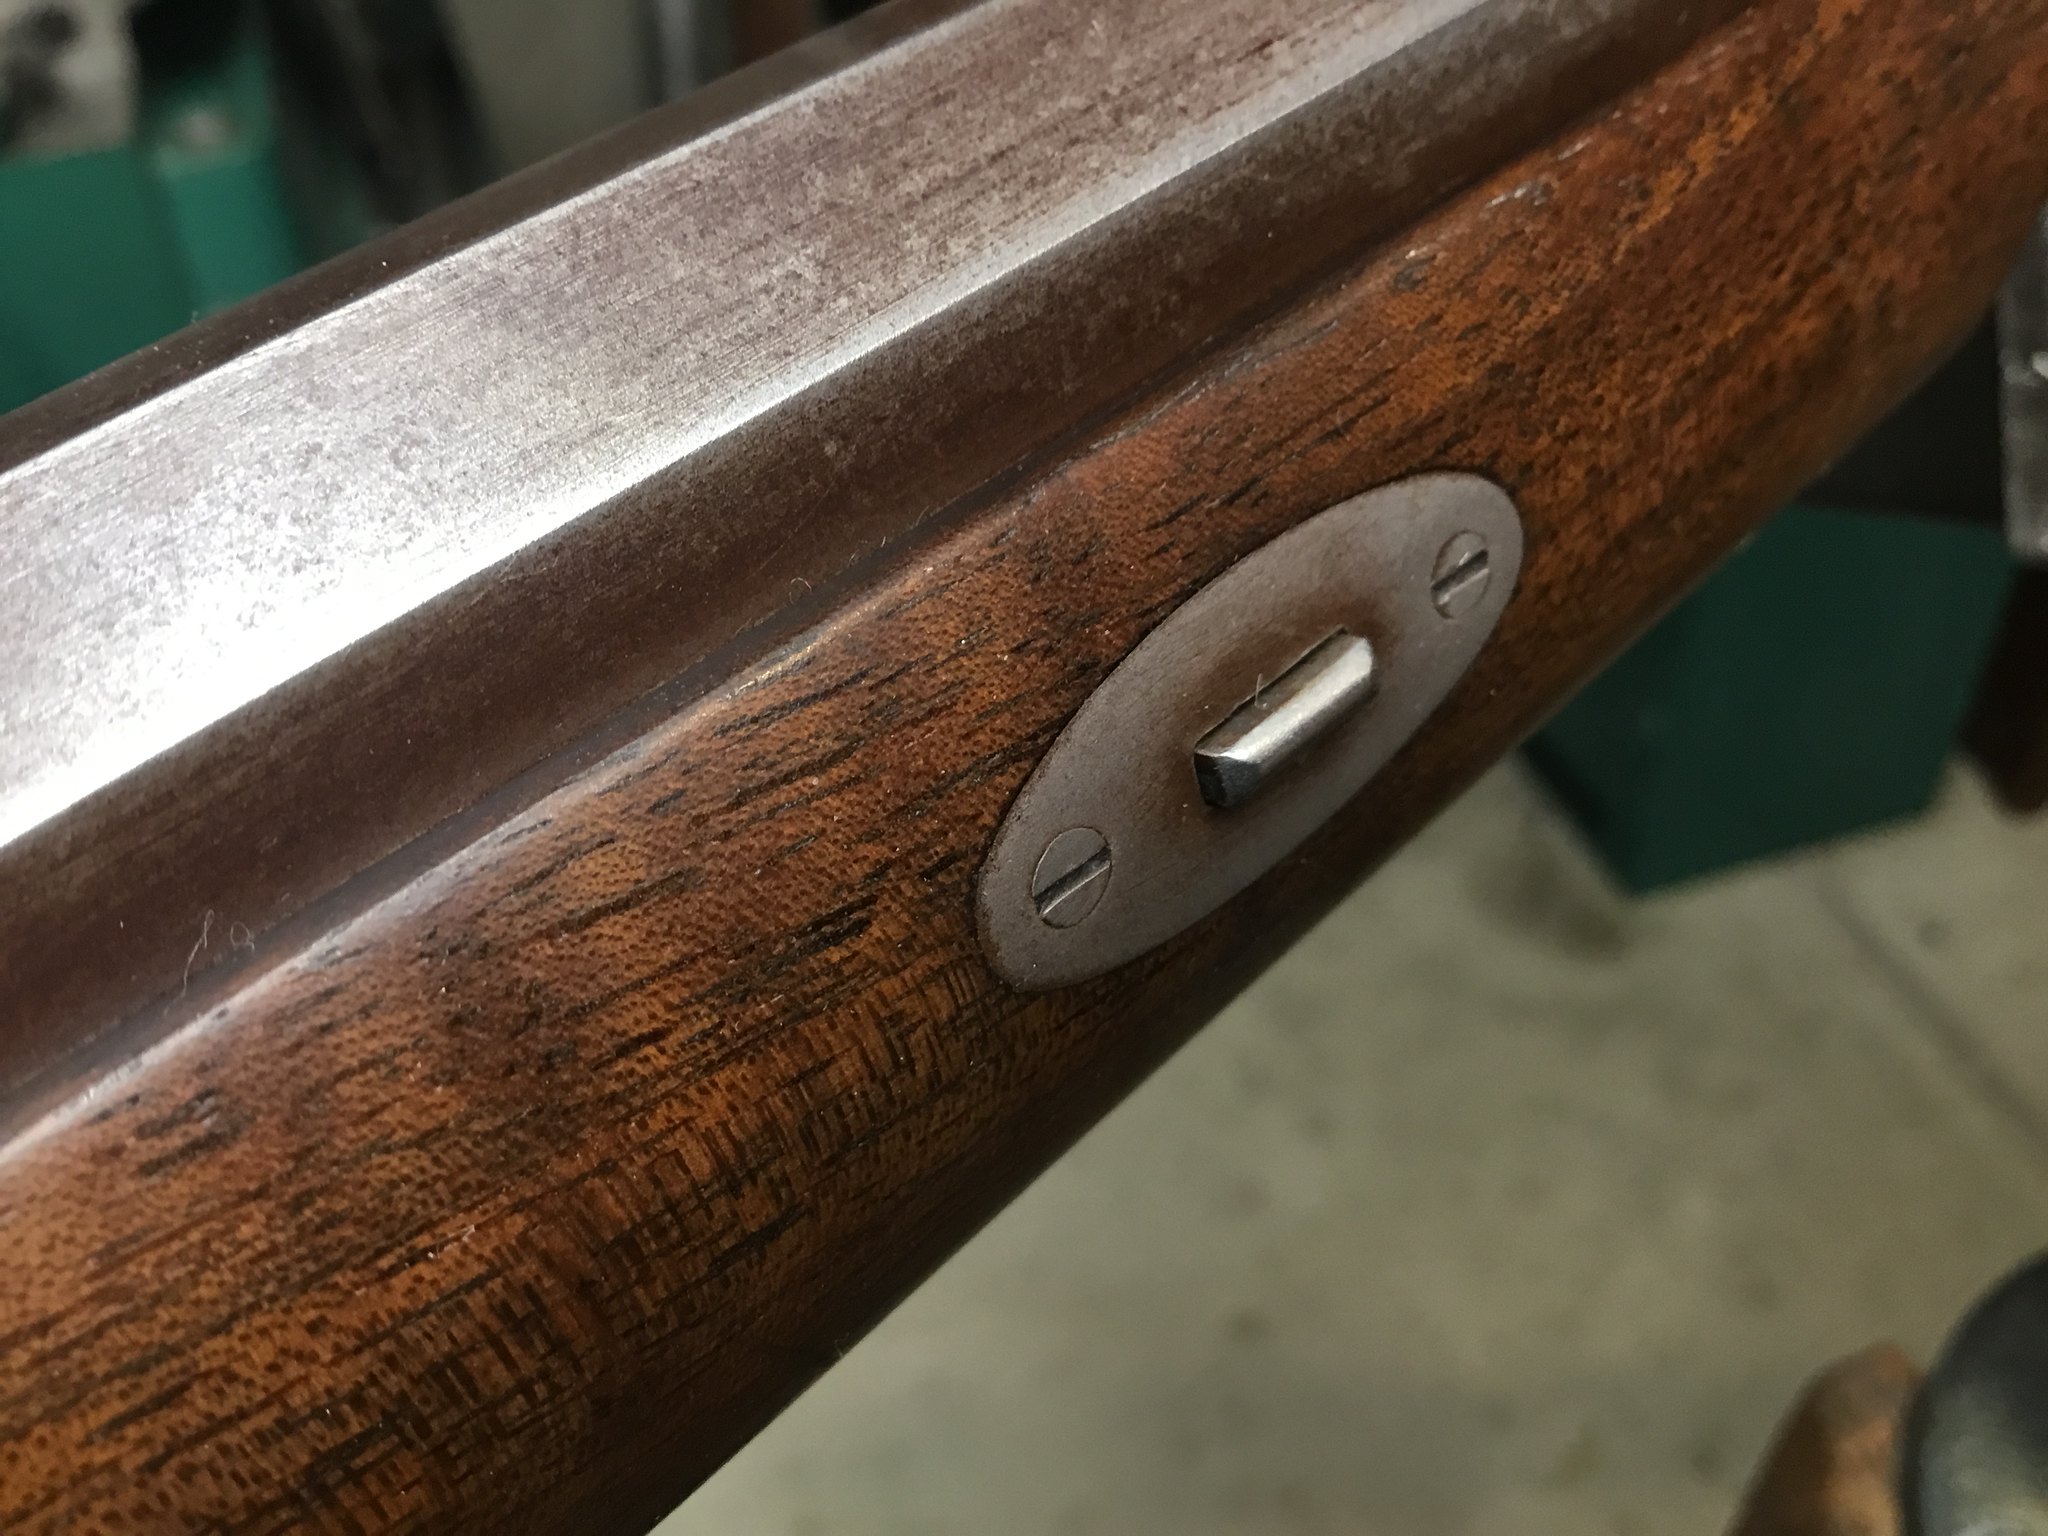
The used rifle that is my current project would benefit from escutcheons at the barrel pins. I thought some may find it interesting to see how I do it. First the escutcheons are made and the edges filed smooth with a bit of draft. The hole for the pin is drilled a few thousands oversized with the back side filed at an angle to allow the escutcheons to tilt to match the stock. Placed on the stock a light line is scribed around it trying to stay under it. Some chock dust shows it for the camera, this allows the balk of the wood to be removed before inletting starts. Once seated the holes are drilled for brass pins that can be made to fit. The tip is peened to act as the head. Filed flat then sanded they nearly disappear.
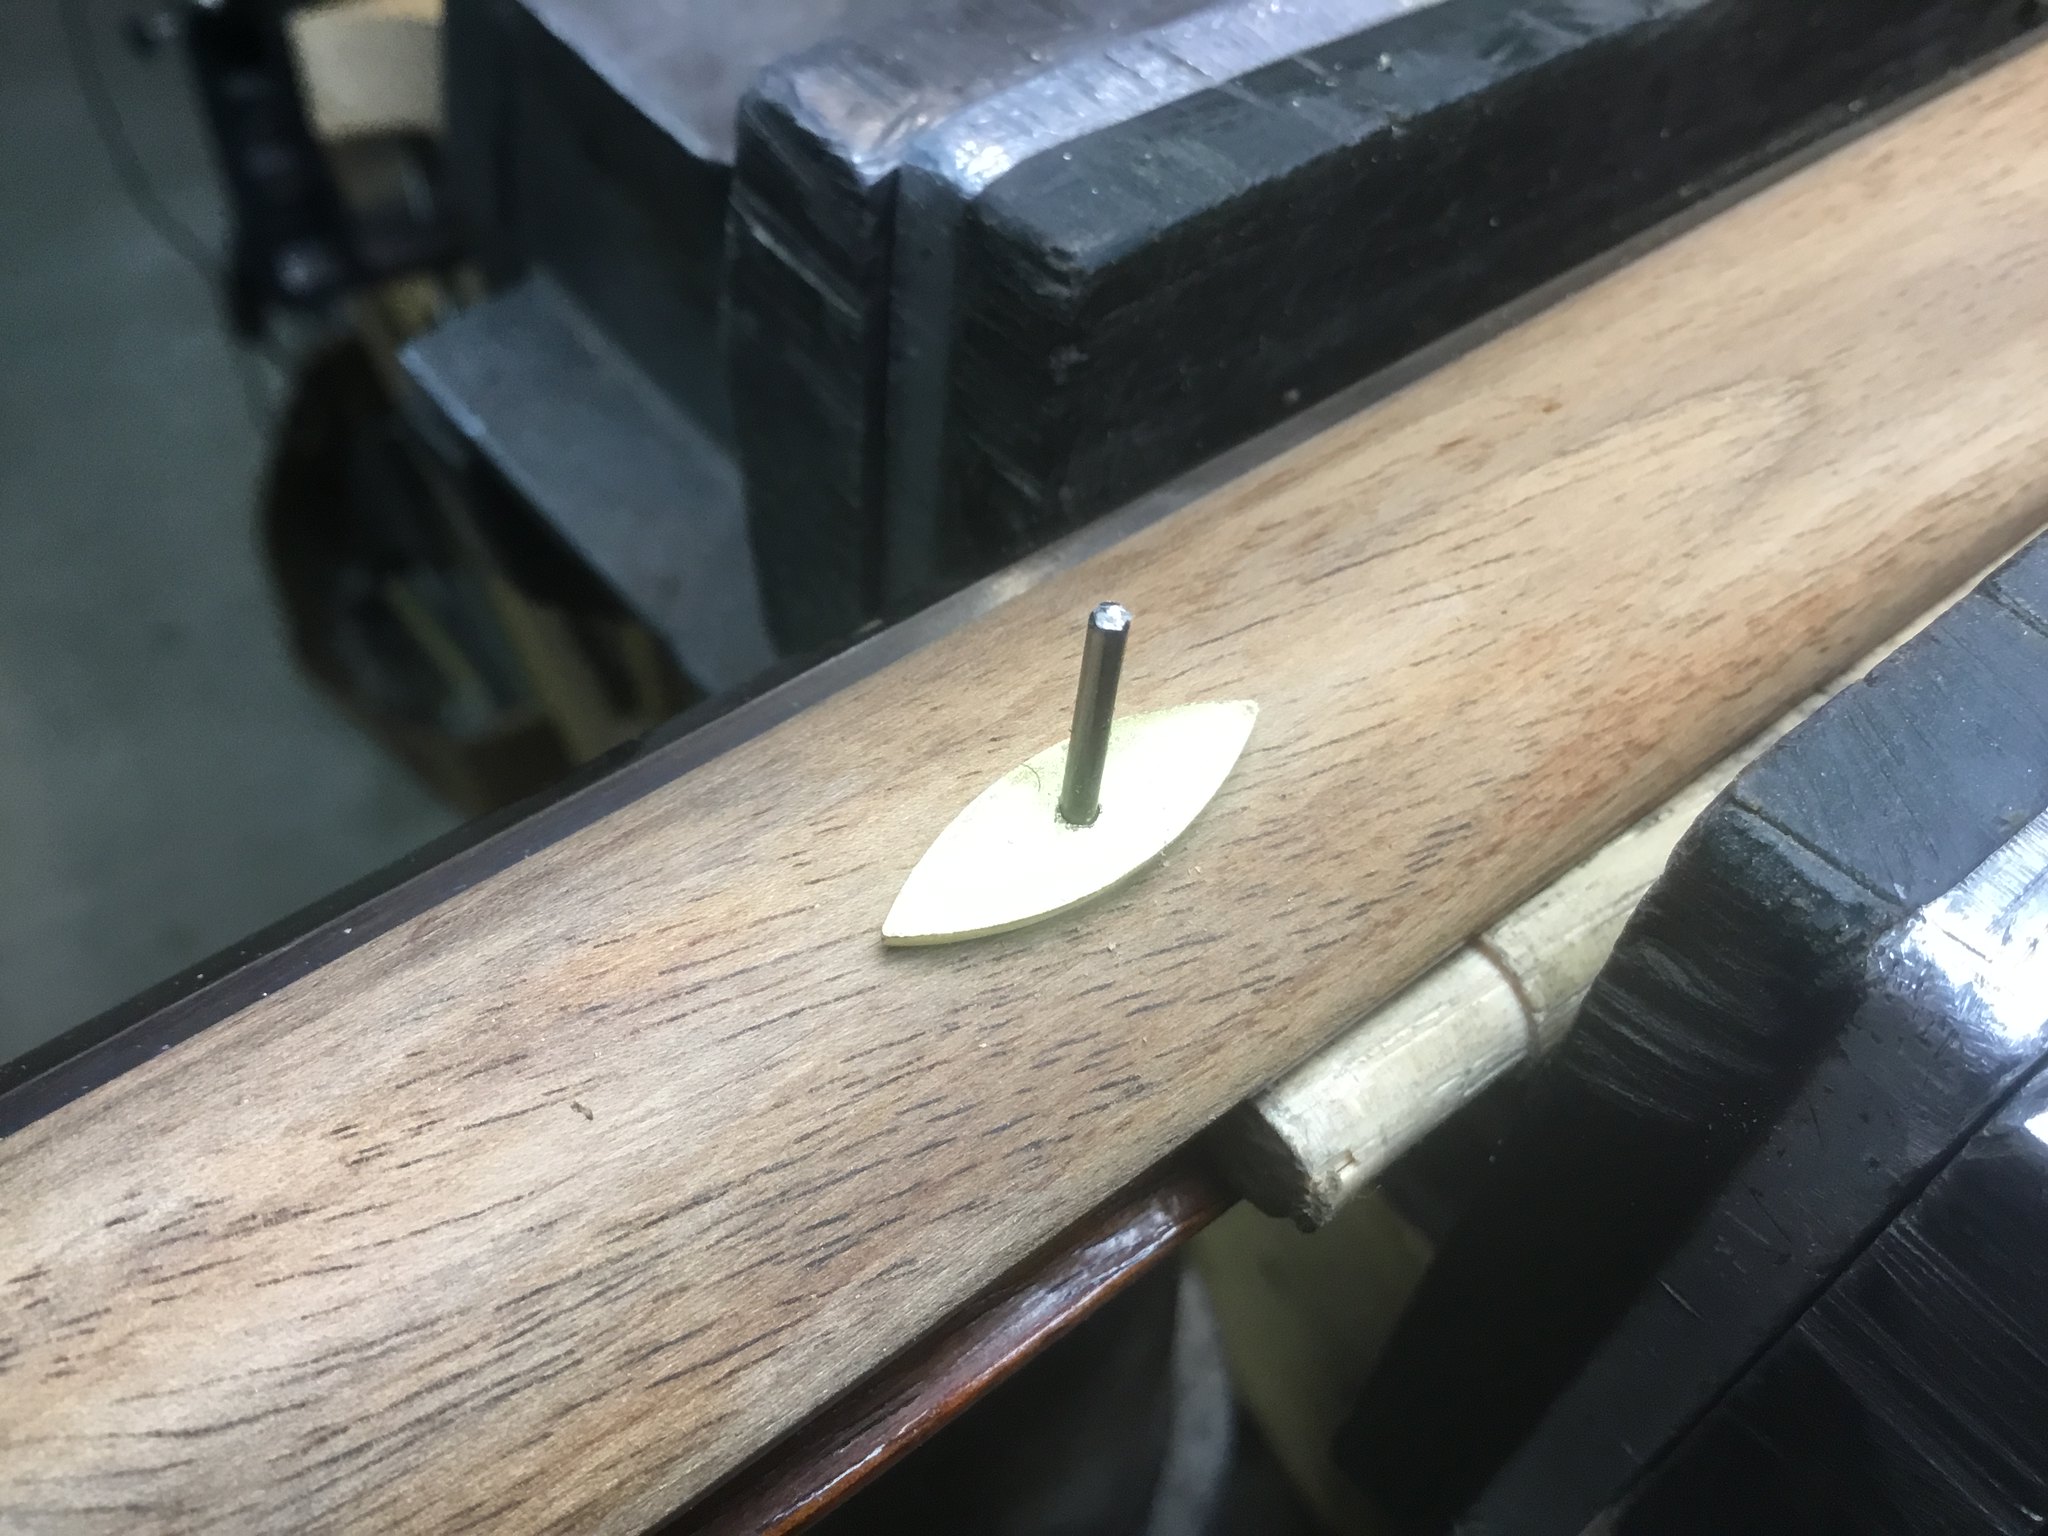 IMG_0497 by Oliver Sudden, on Flickr
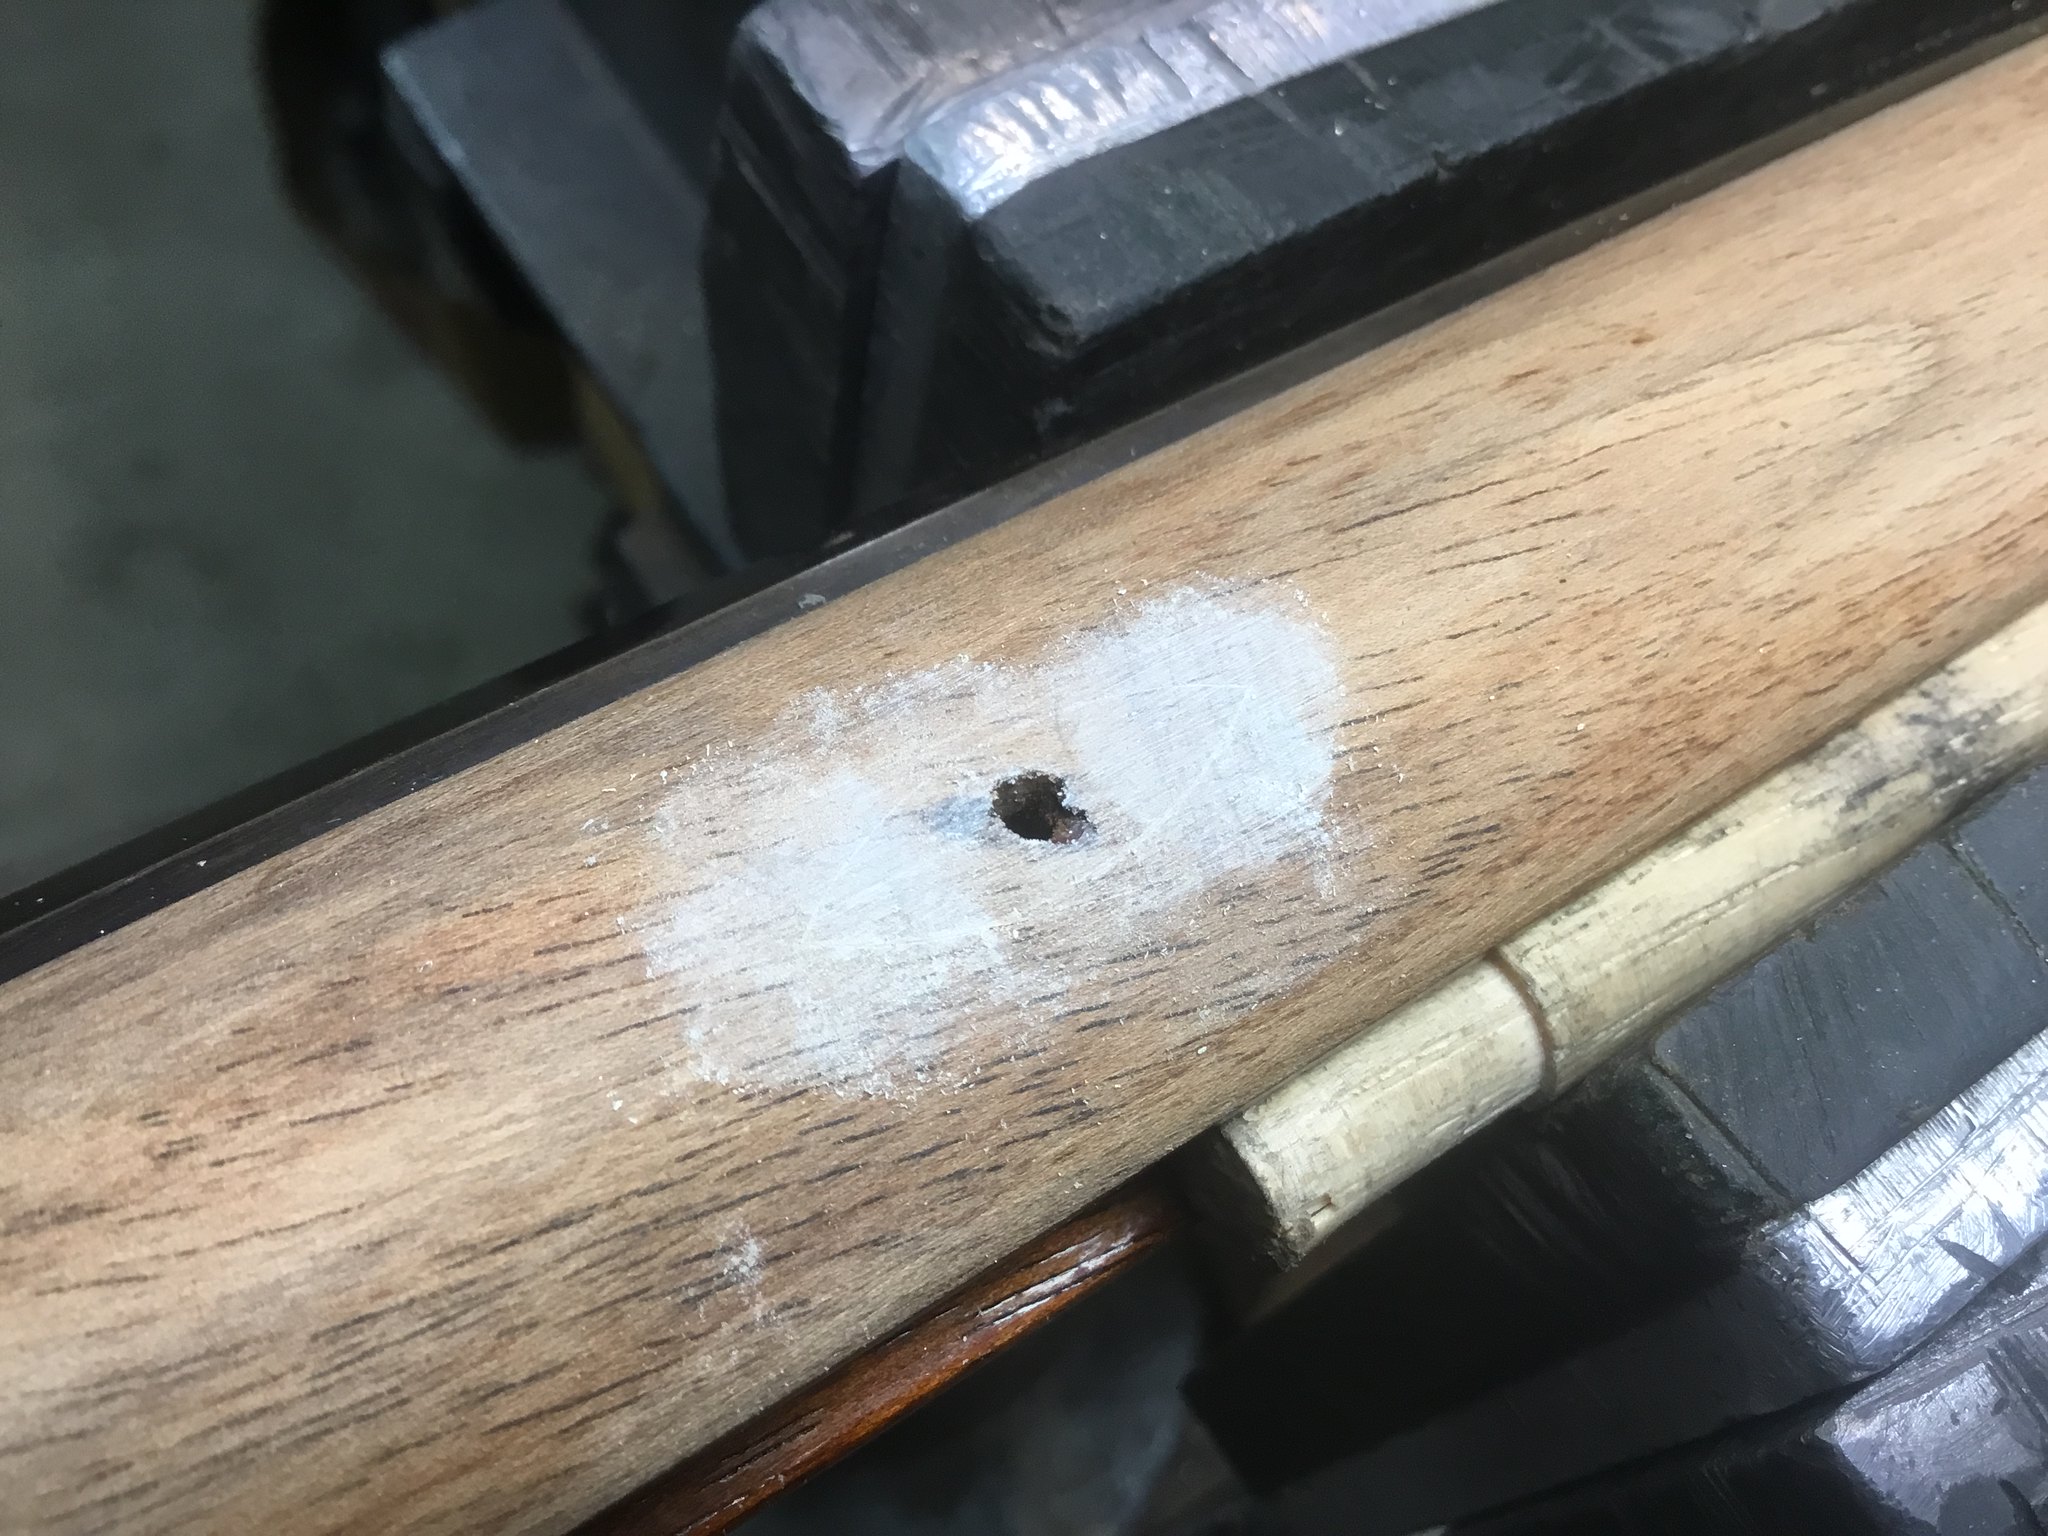 IMG_0498 by Oliver Sudden, on Flickr
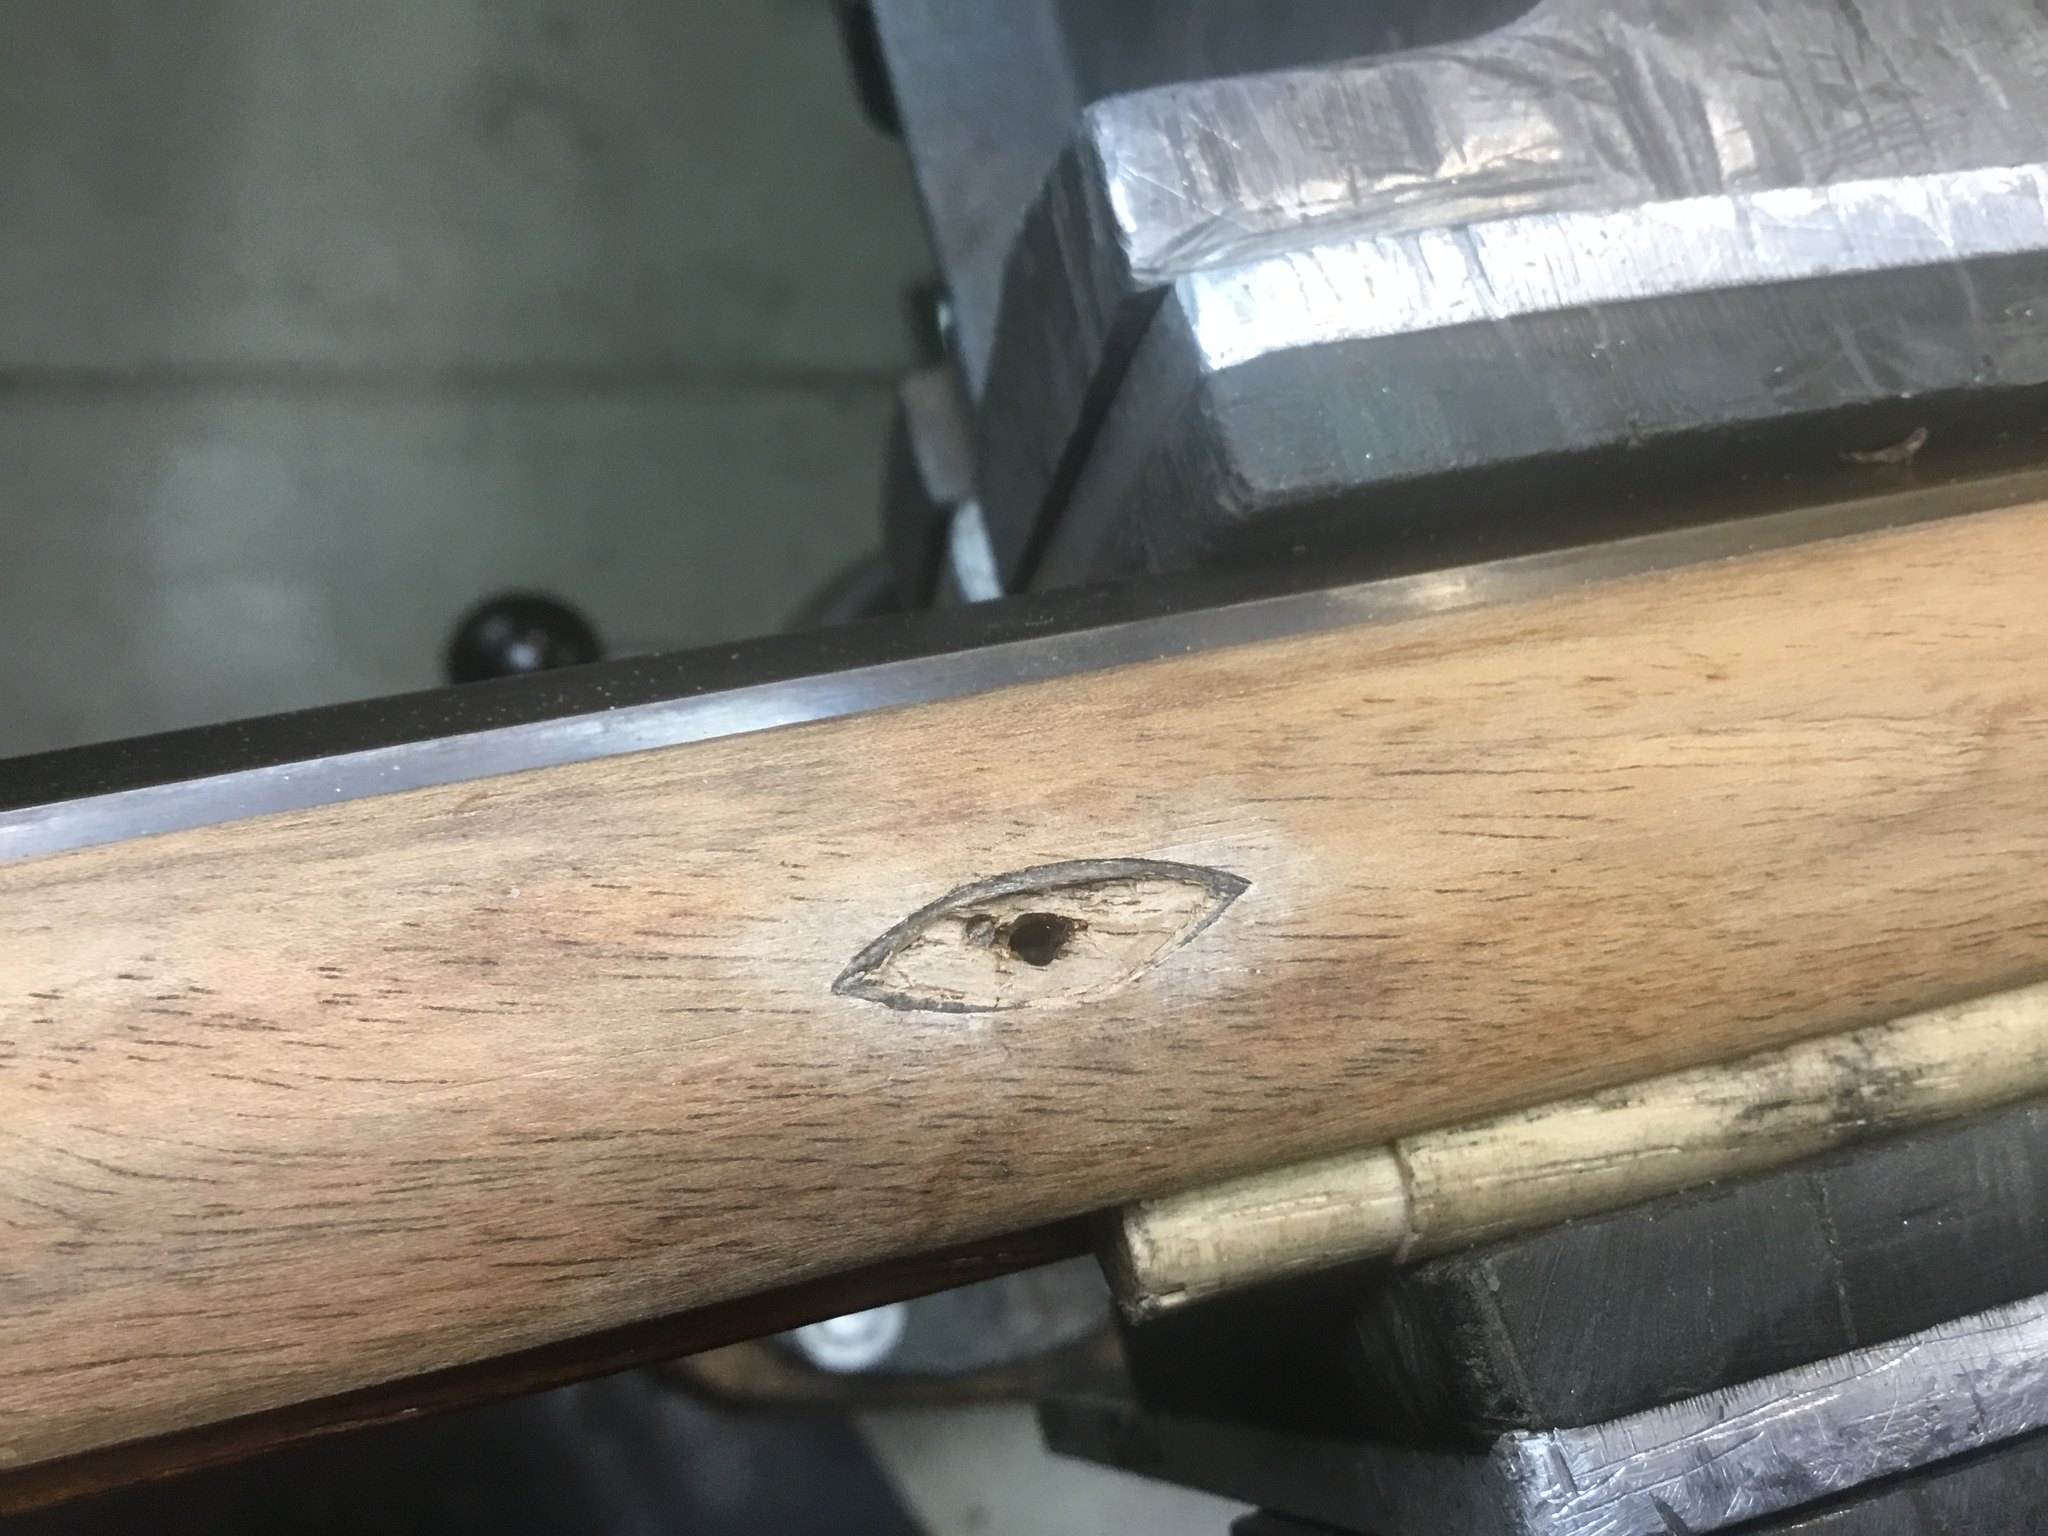 IMG_0499 by Oliver Sudden, on Flickr
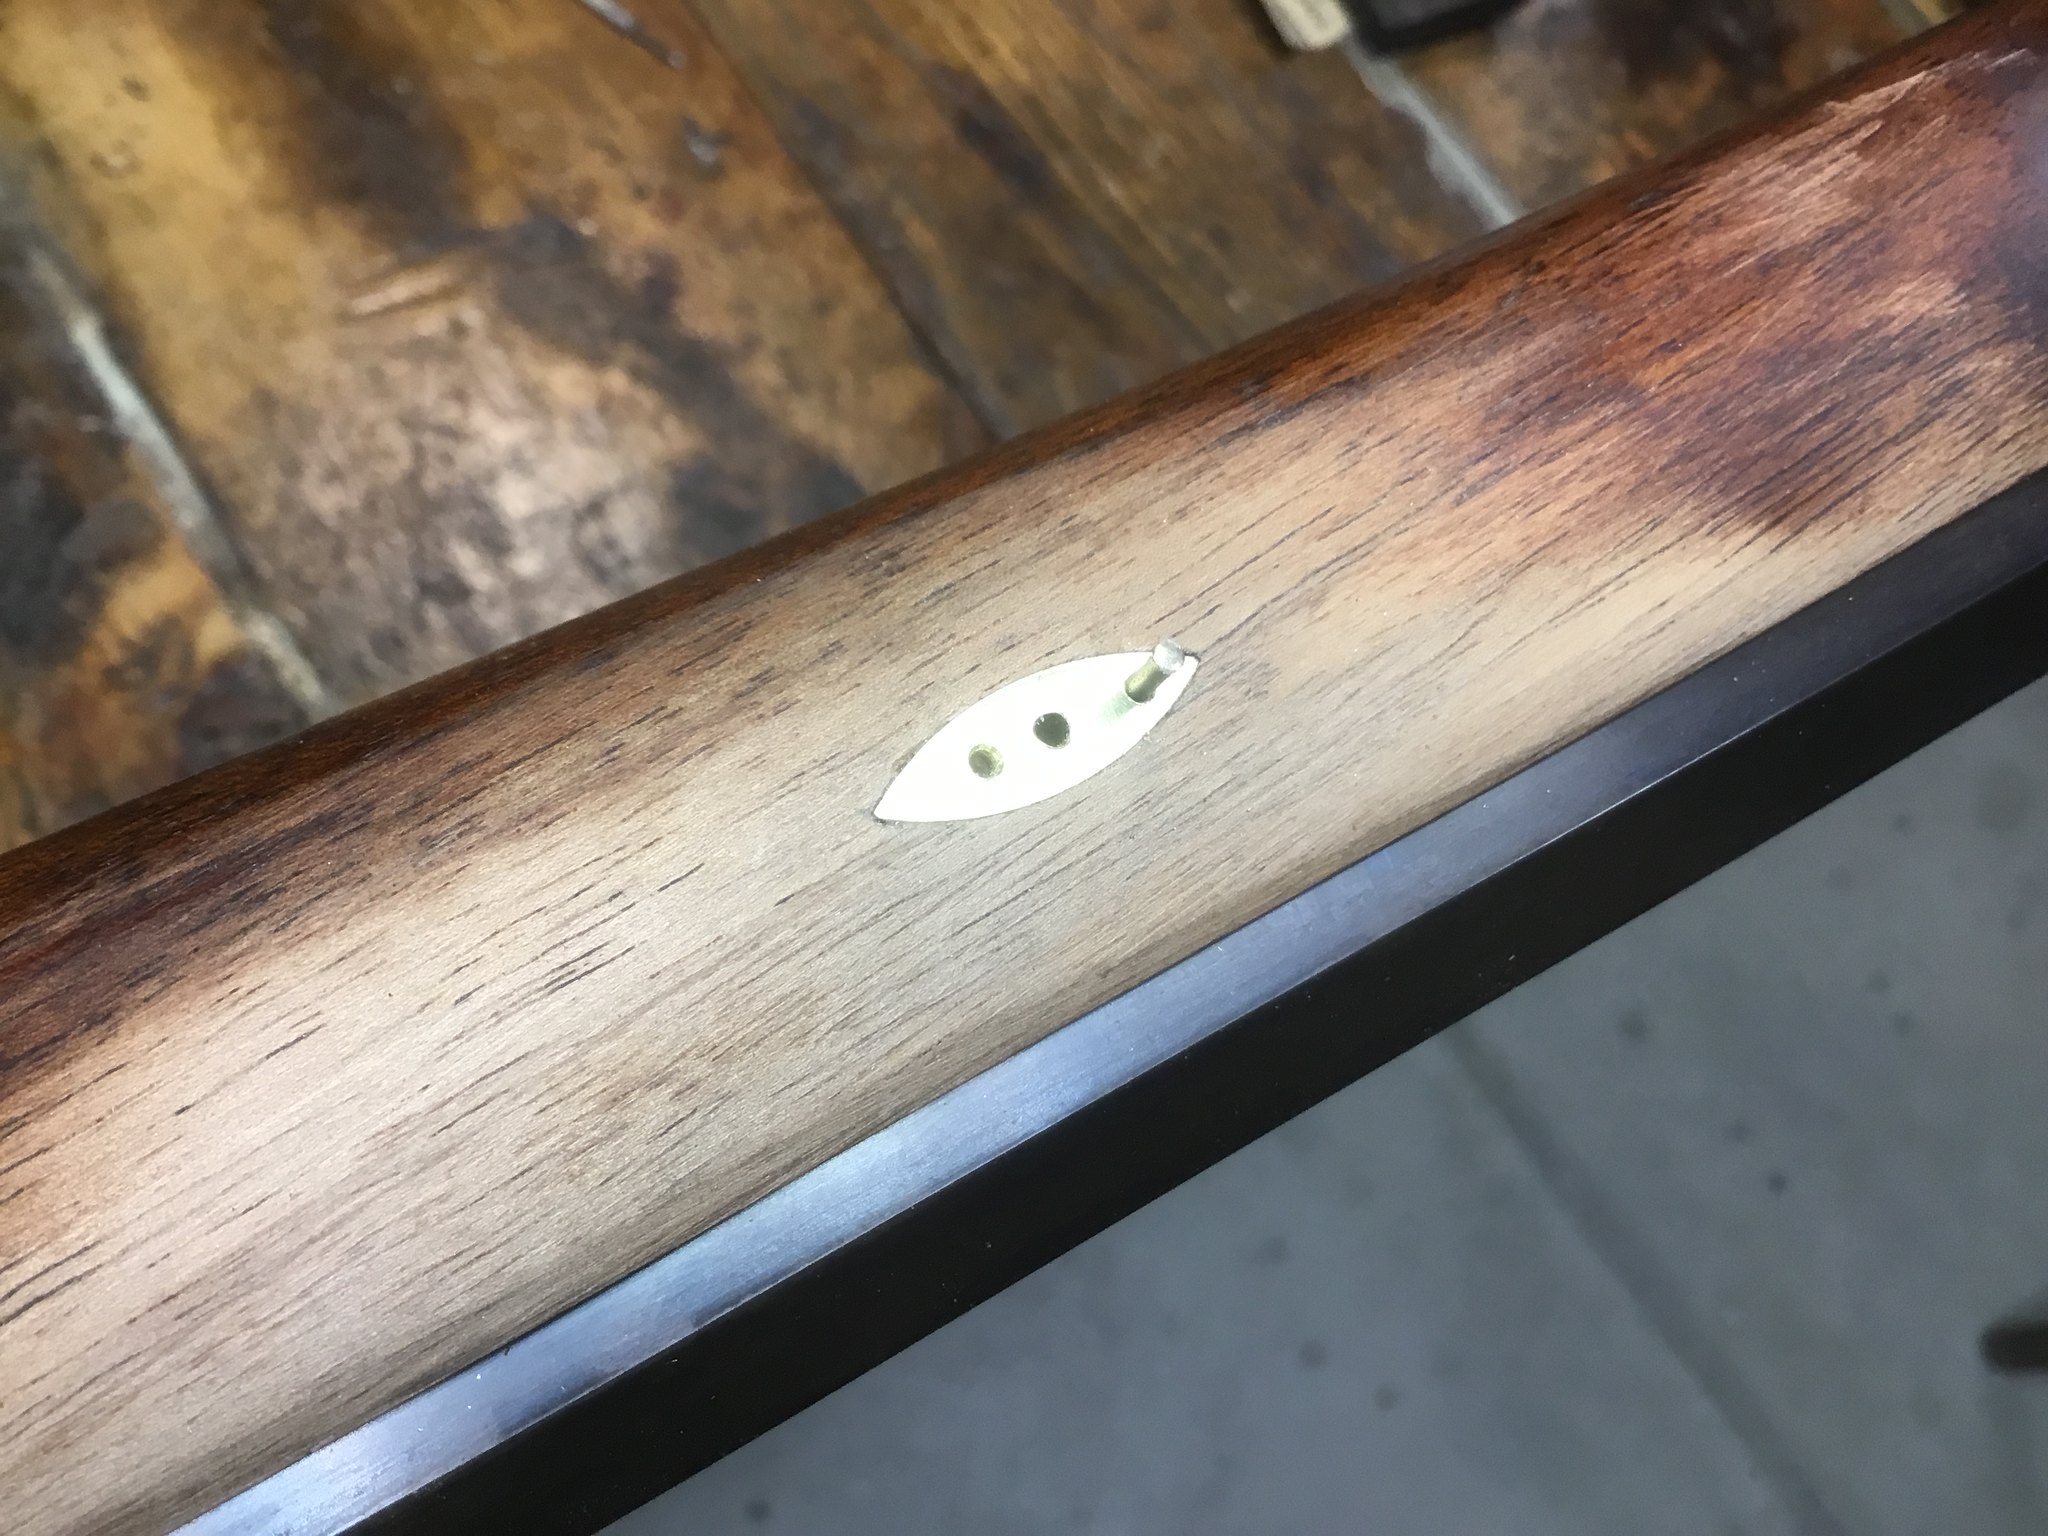 IMG_0494 by Oliver Sudden, on Flickr
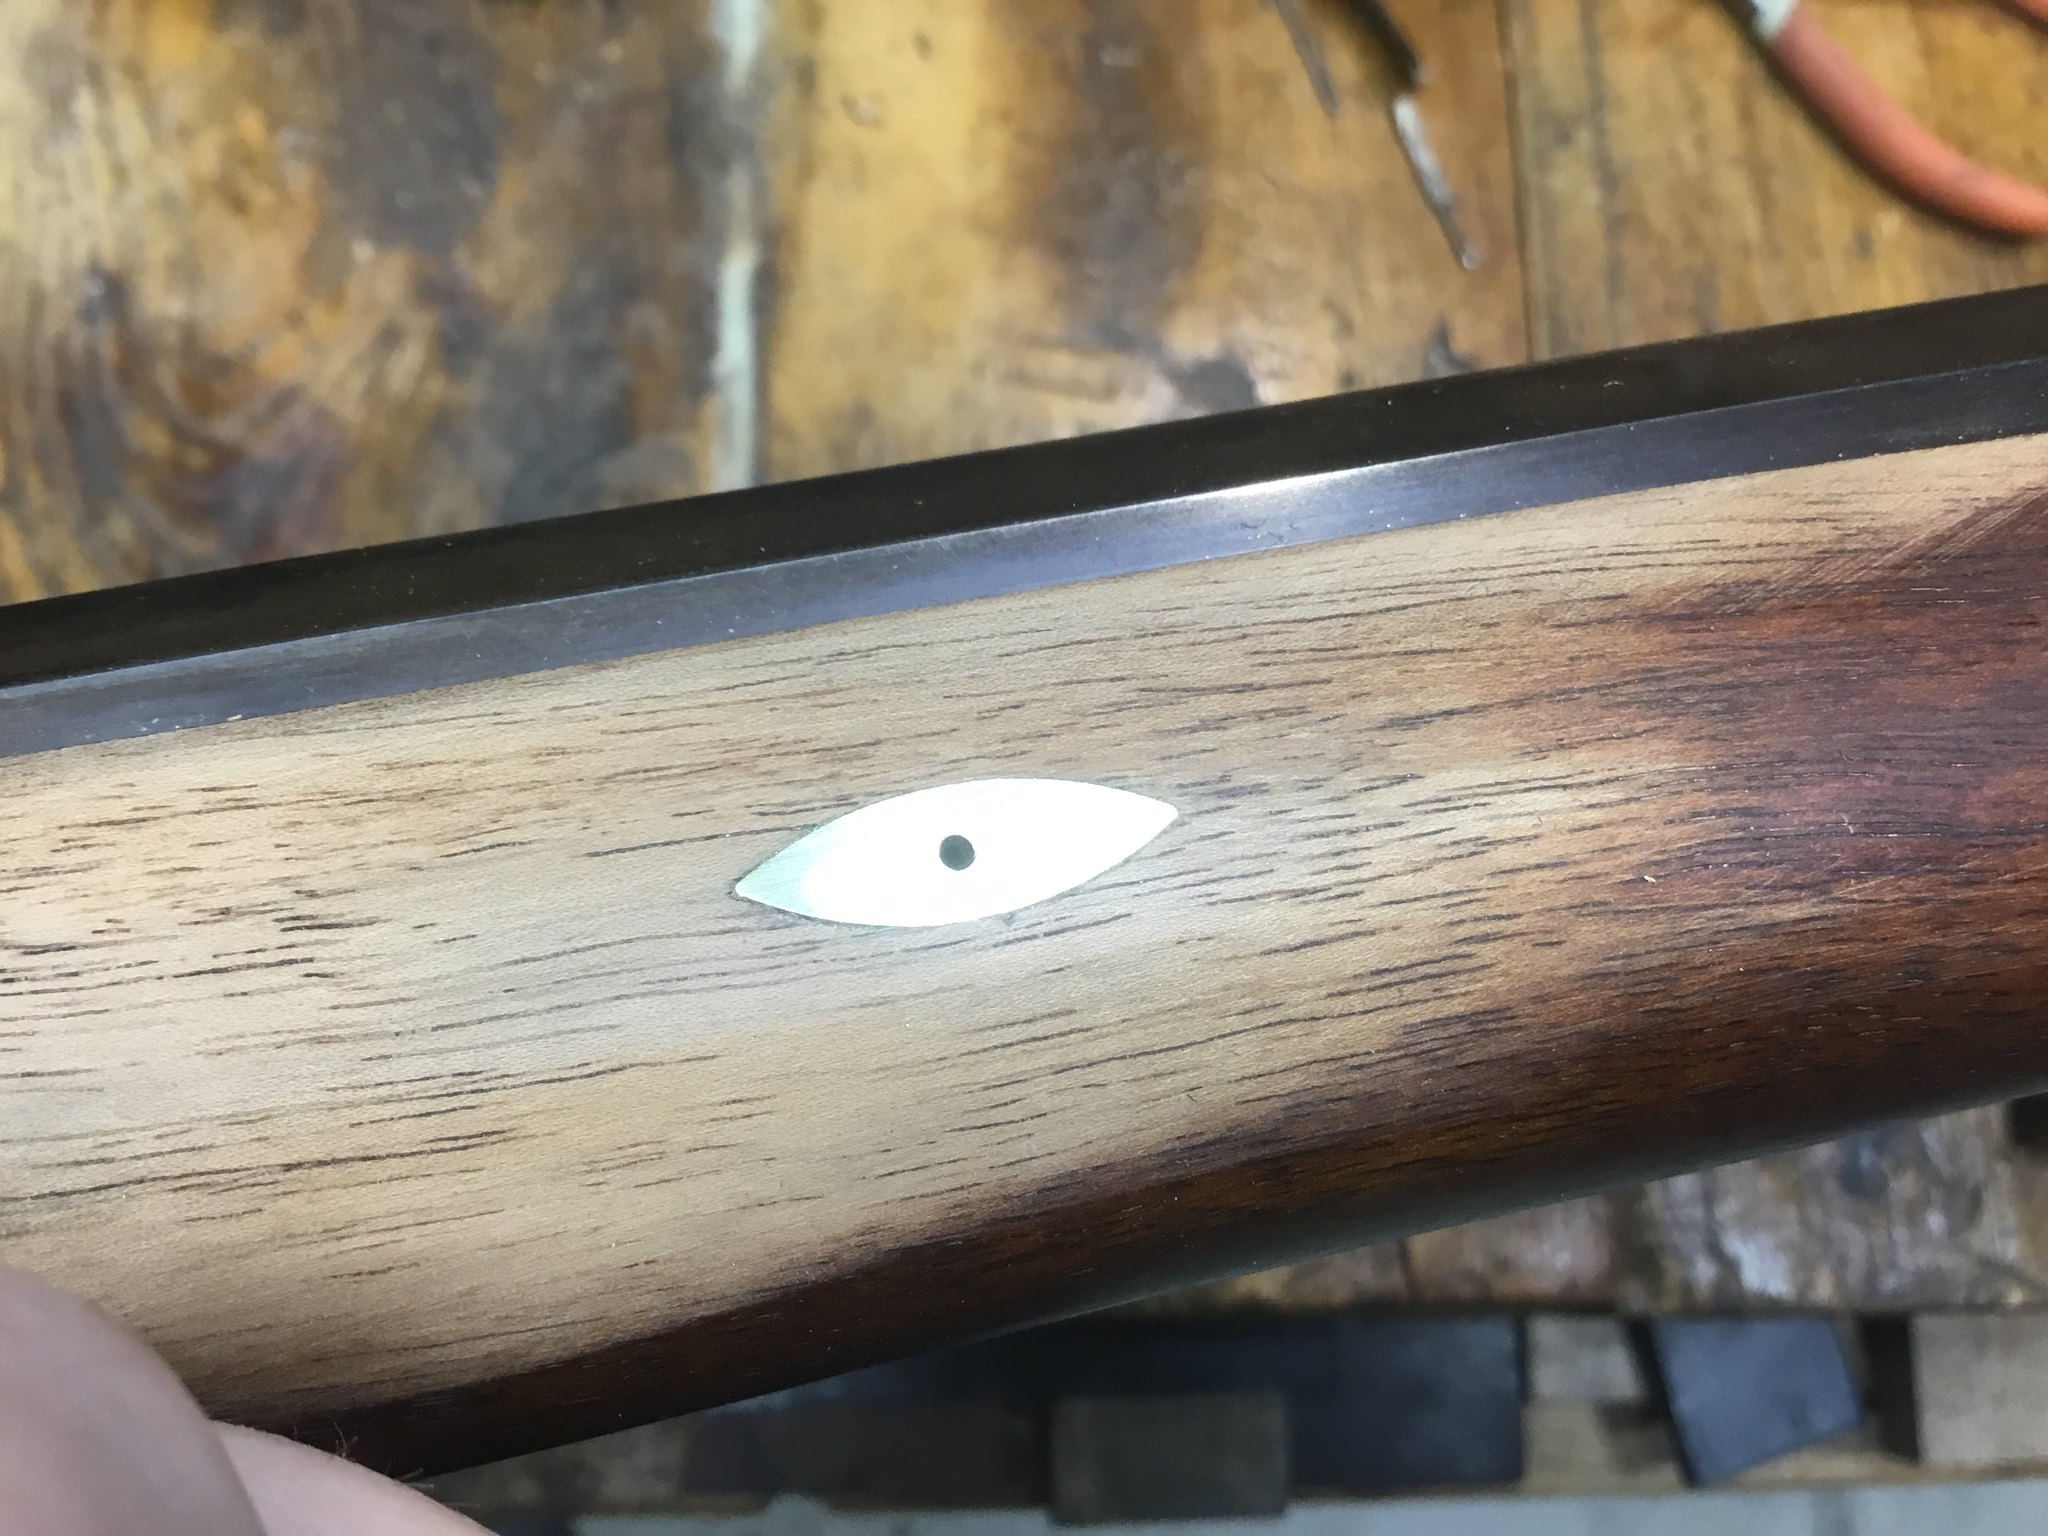 IMG_0496 by Oliver Sudden, on Flickr
 IMG_0497 by Oliver Sudden, on Flickr
 IMG_0498 by Oliver Sudden, on Flickr
 IMG_0499 by Oliver Sudden, on Flickr
 IMG_0494 by Oliver Sudden, on Flickr
 IMG_0496 by Oliver Sudden, on Flickr
Last edited:


