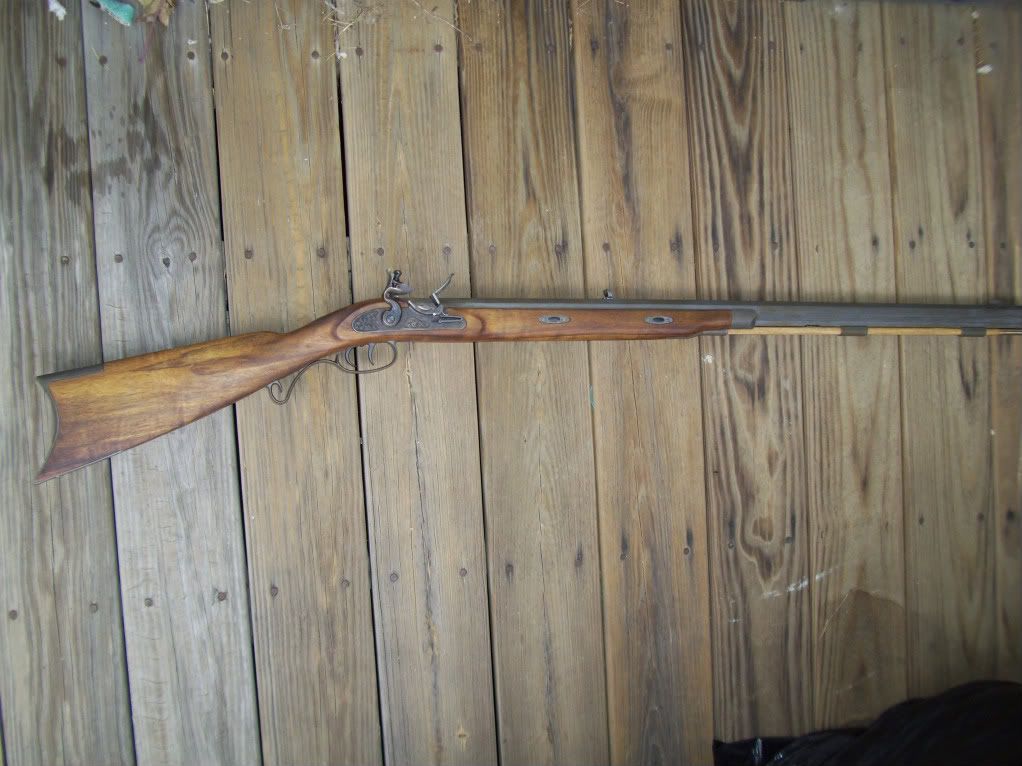
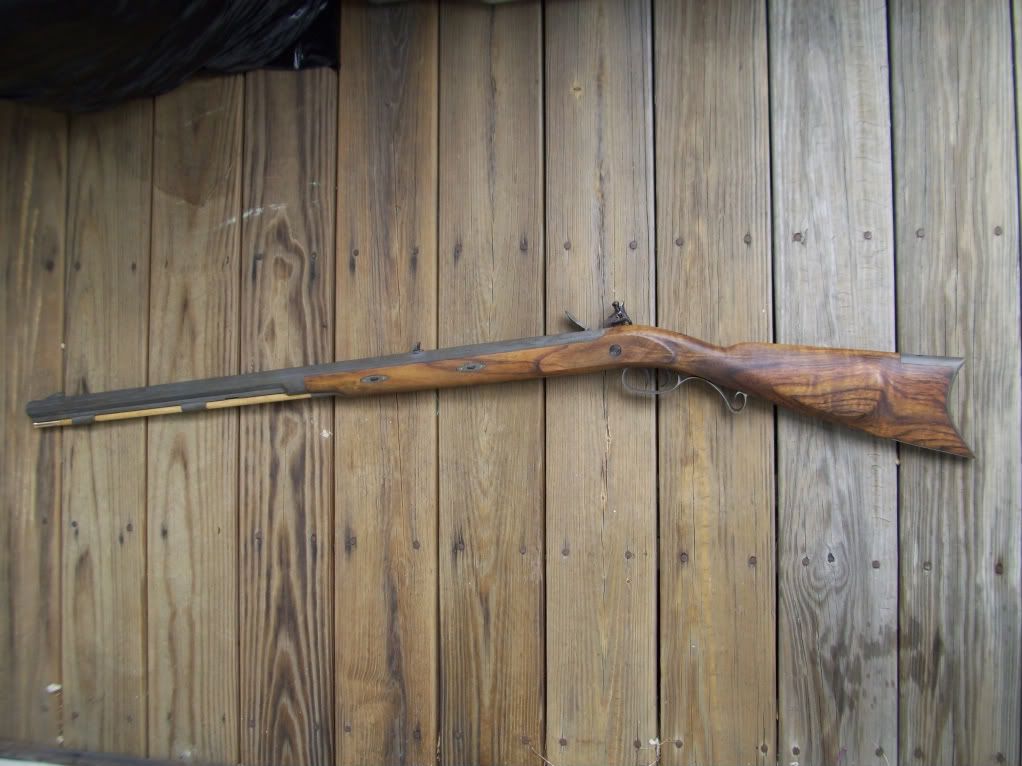
Took Patience out for her first range session

Muzzleloading Forum

Help Support Muzzleloading Forum:

This site may earn a commission from merchant affiliate links, including eBay, Amazon, and others.

hockeyref

40 Cal.
Joined
Dec 16, 2008
Messages
250
Reaction score
44
Well, I took patience out today... She's the GPR kit that I started 8 moths ago.... I'll get some pics of her up shortly, but this one will have to do for now. The first 5 shots from the bench at 25 yards. 60gr 3f Graff's, .015" precut pillow ticking, TC Bore Butter, .530" swaged ball. Thought I bought .535" balls until I got to the range and looked at the package.. I'll run 'em down range and then try some .535" balls.
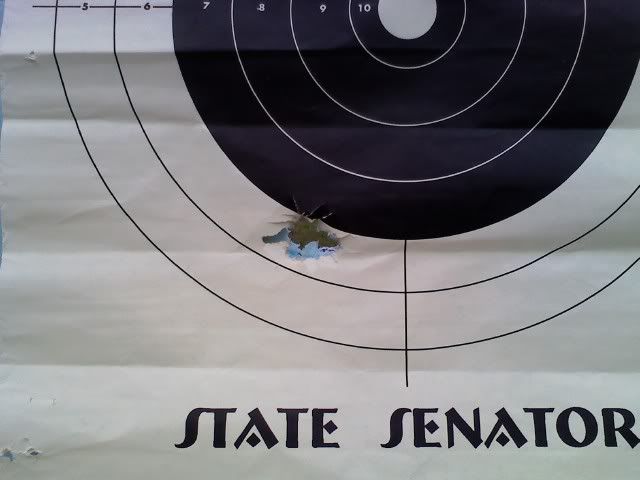
60gr_3f.jpg


First patch.... only one I found. The grass in front of the bench was high and they blended in really well. Kinda think I need to be thicker or use the larger diameter ball.
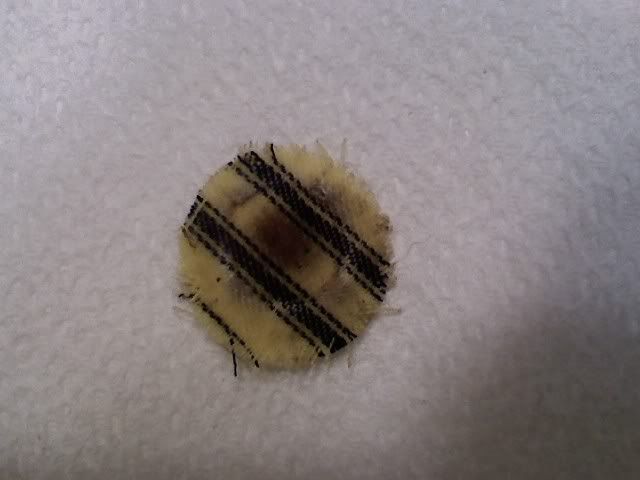
1st_patch.jpg


Bore seemed smooth enough after polishing the rough edges off. I punched the bore with an alcohol soaked patch followed by a dry one in between shots.

Moved back to 50 yards and upped the charge to 80gr and the POI remained about the same. got a couple pan flashes and weak sparks on this five... also did a spit patch and dry one instead of the alcohol patch from the first five. Probably more me (my eyes and poor light) than the load spreading stuff out... Will get back out in a couple days and make more smoke!
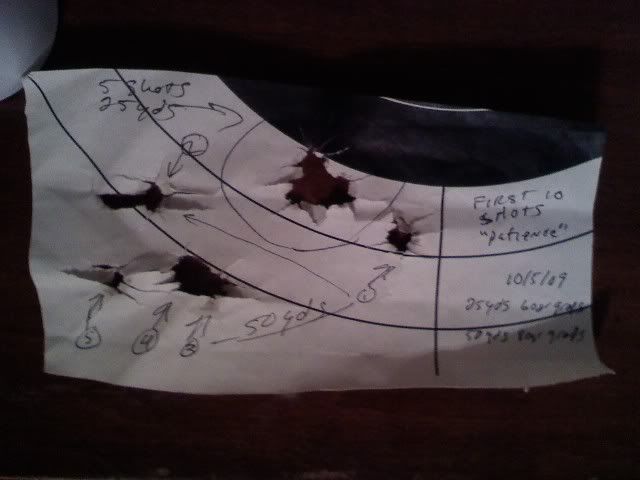
50yd.jpg
 
You still can see at least 4 land cuts to the patch in the picture, and that means you need to polish the crown of the muzzle. But, at least the gun is producing a tight group. Move back to 50 yards, and shoot for group. Then find a load that is the most accurate.

Only then, file the front sight down to bring that group up to the center of the target. All modern rifles are sold with front sights much taller than they need to be. Its done on purpose, so that YOU, the owner, and shooter, can file the front sight down to zero your groups with the load that works best for you. :thumbsup:
 
Swampy said:
What I wanna know is which STate Senator was ya shootin at? :wink:

That was an old freebie "campaign target" from Gene Porterfield here in Western PA.
 
She broke a new Rich Pierce flint thanks to that crappy pleather flint wrap that came witht he kit. gonna find a better piece of scrap leather tomorrow. I thought the flint was loosening and twisting until I took it out at the end of the session and saw that it was in two pieces in the clamp. Probably a big part of the ignition issues I experienced.
 
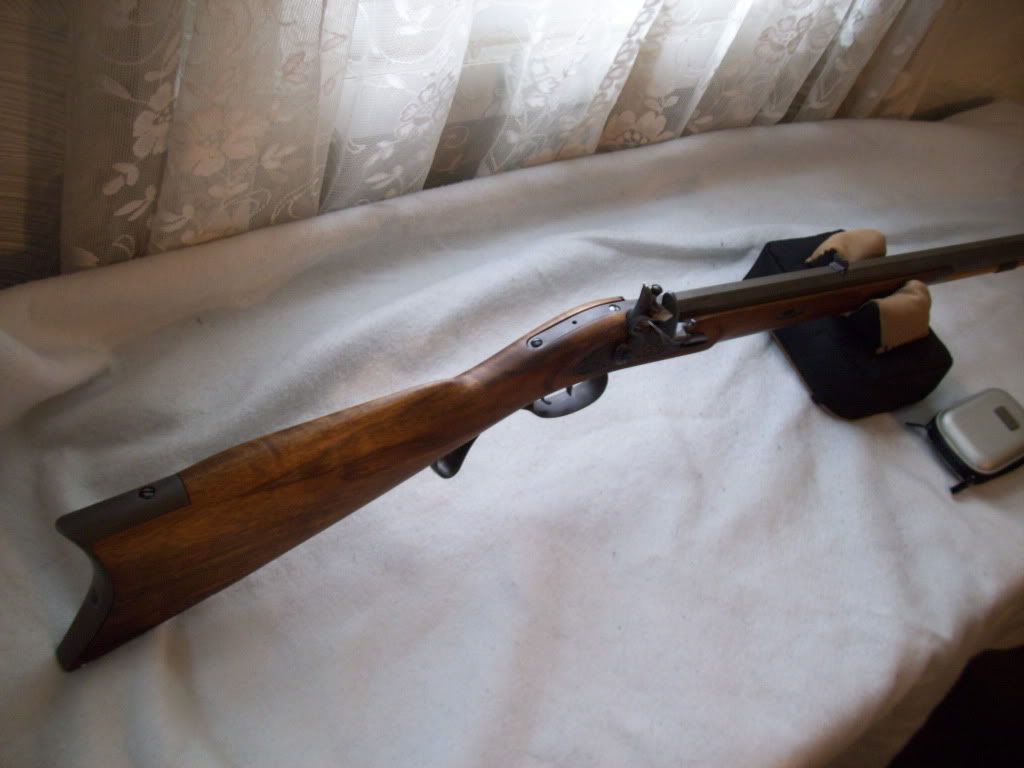
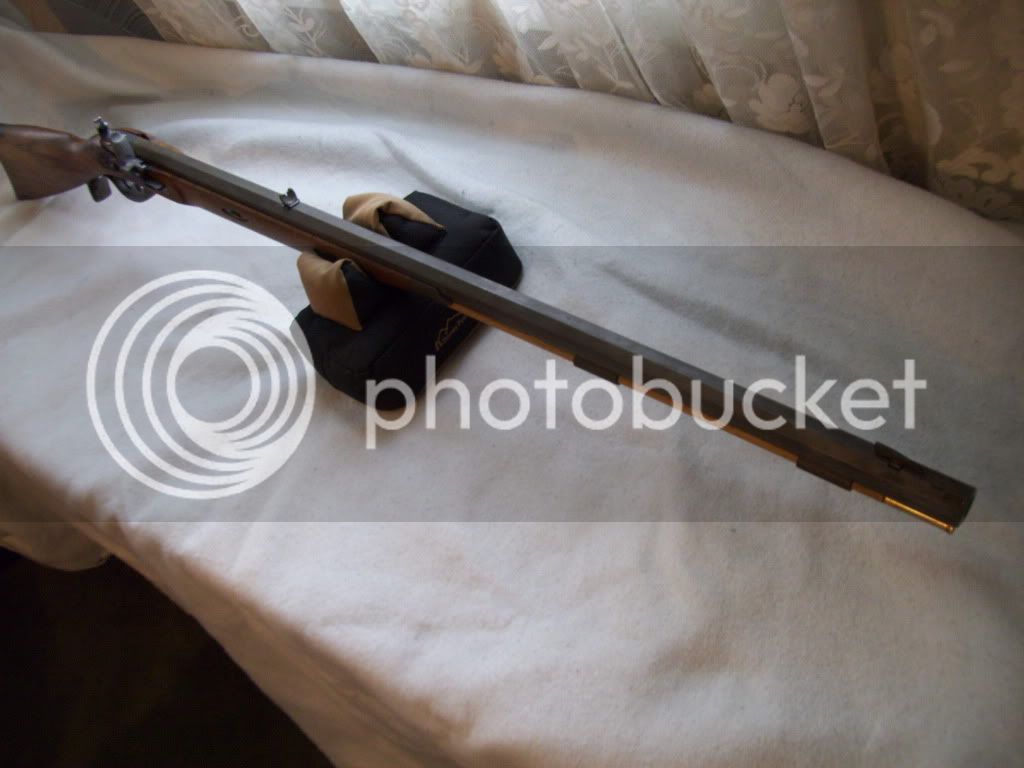
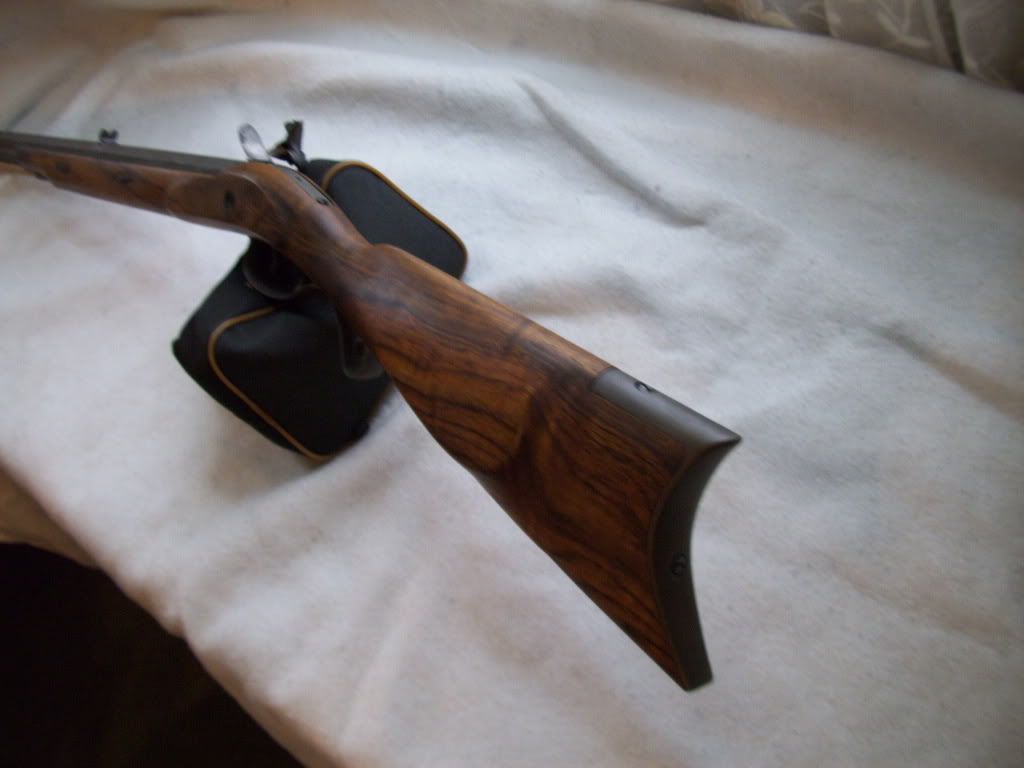
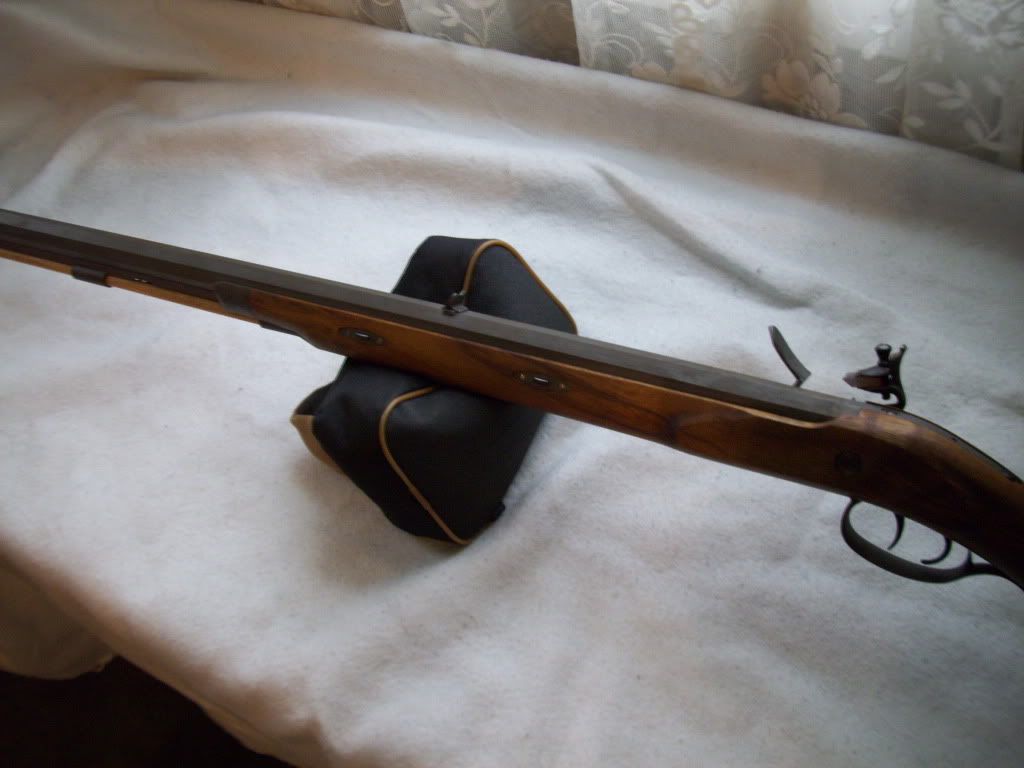
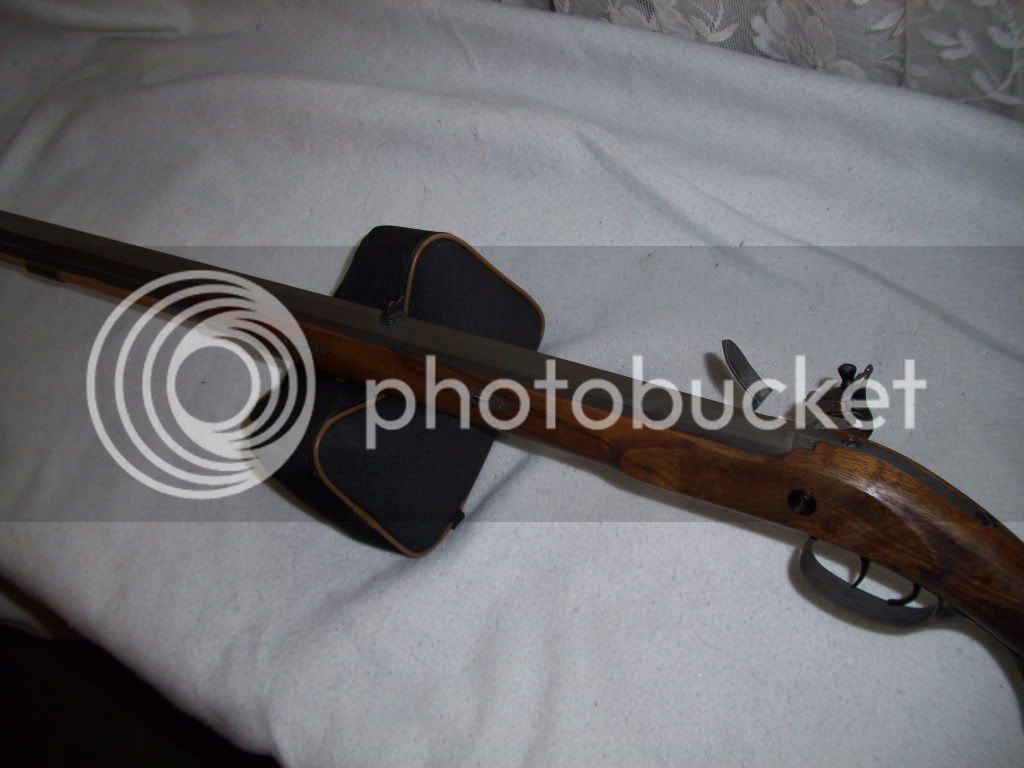
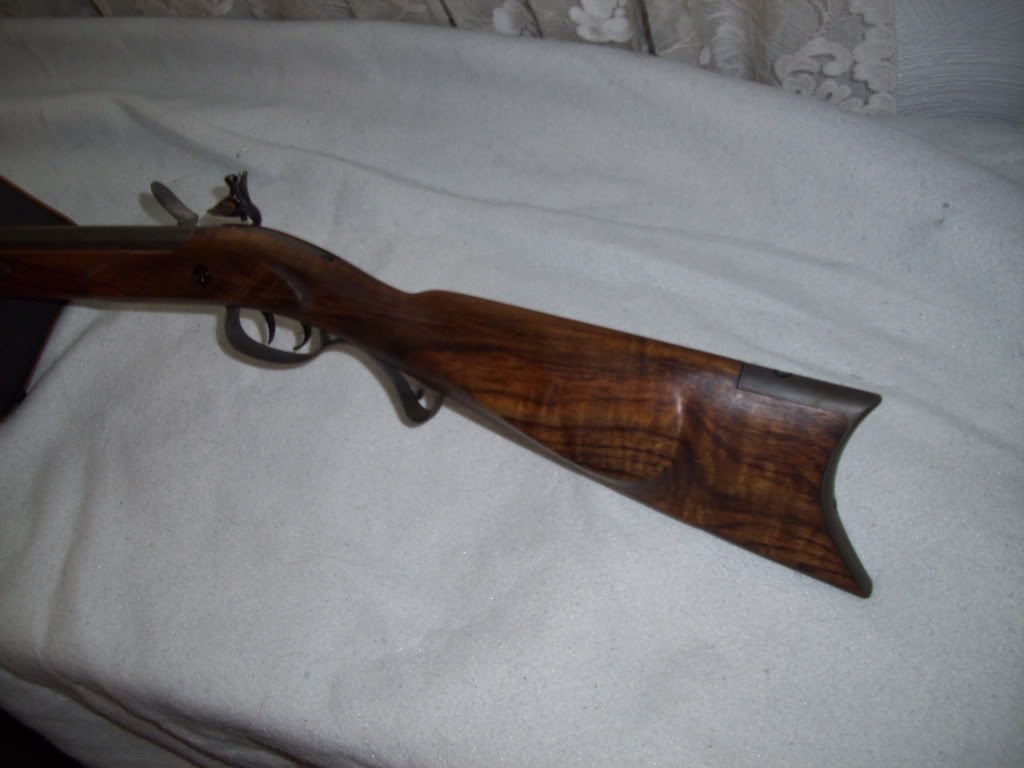
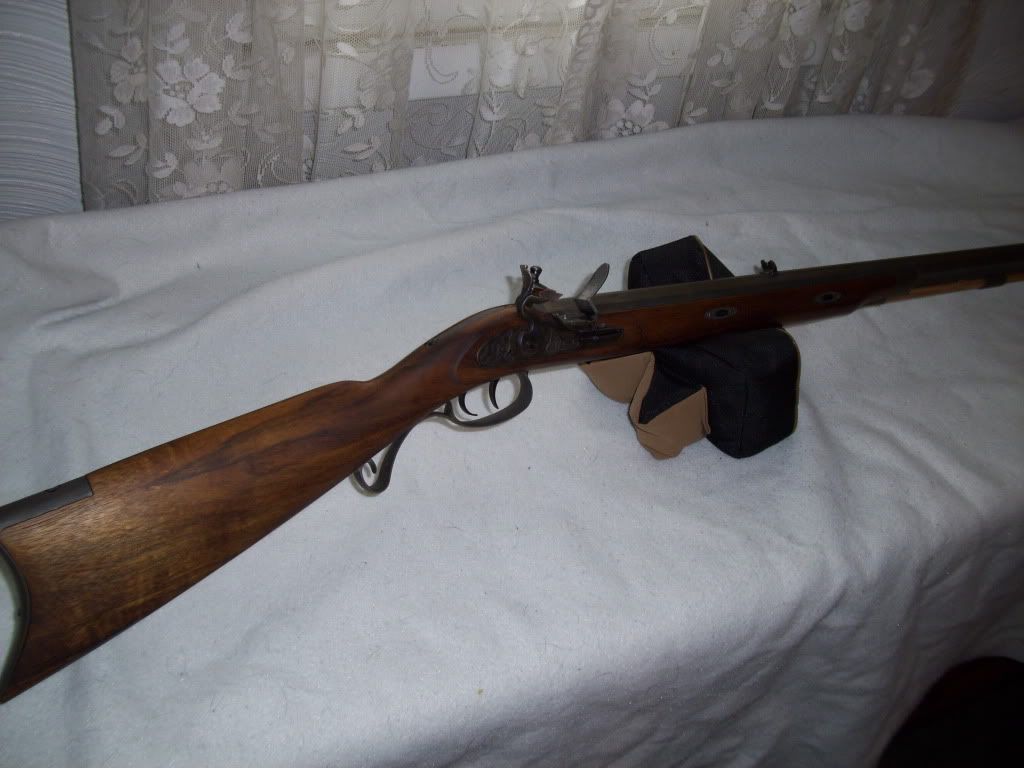
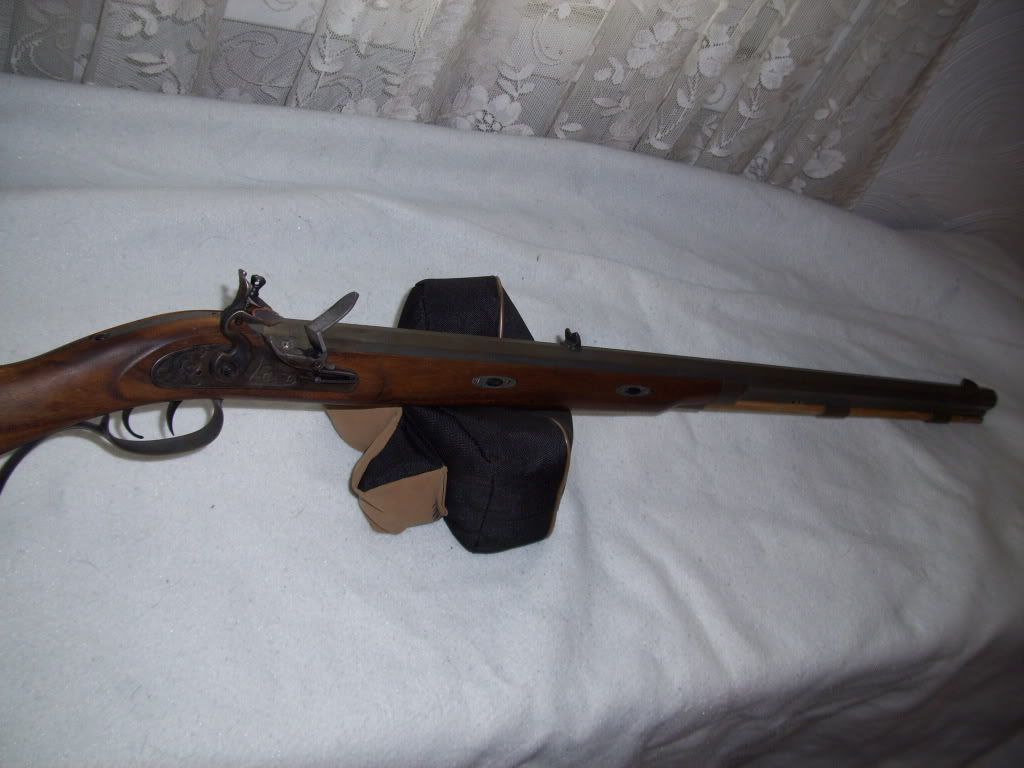
OK.. Picture time.... Stock is done with Danish oil, no stain. Metal was done with Naval Jelly.

Picture002.jpg


Picture003.jpg


Picture007.jpg


Picture008.jpg


Picture009.jpg


Picture010.jpg


Picture011.jpg


Picture012.jpg


Picture014.jpg


Picture015.jpg


Yes, I need to sand the ram rod down and stain it darker to match...
 
That's some good shooting. It will only get better as your barrel breaks in. You did a good job on that GPR. My wife bought me a .54 GPR flint kit a few years back. My favorite load is 80 grains of FFg Goex, .530 ball and pillow ticking patch lubed with Ballistol. Gives me one ragged hole at 50 yards. You're going to love that rifle :thumbsup:
 
I'm a fan of oil finishes myself. That stock looks great! :thumbsup:
 
Looks real good :thumbsup: Could you explain the naval jelly finishing process on the barrel and metal parts? Is that sort of an aging appearance or what would you call it? I like it.
 
Basset said:
Looks real good :thumbsup: Could you explain the naval jelly finishing process on the barrel and metal parts? Is that sort of an aging appearance or what would you call it? I like it.

Basically, I filed and sanded the metal down. Degreased it and brushed a thin coat of naval jelly on. I reapplied every couple hours to the small parts and cleaned with hot water every 6 hours or so. The barrel I washed in very hot water and then wiped with alcohol. While still hot I brushed the jelly on and refreshed it every couple hours. The jelly sort of dried over night so I washed it off with hot water and a rag followed by alcohol and reapplied the jelly. The first few applications left a streaky finish that evened out after a couple days of the cycles. Once I was happy with the color and consistency of the finish I cleaned with hot soapy water followed by alcohol inside and out. I then wiped it down with oil. I plan to oil sparingly to allow it to continue to develope a bit more naturally aged look. It will start out light gray (similar color to the small parts as cast) and get darker as you continue with the applications.

I debated between a vinegar and this finish as they produce a very similar finish. I went with the jelly as it eliminated needing to wrap everyting in t-shirts or rags to keep the acid in contact with the metal. It was a casual, laid back long weekend project while it was raining outside.
 
Thanks Rich... Your flints worked great...

I just need to get a better leather wrap as the "thing" that lyman calls a leather wrap is a really thin piece of vinyl stuff that allowed the cock screw to smack the rear edge of the flint. I thought that the flint had slipped until I pulled it out and it was in two pieces.
 
I have to tell you that the Naval Jelly trick is one that I've never heard of. The finish is interesting. I must admit that the raw gray color is not too much to my liking but I can sure see possibilities here. I think I might let the finish "cure" for a few months and then work it over with steel wool to smooth it out a bit and remove just a bit of the gray look. Then I think I might go over it with a few coats of Laurel Forge Browning Solution. I think that would end up with a nice antique looking finish. These are just my musings on the subject of the Naval Jelly finish. It's very interesting!

I do love the appearance of your stock. You started out with some nice wood and gave it a beautiful oil finish. Good job! :applause:

I think you have ended up with a beautiful looking and good shooting rifle. I have a GPR and can tell you they are fine rifles.

Just sharing my opinions. They are free and probably worth exactly what you pay for them. :rotf:
 
Bill,
That's kinda where I'm heading with the finish. I specifically did not want to use LMF brown or any other comercial browning product - being both frugal and unemployed at the moment. Did some research, and while I would be quite comfortable mixing up the chemicals to the recipe's of the old time browning solutions that was a bit more hassle than I was gonna deal with at this point. I thought about leaving it in the white and letting it rust naturally, but don't like shiney things in the woods... I knew that the phosphoric acid in naval jelly would "darken" the metal. This has given it a base color, now it will be allowed to get a patina of surface rust over time that I'll lightly rub in\out. Over time, I figure it will develope that "well used" look of your great grandpa's gun. I mean really, she's only a few days old! :haha:
Yes LMF Brown may be easier, but it's hardly unique.
 
Back
Top