KentuckyBlacksmith
32 Cal.
- Joined
- Nov 29, 2010
- Messages
- 35
- Reaction score
- 0
Every now and again we do one of these for a re-enactor or a period correct stickler. I think its fun myself.
*The Materials: A 9 1/2" long, 1 1/2" wide, 1/4" thick strap of 1018(wrought is correct but we didnt have any forged down to shape right then.
* A 3/8" thick forged to wedge shaped piece of 1095 (historically and good hardenable pice of steel would have been used) 1095 is just what I had handy..
Thats it for the materials..Smiths of yesteryear kept the cost down as much as possible, hence the mild steel(wrought Iron) body and high carbon cutting edge. Good steel was scarce so as little of it was used as possible..
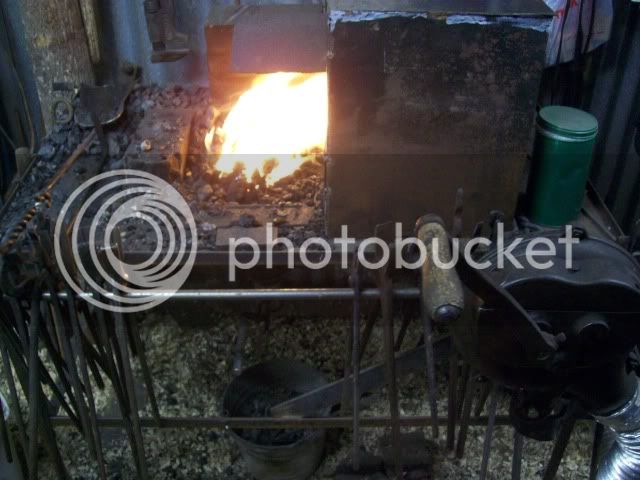
Well we are going ot use the coal forge with a hand cranked blower. Remember, no electricity
*Well heres the forge being brought up to temp, coking the green coal. We use a large deep fire to weld in and bank the coal up.
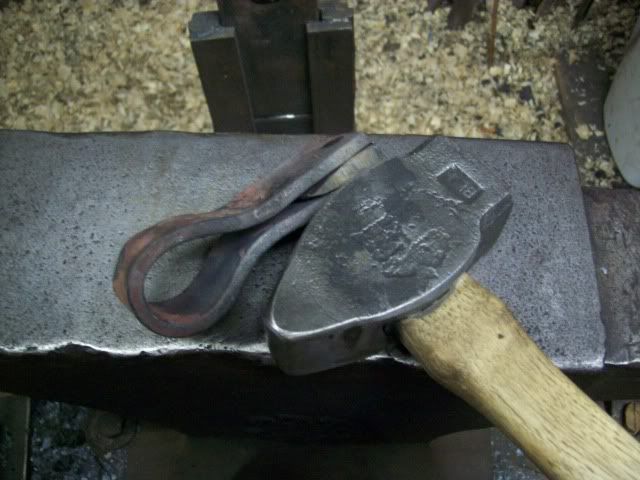
*Heres a pic of the axe head ready for its first welding pass. The eye roughly formed and the high carbon bit in place...
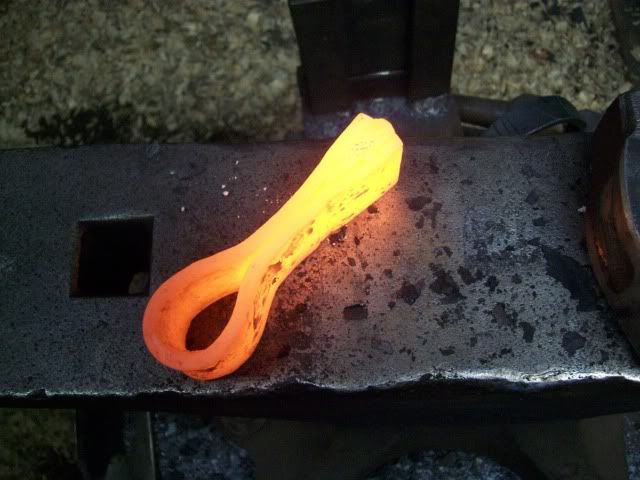
*After the very first welding pass, as you can see it still needs a couple more before starting any other magor work..
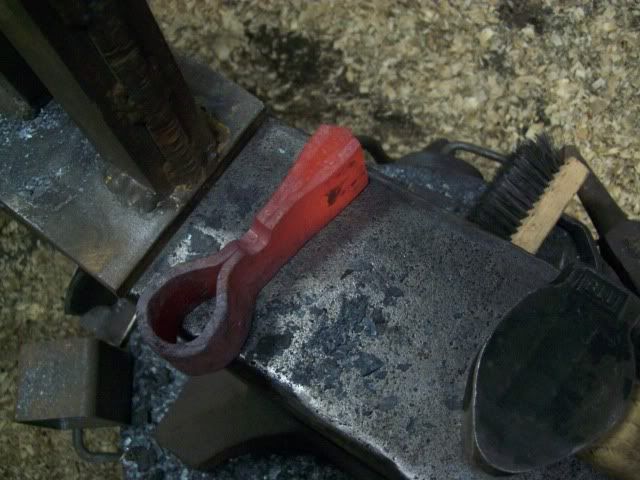
*Ok, at this point its been three welding heats and the drift as been used the first time to set the eye shape. It wll be used again in a step or two for the final shaping. You will see a pic of it there..
Here is where you see how good your weld is We use a fuller to forge a notch in the bottom of the blade. The edge of the anvil can be used but a hand held fuller or tool is better. If your welds not right here you'll bust the head apart!
*Ok, now the head is ready for shaping. You know that funny looking thing on the back of your smithing hammer???? This is what its for, spreading the blade out wide
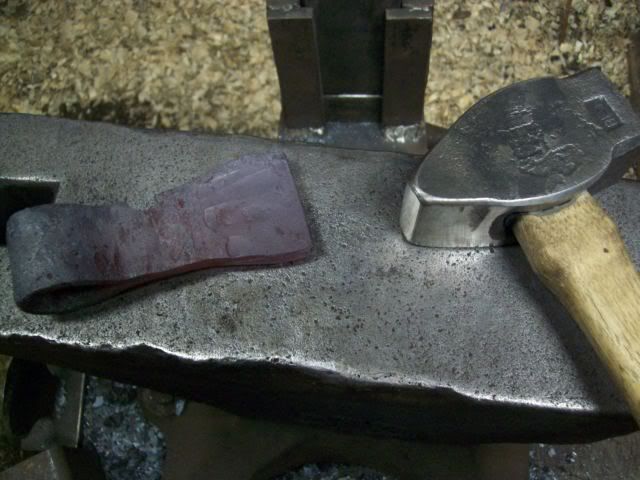
*Here we have spread the blade out and am getting ready to square it up to profile..
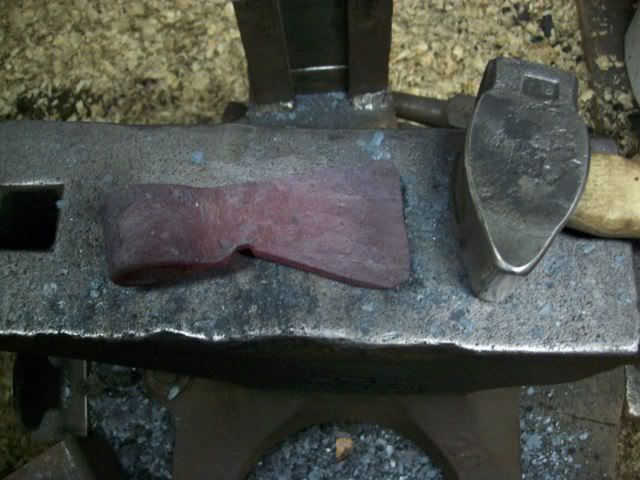
*Now we use the drift for final adjustments on the eye since about all the heavy forging is done. You can true it up again later if needed..
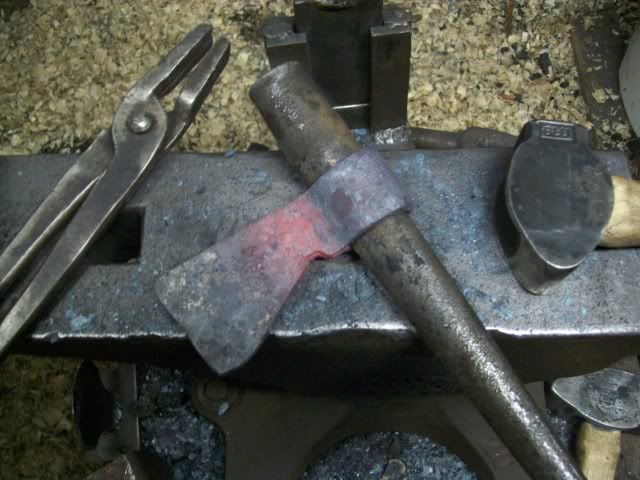
*Alright, since your using mild steel for the body its going to forge at a differnt rate than the high carbon. It will spread out over the high carbon completely jacketing it. The edge of the blade needs to be trimmed up. Again since we dont know what a 2" x 72" grinder is B) we are using a handled hot cut to trim it up..
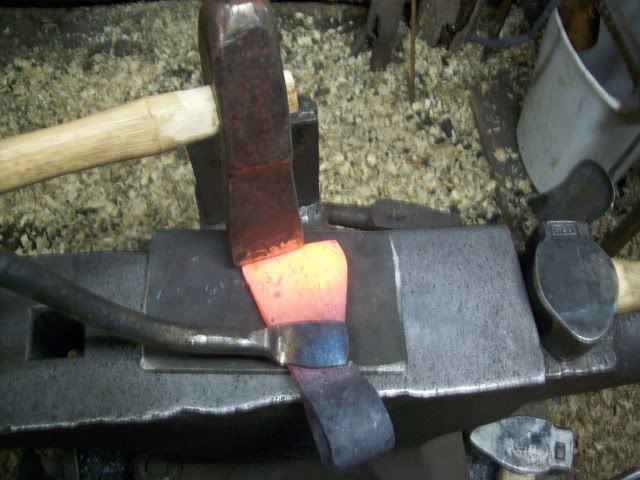
*Again no electricity so no grinder..We put it in the vise and hot rasp the head..
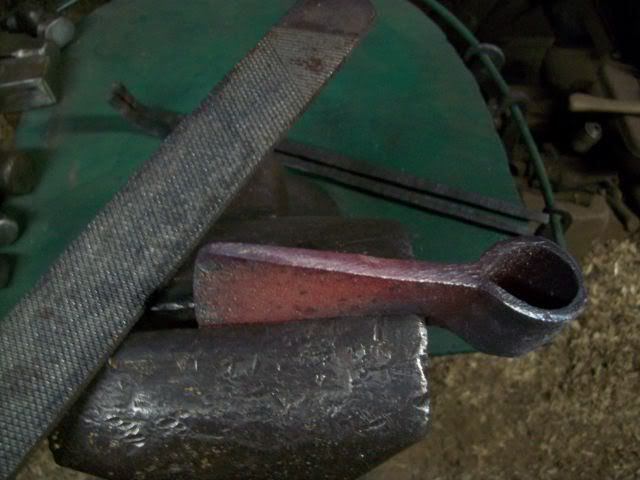
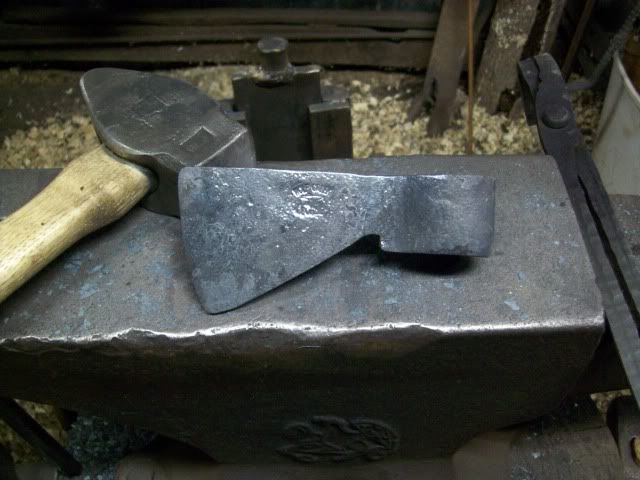
*Here we have a close final shape, stamped with a touch mark. Any filework on the spine and stoning will be done cold..This is what it would pretty much look like as a trade axe. We did go ahead and hot rasp the edge and set the bevels but you cant tell it here..Here we would have brought the edge up to temp and quenched it in the slack tub. (Now keep in mind that back then most of your average steel would not have been near 1095 in carbon content..Thats what my research shows anyway. More along the lines of 1045-1060 which is easily water quenched. Water quenching 1095 isnt for the faint of heart and takes lots of practice and preperation to do correctly. Even then you'll loose some. thats just part of the game though) Then final sharpening and out to some lucky frontiersman to use..
.
.
From what I have researched over the years I think this is a pretty close representation of how a traditional trade axe may have been made..Thanks
Please any questions or comments, fire away..
*The Materials: A 9 1/2" long, 1 1/2" wide, 1/4" thick strap of 1018(wrought is correct but we didnt have any forged down to shape right then.
* A 3/8" thick forged to wedge shaped piece of 1095 (historically and good hardenable pice of steel would have been used) 1095 is just what I had handy..
Thats it for the materials..Smiths of yesteryear kept the cost down as much as possible, hence the mild steel(wrought Iron) body and high carbon cutting edge. Good steel was scarce so as little of it was used as possible..
Well we are going ot use the coal forge with a hand cranked blower. Remember, no electricity
*Well heres the forge being brought up to temp, coking the green coal. We use a large deep fire to weld in and bank the coal up.

*Heres a pic of the axe head ready for its first welding pass. The eye roughly formed and the high carbon bit in place...

*After the very first welding pass, as you can see it still needs a couple more before starting any other magor work..

*Ok, at this point its been three welding heats and the drift as been used the first time to set the eye shape. It wll be used again in a step or two for the final shaping. You will see a pic of it there..
Here is where you see how good your weld is

*Ok, now the head is ready for shaping. You know that funny looking thing on the back of your smithing hammer???? This is what its for, spreading the blade out wide

*Here we have spread the blade out and am getting ready to square it up to profile..

*Now we use the drift for final adjustments on the eye since about all the heavy forging is done. You can true it up again later if needed..

*Alright, since your using mild steel for the body its going to forge at a differnt rate than the high carbon. It will spread out over the high carbon completely jacketing it. The edge of the blade needs to be trimmed up. Again since we dont know what a 2" x 72" grinder is B) we are using a handled hot cut to trim it up..

*Again no electricity so no grinder..We put it in the vise and hot rasp the head..

*Here we have a close final shape, stamped with a touch mark. Any filework on the spine and stoning will be done cold..This is what it would pretty much look like as a trade axe. We did go ahead and hot rasp the edge and set the bevels but you cant tell it here..Here we would have brought the edge up to temp and quenched it in the slack tub. (Now keep in mind that back then most of your average steel would not have been near 1095 in carbon content..Thats what my research shows anyway. More along the lines of 1045-1060 which is easily water quenched. Water quenching 1095 isnt for the faint of heart and takes lots of practice and preperation to do correctly. Even then you'll loose some. thats just part of the game though) Then final sharpening and out to some lucky frontiersman to use..

.
.
From what I have researched over the years I think this is a pretty close representation of how a traditional trade axe may have been made..Thanks
Please any questions or comments, fire away..


