• Friends, our 2nd Amendment rights are always under attack and the NRA has been a constant for decades in helping fight that fight.

    We have partnered with the NRA to offer you a discount on membership and Muzzleloading Forum gets a small percentage too of each membership, so you are supporting both the NRA and us.

    Use this link to sign up please; https://membership.nra.org/recruiters/join/XR045103

using guides to inlett a barrel

Muzzleloading Forum

Help Support Muzzleloading Forum:

This site may earn a commission from merchant affiliate links, including eBay, Amazon, and others.

kaintuck

54 Cal.
Joined
Jul 12, 2004
Messages
1,811
Reaction score
14
;D
1. get blank~
beststock_zpsfk1hxc0r.jpg

2.Profile your blank~
1st%20cuts_zpsdsqtngdl.jpg

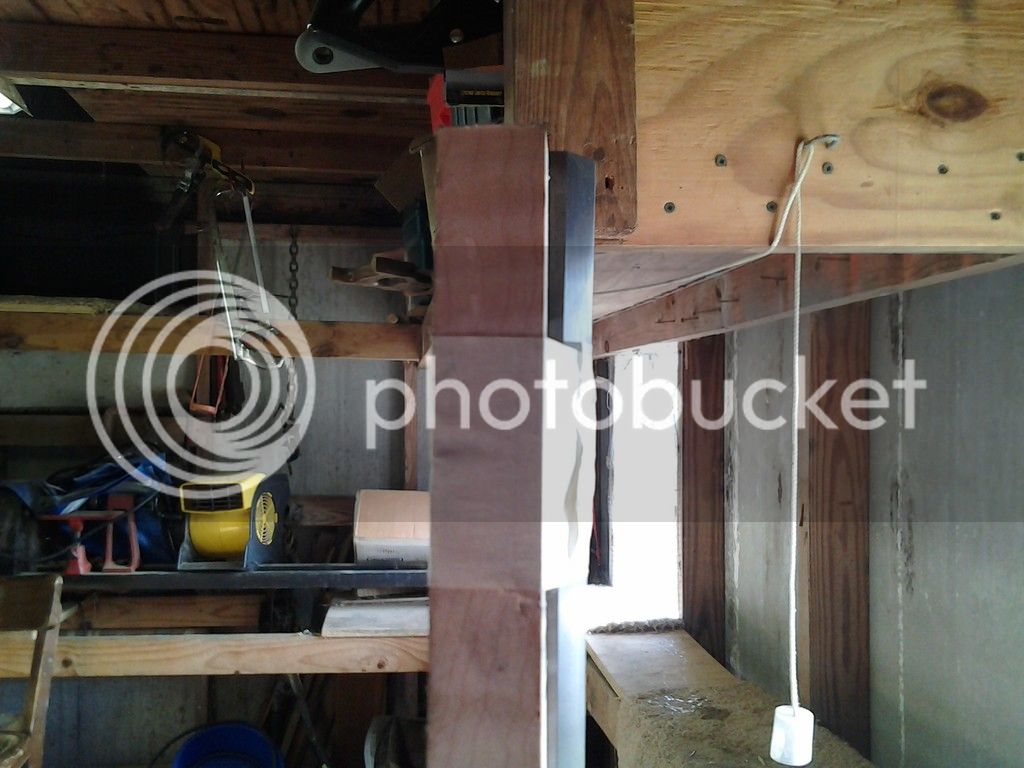
3.Measure the barrel, adjust washers to match the barrels contour~
0516150847a_zpsuhw6i7fr.jpg

3rd_zps7ox4iaia.jpg

0516150844a_zpscc4698bz.jpg

2nd_zpscviawlf1.jpg

4.make sure your bit depth matches how you want to cut the groove~
routerbit_zps00cuuj1q.jpg

5.routed baseline groove....and then I handcut the rest~
0516150904_zpstciddi0r.jpg

6. inletted~
end_zpsvxzcrqnd.jpg

tang_zpspu0zmfti.jpg

0517150746_zps7405lict.jpg


i have a 45degree bit~ I have moved the guides and completely used a pony router for the entire job...but I chicken out on this piece of wood, and resorted to hand planes for the 45 and sidewalls.........
hope this explains the guide and pony router techique~

marc n tomtom
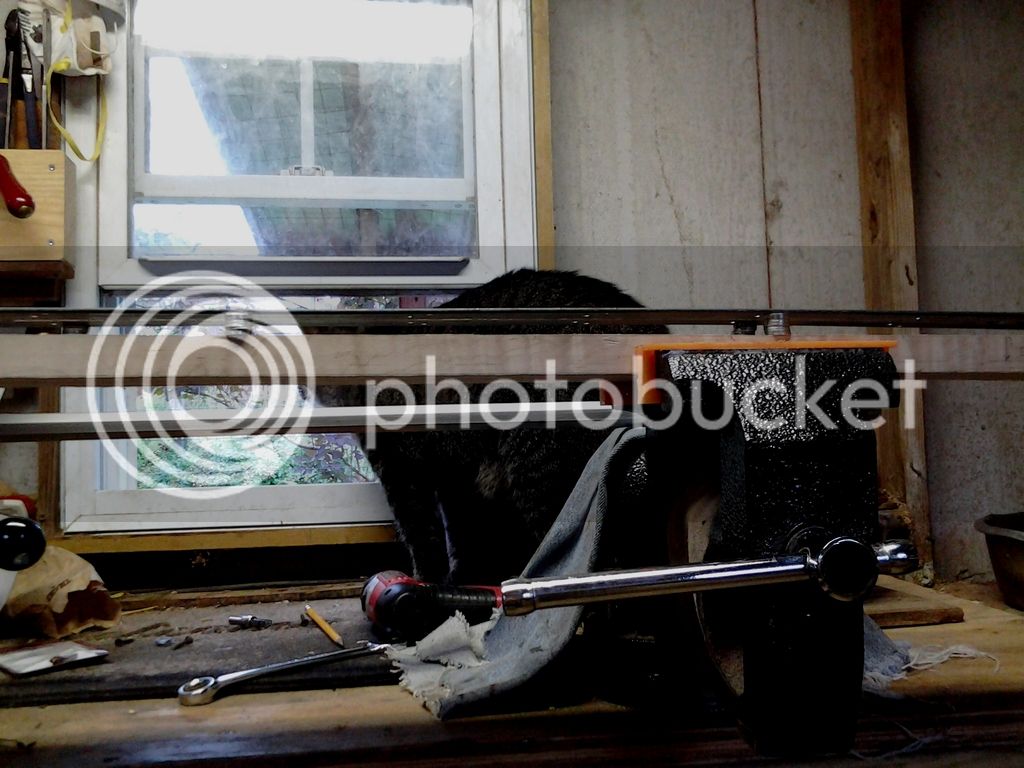
and WHY do it this way????? I'll let tomtom tell you.................
0726141131a_zps099a13b3.jpg
 
:thumbsup: More than one way to skin a cat.. :shocked2: :doh:

just kidding :blah:

nice pictorial :hatsoff:
 
In the first photo Tom Tom was too far above the
stock to sight for straightness, but then he has more experience than I do , being a beginner. :grin:

Please keep us posted with lots of photos.

Jack
 
kaintuck said:
;D
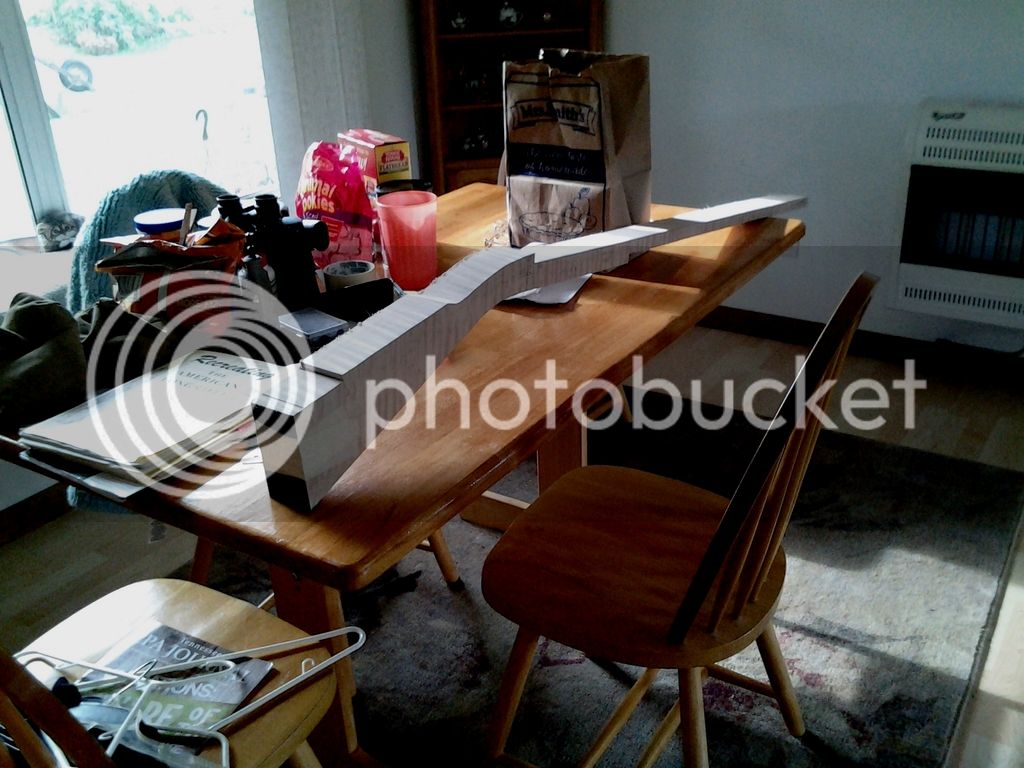
1. get blank~This is skittle, looking at the blank...
beststock_zpsfk1hxc0r.jpg

2.Profile your blank~
1st%20cuts_zpsdsqtngdl.jpg

3.Measure the barrel, adjust washers to match the barrels contour~
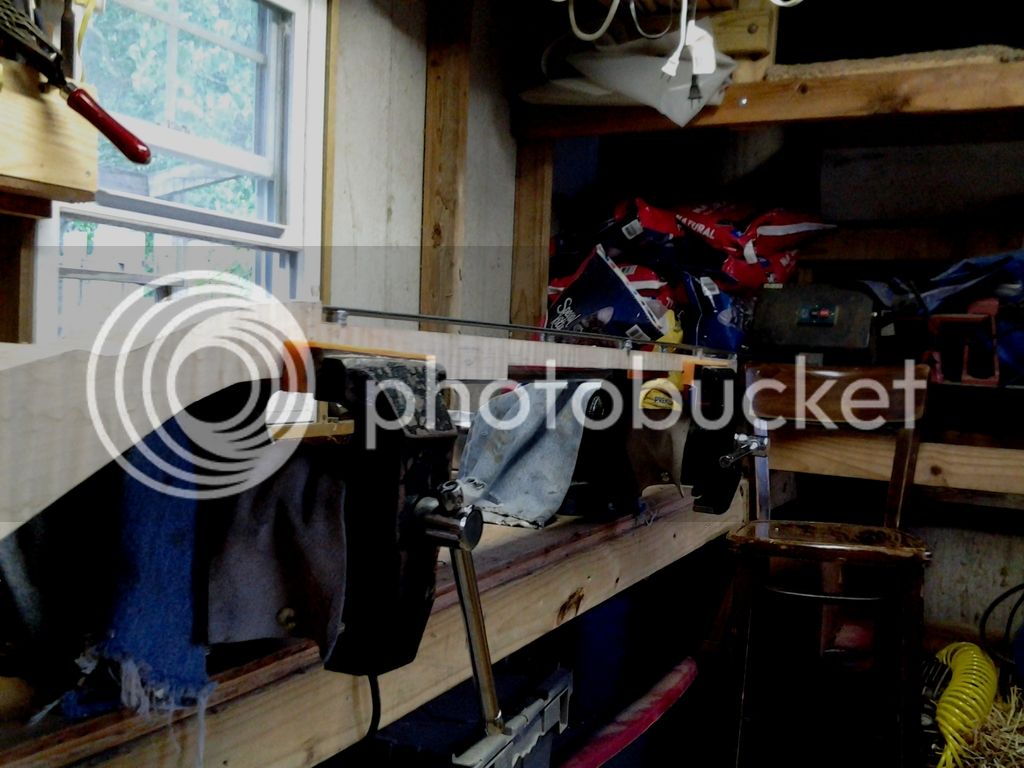
0516150847a_zpsuhw6i7fr.jpg

3rd_zps7ox4iaia.jpg

0516150844a_zpscc4698bz.jpg

2nd_zpscviawlf1.jpg

4.make sure your bit depth matches how you want to cut the groove~
routerbit_zps00cuuj1q.jpg

5.routed baseline groove....and then I handcut the rest~
0516150904_zpstciddi0r.jpg

6. inletted~
end_zpsvxzcrqnd.jpg

tang_zpspu0zmfti.jpg

0517150746_zps7405lict.jpg


i have a 45degree bit~ I have moved the guides and completely used a pony router for the entire job...but I chicken out on this piece of wood, and resorted to hand planes for the 45 and sidewalls.........
hope this explains the guide and pony router techique~

marc n tomtom
and WHY do it this way????? I'll let tomtom tell you.................
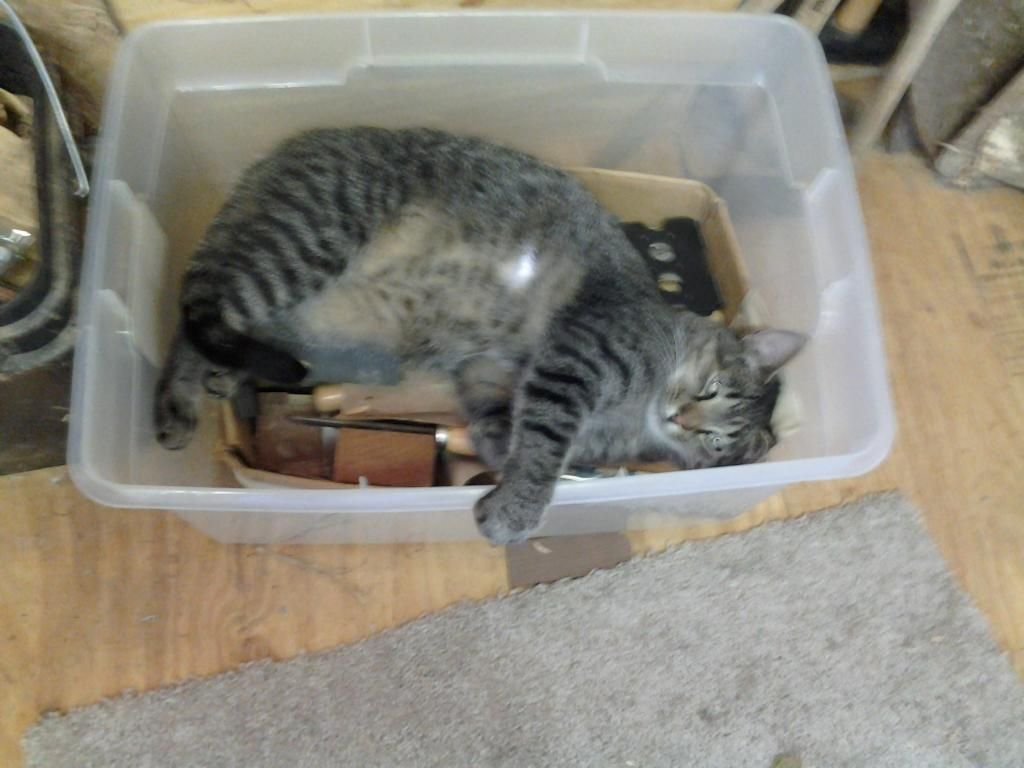
0726141131a_zps099a13b3.jpg

Lazy kat......
 
How long does it take you to inlet a barrel this way?

Cats are good quiet company, when they're not bumping into your elbows and knocking stuff over that is.
 
It takes me about the same timing.....6-8hrs. Difference is my elbows and hands feel better!
Prep time is where it slows down, I did the RR groove this morning, from start to finish about 4hrs.....very little rasp/gouge workings.....also used my power drill for the TOTW drilling bit into the hole.

And no break thru!!! :grin: :grin: :grin:

Now back to the CS build.......

Marc n tomtom
 
Red maple, I think he said 6?......been awhile.....dunlops was where it came from, and basically, I asked him to just pick out a very nice one and send it, and gave him my CC number :v

Oh, tomtom said you can trust them.......and he was right!

Marc
 
MD~
Yes, just use thin enough flat bar to follow the contour....both vertically and laterally......this barrel IS a swamped B weight...

The washers allow up and down, and screwing it to th excess outside wood that gets cut off allows the lateral movement.

I started doing it this way because my hands cramp from inletting. :(
Marc n tomtom
 
John Bivens and Wallace Gusler re-discovered this trick years ago. Bivens used 3/8" square stock for the rails, placing the screw holes as near the edge as posible, and forcing the rails to the swamped barrel, which sat in a roughed out channel. He then cut in with a back saw that had the tooth set ground off on one side. Both Bivens and Gusler had often noticed saw marks in some barrel channels of originals, and found thread marks still on the fore arms of a couple that had not been completely removed in finishing. They put two and two together, and gave it a try, which was very successful. Of course, the screws have to begin ahead of the lock and side panel positions. Bivens used no washers that I recall. Just counter sunk holes.
 
My first 4 swamped bbl LRs were done per Bivins rails which were 1/2" square. The numerous closely sized screw holes are crowding the outside of the rail opposite the side that is against the bbl. No washers are used because they might allow slippage.

The rails are clamped against the located and clamped down bbl and the screw holes are drilled and the many screws are installed. As was said...a back saw w/ the teeth filed off one side is held against the rails and the saw cuts are made to depth.

I then made a series of drilled holes down the bbl length to get rid of much of the wood. A gouge then took out the webs and the 45 degree flats begin to be chiseled after some fitting of the bbl contour. Then it's a matter of chiseling until the bbl is "home".

The wide rails as pictured will not enable a swamped bbl contour to be cut.....only a straight or tapered bbl...not flexible enough to be clamped against a swamped bbl contour. Could only be used for roughing out a swamped bbl.

No longer inlet swamped bbls....I send them to Dave Rase for the bbl inletting and RR work.....Fred
 
A good treatise for this entire procedure is given by Bivins in the book, "GUNSMITHING TIPS & PROJECTS", by Dave Wolfe. An excellent book for the gunsmith to have, whether a pro or hobbyist.
 
:shocked2:
oh yeah....I forgot to say, watch your saw teeth...it will make your channel 1/64" gap~~~ :doh:

I like this method~if your blank is wide enuff for the rails~
I thought if I had a router table, and was a straight barrel...... :stir:

maybe next rifle.........
marc n tomtom
 
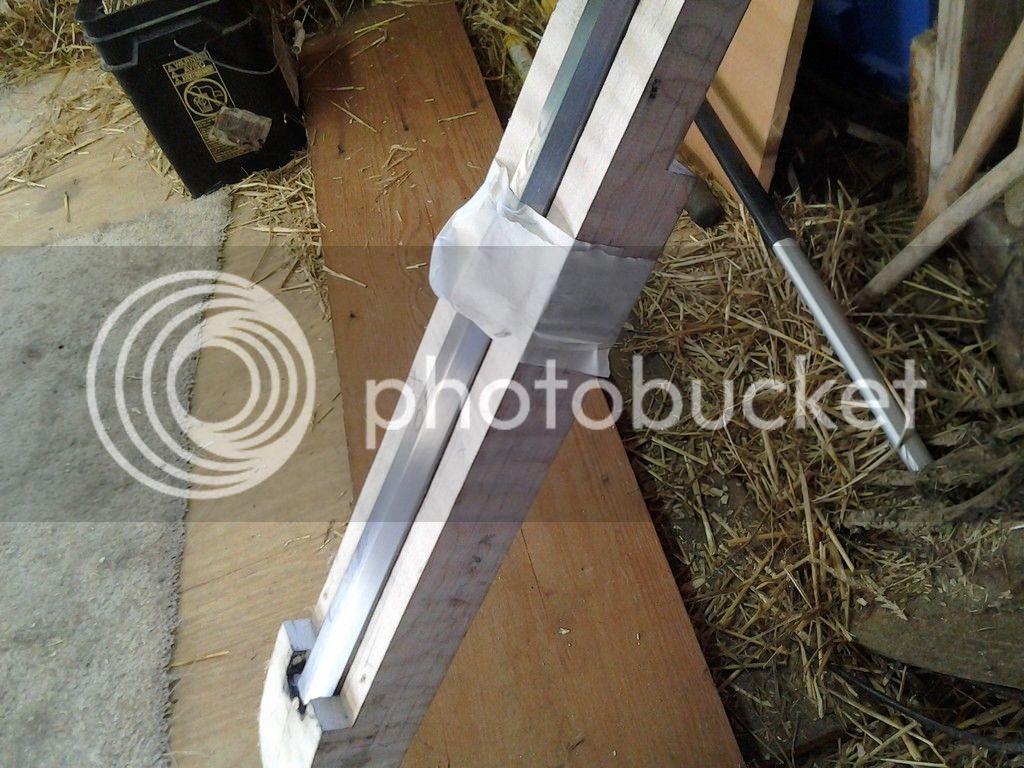
This is how you "convince" the rails to follow the a swamped barrel.

(my rails are 1/2" wide and 1/8" thick - just "weldable" steel from the local auto supply place)

Inlet7_zps957cd274.jpg


This process is also briefly covered in "The Gunsmith of Grenville County".

And I also prefer Red Maple. It's a little easier to work with than Sugar Maple and "curl" occurs about 10X more frequently, so you can get some "wicked curly maple".

Don't know what this would be rated at - bought it right from a wood supplier simply as Red "curly maple"

HawkenFSblank_zpsb7fe923d.jpg
 
I clamped much differently.....after the bbl is clamped very tightly onto the wood, the 1/2" square rails are clamped on both sides of the bbl. Sandwiching the bbl w/ rails on both sides eliminates any force trying to move the bbl off location. In your pic, the clamp is on the rail and the stock....this will move the bbl off location? Seems so unless you're doing something to prevent bbl movement.

At any rate, many screws and clamps are req'd for the rails to work. Some inlet swamped bbls w/o using rails?....Fred
 
What you can't see in my pic is that I have the barrel clamped into the (existing) channel that was (hacked) out.

I start by rough cutting a channel that will (roughly) allow the bottom three flats to "mostly" sit in.

Inlet2_zps159d91e7.jpg


Inlet3_zps502d82bd.jpg


I do imagine there is a couple of different ways to achieve the same results.
 
Back
Top