


- Joined
- Nov 26, 2005
- Messages
- 5,265
- Reaction score
- 11,133
Hi,
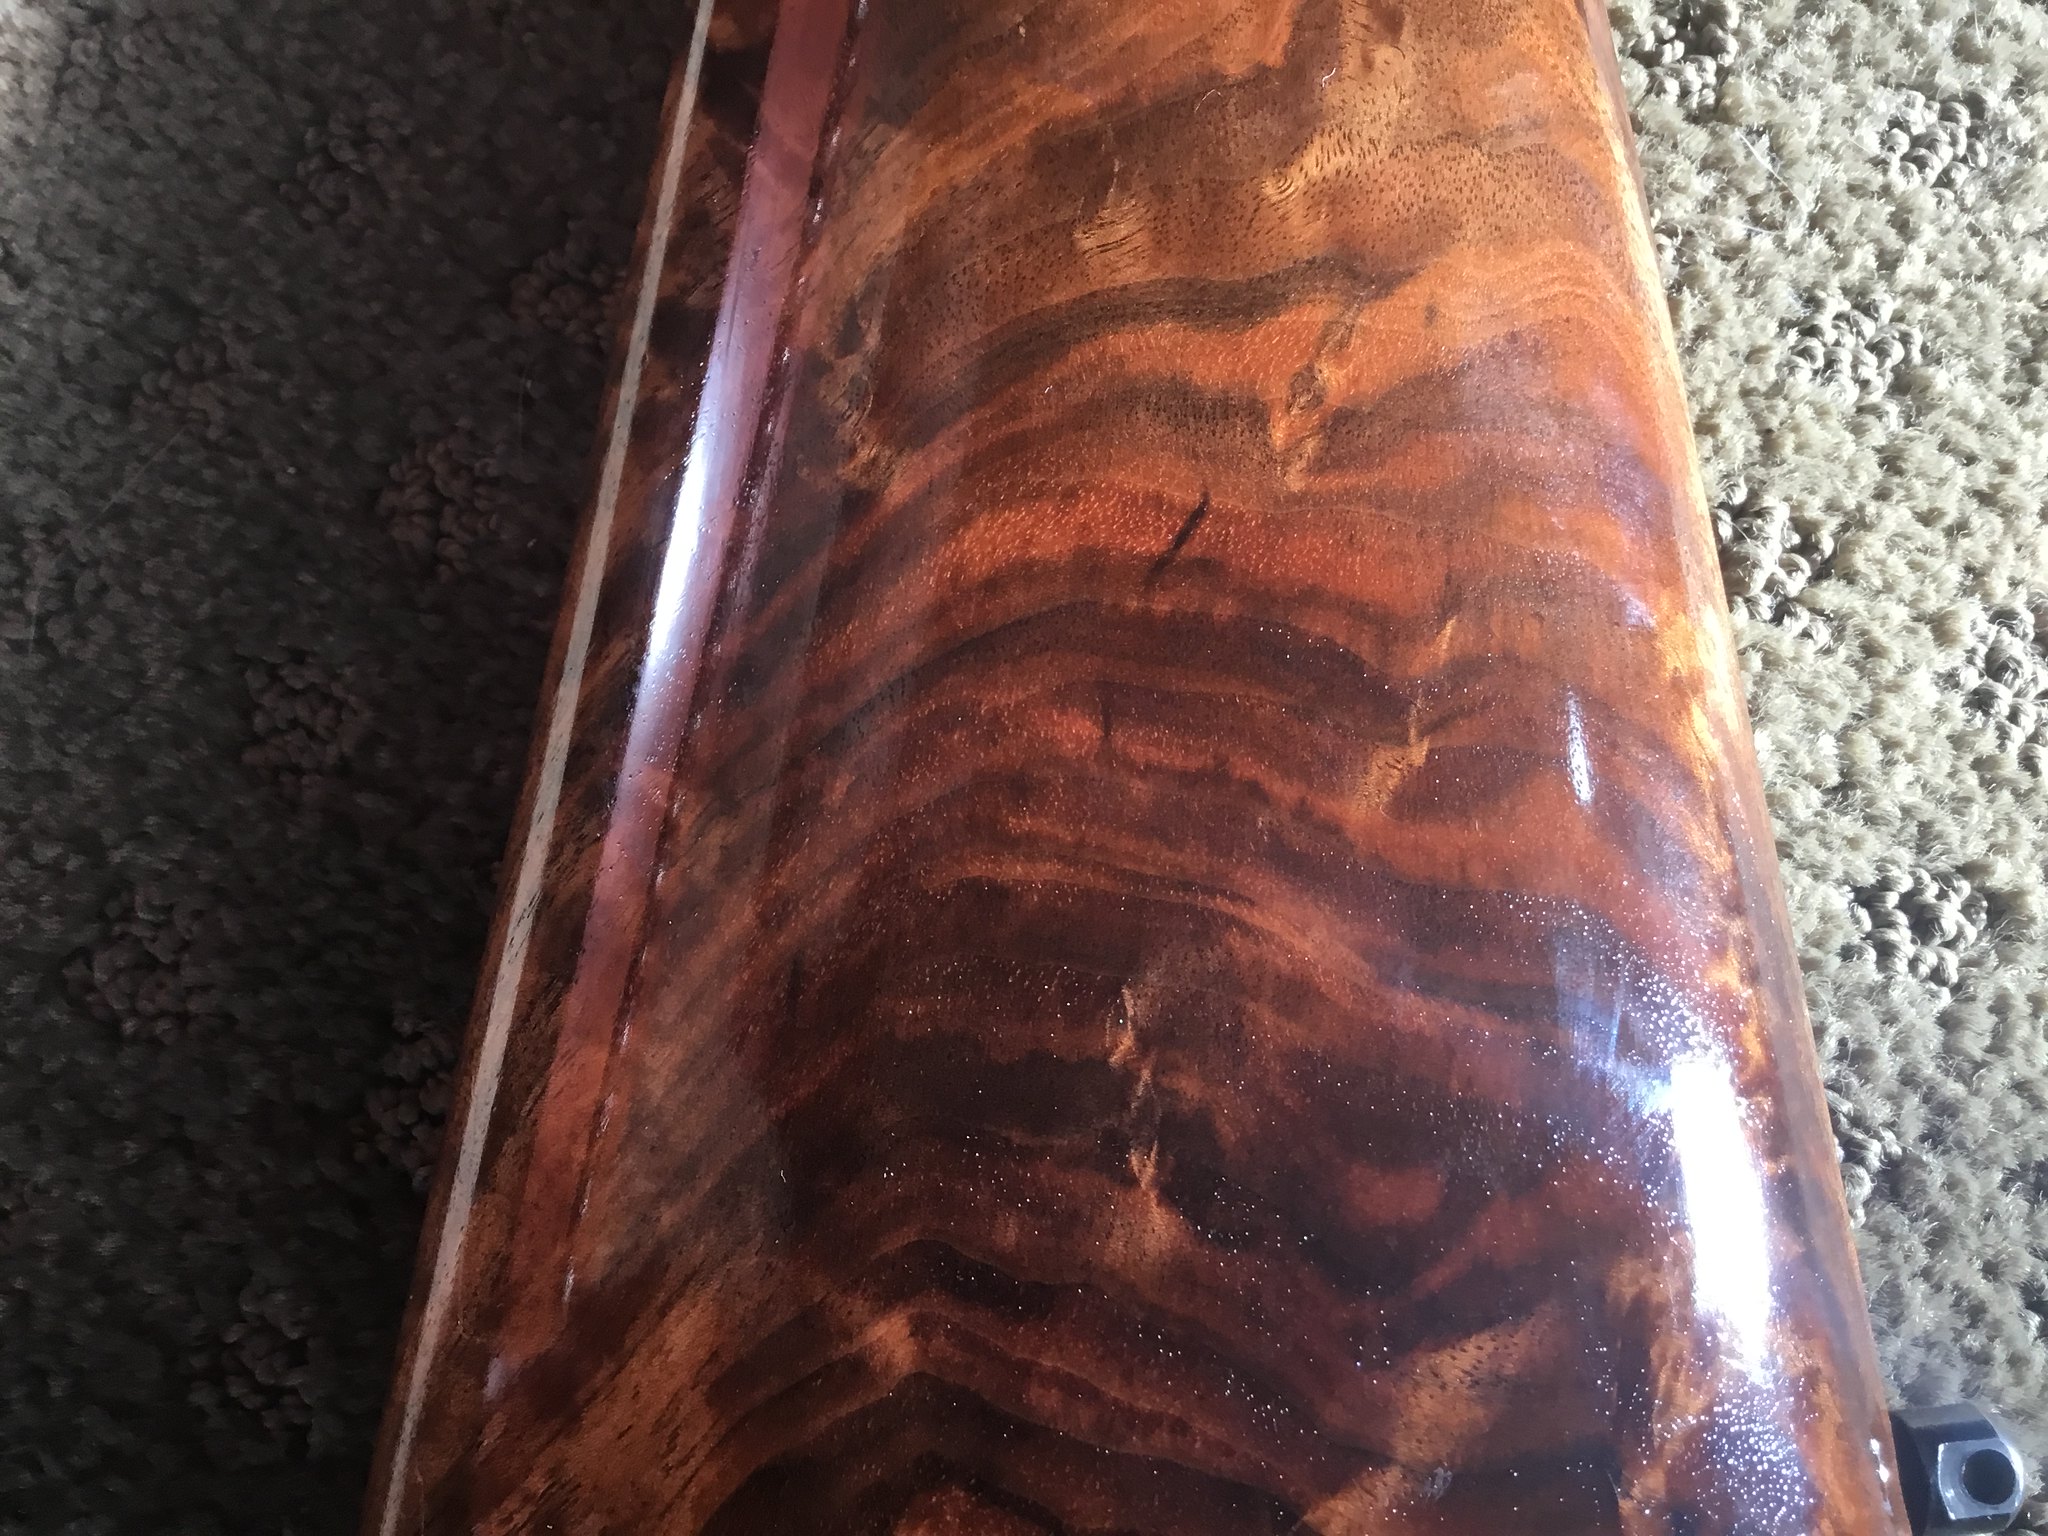
As long as you sanded the stock smooth after letting the slurry dry, you probably just need to add more coats of finish. It concerned me when you wrote you applied a coat, waited 15 minutes and then applied another coat. I may be misunderstanding you but after sanding the dried slurry smooth, and I hope you let it dry for 24 hours at least before sanding, then apply a coat of unthinned finish. I use a maroon Scotch Bright pad to apply the finish but do not try to sand the stock just use the pad to lay on the finish. I let it sit for no more than 15 minutes and then wipe all of the excess finish off the stock. Get it out of every nook and cranny. Then let dry for 24 hours before applying the next coat using the same procedure. Keep applying finish until you get sheen you want. It will take a few days or a week to do it. No need to sand between coats but you must let the previous coat dry for at least 24 hours before putting on the next coat. You will eventually have shiny and dull areas as the finish builds up. Just keep applying coats until you have the look you want and it is even. The secret is wipe off all excess finish and let dry for 24 hours between coats.
dave
") Thank you for the reply!
Thank you for the reply!


