Sorry It's taken so long to get back to this subject, I had some learning to do as far as putting this all together and getting photo's to load the way I wanted them to.
First let me say that this is the way that I have found works best for me and is not the only way.
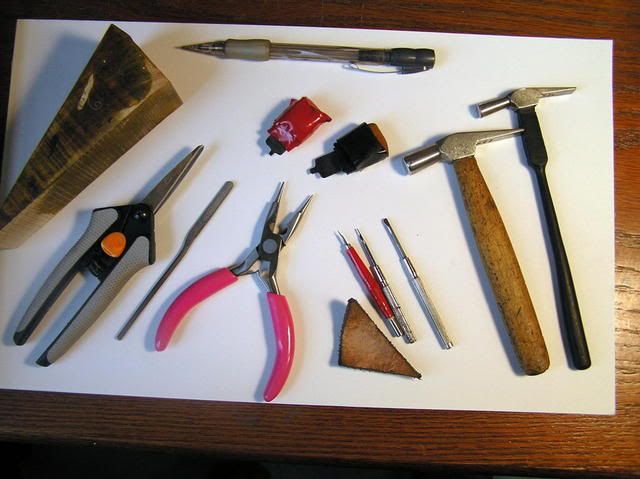
These first few photo's are of the basic tools tha I use:
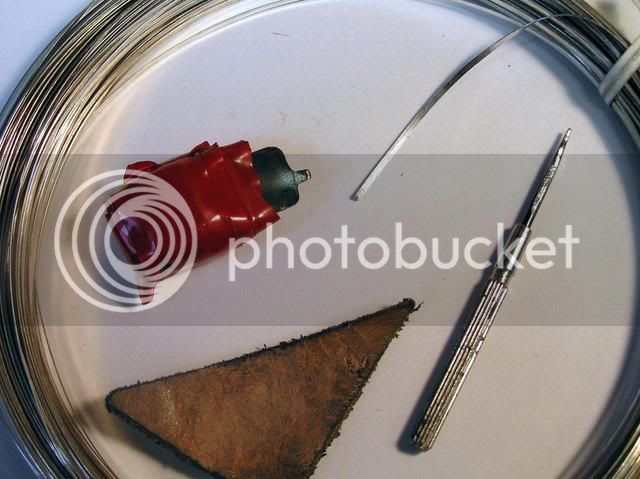
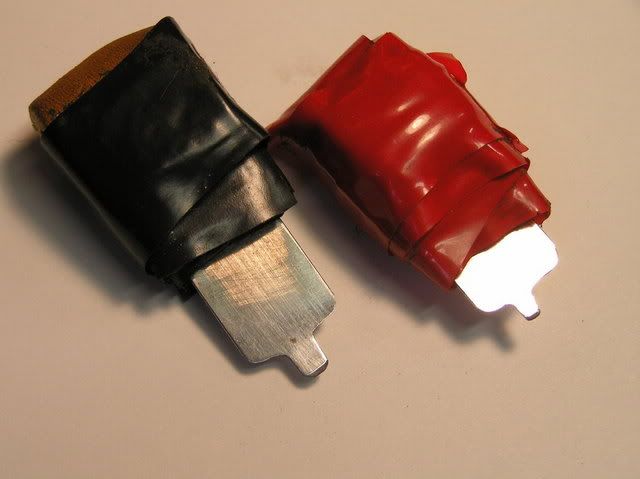
these two tools are the ones that I use to inlay 90% of all my wire. The wire by the way is fine silver rolled to 13x55 thousands.
these are made from hacksaw blade stock and are ground and polished to the thickness of my wire( maybe a little thicker), they are used by pushing with my hands and guided by finger and thumb pressure, if a person wanted to tap them in they would only need to make the shanks a couple inches longer, I just like the control and feel i get this way.
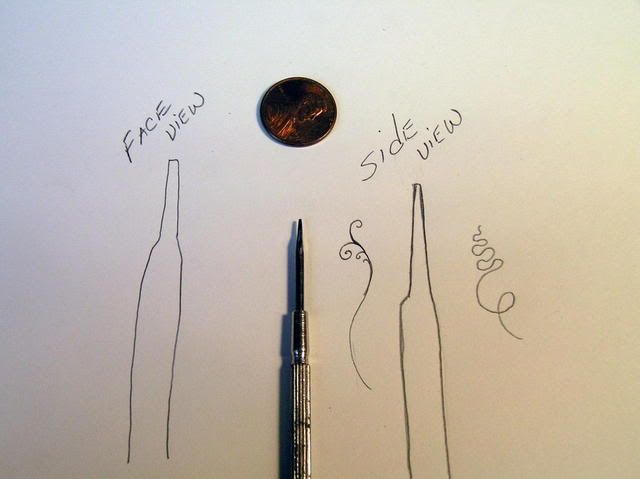
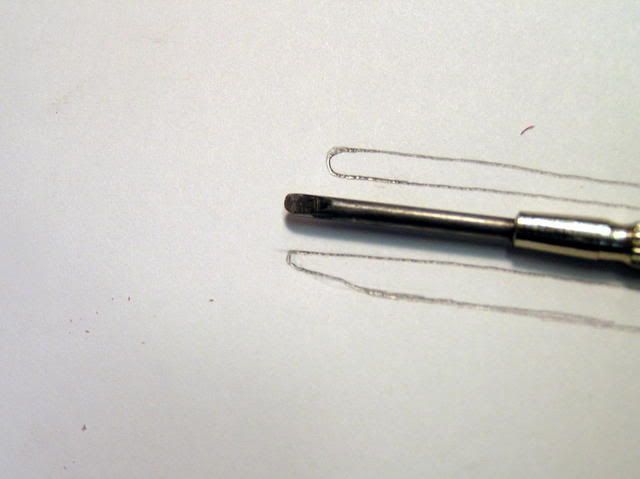
this tool I use for making the wire groove in small radius's and scrolls, it is made from a mini screwdriver and the swivel top has been ground off and shortened to fit my hand. The working end has been shaped and polished with dremel attachments and the leather is used between my hand and the top of the tool for protection.
this tool is used for pushing inlayed wire to staighten it out and smooth your wire shapes. It was made the same way as the last tool but has a blunt and flat polished face.
this photo show the start of inlaying a simple straight wire for basics, I push the tool in and rock it just a little deeper than the the wire will go and advance down the line overlapping a little from the last insicion. You should try to keep you insicions as straight up and down as possible, especially at the begining and end of every line.
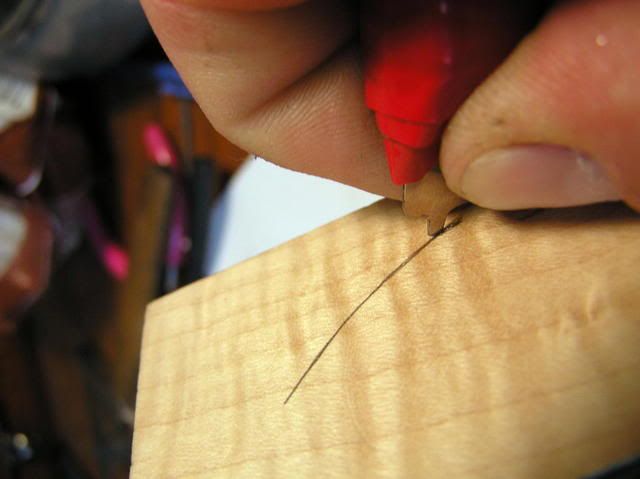
once your groove is made you need to prep your wire by clipping the very end square and then laying it on a block of wood and scraping across it with a needle file to give the wire serrations which give the wood something to swell up around and grab on too.
start by placing the wire snug up against the end of the groove and pressing it down along it's length,you can also tap the wire in but try not to pound it all the way flush as a little raise can help you do some straightening afterwards. Clip off the other end as square as possible and press down. the next step is to take a drop of water on the end of your finger and swipe it across the inlayed wire and the wood will swell up around it, at this point I use a small blow dryer called an embossing dryer, found at most craft stores to dry the wood completly so I can go on to the next one.
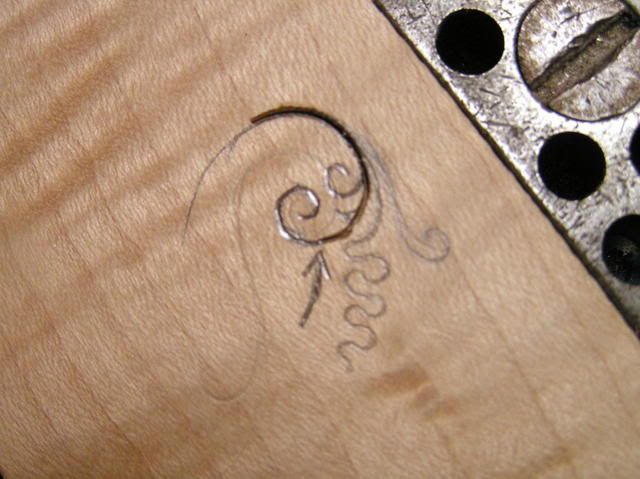
In doing scrollwork the design is layed out in pencil and the main stem is done first as all other wires will taper onto it. the main body is grooved with the wide tool until the radius is such that you cannot groove without running out of your intended line, at which point you use the fine bladed tool made with the mini screwdriver. I have penciled in an arrow showing where this point is on this scroll.
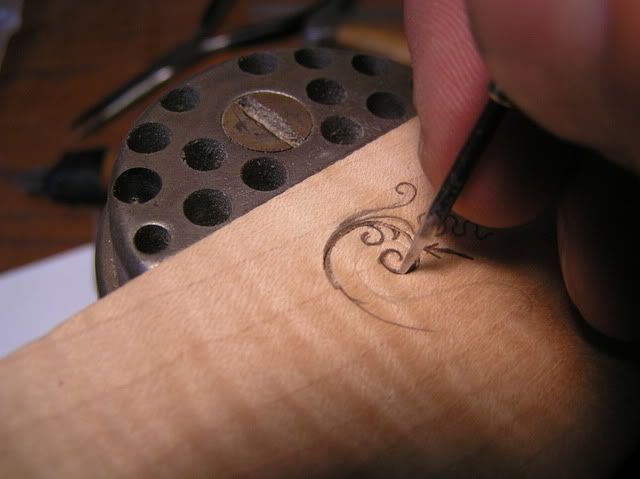
In using this tool you need good light and I use my thumb of my other hand for added guidance and proper pressure. You must always keep in mind that this tool has a flat face and a tapered face and the flat face always goes absolutly straight in and on the inside of the design so as not to put undo pressure against the inside of the scroll since it's wood is no longer supported nad can break or pop out( something to always keep in mind is the direction of pressure being put on the wood to prevent breakout).
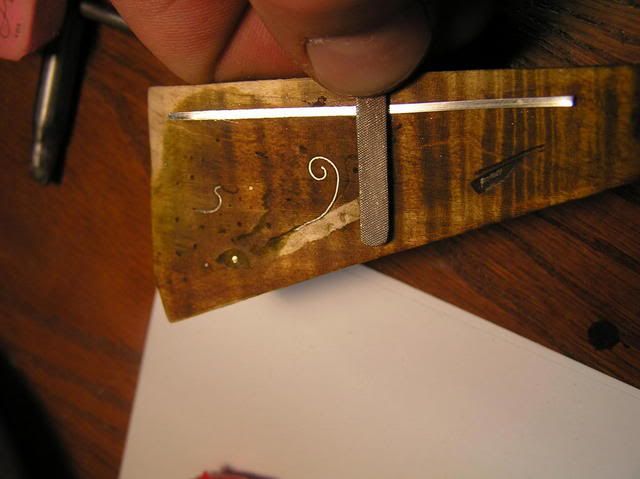
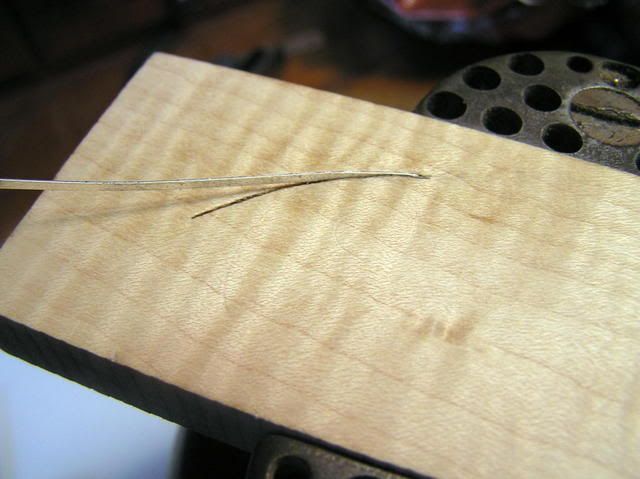
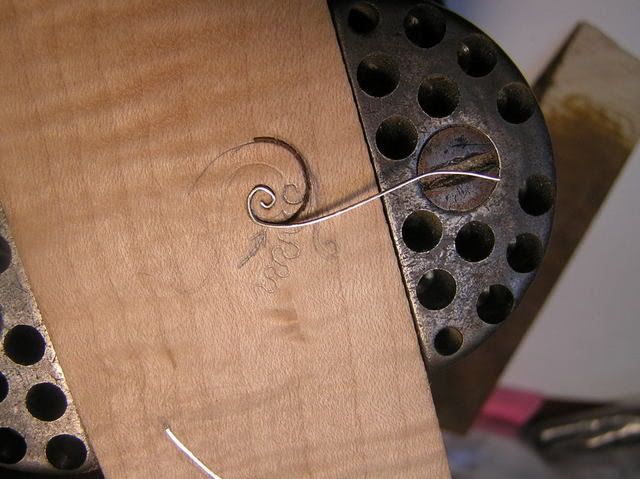
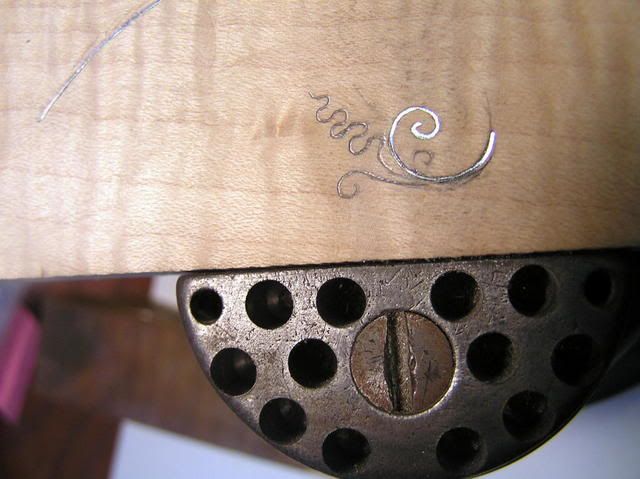
When you start to put the wire in the groove dont be surprise or panicked if it's not perfect, as you can do as much straightening as you want after it's swelled in the groove: like this:
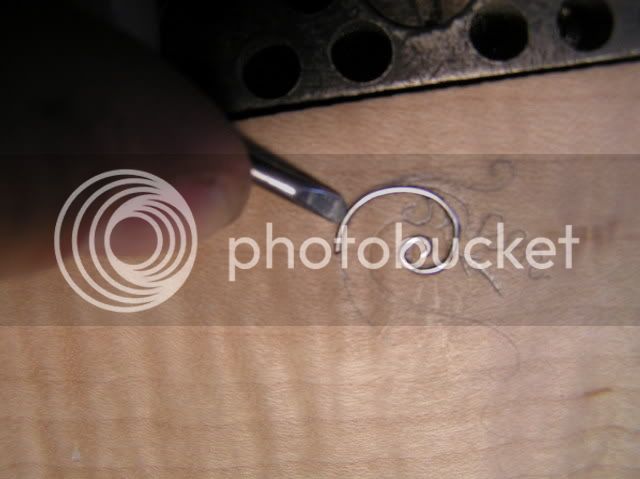
remember, you can shape this wire from both sides, including stretching and compressing to make it flow into or along other wires:
This a final veiw of this sample piece, there are many more techniques to be used as well as perfecting using positive and negative pressures to make the most delicate of cuts(grooves), and I feel I still have alot to learn about this craft. The europeans of old really were masters at this!


