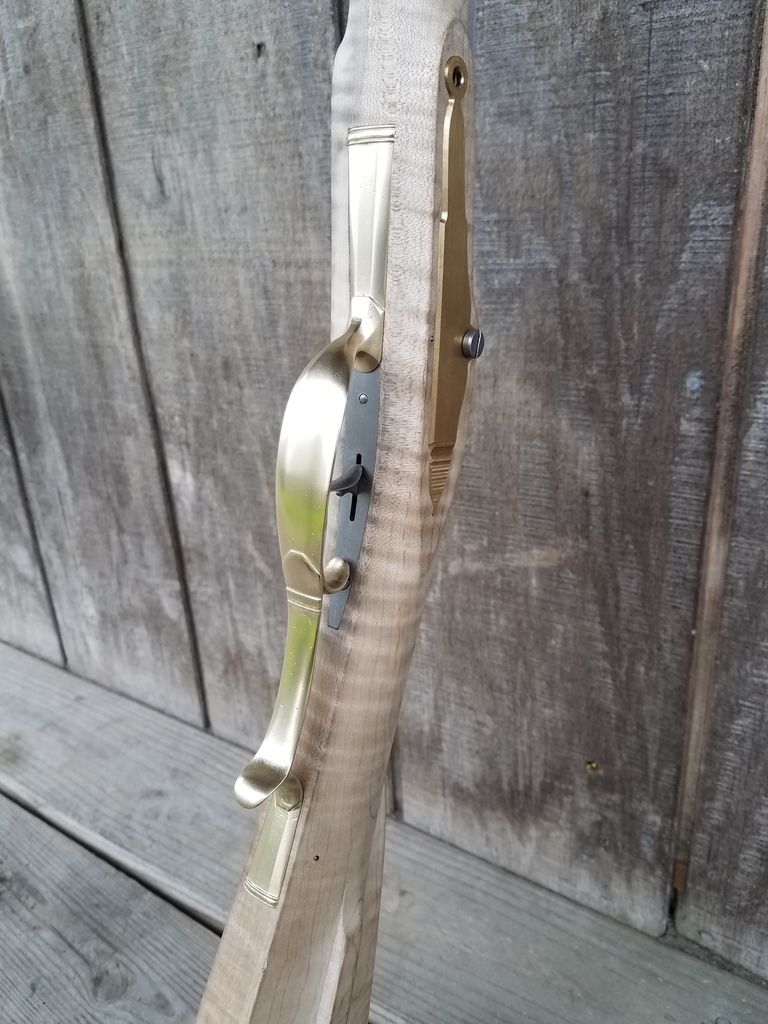
A Kibler Build

Muzzleloading Forum

Help Support Muzzleloading Forum:

This site may earn a commission from merchant affiliate links, including eBay, Amazon, and others.
Lefty, lefty, lefty ... I want a lefty Jim Kibler kit ... as youse ”˜lucky’ guys with your JK Colonial kits are KILLING ME!!!!

And yes, as Mr. Person already pointed out, it is likely a suitable LH lock that might be at the root of the issue for us lefties.
 
Well, work afforded me the opportunity to work the lock on the kit today :grin:

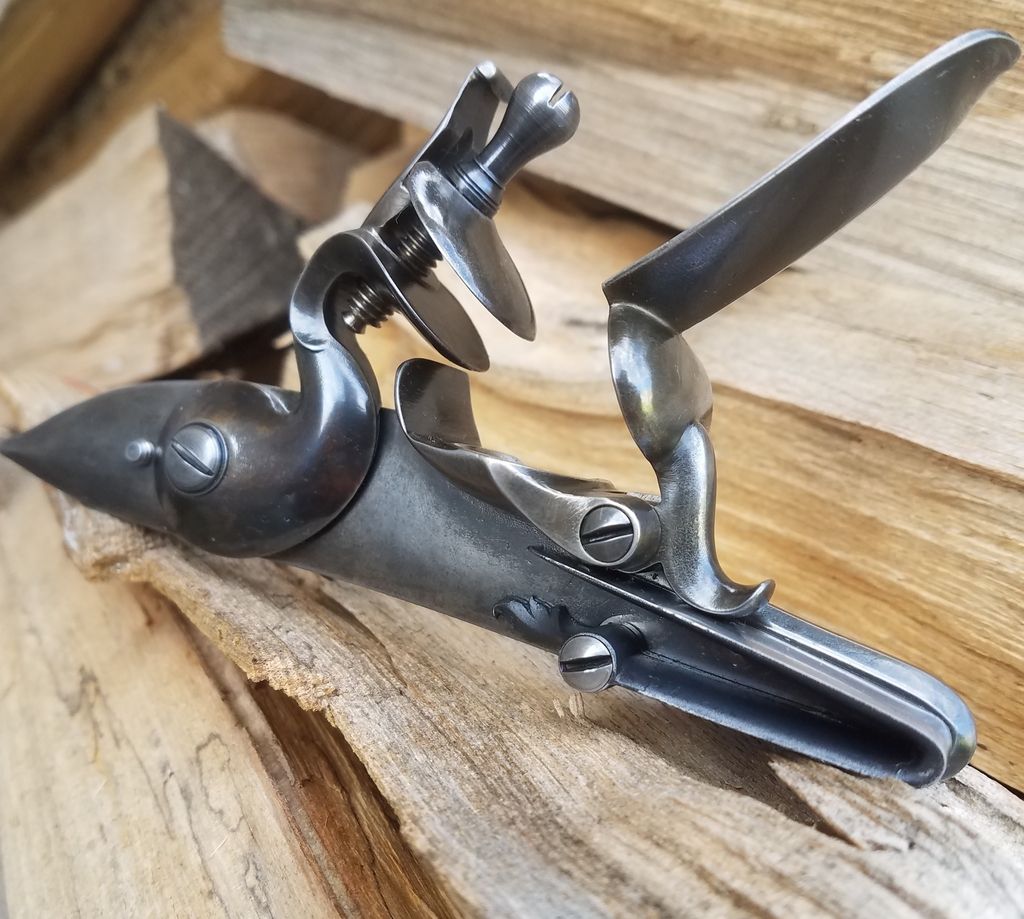
Included with the kit is a wonderful Jim Chambers early Virginia lock. If you have experience with chambers locks you are aware they are top notch. That said, they are however far from finished. While functional out of the box, much time can be spent refining cast marks, mold lines and various nooks and crevices on every part of the lock.

Particularly the greatest amount of work will be done on the lock plate itself including filing in a slight draft. While each lock will vary being a cast piece my particular lock had a great deal of cast lines and mold marks all over. While again one can certainly choose not to do these steps, it indeed is all about the details!

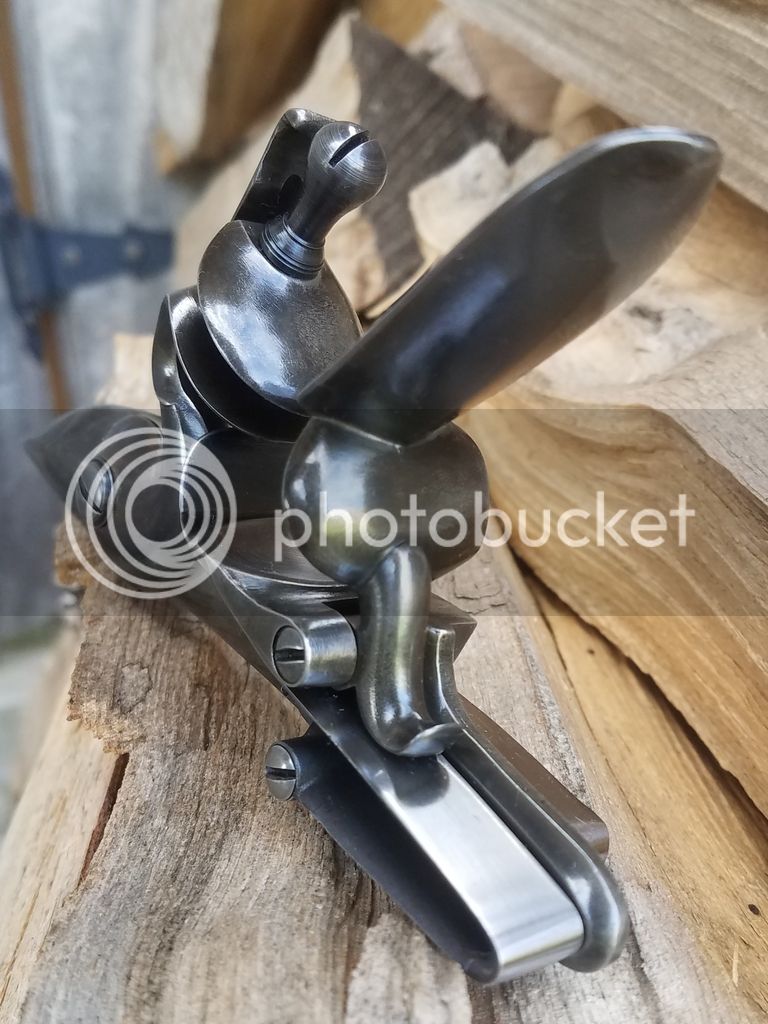
I spent five hours total from start to finish working each piece with files and varrying grits of paper down to 1500 grit. One can expect similar work to be done, nothing hard just tedious work that takes time and a good eye. Once completed I personally like to go over every piece with red scotch brite. To wrap it up, every contact and bearing surface has been touched up, all parting lines and nastys left over from casting are removed yielding a smooth and graceful lock. Again, to finish the lock correctly one should certainly do the same, as... the details matter!

Lastly I plan to apply a rubbed back finish once the lock is completely inlet into the stock. One can finish as desired!
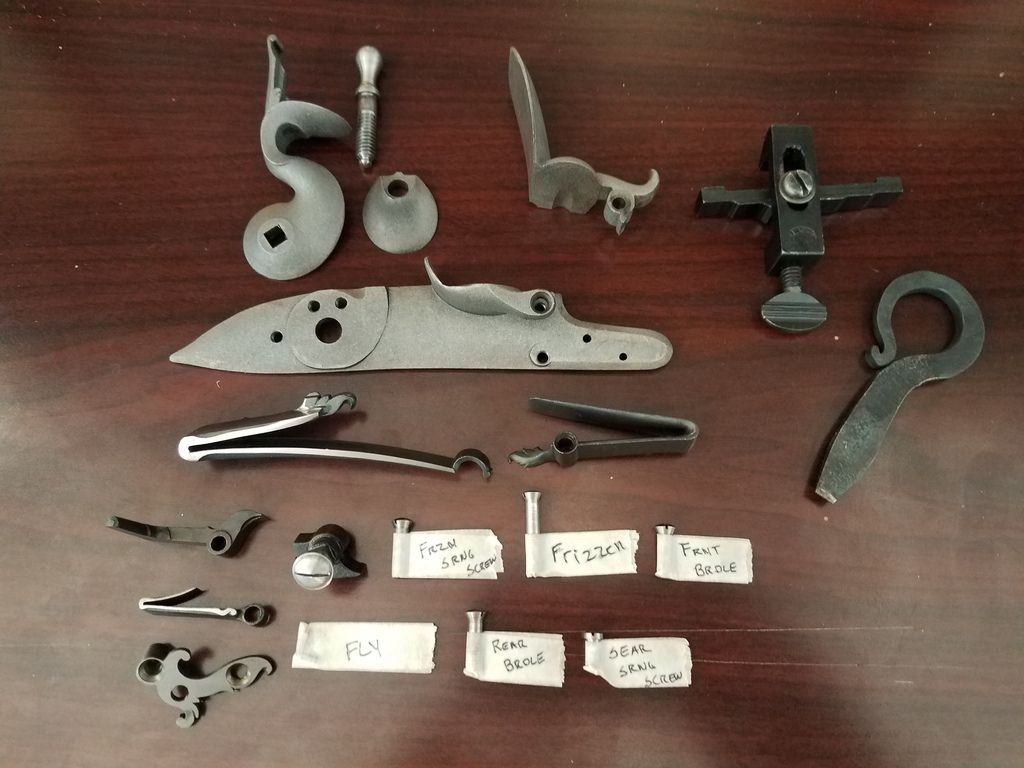


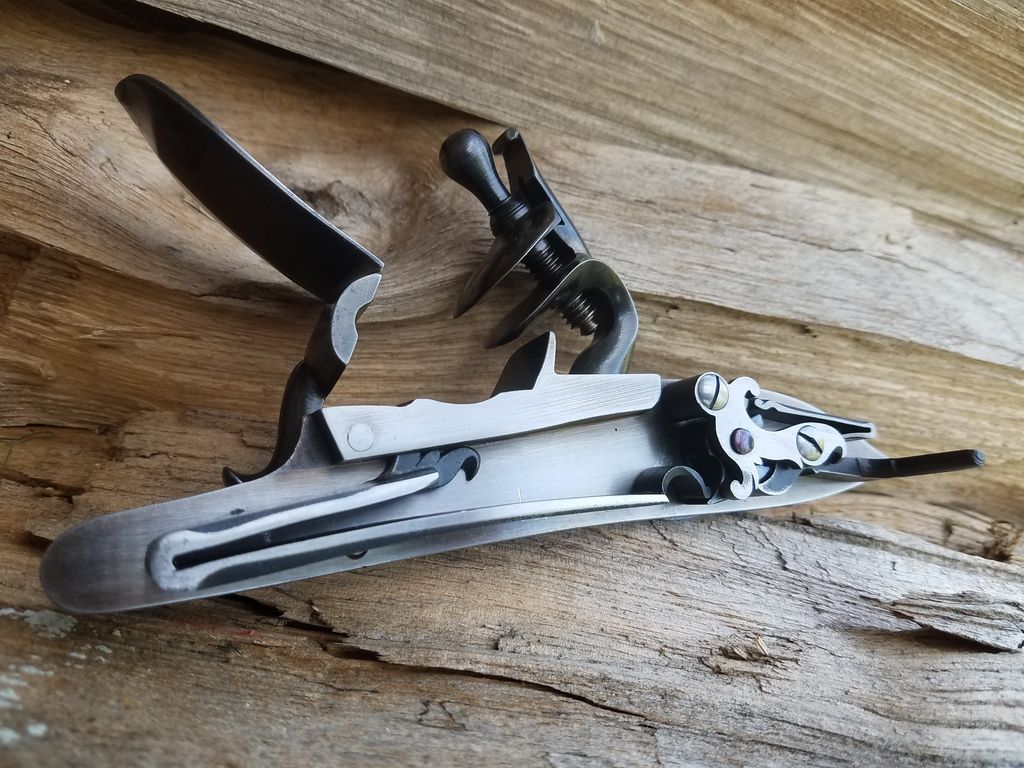
Lock before work began, you'll notice the mainspring vice. If you do not have one by all means purchase one. I under no circumstance recommend using pliers or vice grips to remove the spring. Everyone can do as they wish, but the risk is not worth it IMO.
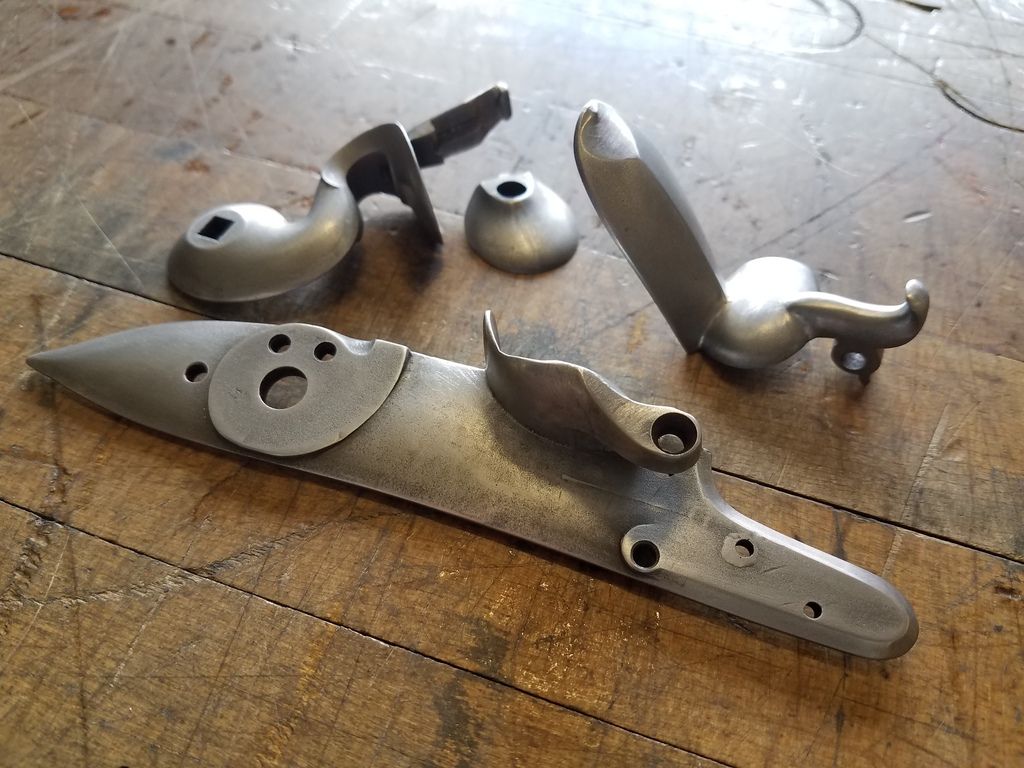


Work completed on respective parts, ready for a finish.
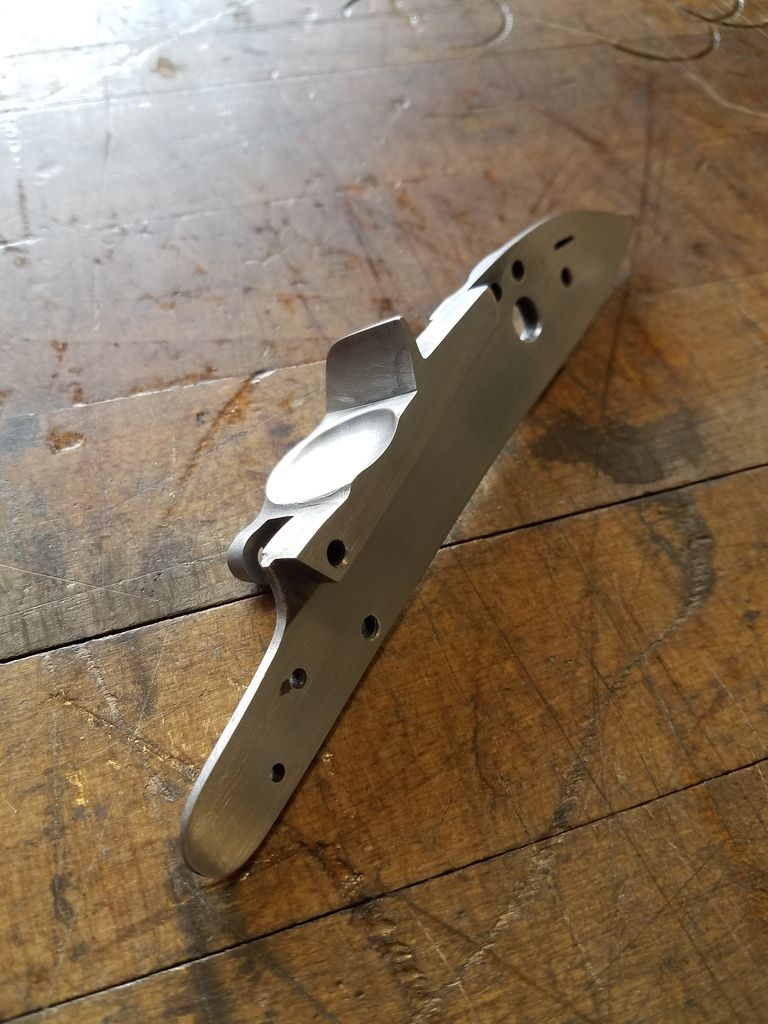


I like to polish my pans, all by hand down to 1500grit. The contact surface of the lock plate receives the same treatment which requires very little work. Some imperfections existed, nothing major at all.
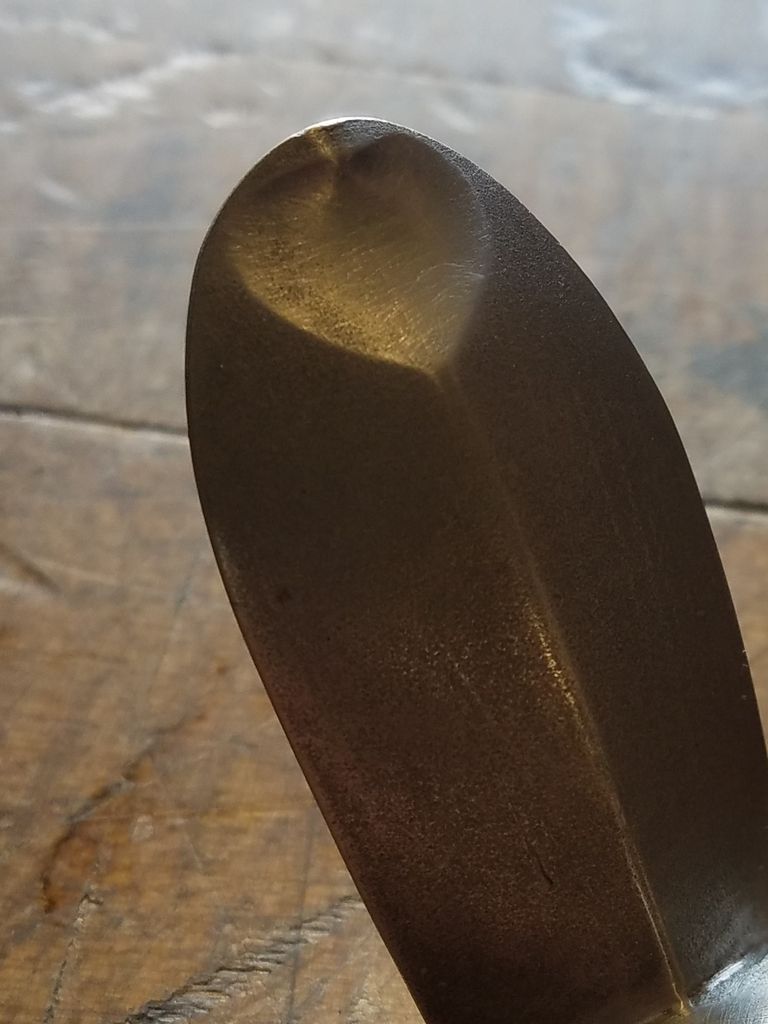
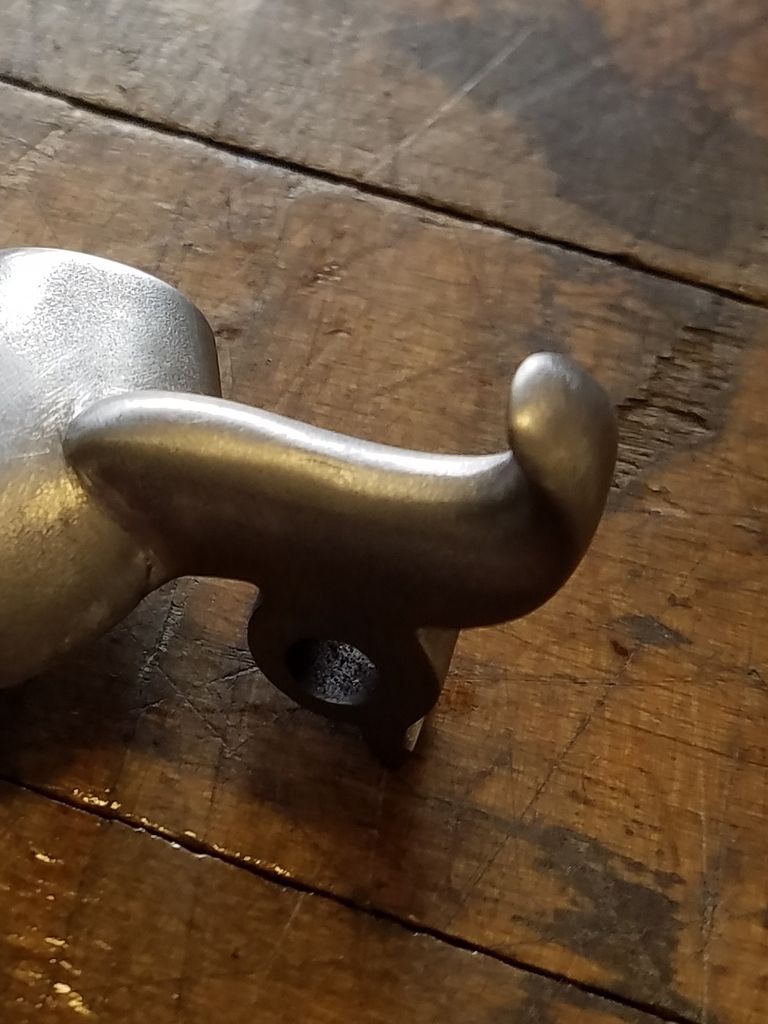


Time was spent shaping the "heart" atop the frizzen. Again, just the little details that ultimately make your finished piece stand out. Frizzen in general took a fare amount of filing.
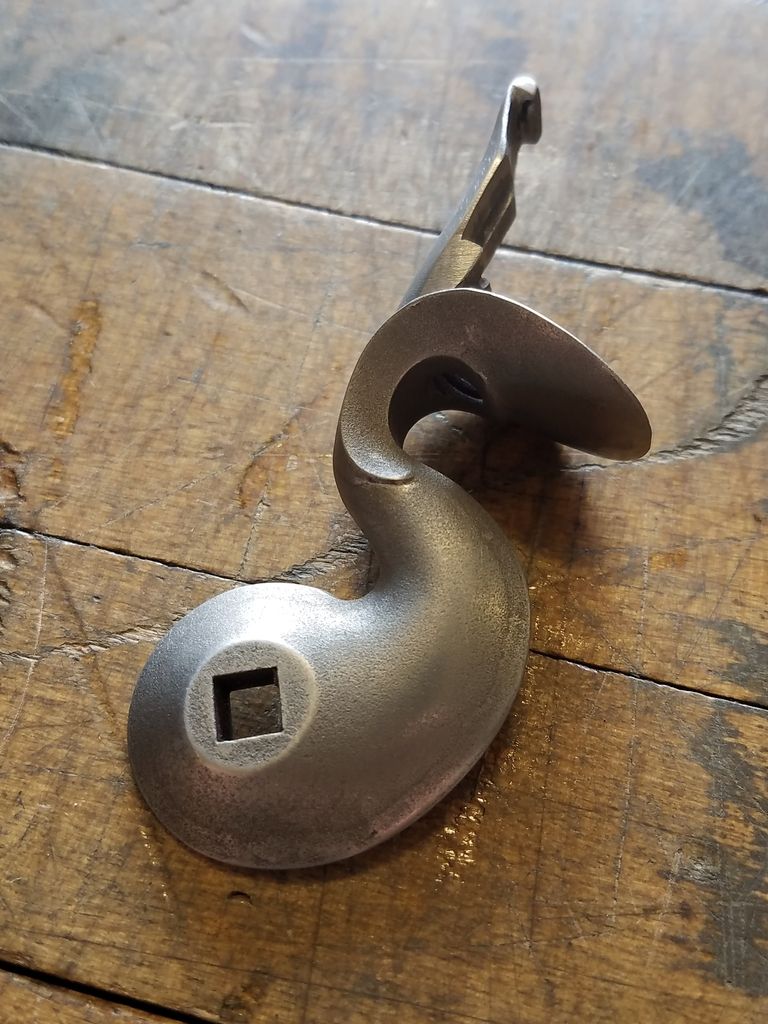


The cock required a good amount of work, profiled the edges and removed parting lines and crusty pieces left from casting.
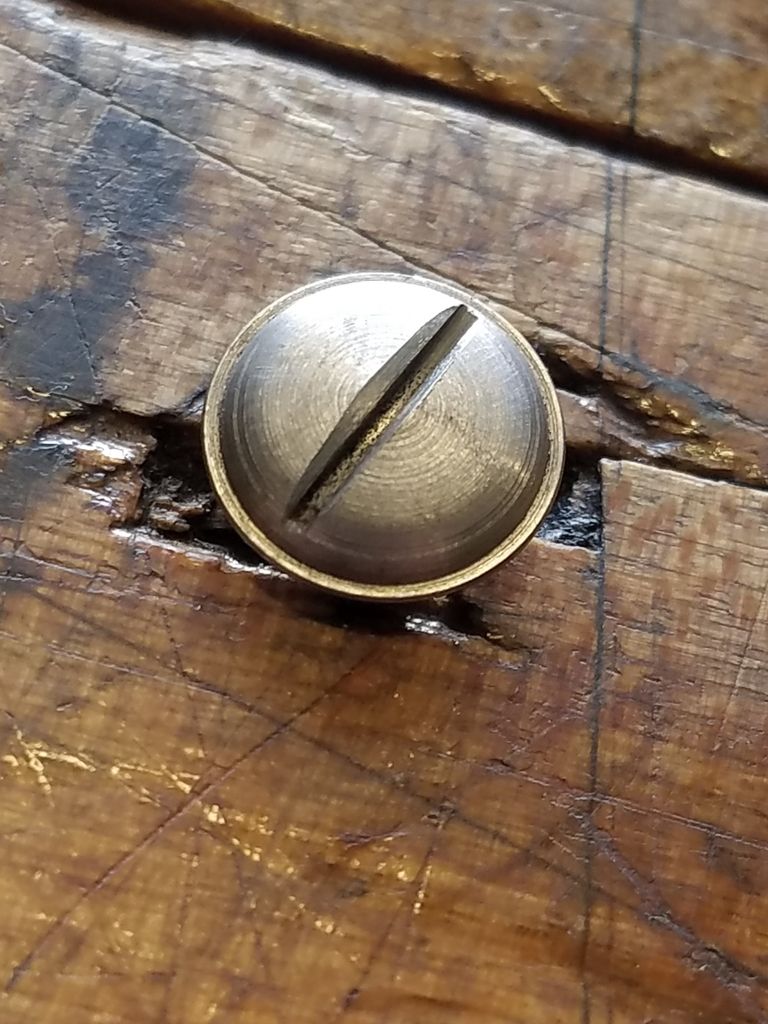


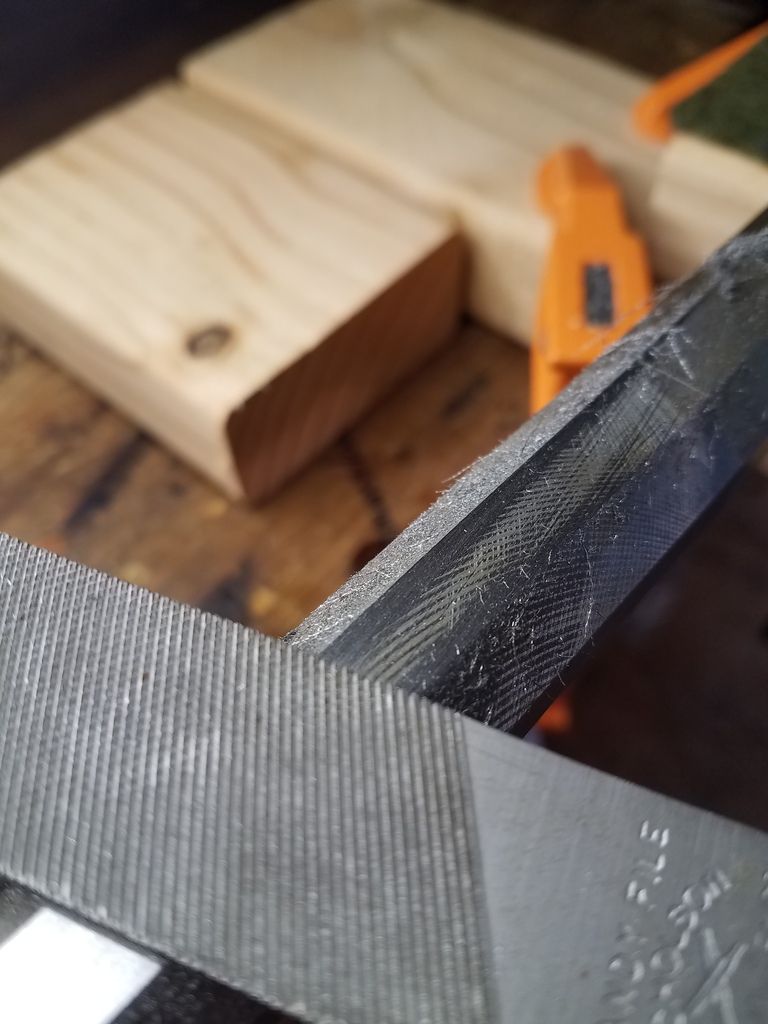
Lastly I finished up my work by using a triangle file on all the screw heads on the lock giving them the V profile found on original handmade screws.

Much more to go! :hatsoff:
 
Thank you, 15hrs on the lock itself now. The above images were before completely polishing. Did the final polishing this morning and will be doing the finish this evening which will require a few hours of consistent heat.
 
20 hours in on the lock total and she now is complete. After much deliberation I decided on charcoal bluing the lock. After the heating was completed I rubbed back the lock parts to a dull grey. VERY pleased with the results and efforts. I was planning on case hardening the lock but decided against doing so as I'm planning a practice run on another lock. Pleased with my finishing, over time and use the patina will only become more natural and beautiful.

Many routes to take when finishing ones lock, just note it isn't a quick process. Overall your efforts will be worth the patience in the end.


I know you are trying to be brief but did you take any precautions or actions concerning the frizzen?

Too much heat on the frizzen and you may have affected the heat treat and temper.
 
Yes, frizzen is fine, it was treated separately in a more controlled environment were conditions could be precisely monitored.

Keep in mind, not a newbie.
:thumbsup:

With this entire post my aim is to essentially show others who are curious what they are getiing into with a Kibler kit. I've built over a dozen other kits so nothing new, just a easier rifle to build thus far per say, yet all the same detail oriented work applies. :thumbsup:

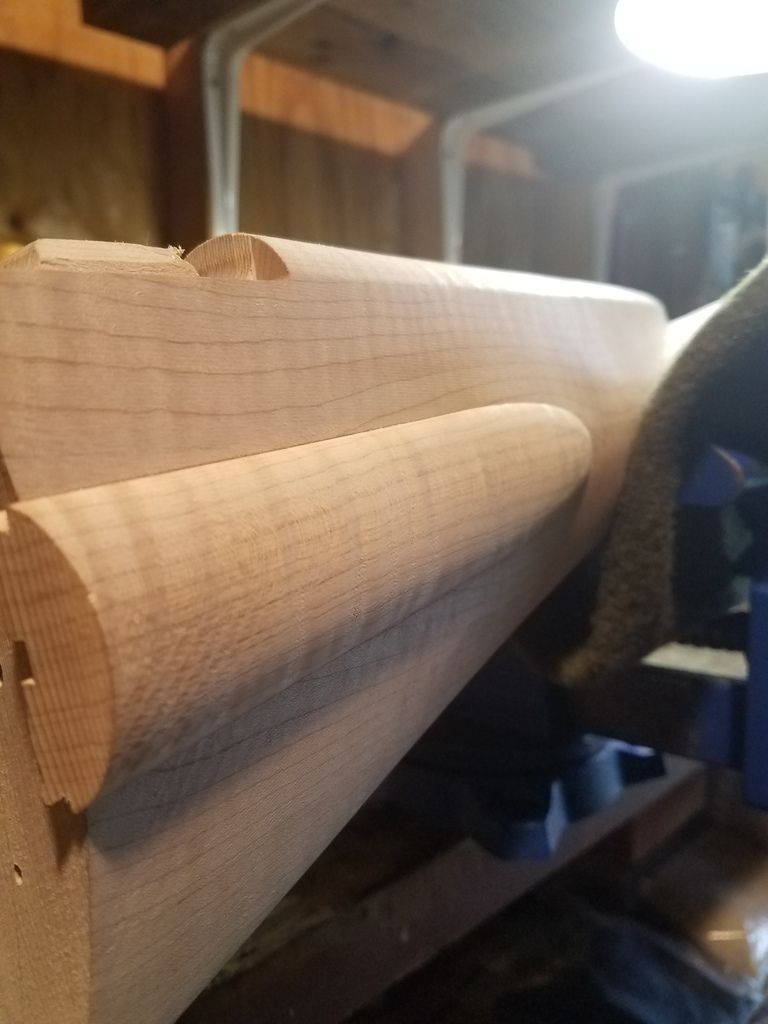
I must say again how marvelous the cnc work is on the stock. This is in regards to the lock mortise, the first rifle I've built were almost zero inlet work is required to fit the lock. Can it really be that simple??? I sat back by my bench and thought about that for a few minutes, puzzled... Indeed it must be! The precision is amazing.

Also, a thank you to Mr. Dave Person for giving me some tips on turning a wonderful lock into a fantastic lock! Re-worked the frizzen spring and frizzen toe per Daves direction. :hatsoff:
 
38 hours and still going.

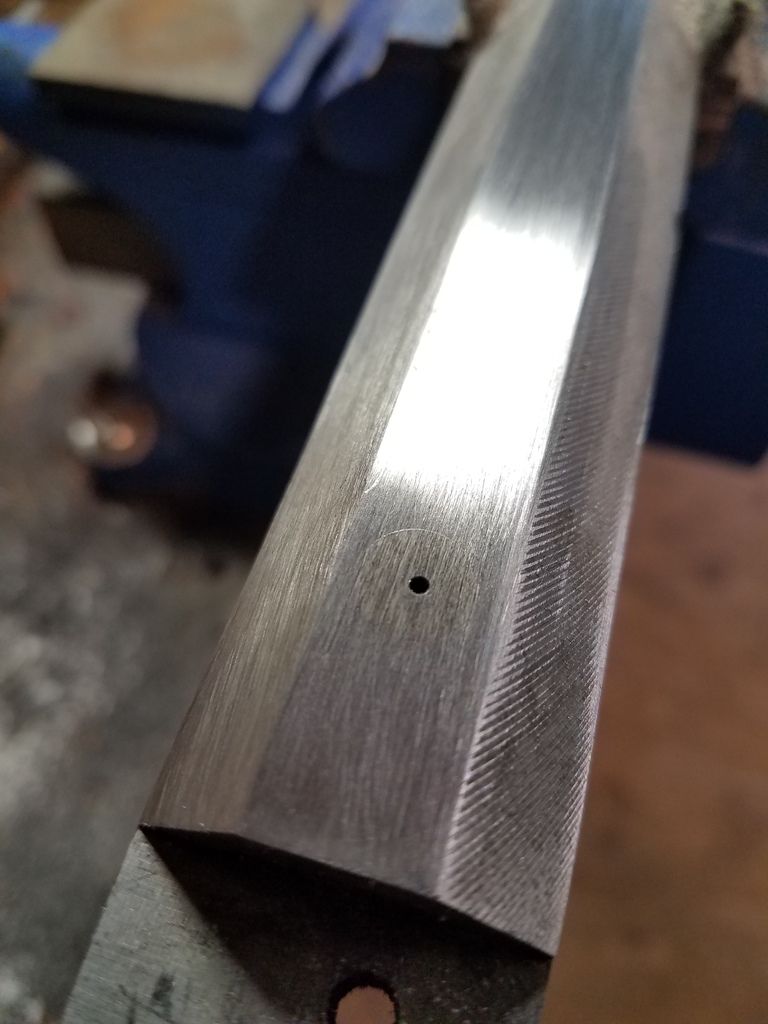
Today my aim was to completely fit the stock to barrel. Started my day early by draw filing, no I'm not using a bastard file, it's a combination of a bastard and fine single cut mill on the other side.

Approximately 1.5hrs worth of draw filling, then I used a extra fine mill file to polish the flats then transitioned to various grits of paper down to 1500 grit. Being that it's traditional to finish only the top five flats those were finished to a high shine. Keep very aware of the angle to which you hold your file, it's very easy if you are not familiar with draw filing to tilt your file to one side or the other and take the cut to far.


Before finishing the right side flat, the touch hole liner was installed, cut flush with a simple hack saw blade and filed down. Easy process!


One tip that may help newer builders with a kit, I find using chalk on fine mill files will help prevent clogging. Especially when one moves to progressively finer files as they tend to clog faster.

Next item was to pin the stock to the barrel. This feature of the kit is rather painless as again, the cnc nature of the kit shines through. Holes are pre drilled, all one needs to do is properly support the barrel and stock, install the tang bolt. I like to use a small clamp along the barrel length to ensure the barrel is seated in the channel. From there the process is very straight forward. Chuck up your corresponding bit, apply a tad bit of cutting oil and begin to use the pre existing hole as a guide. Take note to use minimal pressure and a very steady hand. Also don't completely drill through the stock to prevent pulling any wood out. Done right, only thing coming out the holes will be metal shavings. I'd recommend using a drill press if someone has never attempted to drill pin holes by hand. I actually prefer drilling by hand, to each his own.

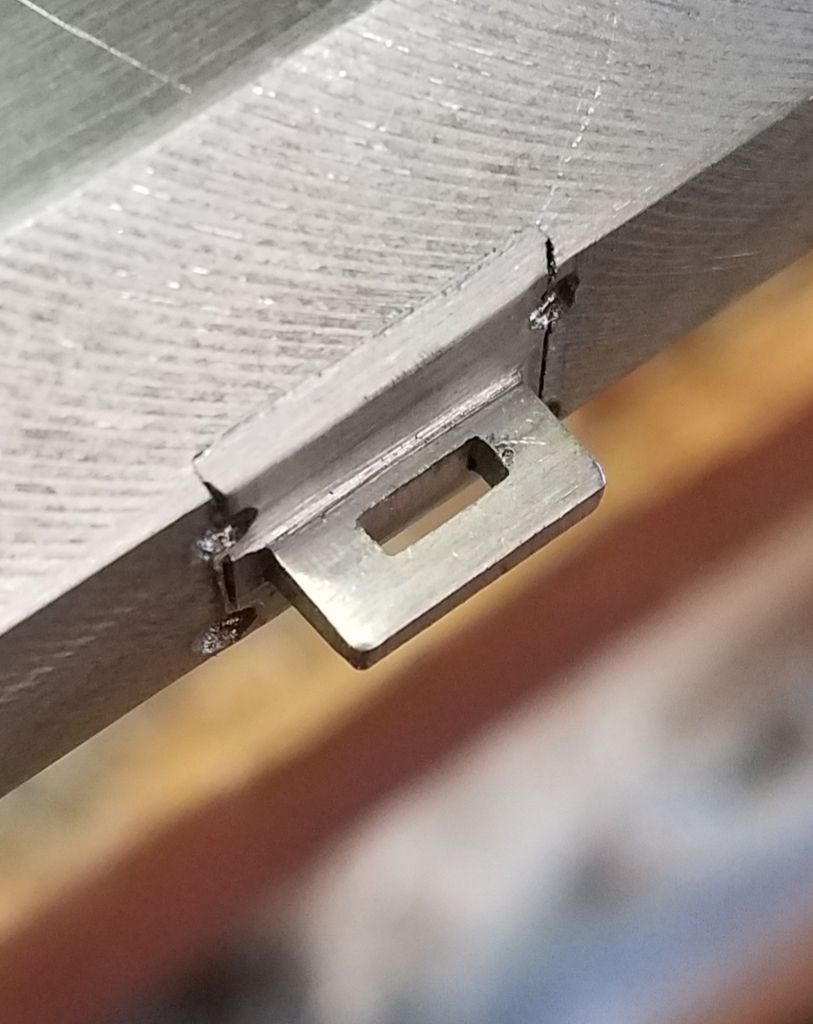
Next item, cutting relief slots in the barrel tenons or loops. This is accomplished with a jewelers saw and can be a tedious and tricky task, not hard but takes some time and not required but recommended. This gives the barrel room to move when the stock decides to expand and contract with environmental conditions. This process is simple but requires patience. I scribe a line in relation to my cut, install blade and cut my slot. Process is finished with fine files until the pin freely moves forward and aft in the tenon, NO UP AND DOWN MOVEMENT. Cutting less and finishing with a file is recommended :thumbsup:


Lastly to finish the day I fit the box lid to the stock, mine came requiring wood removal. I like box lids to move freely with little resistance. To tight and your in trouble if the lid would ever swell as it will lock itself on the stock. Simple procedure of using a safe side file and repeated fitting until it fits as you wish.


Much more to go! As you can see so far the stock is the golden ticket of the kit. Without a doubt the cnc work has saved much time. However, all the same finishing techniques and methods apply for the other various accessories. Don't expect a rifle in a day. You could, but I believe the finished quality would suffer. Stay tuned!
 
I havent finished catching up on the thread but I couldnt resist.

Crewdawg445 said:
Just learn to shoot like a normal person! Haha! :grin:

Why on earth would I do that?! :youcrazy: :youcrazy: I am most certainly NOT NORMAL!! :blah: :blah:
 
Finished up affixing the mountings today, very uneventful and easy going as expected. No pics as it was a straightforward process today.

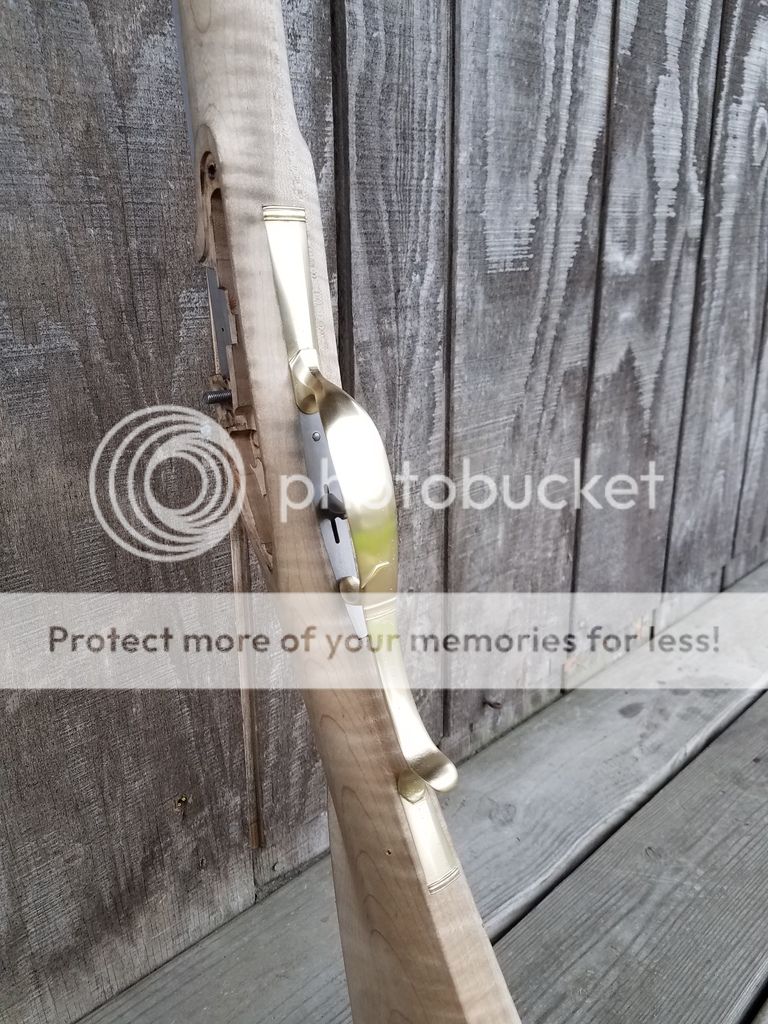
Trigger guard required some fine adjustments, other than that went together flawlessly.

The entry pipe did require a tad bit more wood removal as is sat rather proud. The other two pipes sat within the inlets perfectly. My only gripe comes from all three ramrod pipe pin holes being a tad off, easy fix and we were back on track.

Also installed the rear sight and fit the front sight which will be installed after finishing the barrel, rather uneventful!
 
Today started with correctly installing the trigger which took awhile with repeated fittings. Finally found the sweet spot, polished the contact area on the trigger ear and rolled on...

Spent the majority of my afternoon polishing and shaping the trigger guard by hand, no power tools welcome! Polishing brass is my least favorite task when building... Nothing fun about it until the end result and you see your reflection in brass!

I must say I'm a bit disappointed with the casting, atleast on the trigger guard itself. When I proceeded to file the parting lines and move to progressively finer files many deep air pockets surfaced were air didn't escape during casting... My only option was to continue removing material until the majority of the larger voids were removed. Unfortunately some still remain, as to which it doesn't make me happy. I'm not completely finished which will require more work tomorrow. My eyeballs were starting to go cross from concentration and focusing so I called it a day!


I hear you about the air pockets that are sometimes found in castings. They can be a pain to remove.

On the other hand, these trigger guard castings always have a LOT more material on them than the original trigger guards have.
The reason they have a LOT of extra material on them is to avoid just exactly what your trigger guard has... Air pockets and "cold shuts" where the hot metal freezes before it completely fills the cavity left by the mold.

If possible, take a good look at pictures of the real guns trigger guards.

The trigger guards that modern builders install on their guns often only have enough material removed to get a smooth surface that they can polish.

The end result of this is, their trigger guards are much thicker than the original guards and they look bulky and clumsy. They don't blend in with the smooth lines of the stock.

The actual trigger guards found on the original guns usually look very slim and elegant, sometimes being so thin that one wonders how effective they would be if something hit them hard.

With this in mind, don't be afraid of making your trigger guard too thin. You are probably making it more like the original one was. :)
 
Yes good points! Indeed allot more material will be removed. The pockets unfortunately go rather deep, which gives me the feeling some will be left. I've had the issue rise before in other builds but this one for some reason has been my worst yet.
 
Crewdawg445 said:
Yes good points! Indeed allot more material will be removed. The pockets unfortunately go rather deep, which gives me the feeling some will be left. I've had the issue rise before in other builds but this one for some reason has been my worst yet.
You can plug holes in a similar manner to that discussed previously. I save the casting gates in case I need to plug a hole, though I haven't had the need yet...
 
Hi Crewdawg,
As you file and polish some pockets will disappear and others likely will emerge. You might ask Jim to send a replacement. On the other hand many original guns with brass hardware show those little pockets.

dave
 

Latest posts

Back
Top