A Kibler Build

Muzzleloading Forum

Help Support Muzzleloading Forum:

This site may earn a commission from merchant affiliate links, including eBay, Amazon, and others.
Hi Dave! Thanks for the advice, I spent another three hours polishing away and actually moved to some stones for final polishing.

The vast majority of the voids were removed as I anticipated. However, some remain that are entirely to deep but very minor. I was a bit shocked beforehand as it was rather nasty but all has turned up well.
 
Crewdawg445 said:
Yes good points! Indeed allot more material will be removed. The pockets unfortunately go rather deep, which gives me the feeling some will be left. I've had the issue rise before in other builds but this one for some reason has been my worst yet.

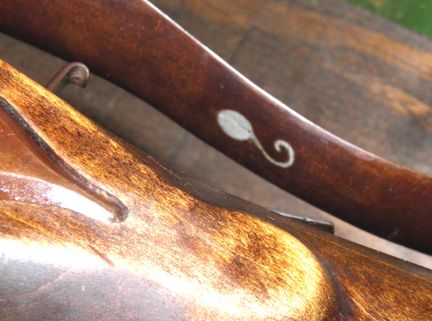
Just as a point of information. This is a fix the builder of my Jaeger did. (hope the photo post works, seldom does these days :( )
inlay.jpg


Edit: Yippee, it worked. :grin:
 
All is well, no fixes needed.

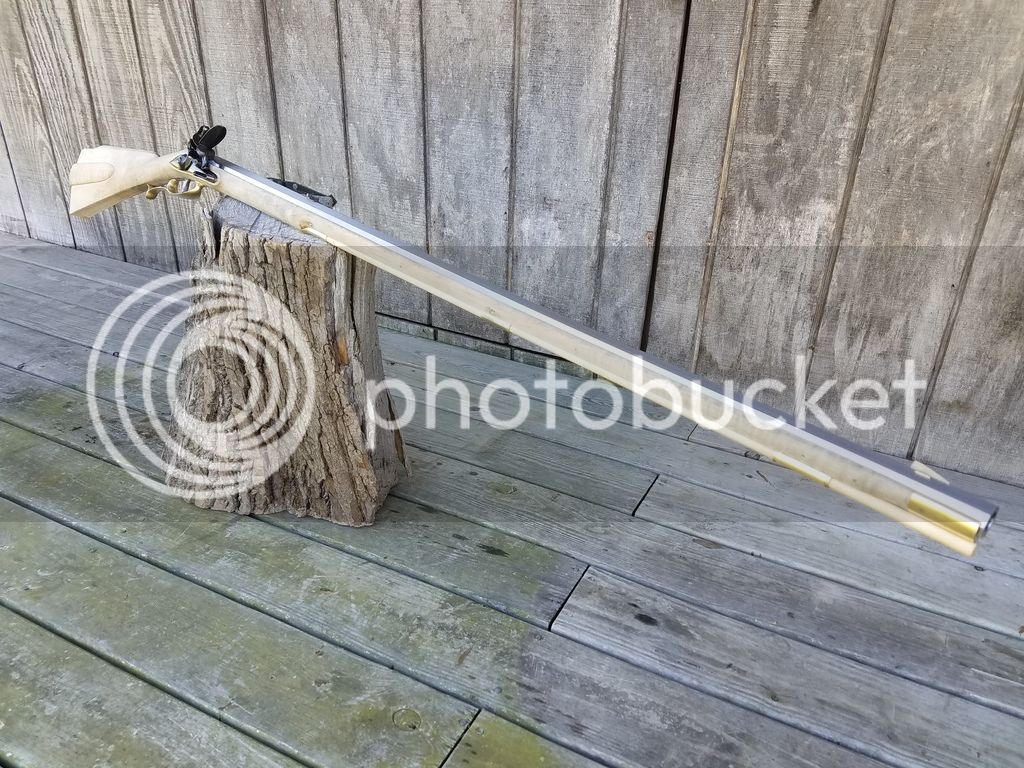
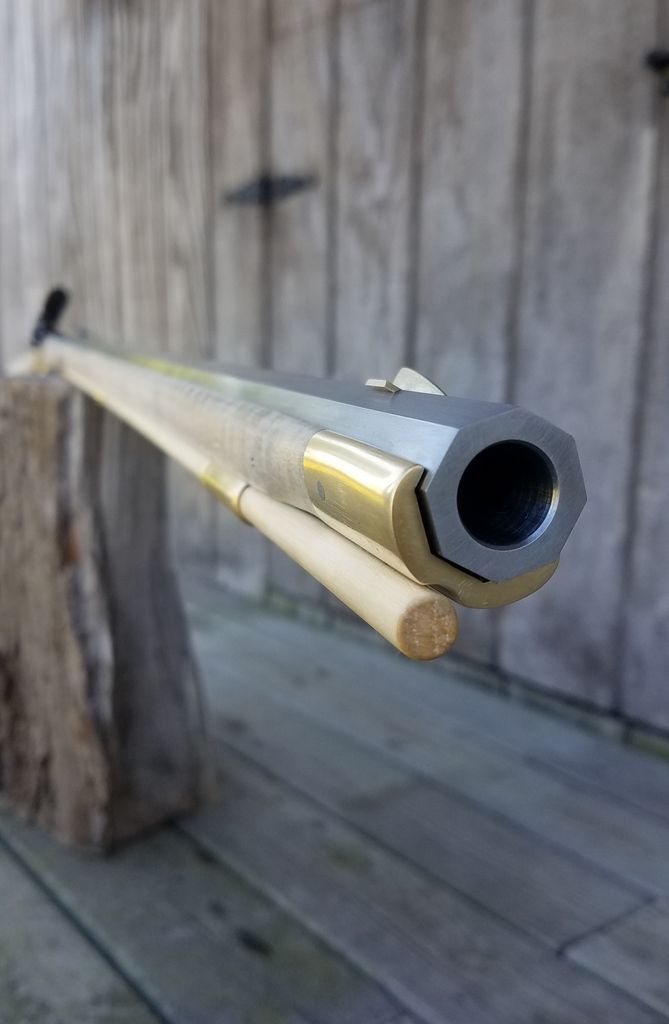
Began my day at 4 am in the shop polishing away on brass. Despise the work indeed but the efforts are worth the trouble in the end.

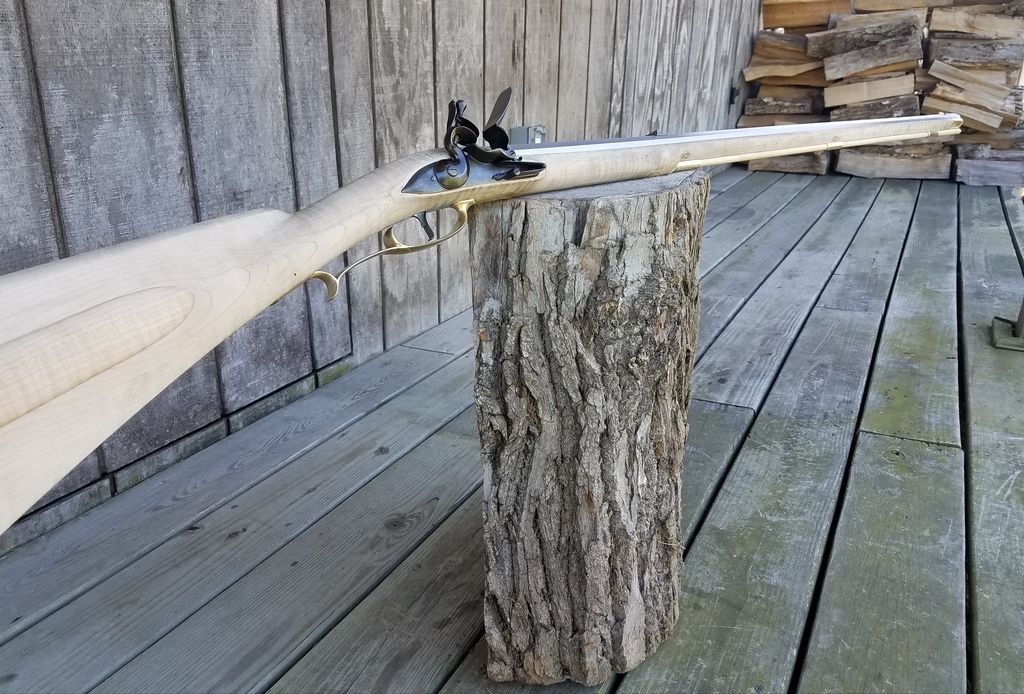
To wrap the days work up installed the nose cap and shaped wood were needed. My only last hoorah will be installing and shaping around the buttplate once it arrives, which I do hope is very soon... Overall a very enjoyable true kit to build with 64 hours thus far. Indeed one certainly should not expect a completely finished rifle in a day or two. A great deal of finishing and fitting work will be required, however! Absolutely nothing compared to the usual parts rifles on the market. Jim has certainly hit a home run IMHO!

Now all that will be left is a final sand and raising the grain followed by finishing which is my favorite part! Can't wait to shoot this wonderful smooth rifle!


Great job Crew, you are about 5 or 6 hrs ahead of me. I like polishing the brass about as much as you do. I hope I can remain as dedicated as you!! Luckily I have very few inclusions in my brass as of yet.

Great work. Keep up the pics as you can.

Doc
 
Excellent! I'm happy with my brass none the less. As Dave mentioned above allot of originals have voids such as what I have, which just adds to the character and overall personal value.

Nothing beats the look of hand polished brass mountings!

The hard work and dedication is worth the efforts, more like a passion! Constructing such a marvelous piece with your own hands is a wonderful and humbling experience.

A little tip... If you haven't installed your front site blade, it may help not polishing it out. I personally don't like a high polished front blade. Problems can arise when the sun reflects and creates a glare. Just some thought!
 
Finally received the buttplate and spring latch in the mail!

Over the past few days I've given the stock a final sanding and have raised the grain multiple times. Stock is essentially ready for finishing.

However, held off on the buttstock area with the assumption of needing to shape and remove wood around the buttplate. First mounting I've ever had that fit almost 90%! Besides a little wood removal on the shoulder area of the stock she fit like a glove. Slots for the box lid required a decent amount of file work for the lid to fit and slide properly as expected. Latch for the lid required a little fiddling to latch properly, as with everything on this kit, nothing major at all!

Finishing of the buttplate will certainly require a good amount of time, which will be tackled tomorrow!
 
Add a draft to the the sliding dovetails - the lid should start loose, becoming snug as it seats. Keeps the lid from jamming too badly if the wood swells.
 
Drafts are even cast in, however I always put more draft on all my parts for that very reason.

Finished fitting the buttplate this morning and nothing unexpected, allot of food removal and shaping non the less. Now time to polish the plate out. I like to use a 2x4 cut to the shpae of the plate. This allows the universal movement 360 degrees in the vice to work.

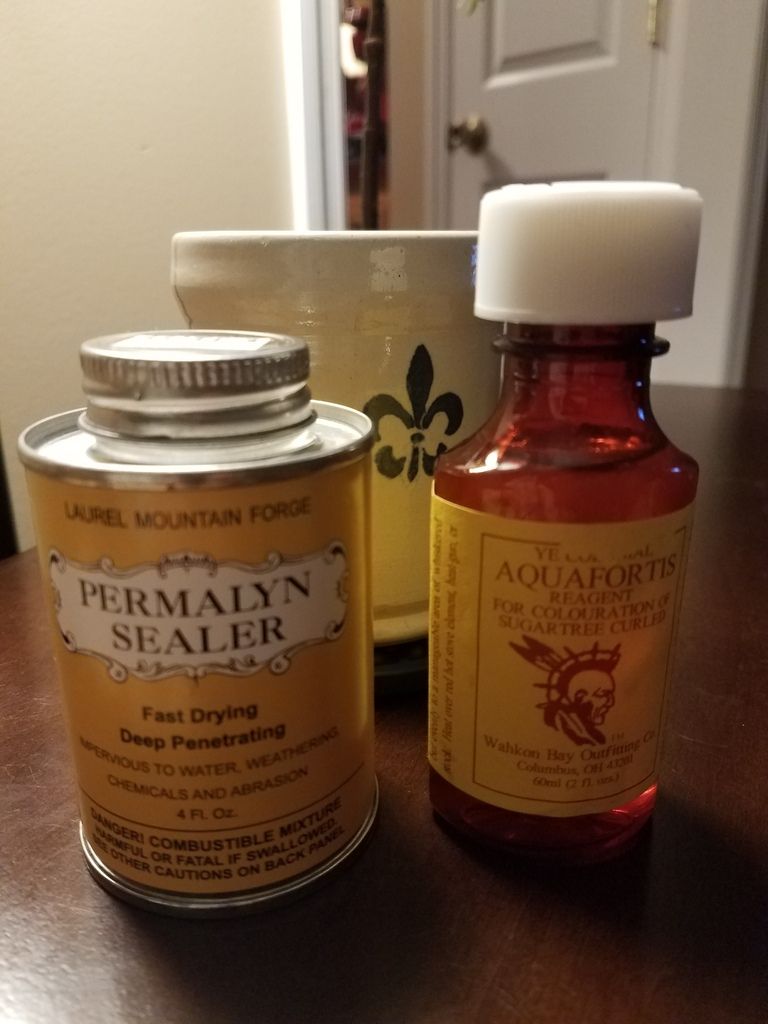
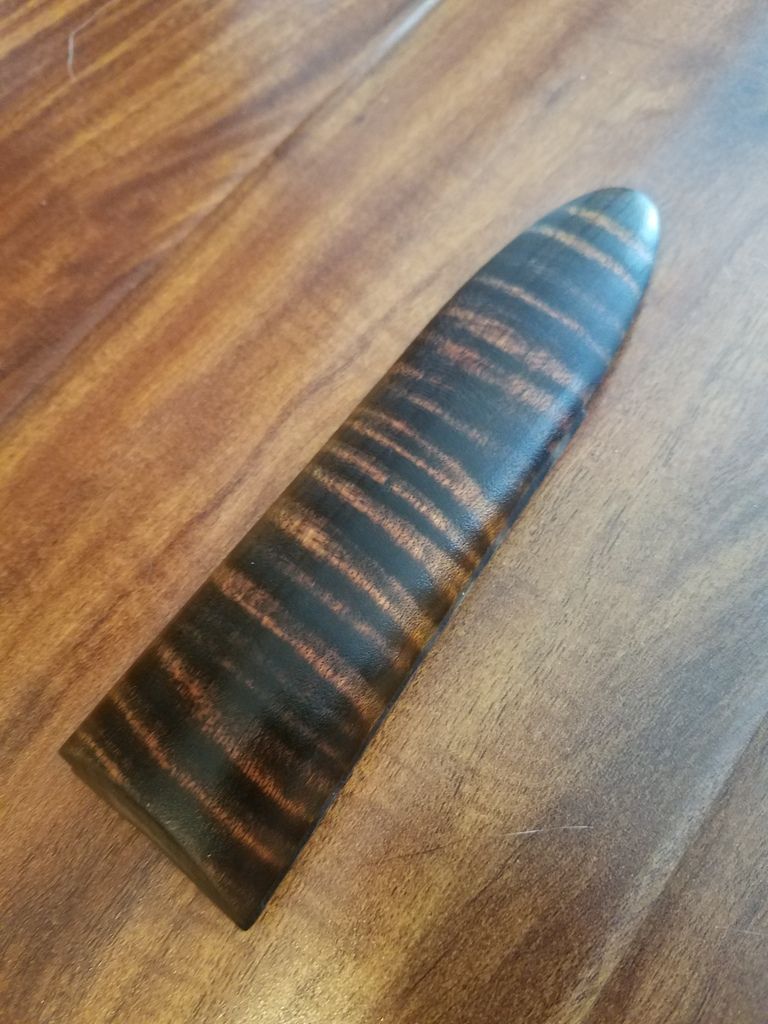
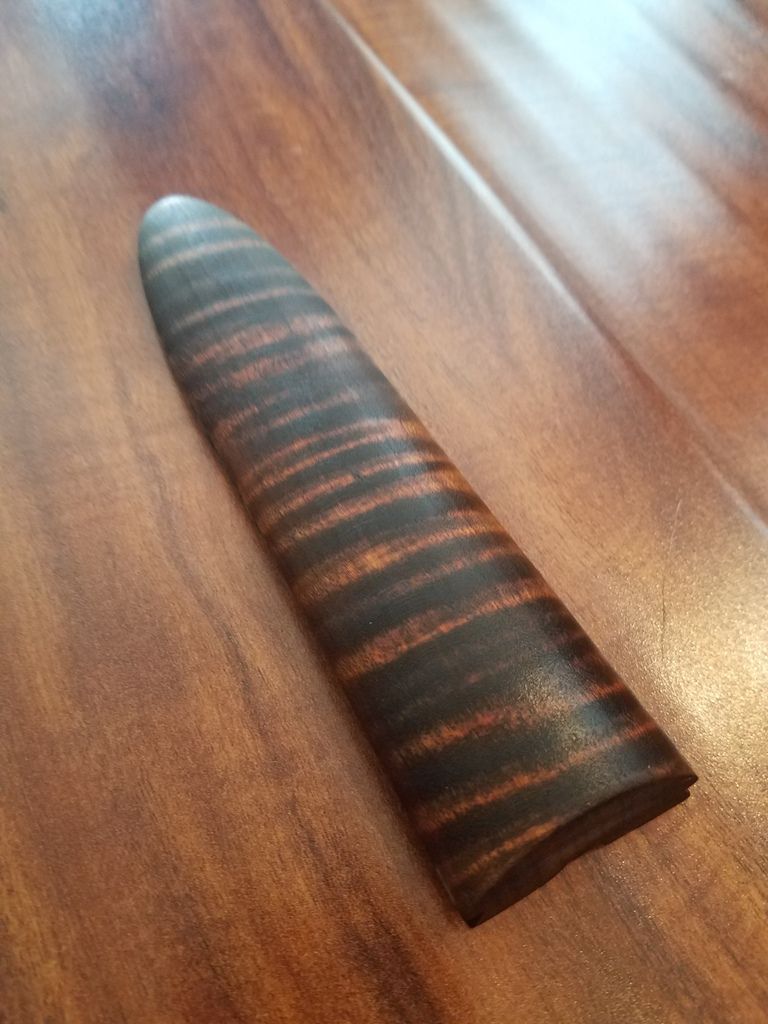
Stained the box lid with aqua fortis as well, ABSOLUTELY GORGEOUS. Pics will follow!
 
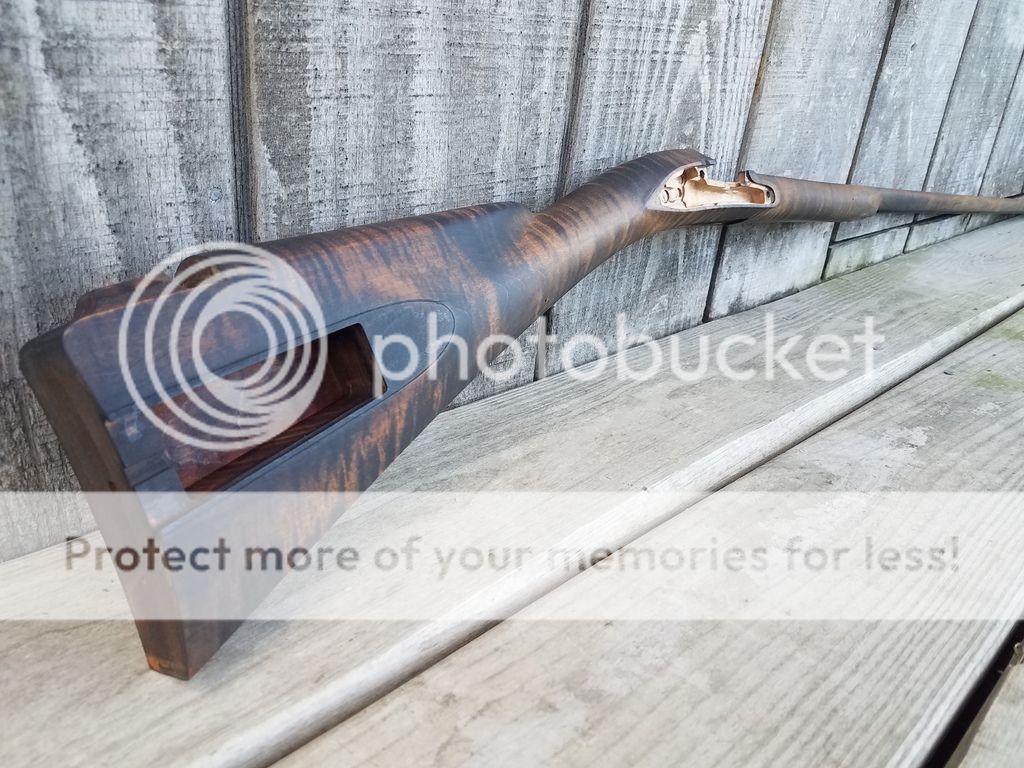
Today marked the 85hr mark, also the end of whiskering and on to staining with aqua fortis. Absolutely loving the curl and figure of the wood. For maple nothing brings out the beauty like aqua fortis!

The image below is of the first sealing coat. I'm very fond of permalyn as a finish. Easy to use, very durable and excellent visual appeal.


Once my application of permalyn is complete it's time to assemble! I've taken great care and time constructing this kit. I personally choose to work at a slower pace and savor the small details while I build. While you could certainly build a Kibler kit quicker, slow and steady is my forte, no need to rush such a wonderful kit.
 
wow ”¦ :thumbsup: :thumbsup: :thumbsup:

a very fine figure you have in that stock ”¦ that's on handsome rifle you've got going.
 
After eight coats of permalyn, and a week of curing, then final polishing with scotch brite, mineral oil and rottenstone the rifle is finally finished!

A total of 122hrs have been logged from start to finish. For anyone thinking of taking the plunge on a Kibler kit, absolutely do not second guess yourself! All you'll get is a longer wait time when you do order!

Overall I'm very impressed with what Jim has created in his kits, a beautifully designed historically accurate piece that is a dream to build from start to finish. One can likely build one fancier as they wish. My one word of advice is to not rush the completion of the kit. Take your time, enjoy the build and savor the details!

Thanks for all who have been keeping up or interested in this thread! May your building adventures be pleasant and rewarding! :hatsoff:
 

Latest posts

Back
Top