A Tale of Two Little Rifles

Muzzleloading Forum

Help Support Muzzleloading Forum:

This site may earn a commission from merchant affiliate links, including eBay, Amazon, and others.
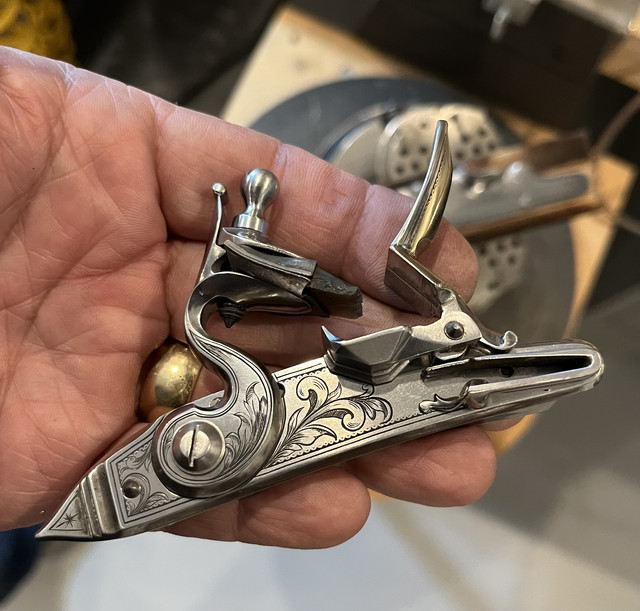
Today I had the opportunity to re-contour the "blob" of weld metal that I had to add to the tumbler to repair the broken half cock notch. I had to re-fit the sear, the fly recess, and the fly a bit as well. Here is the result.....
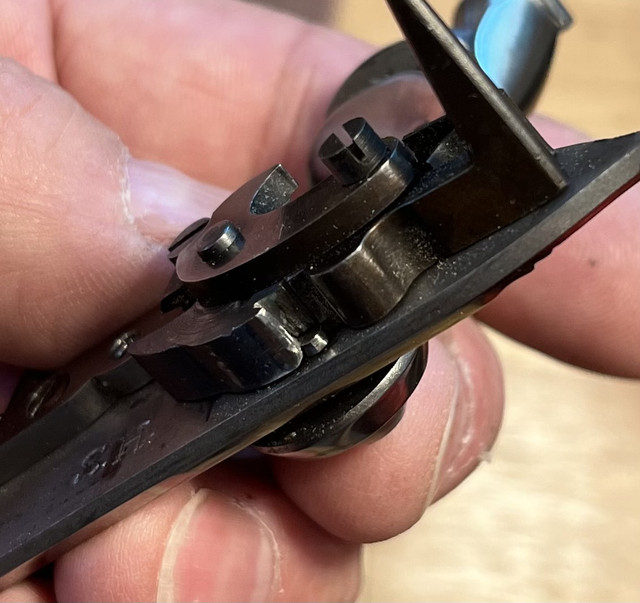
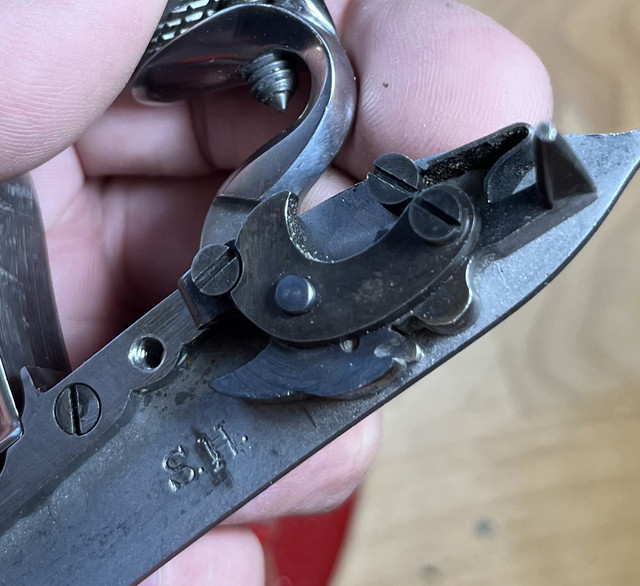


Since the new metal was not high carbon, I needed to case harden the area of new weld metal. However, I didn't want to add more carbon to the rest of the tumbler, so I covered all the rest of the surface with an anti-scaling compound I get from Brownells. I use this also for re-heat treating frizzens after engraving to keep the surface from acquiring any fire scale. Here I am painting the compound on the tumbler except for the weld repair area.
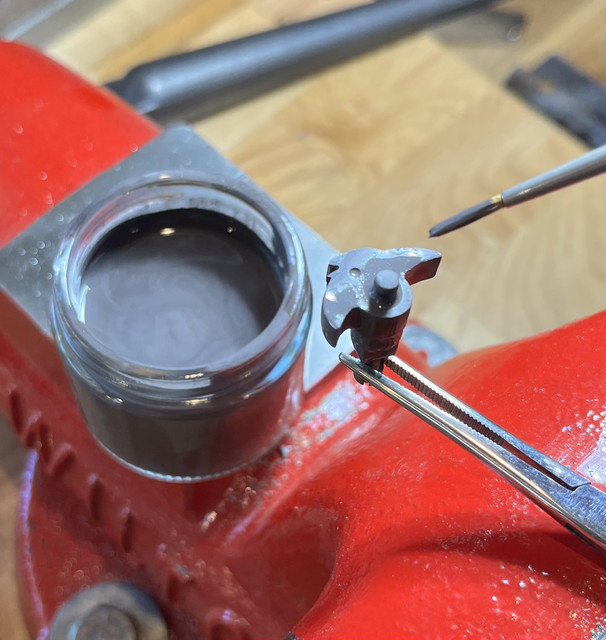
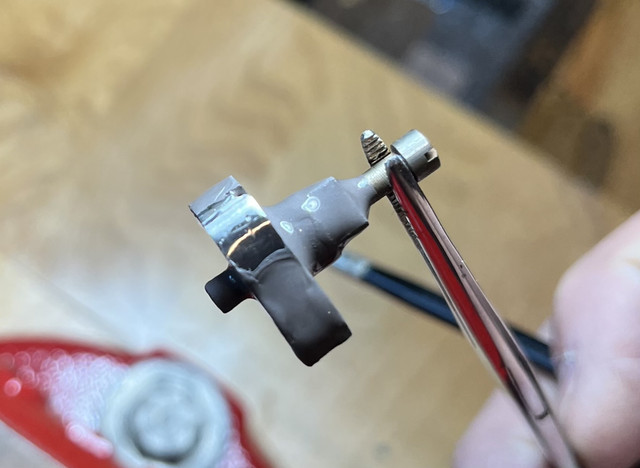


Letting the compound dry in the sun for a few minutes.....
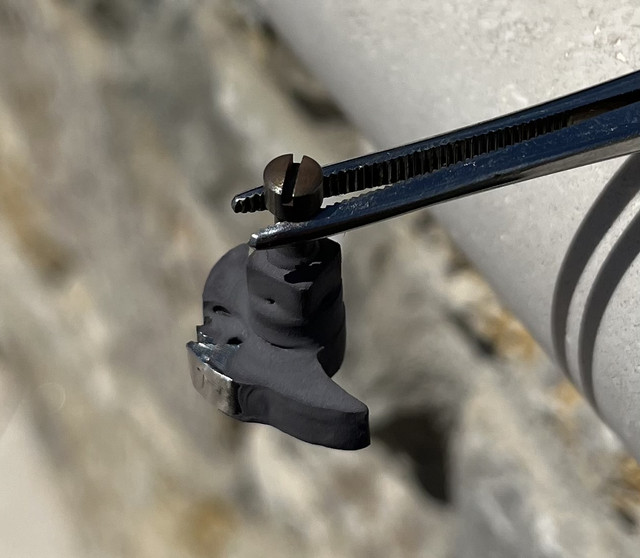


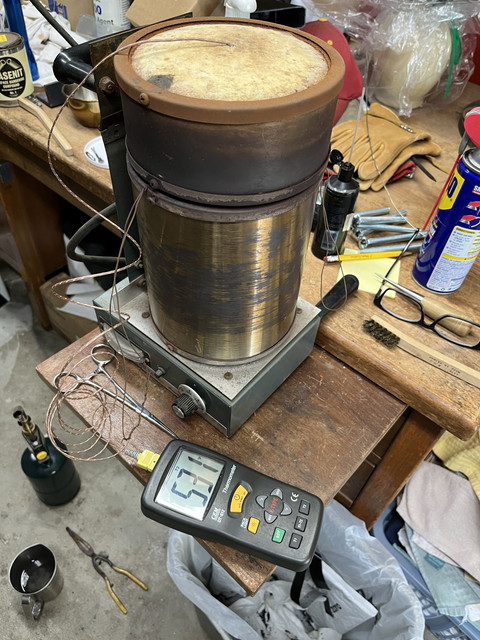
I don't have any pictures of the the next part of this procedure but I used a propane torch and Kasenit to case harden the weld repair area. When I do this for screw heads and triggers, etc, I quench the part in brine water from a bright orange heat . After that I do not draw / temper the part because it only has a surface case on it and the core is still soft. In this particular case, the majority of the tumbler is made of high carbon steel and, when I quenched it, it became hard all the way through. So it needed to be drawn back some. (I think the part originally broke because it was not drawn sufficiently.) To do this in a little more controlled fashion, I put both the sear and the tumbler in my melting furnace and slowly brought the temperature up to 565 F letting the parts soak at that temp for about a half an hour. At Dave Pearson's suggestion, I did both the sear and the tumbler at the same time so that they will be of equivalent hardness when done.


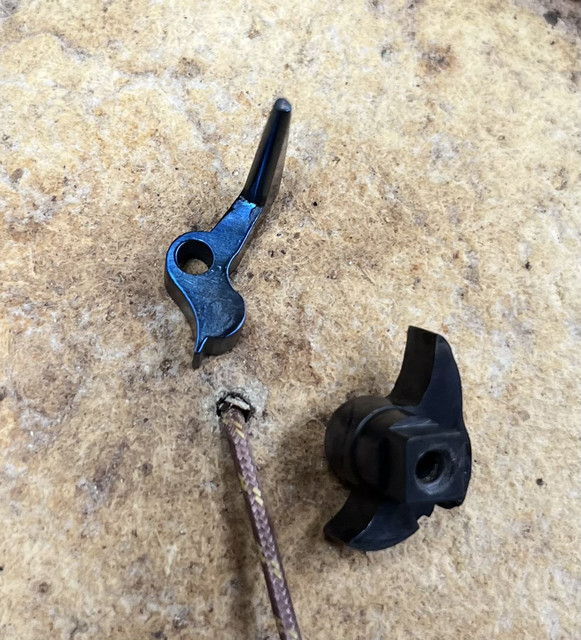
The tumbler and the sear out of the furnace......


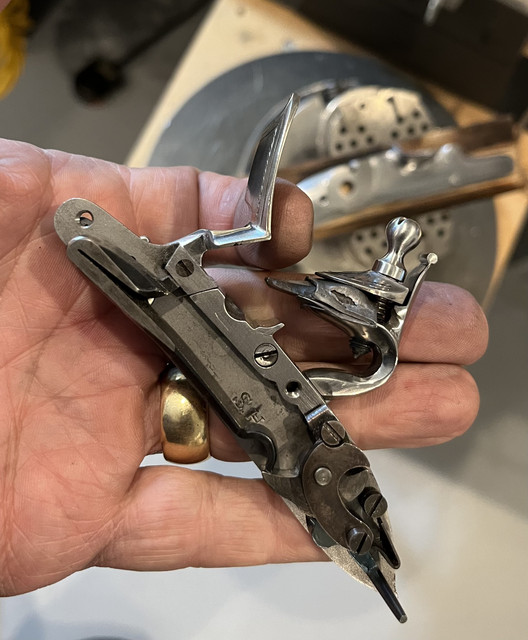
The reassembled ...and now working again lock......


I also had a chance today to make and install the tiny rear sight.....I will post pictures of that tomorrow....
 
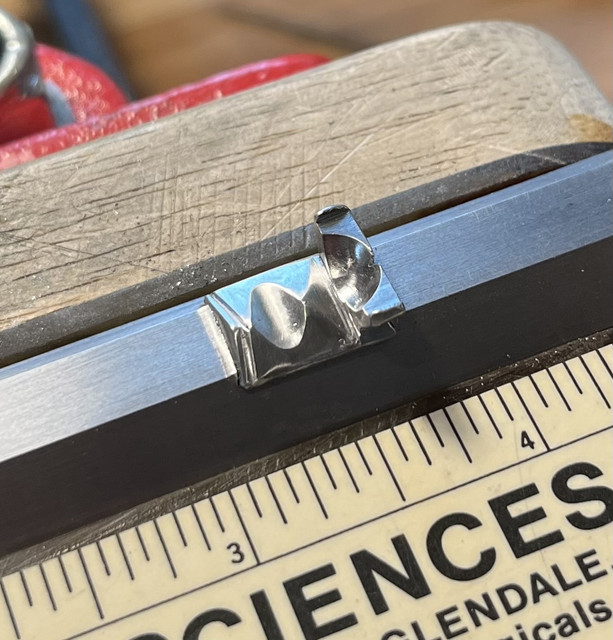
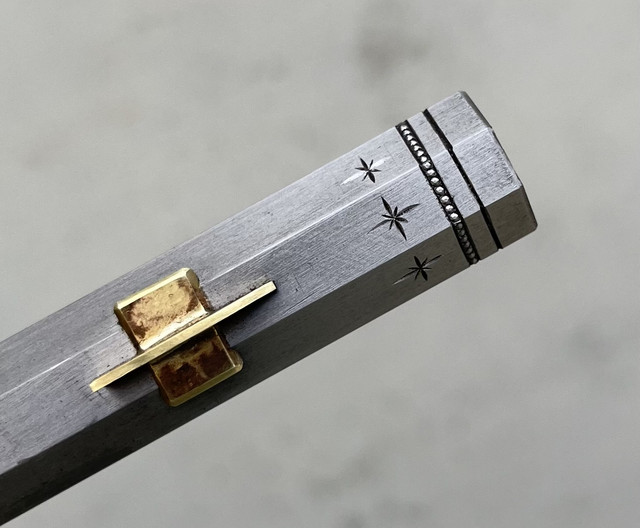
Worked on making the sights today. This is the fairly tiny rear sight filed out of block of steel.....
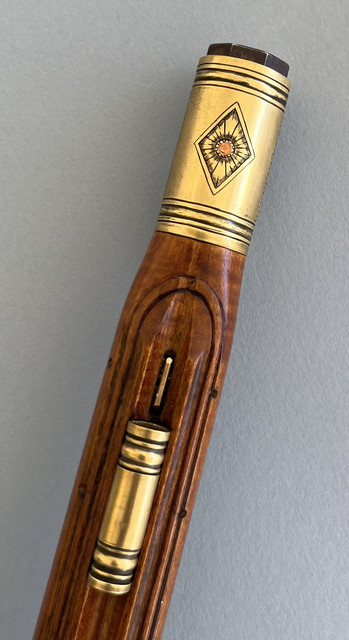


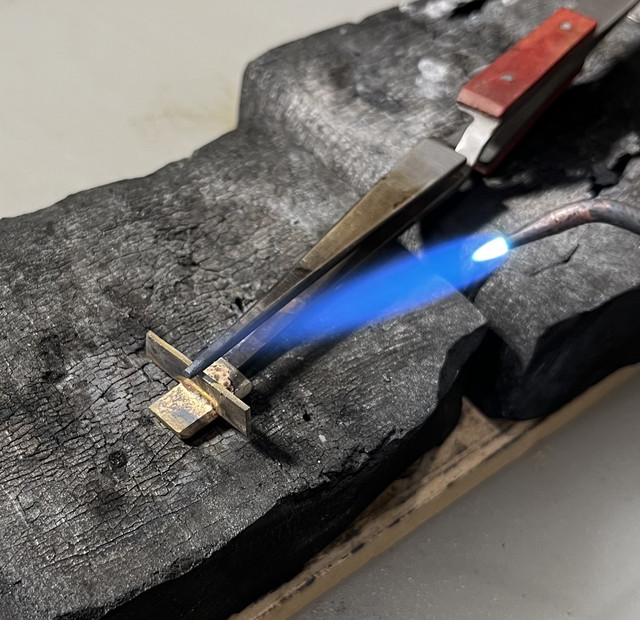
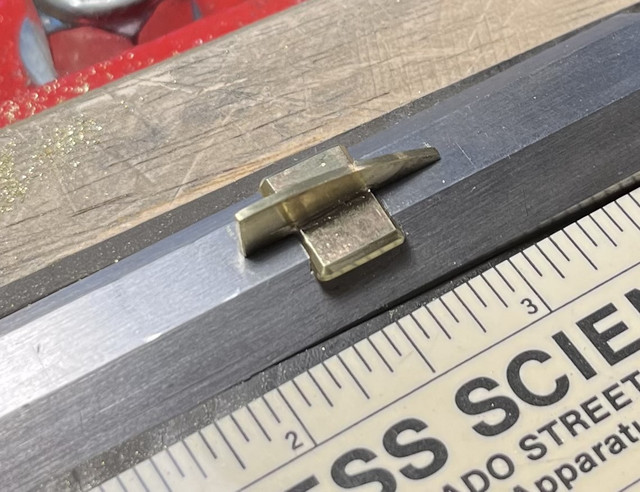
Then I silver brazed a front sight blade to a brass dovetail base I filed out of sheet.....
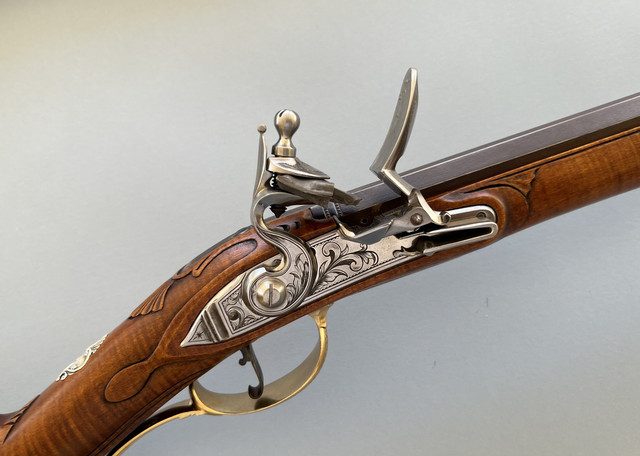


I am very nearly done with all the metal work and carving (one more silver inlay in the cheek piece and a little more engraving on the barrel breech). After that is the wood finishing. So I have started trying different stains on one of the pieces of wood I sawed off the forearm. Hard to tell in this picture, but I have tried several stains and none of them appeal to me so far. Looking at the bare wood, it has a very tight, almost miniature curl that I thought would look great on a scaled down rifle with just the usual iron nitrate stain and heat blush....It doesn't....the curl I can see in the bare wood doesn't show up very well at all after staining. Then I tried the tannic acid trick before the iron nitrate.....no joy. The curl just doesn't show very well. Then I tried a bunch of other Laurel Mountain and other stains singly and in combinations....no luck yet.....Not sure what I will try next...???

 
I'm way, way, out of my league here, but a line of thought popped in my head upon reading this.
The "curl" we see is due to exposed end grain growth rings, correct?
If so, what about using the trick that @dave_person uses on American walnut with dye. Use black dye, which will penetrate the open end grain more, then sand off the surface dye. I think this leaves the deeper dye in the exposed end grain accentuating the curl.

Okay folks,,,,,, tell me how wrong I am. Lol
 
Brokennock,
You're not wrong.....I have tried the tannic acid followed by iron nitrate which has the same effect of turning the wood deep black. When the surface is sanded back, the hard portions of the grain get lighter and the softer areas stay dark. I have used this technique on stocks with little or no carving with good success. But in this case, turning the wood surface black in and around the carving detail will either leave the whole area black ...or I will be sanding around the carving for the next 10 years. So you are not wrong at all....I'm just reluctant to try. In fact, some of the patches you see in the picture of the stain experiments are the tannic acid / iron nitrate. Other experiments include asphaltum which also usually does a good job of excentuating the curl. I have some other things to try and I will post them here when I get a chance.
 
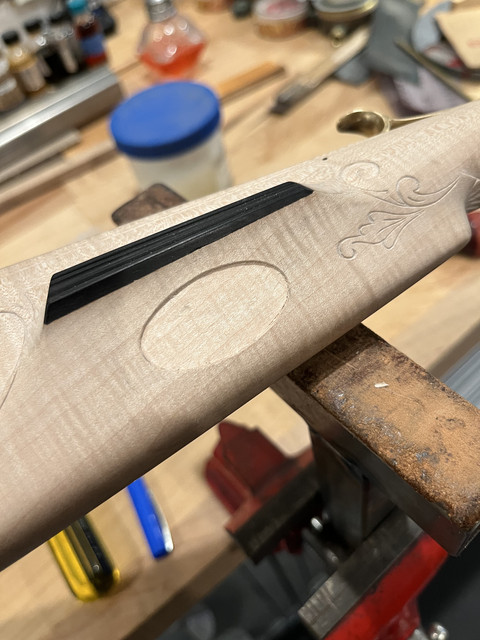
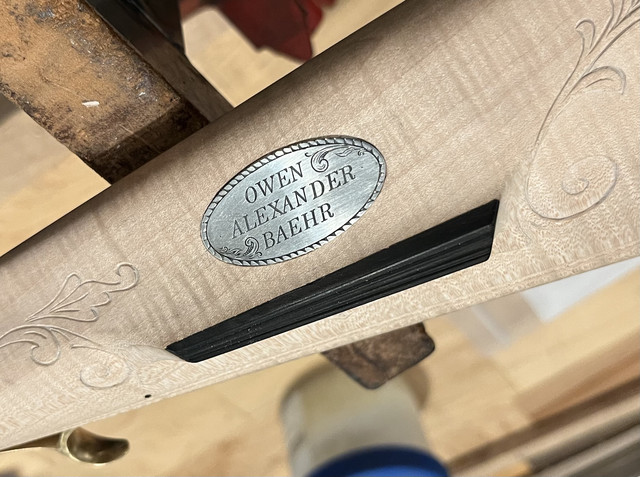
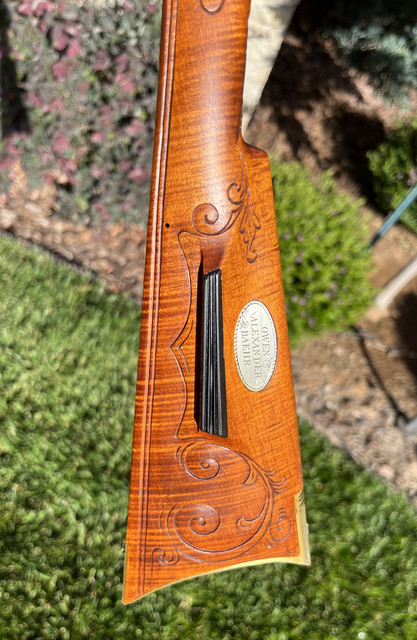
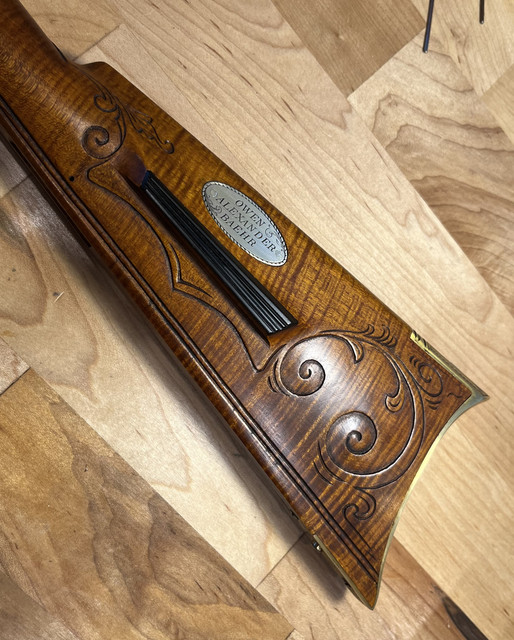
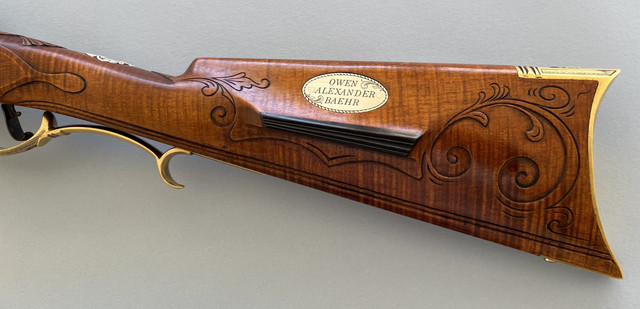
I had debated putting my grandson's name on the cover of the patch box or not, but then decided I would add it to the cheek piece as a sterling inlay. So I settled on an oval and engraved his name and a bit of boarder decoration. I have done a similar one on another rifle I gave to my brother-in-law several years ago and it has it's share of difficulty. I didn't want to engrave the silver already installed in the cheek so that meant engraving it first and then contouring and installing it after the fact. As a consequence I could not finish wood and metal together to get a perfect fit. I cut out the silver oval, engraved it, spent a long time contouring it to match the wood, and then started the inletting. Not finished. but here it is so far.....
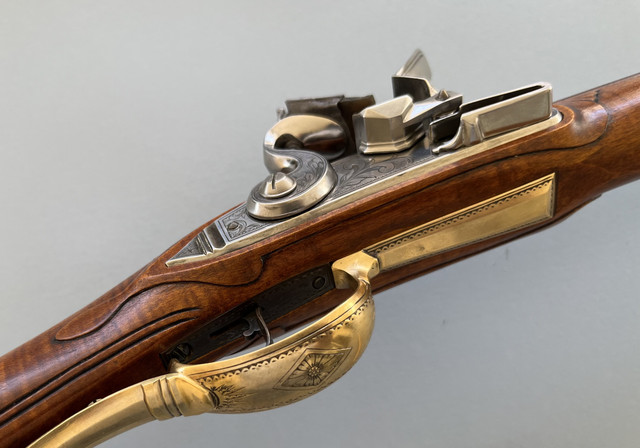


I could have made it out of thicker silver, inletted it into place, finished wood and metal together, taken it back out, polished the metal, engraved it, and then put it back in....but I didn't.... :)
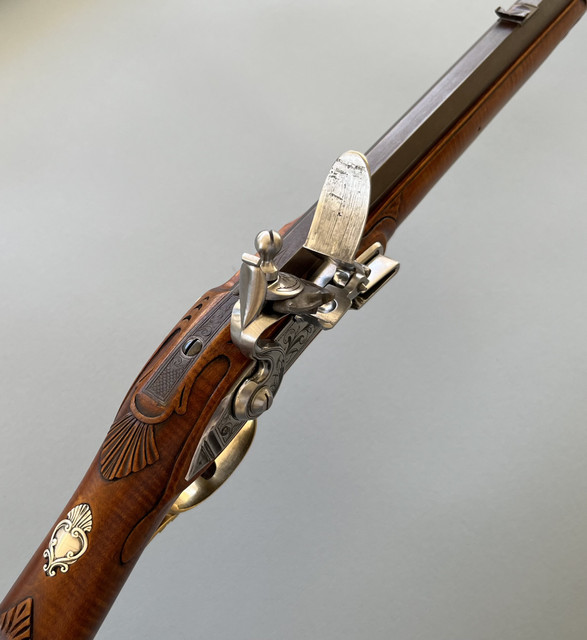
 
I had some time today to try a few additional staining techniques on this little rifle. I am getting close to that stage of the work. Looking over the trials I did several weeks ago, I thought that I would try the Henry's roofing asphalt but mixed with trichloroethylene instead of just mineral spirits. In addition, working on the slender slab of wood I band sawed off the fore end of the little rifle was not my best option. Since this project started off as the construction of two identical little rifles, I had asked Fred Miller to find me a piece of stock wood I could split in half lengthwise. He did and I did, so these next couple of experiments were run on the twin "other half" of the same piece of stock wood. Here is how today's work turned out......

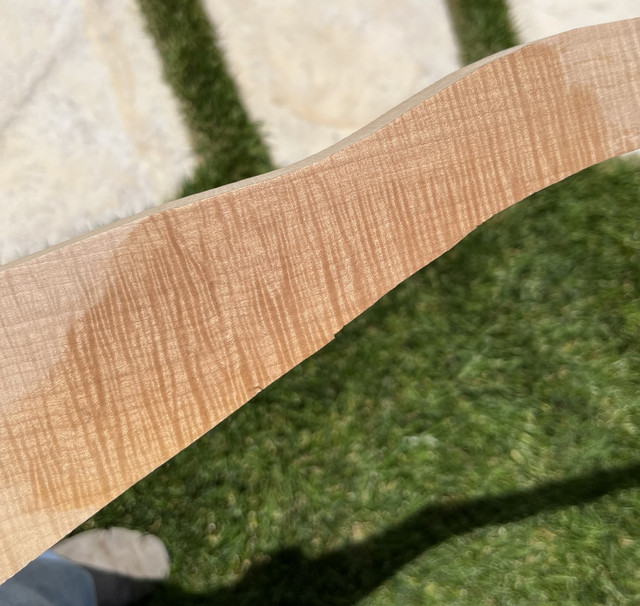
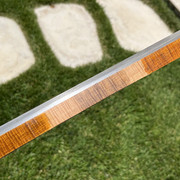
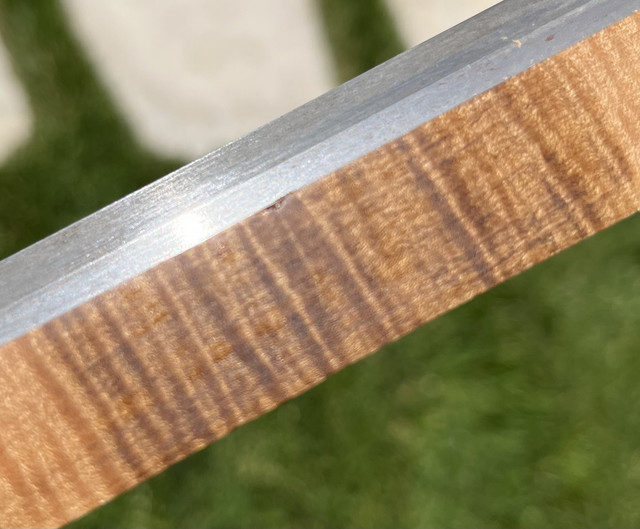
First, this is a photo of just the plain wood wetted with mineral spirits to accentuate the grain somewhat.....you can see it looks to be a great piece of maple with a sort of miniature curl (another thing I had asked Fred for since there were to be scaled down rifles....


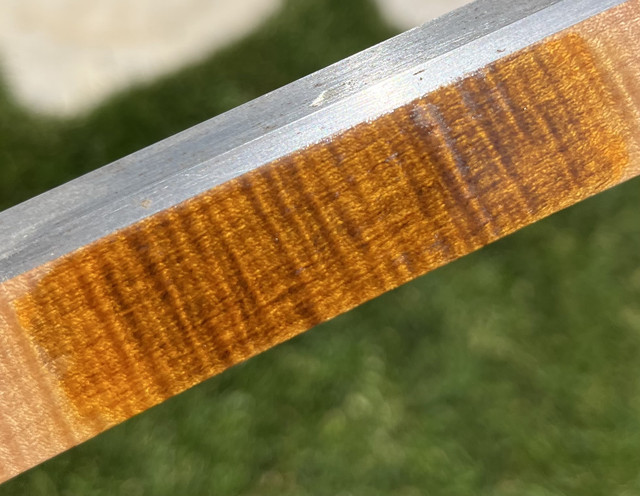
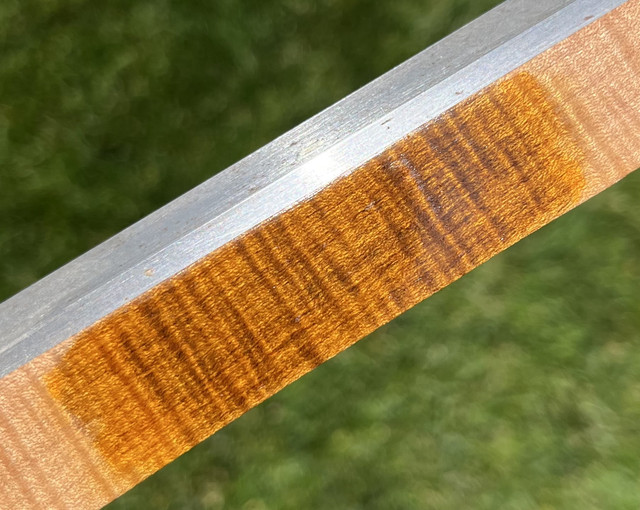
This next shot shows the comparison of three versions of staining. The middle swatch is Henry's mixed with trichloroethylene alone. The left most swatch is Henry's diluted in trichloroethylene and then swabbed with Trans Tint Honey Amber applied full strength. The right most swatch is swabbed Honey Amber full strength first and then the Henry's trichloroethylene mix applied.


This is a close up of Henry's mixed with trichloroethylene alone....just a plain brown but it does show the curl.....


This is Henry's diluted in trichloroethylene and then with Trans Tint Honey Amber applied full strength


This last one is Honey Amber full strength first and then the Henry's trichloroethylene mix applied.


Sorry for the "not so good pictures" (my new phone really doesn't do close ups worth a darn). I can't really tell the difference between the Henry's with Honey Amber first or second, but I think I like the combined color... and it does show the curl fairly well.....Not sure yet. I may try a few more options before I make up my mind.
 
Working for a living has been getting in the way of progress here.....yet again ! I have been out at my Mojave Desert rocket test facility for many days and have not had a chance to try to get this little rifle finished finally (or work on the many other irons that I have in the fire). But the beginning of the final push has begun with staining and the first sealing coat of Sutherland & Wells polymerized tung oil mixed 50 / 50 with gum turpentine. These are not good pictures but will give you some idea how things are starting to look on the stock. The barrel still needs to be polished out some and then finished using the "browned-blued-browned-rubbed back a bit" technique that I like. And then I will start on the wooden case and accessories to complete the rig for the little guy.....


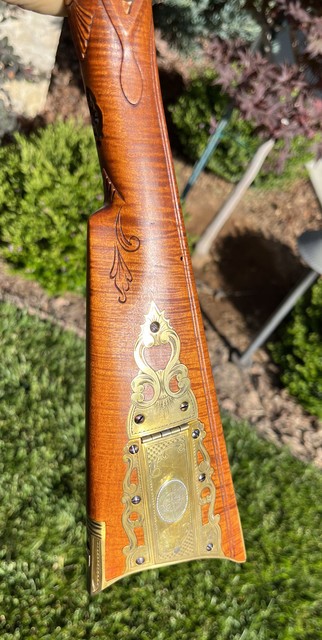
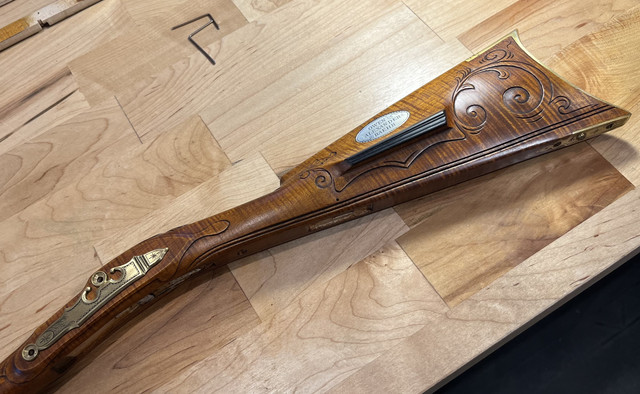
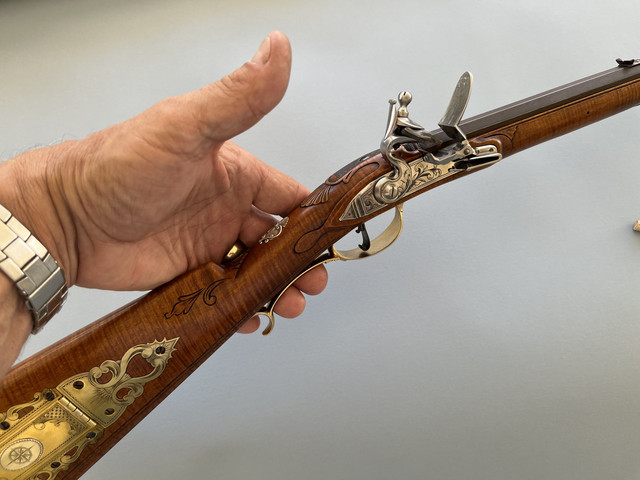
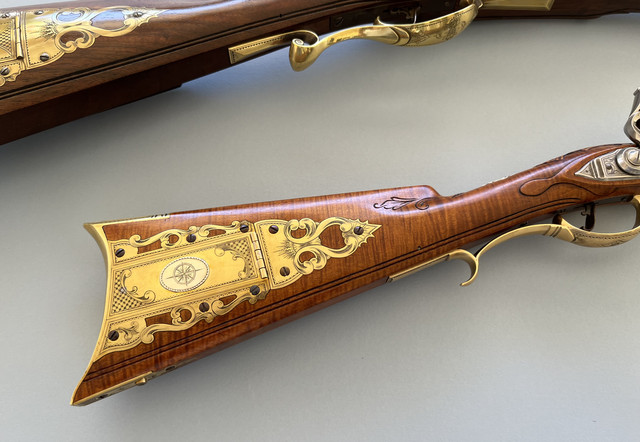
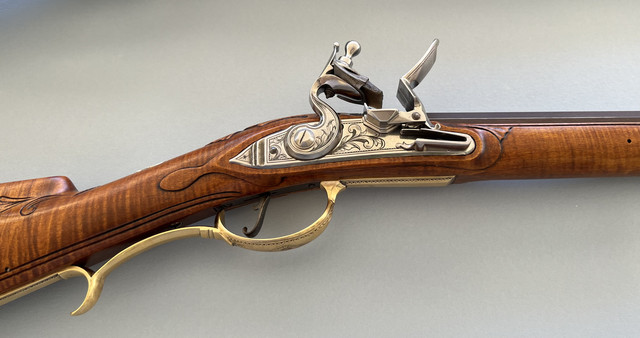
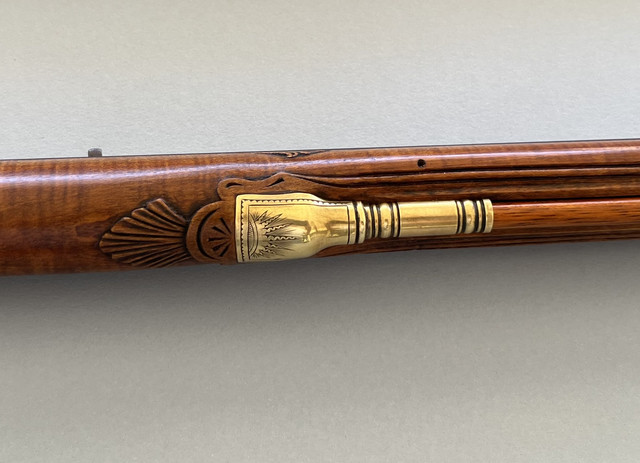
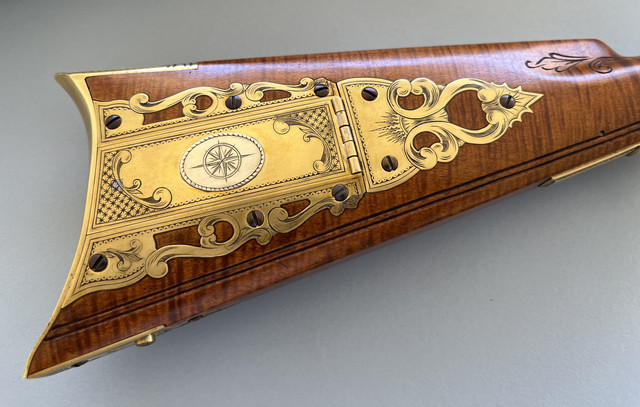
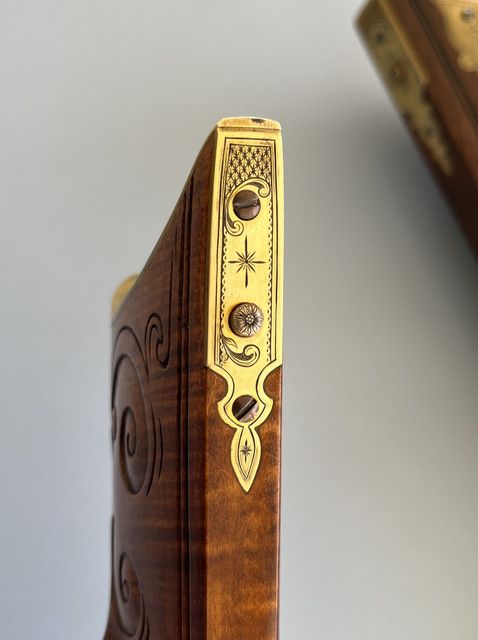
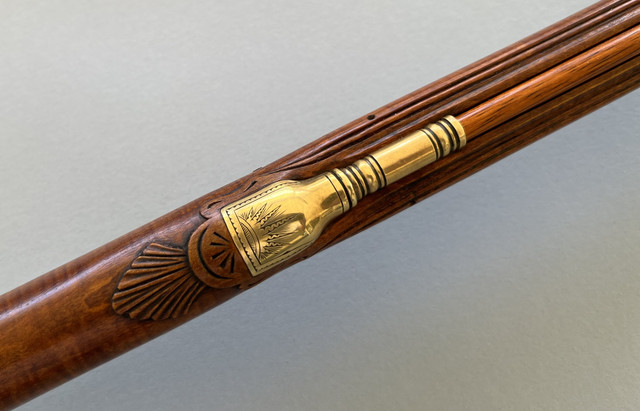
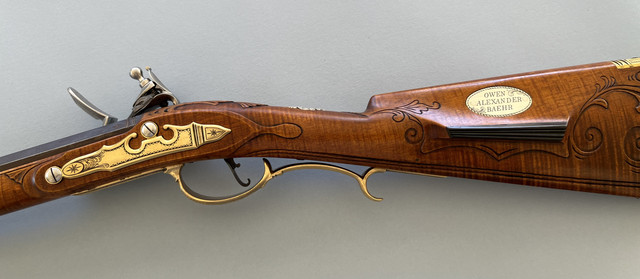
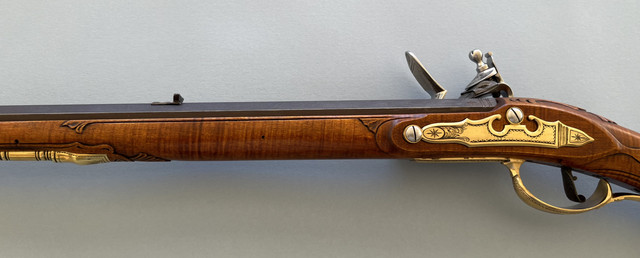
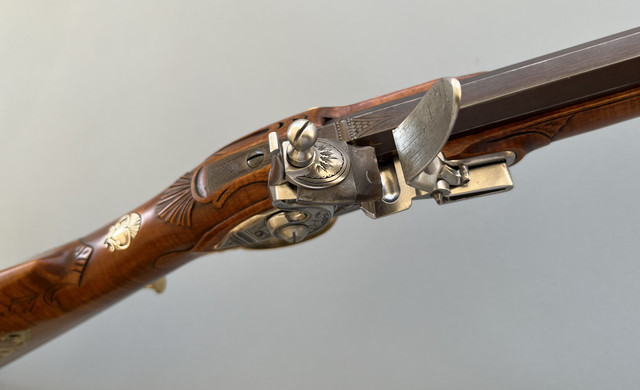
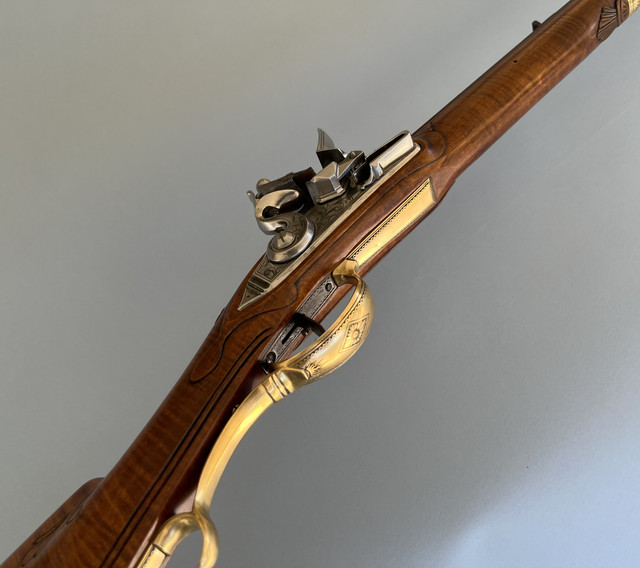
Finally finished......a long road on this one.....but finally done....well....except for the case and the accoutrements.... :)

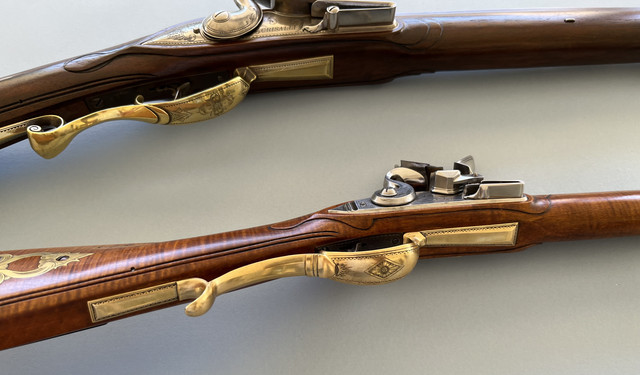
To show scale again....one of my full size rifles and this little one......


This also gives a sense of how slender the wrist is........


More photos....sorry for the quality. Photography is not in my "wheelhouse" as they say....


Back
Top