• Friends, our 2nd Amendment rights are always under attack and the NRA has been a constant for decades in helping fight that fight.

    We have partnered with the NRA to offer you a discount on membership and Muzzleloading Forum gets a small percentage too of each membership, so you are supporting both the NRA and us.

    Use this link to sign up please; https://membership.nra.org/recruiters/join/XR045103

An IX De Gendarmerie

Muzzleloading Forum

Help Support Muzzleloading Forum:

This site may earn a commission from merchant affiliate links, including eBay, Amazon, and others.

Joe Sullivan

40 Cal.
Joined
Jul 27, 2011
Messages
189
Reaction score
0
I'm ready to start my project. I have my pictures of the pistol printed to scale off of and a good set of dividers. I'm coming into my off season fishing. Plenty of time to do this.
I don't have much experience building so I would appreciate any input you might have. The double I made was my first build ever and it was my kickoff so to speak. I would like to post pics here, if you don't mind cause I like pics and I think most people do too.
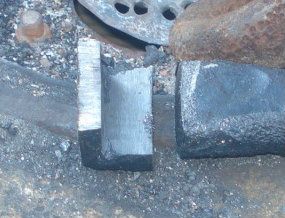
The mooring chain my friend gave me is good quality steel. It hardened up great by super quench and I'm going to use it again.

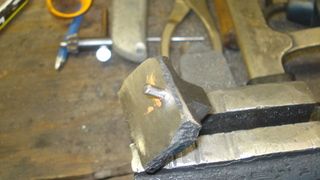
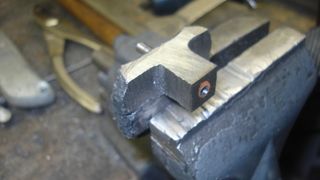
Forged the corner, ground square, hacked off and drilled thru for #6 then drilled and press .145 dia rod. I'll tap 1/2" deep. A lot of meats coming off but its better to have than have not.
DSC04381.jpg

DSC04386.jpg


DSC04387.jpg


Hacksaw and file next.
 
I chuck it in the drill and on slow speed I bench grind the arbor, file at high speed and sand with 400. I need a small lathe.
DSC04388.jpg


I'm going to hold off with the sear slots and the flats on the arbor til I'm ready to time the lock.
DSC04389.jpg

I need to get me one of those indexing drill press vises cause if I had one, I would have drilled the flipp'n hole straight. Oh well! :(
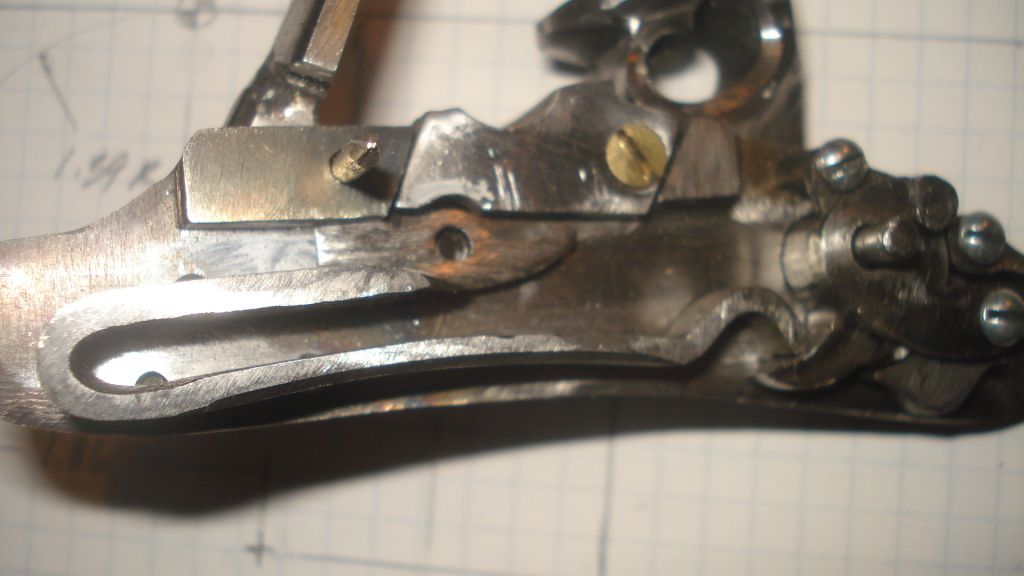
DSC04390.jpg


Side plate
DSC04391.jpg
 
It did'nt dawn on me how small this lock is till I layed it out on the steel in white paint marker.
I left some extra meat for now.
DSC04392.jpg

DSC04393.jpg
 
Working these little pieces is a chalenge. This ones a little bigger than my finger tip. The grid paper is .20. I got a bit if filing to do yet.
DSC04396.jpg

I might start on the pan tomorrow.
 
WR,
Here's a link to photos of the gendarme pistol that is like new
http://www.armeancienne.fr/pistolet-de-gendarmerie-modele-an-ix-p-2027.html
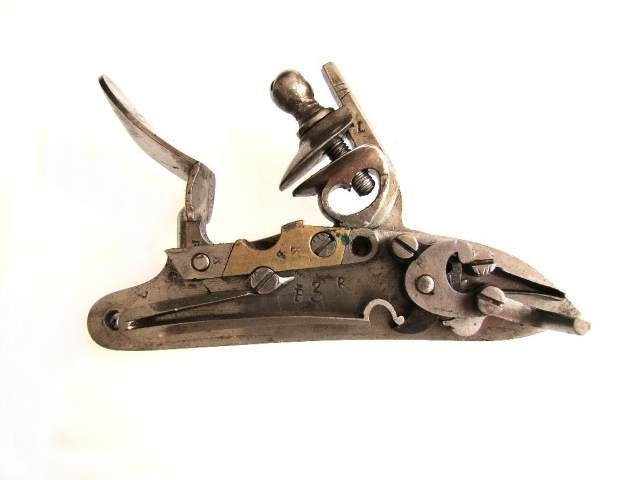
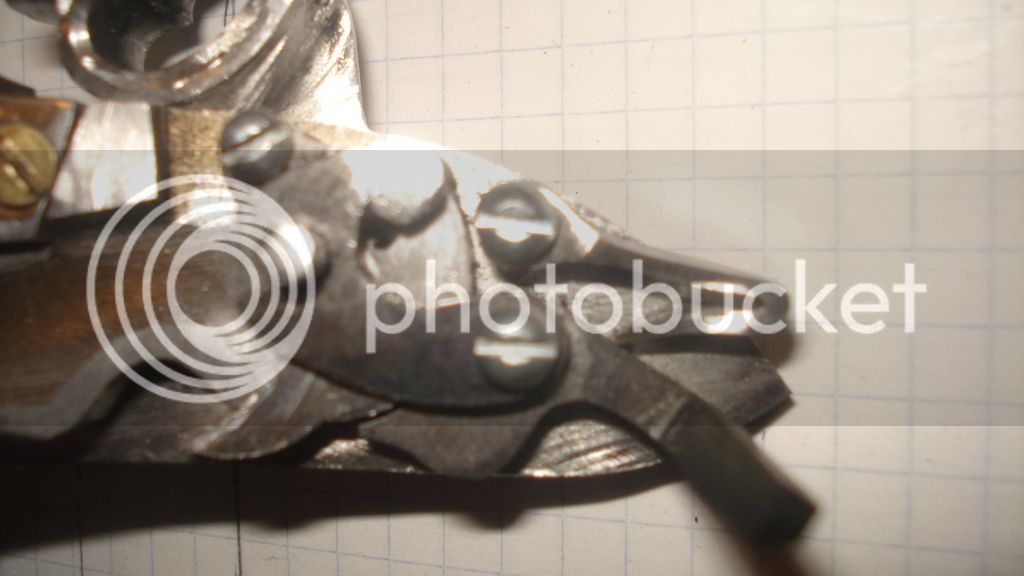
The pistol you're copying is pretty beat up. I have a better photo of the inside of the lock - the sear nose on your photo is rounded off, it should be shaped like this one -
pix50.jpg


Also, your drawing of the lock plate looks too narrow at the back. Take a look at the photos on the link before you file off too much.

Great work so far, Mike
 
Thanks Mike. The axis of that radius is more toward the aft. I may have drawn it wrong and then layed it out on the steel right. I'll check it again. Thanks for catching that. I found some pics on a french museum site of a full size An IX and it shows the sear nose, in all three positions. It's clearly sharper and more Defined. Your pic of the De Gendarmerie confirms that someone did some extra filing on the sear and the bridal in my example.
 
It seemed like one thing after the other keeping me from this project but I guess I've got some time now.
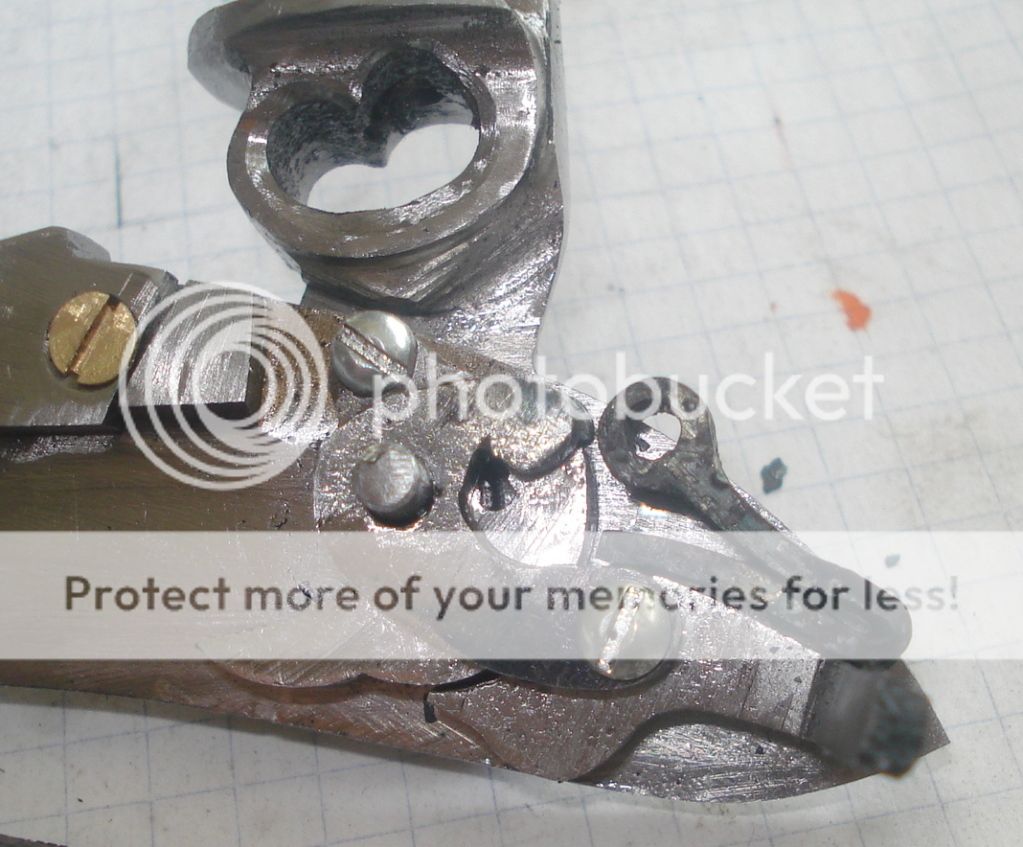
This little part is a tuff one because of a combination of things. It's a complicated shape but my biggest problem was the top views I had.
I figure the scale of each picture and I have my constant, but the only thing I could bring from the side view to the top view was the muzzle diameter.
DSC04397.jpg

I have three top views of different pistols and thinking that the widths I needed should be the same. There not. One of the pan widths measured 1" another .65 and another .73.
DSC04398.jpg

That slowed me up till I figured it out. I could'nt use the other pics to check my scale figures. finally I just picked one and forget about checking it.
DSC04400.jpg

I still got a bit if filing on the slot where the side plate goes and I'll go larger gringing the pan.
DSC04399.jpg

These part are like making a charm bracelet pieces compared to the last locks I made.
 
DSC04406.jpg

Not a great job getting the pan in. I'll weld in some fill and get it looking better. I loose my patients then cut and slash.
I'll file about 10 degrees off the stop side of the tumbler so it will index.
File the hammer hole square.
The arbor screw hole will look a little closer to center when I cut it the same thickness as the hammer.
DSC04407.jpg

Next I'll finish the hardware, work on the shape of each piece and polish. Start working on the sear.
 
DSC04415.jpg

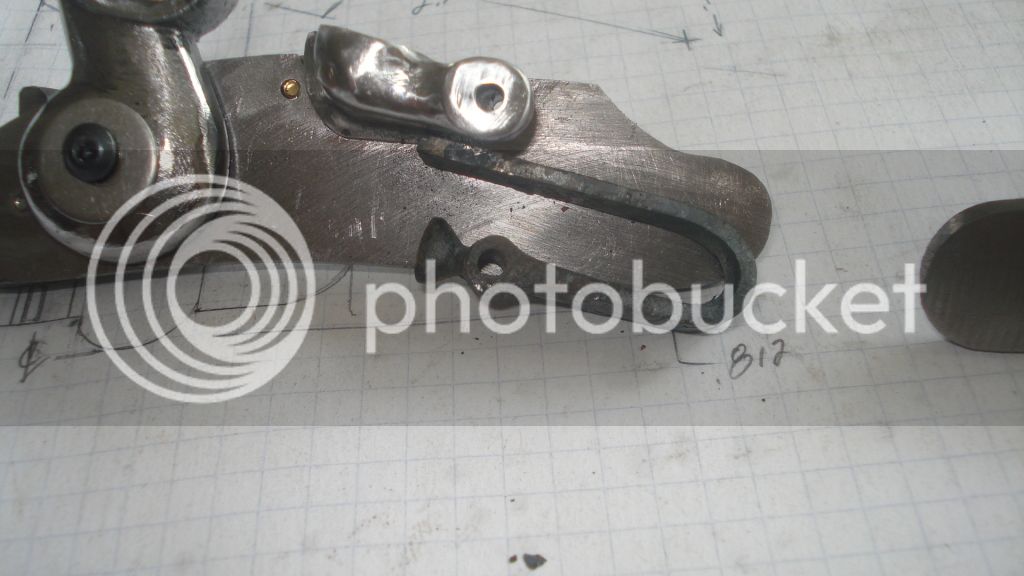
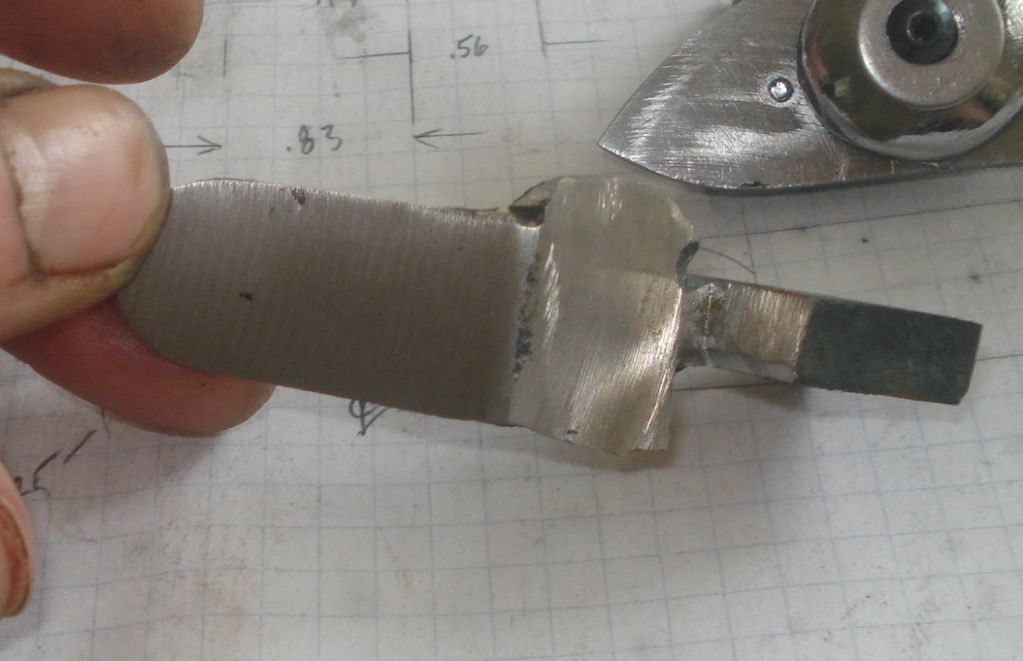
I made 2 replacement frizzens for my double a while back and learned to saw on each side along the back of the heel, heat and twist for the rear part that works the frizzen spring. This way I get that extra material down there. Works pretty slick. I'll fold and twist it up after this rain were having. Sear and thumb screw are coming along. I worked on these and 2 thumb screws for the double.
 
No, Thank you Curtis for staying tuned :)

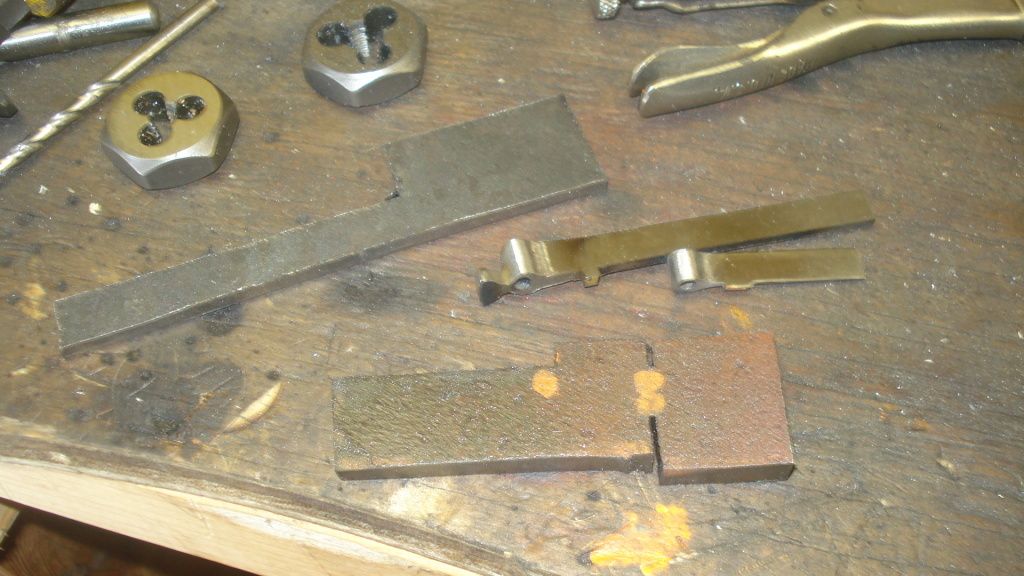
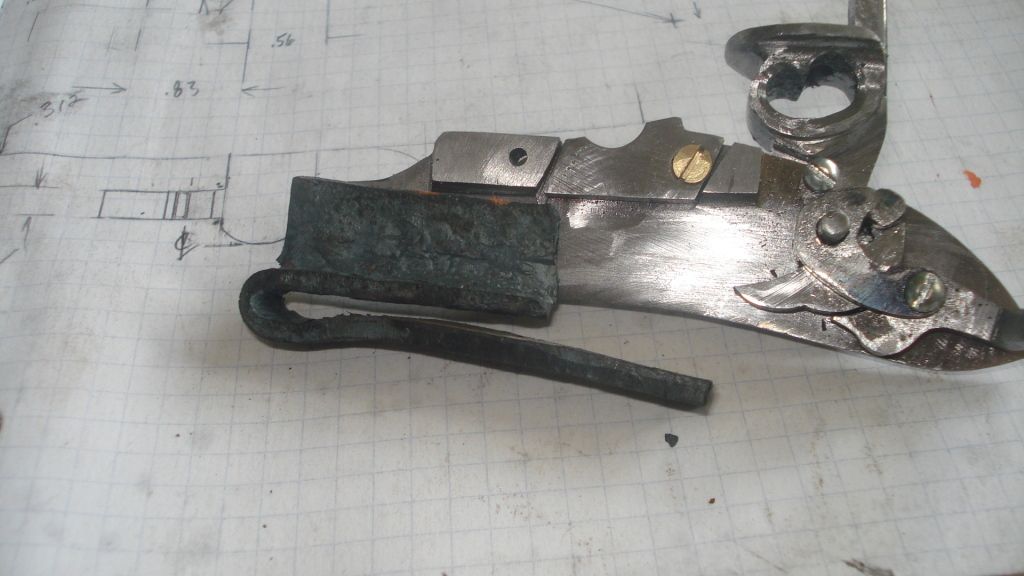
Got these 4 pieces ready for the fire. The larger flat is mower blade and the others are auto spring.
DSC04424.jpg


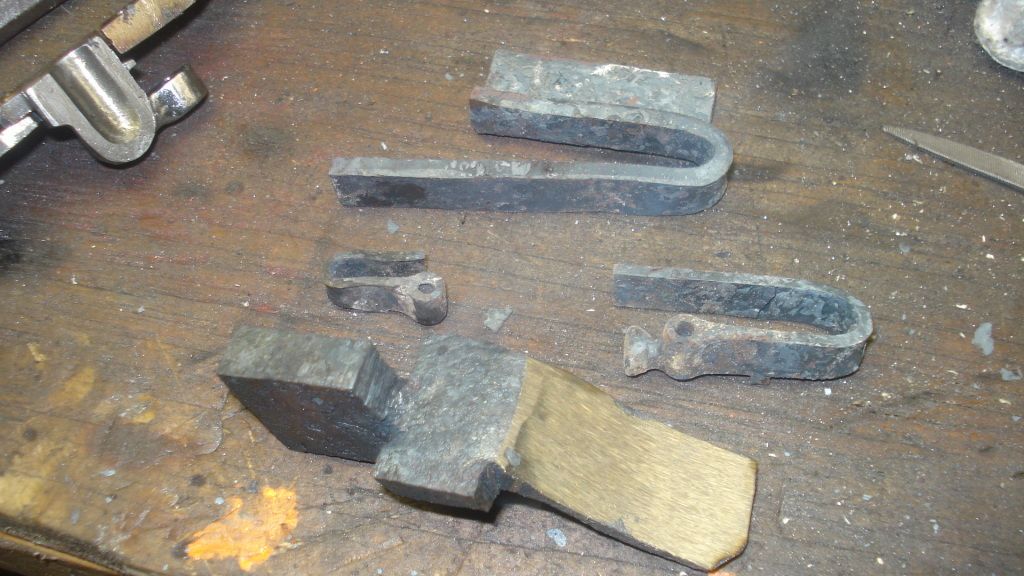
After the fire.
I get all flustered when the little springs fall between the coals. I noticed I was into the cut and slash mode and stopped grinding the frizzen before I did something stupid. I started looking at the main spring and saw that I folded it exactly backwards. :cursing:
I re-started the fire and fix it. I can't see any cracks, I guess it will be alright. I also forgot to cut and fold down the post that goes into the side plate. I'll get that on the finish step. I also squeezed the sear spring more too.
DSC04425.jpg


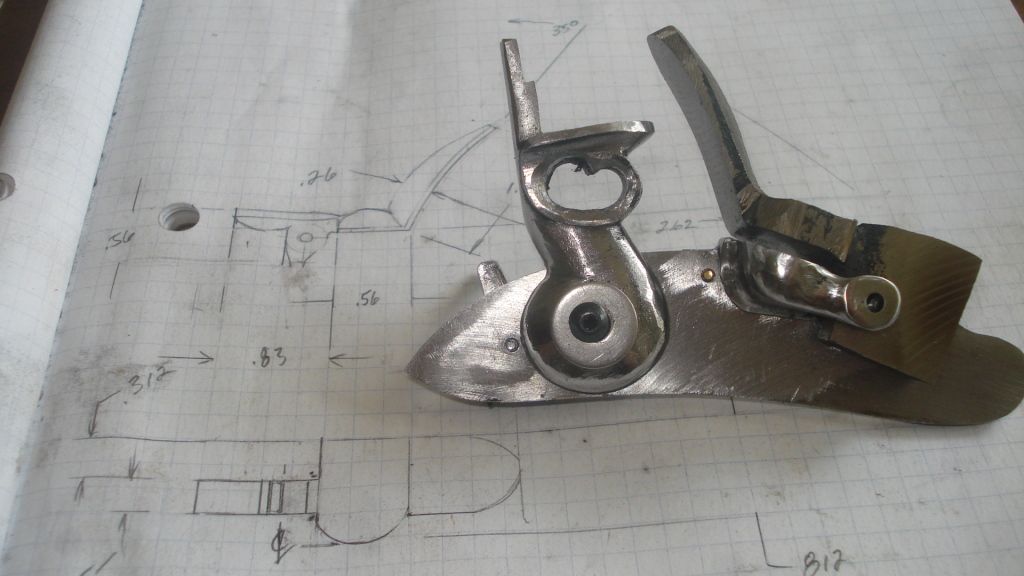
You can see the right orientation here and it looks like it's gonna fit OK.
DSC04429.jpg


The frizzen spring looks good. I'll squeeze it a little more
DSC04428.jpg


The frizzen came good. The angle is off a little but not much. I mite get it by gringing. I started to settle it in. I think it's going to look pretty close to the picture.
DSC04426.jpg


Twisting the shank, I'll call it, works good. I just get a dimple on one side that can be ground off.
DSC04427.jpg


The sear spring is so tiny that even heating it up is a pain. Then up against the lock it's MASIVE!
:shake: Look at the gerth on that sucker. I'll have to do some fancy filing to get it in there. I can take a little of the sear and thin it out but it's go'n in.
DSC04430.jpg
 
This is the most hair raising part of it all right here. I worked on everything I could before I tackled this little thing.
If I messed this up there only a few sizes bigger I could go without welding and starting over. Half the battle was when I line drilled thur the pan and then thru the side plate. That came out perfect but drilling thru the frizzen can make it just miserable.
I set up with the frizzen in position on the pan with locking plyers and spot drilled then took the frizzen off then drilled thru.
It came out good. Big cy of relief.
DSC04448.jpg

DSC04449.jpg
 
DSC04453.jpg

This lock will be together tomorrow.
The springs are hardened and tempered and they feel good. The frizzen is pretty much at it's final shape. It rotates shut good except for the running fit screw that it needs.
I need to make that screw.
DSC04455.jpg


The sear spring is almost in. I need to chisel the lock-in slot. I had to make room for the spring by heating the sear and bending it down. Some pics of the AN IX show it so and others show it higher. I guess you just make it fit.
DSC04456.jpg


The main spring is pretty much done. It's a little long but I'm absolutely not putting it back in the fire. I loose a little leverage but the spring is very strong. The cock rotates fine. I'll cut the cock knotches last thing then start polishing.
DSC04457.jpg

I have the barrel drawing at Oregon barrel co. and I'm waiting on there quote. I've drawn up some furniture and the stock. Getting close to starting to make the pistol.
 
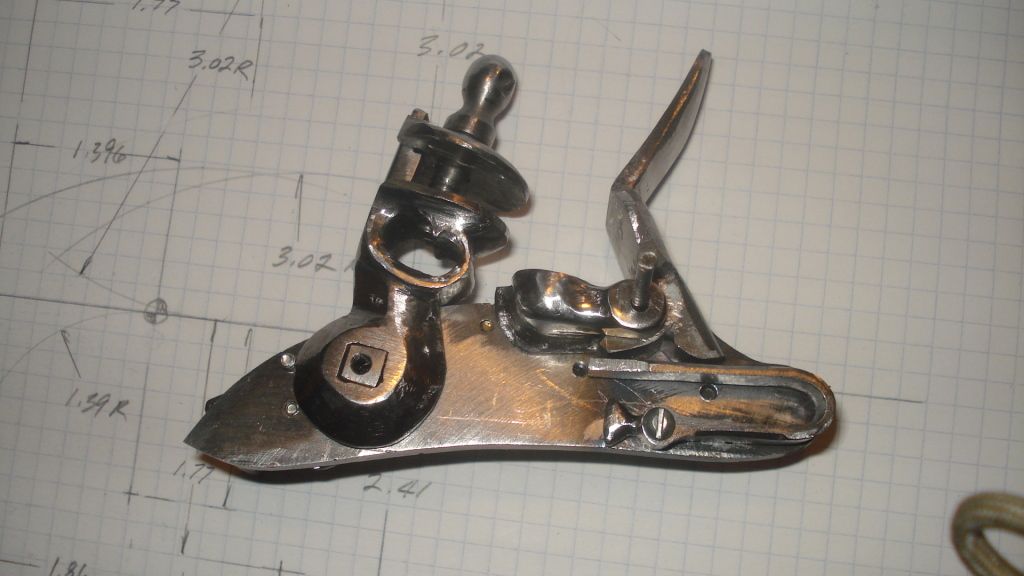
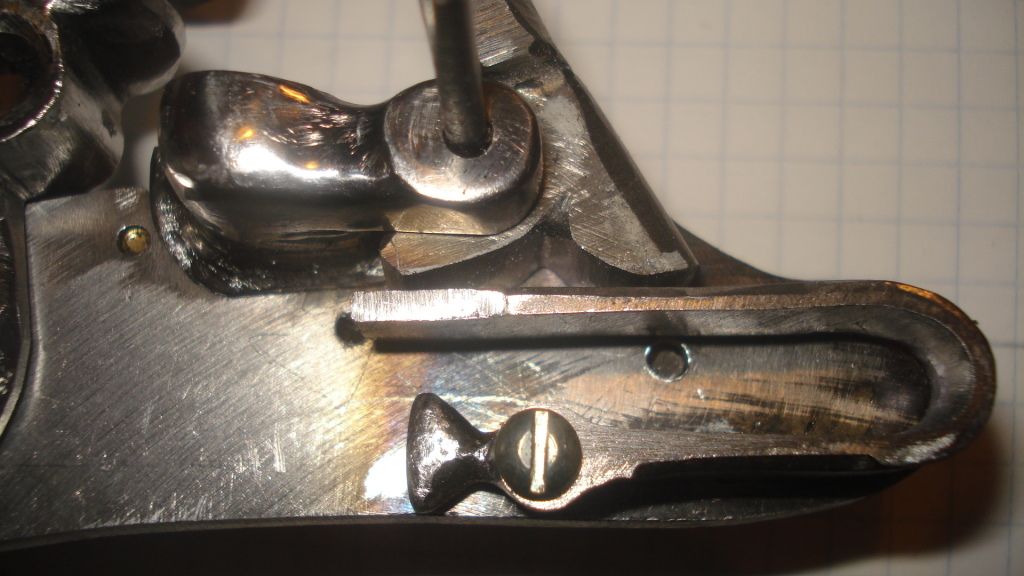
This thread is done. I have a little tinkering to do and some engraving. I came as close to the original picture as I could.
DSC04458_zpsc84b5e33.jpg

The actuator arm of the tumbler is a little long, according to the scale by about .05 which is interfering with the hook on the spring. It's either shorten that or make another main spring. The cocks not going all the way back so I can't cut the sear slots.
DSC04459_zps2e0e5821.jpg

I'll start another thread when I start cutting wood. By then I'll have all this little stuff straightened out.
DSC04460_zps1080c1d0.jpg

I've got to engrave the words "Maubeuge Manuf Imp" between the cock and the frizzen spring. Thats gonna take some thought and practice.
DSC04461_zps763356cc.jpg

The screws I made for the frizzen/pan and the cock came good I think. there a little meaty and I like'm but there a little to much. I supose I'll take some off. The frizzen/pan screw is good. The shank is .138 and the frizzen/pan hole is .140. Not bad for a drill for a lathe and a file. I've got to find a #4-40 die and make the other screws.
DSC04462_zps99e46b04.jpg

I filed and sanded everything with a drill 5" disc. It works really well. I'll do some more and then polish on the wheel.
DSC04463_zps0f8c6188.jpg


DSC04464_zps7dea6348.jpg


DSC04465_zpsdc42db78.jpg

I hope to here from the barrel maker this week and I've got some walnut for the stock so I guess I'll post that on the next thread.
 
I wanted to kick this back to the top. I thought you deserved some Kudos for the lock. I agree that the screws are somewhat clunky but on the whole nice work. It is something that I would never attempt to tackle and love the idea that someone else is not intimidated by such things. I'll stick with varnishing yachts.
RFMcD
 
Back
Top