• Friends, our 2nd Amendment rights are always under attack and the NRA has been a constant for decades in helping fight that fight.

    We have partnered with the NRA to offer you a discount on membership and Muzzleloading Forum gets a small percentage too of each membership, so you are supporting both the NRA and us.

    Use this link to sign up please; https://membership.nra.org/recruiters/join/XR045103

Another .36 cal Rifle from a Plank

Muzzleloading Forum

Help Support Muzzleloading Forum:

This site may earn a commission from merchant affiliate links, including eBay, Amazon, and others.
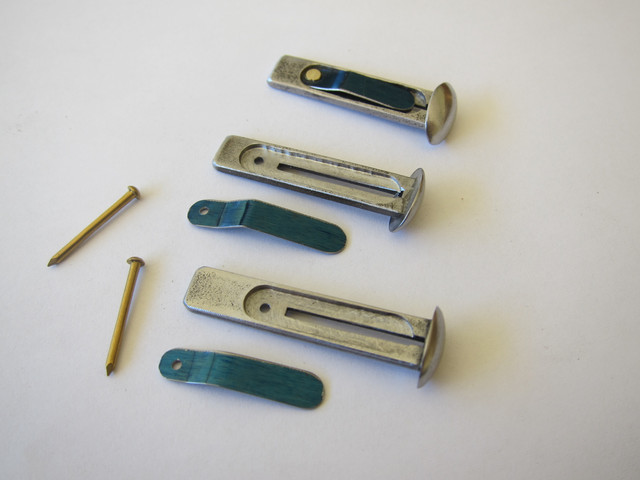
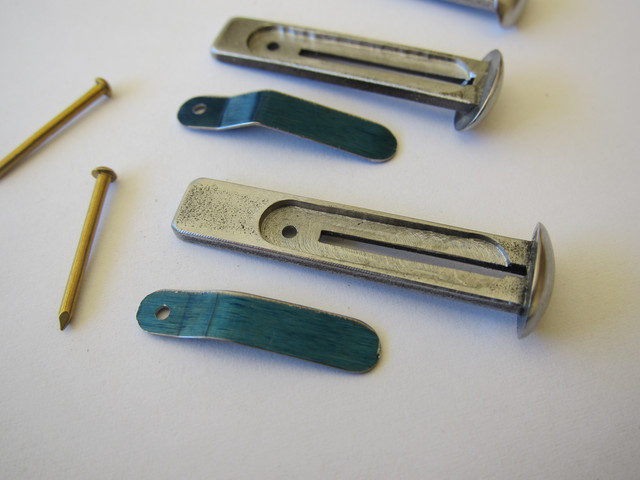
I completed the barrel keys. As I have done in the past, I milled a slot in the body of the keys and then riveted a very thin leaf spring in the slot. Eliminates the issue of fitting keys "just right" and then having things wear or having the change in humidity make the keys too loose or to tight.


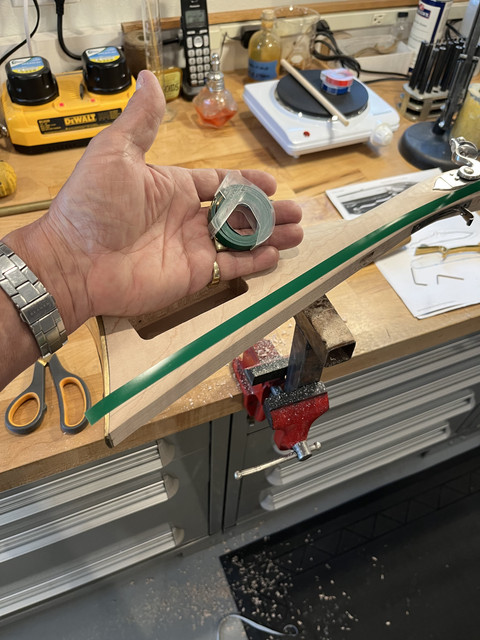
Still haven't decided where to go with engraving and carving on this rifle.....so, as usual, I'm just going to "wing it" and start in. The designs will have to grow and morph as they develop. First step was to put on the lower butt stock molding lines. I used a trick I learned here on ALR to lay them out this time. I used a strip of label maker tape to establish the first line and then just ran a small knife edge file along the tape for a few strokes......worked great....


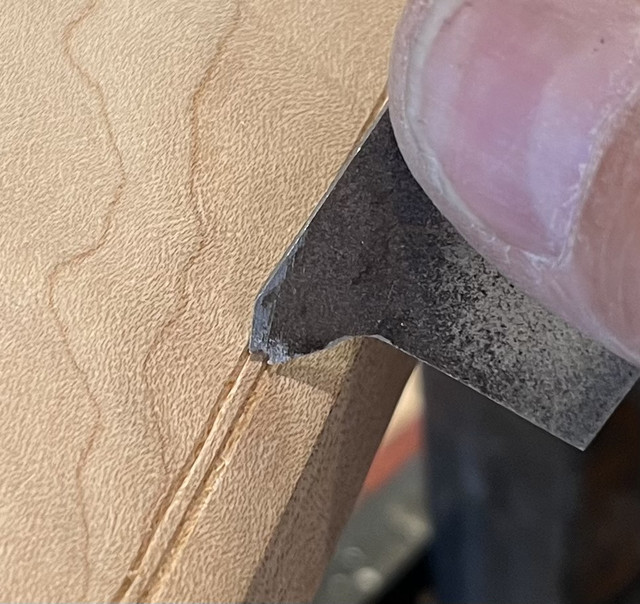
After the initial groove was established, I used a tiny bead scraper I made to make the second line and shape the bead......


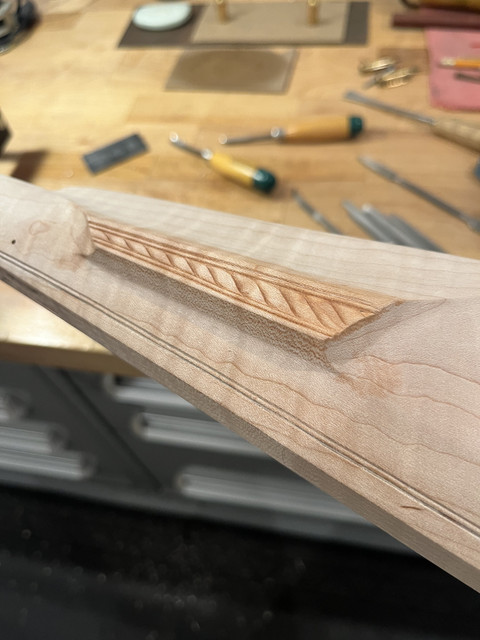
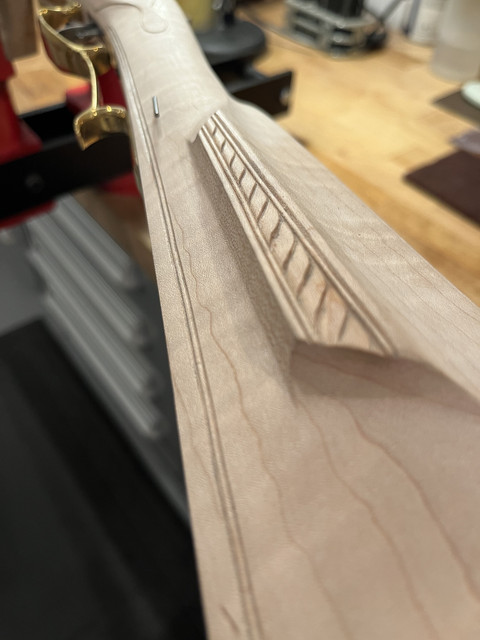
Then decided I would do something different with the cheek piece edge. I usually do some sort of concave / convex molding. This time I ran two beads (with the same scraper) and then did a rope like decoration on a convex surface between the beads.....don't know if I like it yet...?


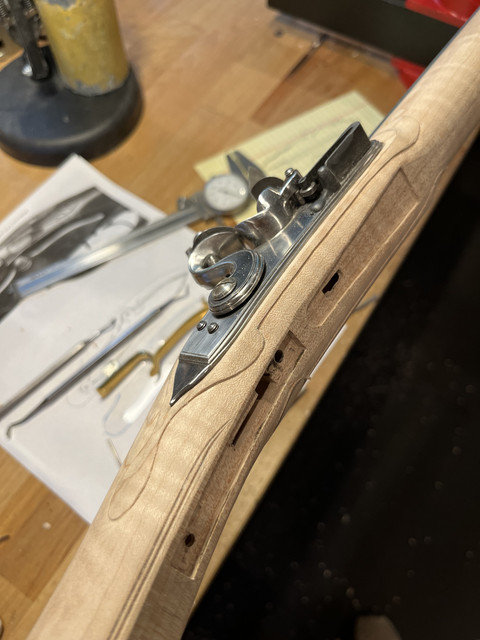
While I'm deciding, I went ahead with the lock panel molding start.......

 
Back
Top