Another Blunderbuss

Muzzleloading Forum

Help Support Muzzleloading Forum:

This site may earn a commission from merchant affiliate links, including eBay, Amazon, and others.
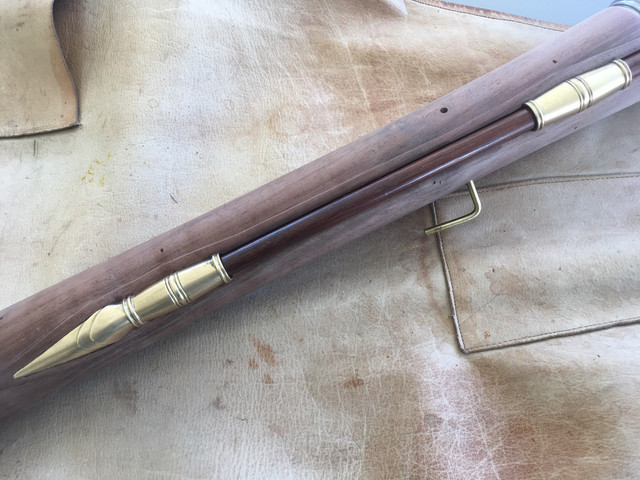
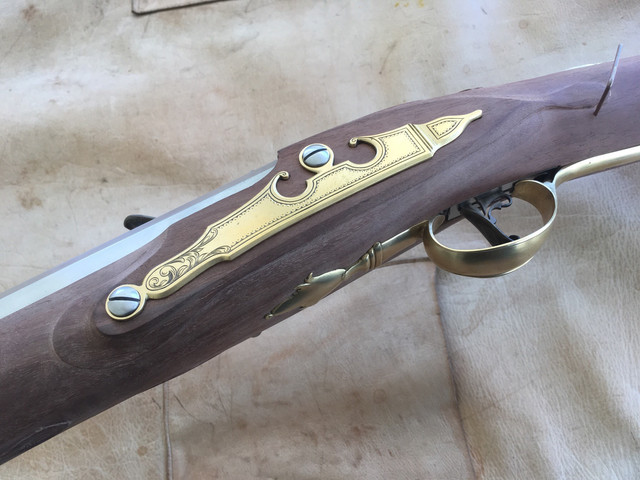
I have developed a new technique as a result of posting things. Because of the technological advancement of digital photography, things that look fine in real life start to show all sorts of flaws on the computer screen at 5 times actual size. In the past I have finished projects and then posted them only to see all sorts of things I should have corrected before the end game. So my new modus operandi is to do a fit check with all the metal and wood before I start the wood finishing process and it becomes really difficult to go back and fix something. Although I have not finished all of the engraving, all the metal is in place and all the wood has been shaped and smoothed. I took these pictures and found a bunch of stuff that needs to be re-worked. I think I should make a contest out of this.....sort of like the Burger King "Where's Waldo" advertising campaign. You guys look for flaws and let me know what you think and I will compare it to the list I made up for myself.....We can do a Round 2 when I finish the engraving......
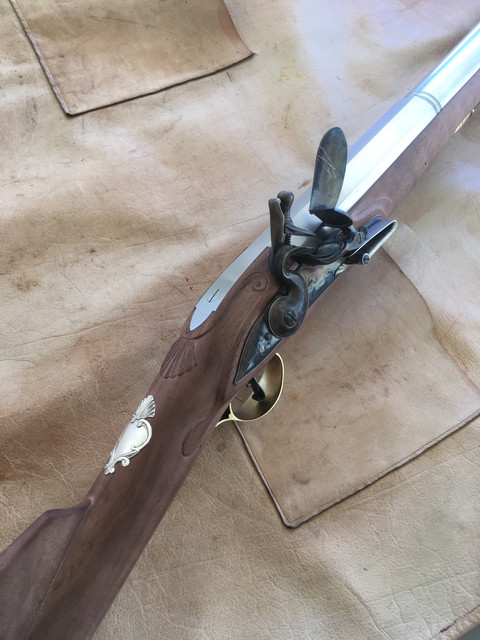
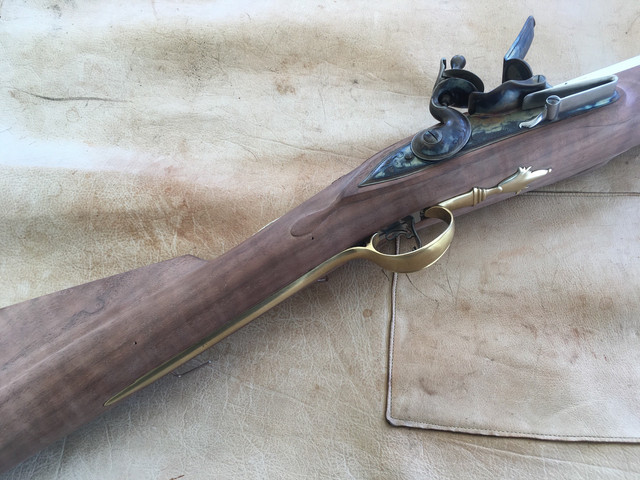
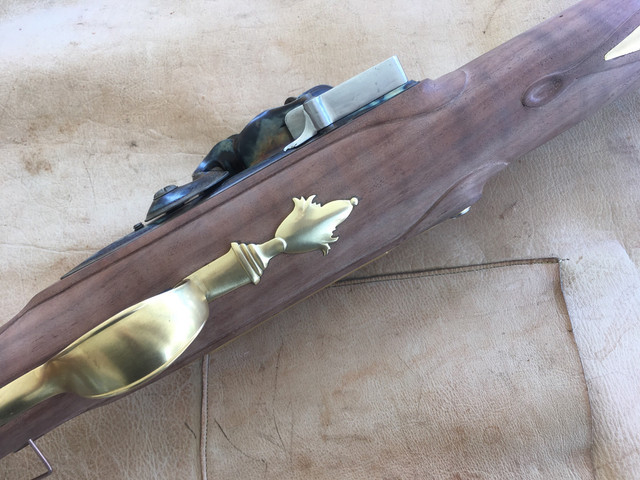
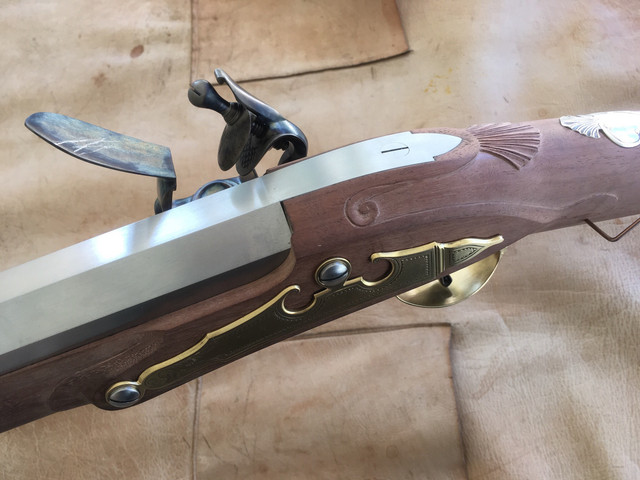
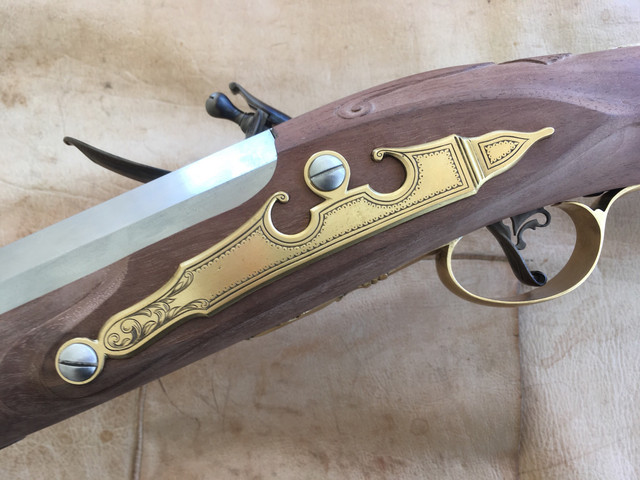
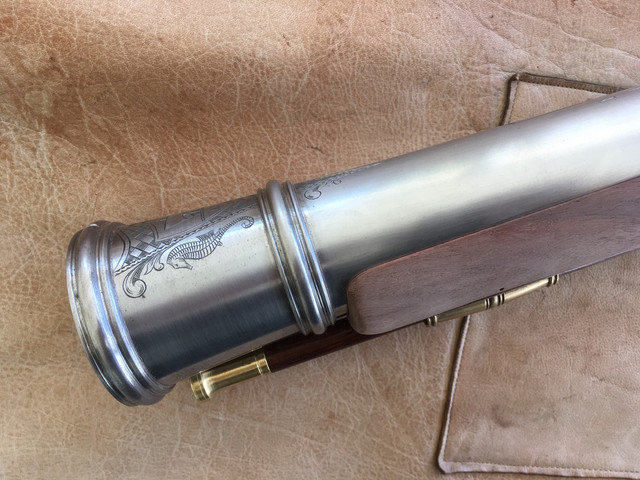
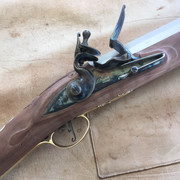


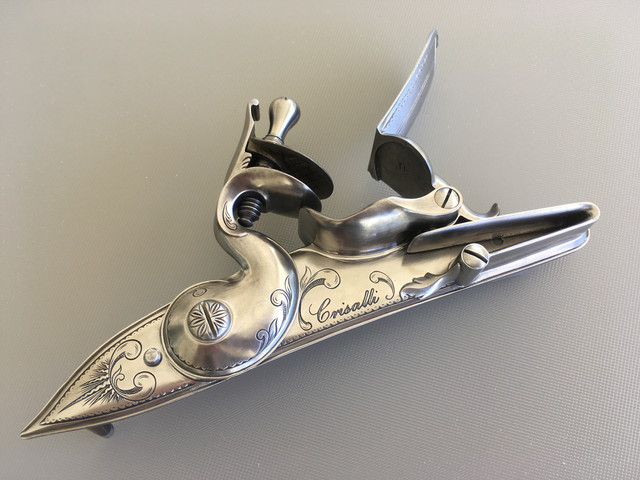
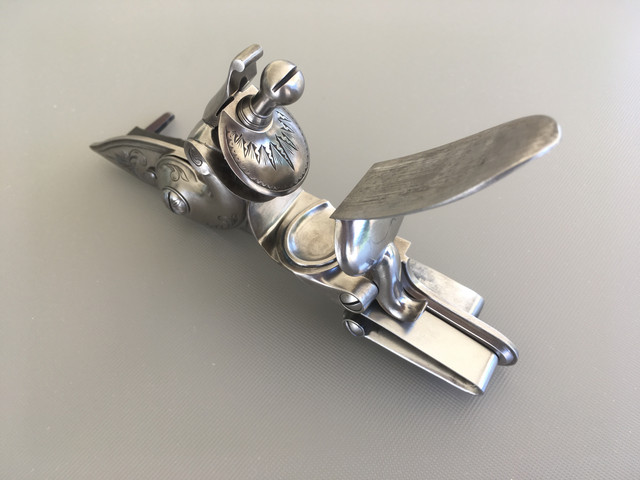
Ok....per the customer's request, I polished off the colors. Didn't want to over do it and make the lock look like a chrome trailer hitch, so I didn't take ALL the color away. I think it will look good on the finished gun....


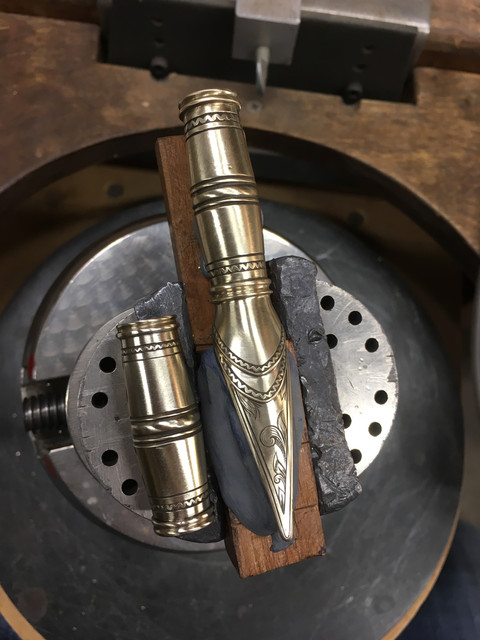
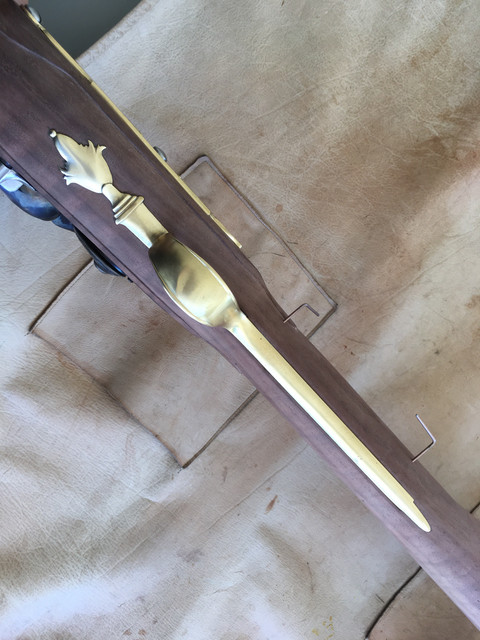
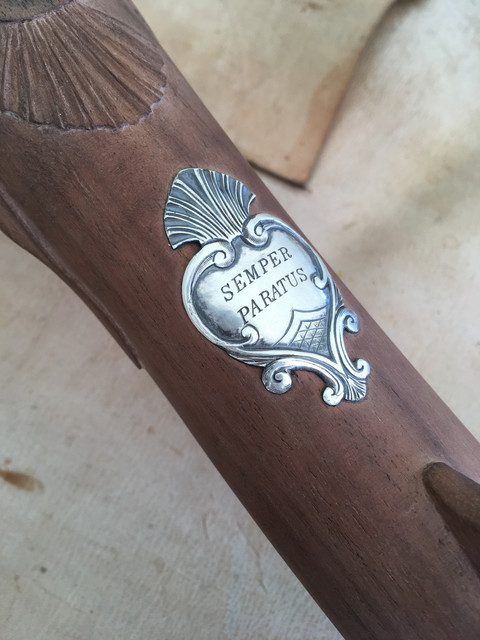
Wood work is mostly done. All the major components are complete and set in place. Only the final wood finishing and final part engraving remain. Started on the small bit of decoration on the ram rod pipes the customer wanted..... and then started on the trigger guard.


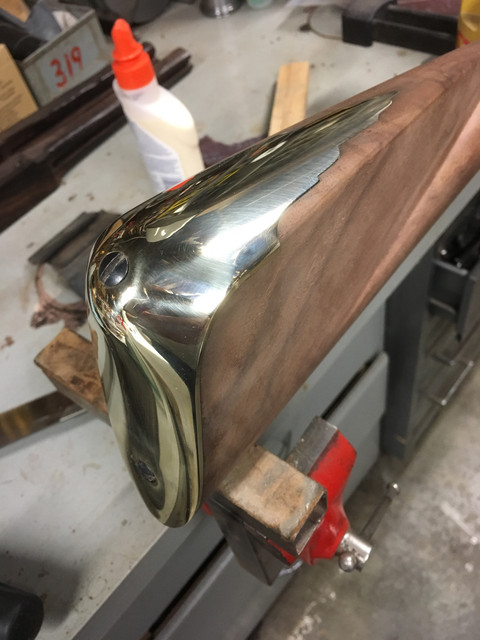
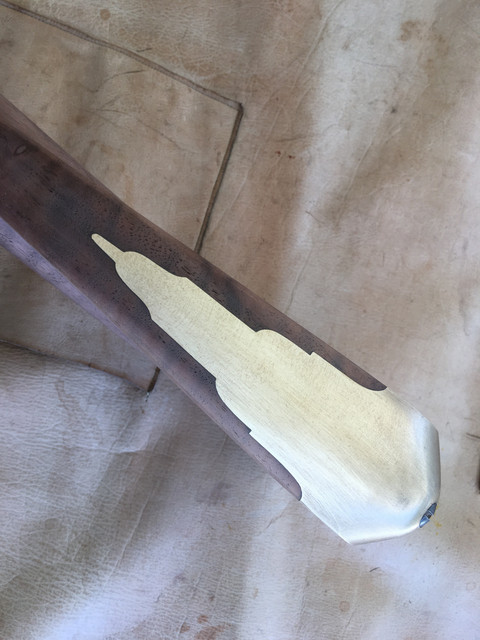
One of the more tedious jobs.....I had to finish polishing the butt plate before the engraving goes on. I take the polish to this level and then knock it back some after the engraving is in place. And what looks like a black gap there at the edge of the plate return is just polishing compound I didn't wipe off before I put the plate back on the stock to make sure the fit was still good.

 
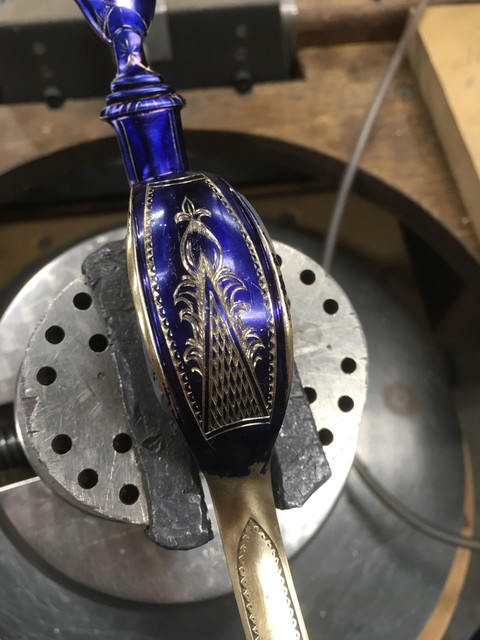
Been too busy to get much done on this blunderbuss....and I am anxious to finish it as I have at least 6 other rifles and pistols started and on the bench awaiting work. Anyway, I did have a chance to finish up the thumb piece engraving per the customer's request.......


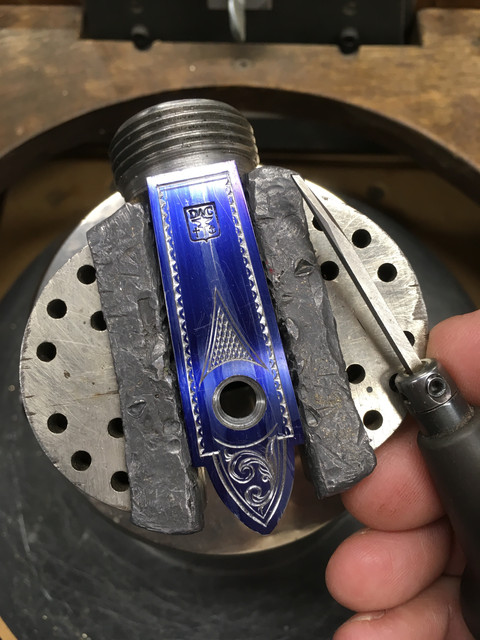
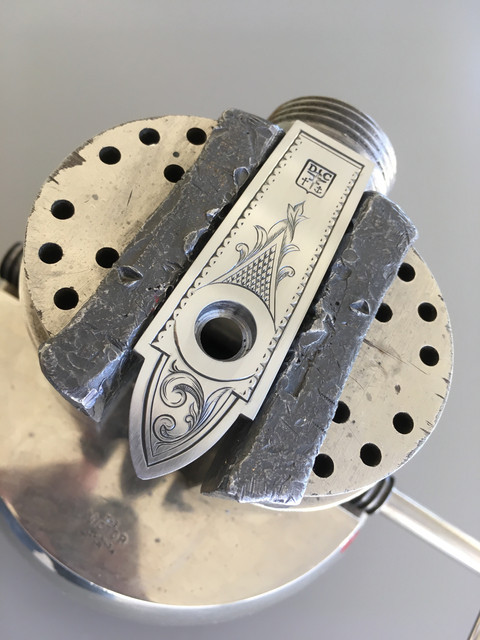
Back to work on the butt plate and final barrel engraving.
 
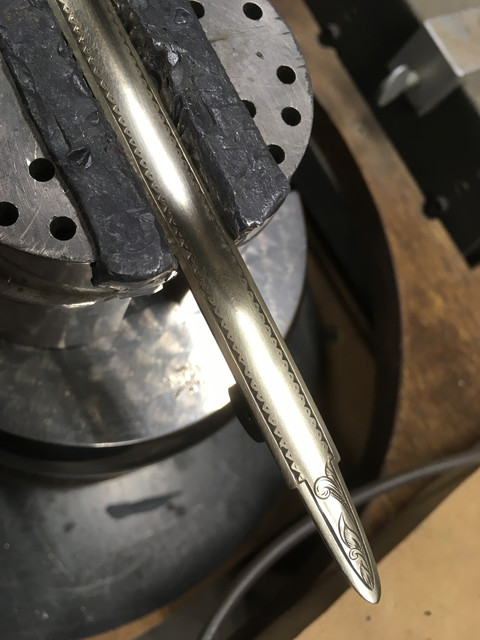
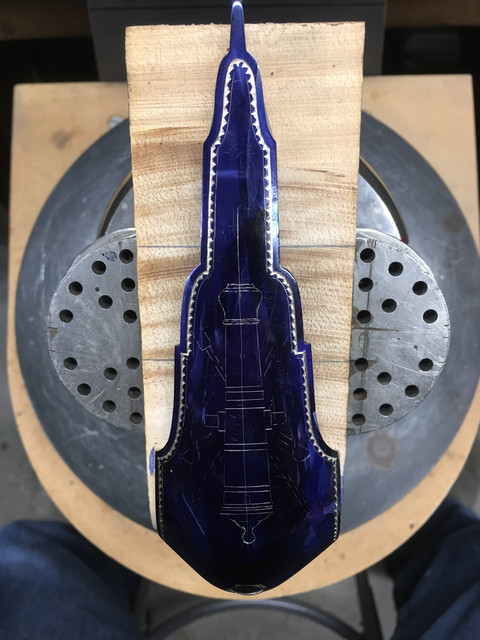
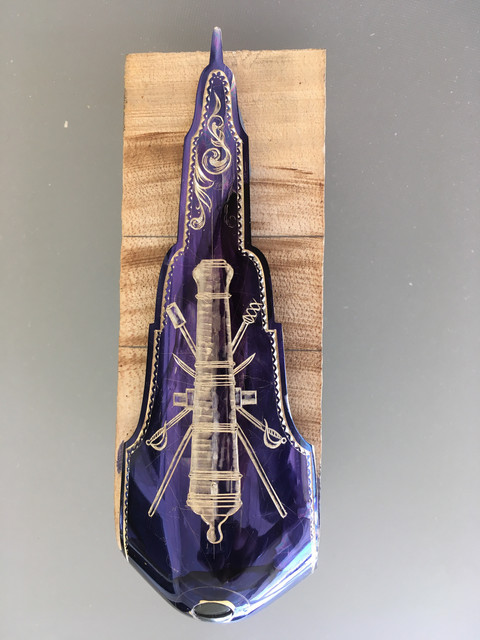
A month has gone by.....again.....life has a way of intruding. A close friend (younger than me and in much better physical condition) passed away very unexpectedly....funeral arrangements, helping his family, food preparation for visiting family....since most of us are well past the middle of our projected life cycles, I'm sure I'm not telling you guys anything you don't know. Then work rears its ugly head again (but I have become addicted to eating.....so off to work I go.....) Nonetheless, I did have a few minutes to start the engraving on the butt plate for this gun.


This second photo is the initial engraving.....not finished by a long shot, but all the major pieces are in place. I will go back over the design, straighten out a few things, and then complete the shading:

 
I'm not sure why some of the pictures show up but others do not......but if you click on the link they show in another window ?????

Thanks for the kind words...
 
I'm not sure why some of the pictures show up but others do not......but if you click on the link they show in another window ?????

Thanks for the kind words...
Yes, the pics do show in a new window on my computer. I always it the "preview" button to make certain everything works as advertised.
 
Amazing. Someday I hope to have a fraction of your skill! One question- what kind of vise is that you are using? The yellow one...
 
Heirloom quality, that sir is a ver nice piece, outstanding inletting, just for starters, just a lovely piece, thank you for posting the progress,
 
Back
Top