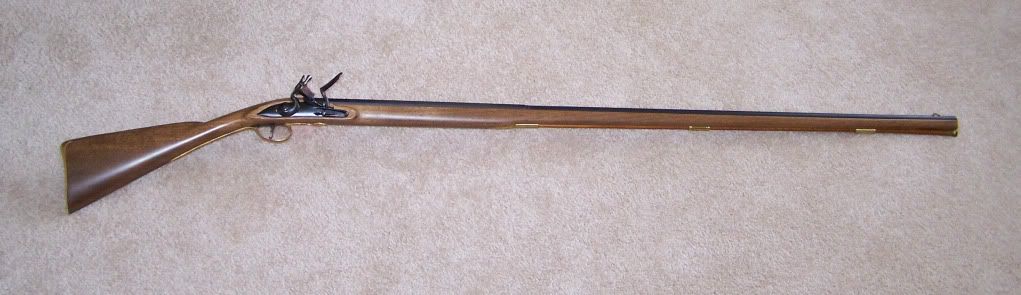
That was a really good move. Despite the long barrel, the gun is light and handles very well. It patterns nicely even with no choke. Here is the one I made from their kit with the precarve in straight grain walnut. I had a difficult time making the forend thin enough. It may still not be as thin as Jim would like.
It is going to one of my grand sons later this month.