• Friends, our 2nd Amendment rights are always under attack and the NRA has been a constant for decades in helping fight that fight.

    We have partnered with the NRA to offer you a discount on membership and Muzzleloading Forum gets a small percentage too of each membership, so you are supporting both the NRA and us.

    Use this link to sign up please; https://membership.nra.org/recruiters/join/XR045103

Ball Bags

Muzzleloading Forum

Help Support Muzzleloading Forum:

This site may earn a commission from merchant affiliate links, including eBay, Amazon, and others.

dodgecity

45 Cal.
Joined
Feb 5, 2004
Messages
537
Reaction score
0
Beware Saandbergski....once you cross over to the dark side and begin making loading blocks and bullet pouches, you may never be able to stop.
IMG_0793.jpg
 
dodgecity,

You are the winner, the one with the most toys wins.

Your workmanship on the maltese cross, I asked for before, you sent it and the computer died, it's as nice as I have seen.

You do nice work.

Any chance you can re-take the picture and put it in more focus, it would be easier to steal your work?

Okay if I am going to ask questions, some hints on the ball bags, I know some of them are formed around something, how and what?

Thanks

RDE
 
Hi Richard....sorry to hear you had computer problems. That's never any fun. This is about the best my old camera will do. The graph paper in the background has 3/16 x 3/16 squares,if that's any help. Mine is for a .40 cal, so you may have to adjust the dimensins slightly for a larger caliber. The pouches are made from deerskin. the critical dimension is the neck. this pattern is for a .50 or .54 cal. The neck is 1 1/2" wide and 1" tall. You can adjust the body of the pouch to whatever shape and dimension you like. Cut 2 pieces from the pattern. Saddlestitch the 2 pieces together. Again, the critical part is the neck. I use a "union" that is used to connect pieces of 1/2" copper pipe. You want to adjust the stitching in the neck to give you a very, very tight fit when you press the union down in to it. I usually coat mine with a bit of glue. Push the union in far enough that none of it is exposed. Now wrap the neck tightly with waxed linen, sinew, or a deerskin thong (my favorite). You can also wrap it with a rawhide thong, and after the rawhide dries over night, the joint will never slip. All that remains is to whittle whatever kind of plug suits your fancy. If you want to do any beading or quill work, that needs to be done at the very beginning before you stitch the 2 halves together. Regards....Hal
IMG_0797.jpg
 
dodgecity, those are great tips. Hope you don't mind if I ask a few more questions.

Do you ever "turn" your ball bags? IOW, sew them finish side in and then turn them inside out?

Have you tried working with rawhide on these?
 
dodgecity,

Thanks for the reply.

In your big group picture, some of the ball bags appear to have been made around a form or mold and appear stiff/hard.

Can you please share how this is done?

EDIT, well, I type too slow, you answered the question for marmotslayer.

In hind site your answer I should have known.
When they bend oil field pipe, they fill it with wet sand, and then bend it so it does not crinkle.

Thanks

RDE
 
Hi marmotslayer. Yes, I have sewn them right sides together and then turned them out. To do that, sew the whole body, but not the neck. After turning it out, sew the neck up from the outside. The outside stitching on the neck won't show because the wrapping will cover it. I did make one out of rawhide once, and it turned out pretty well. The procedure is exactly the same except that you are using wet rawhide instead of deerskin. Sew the 2 sides together completely, including the neck. Pack the wet pouch with sand or bb's to shape it. Insert a dowel in the neck to shape it. after drying, remove the dowel and empty the packing material. The hardened rawhide will hold it's shape. I also waxed mine to give it a little color and finish. Mine is around the house somewhere, if I can find it when I get home this evening, I'll post a picture. Regards, Hal
 
This is the one I made from rawhide. Idon't recall ever using it for bullets, but, I carried the shot for my fusil in it for many years.
IMG_0798.jpg
 
dodgecity, thanks for the pic. I have some rather light weight rawhide stashed that will make a good first effort on this. Think it's goatskin. Made a nice backing on some bows for the kids.

I'm a bit worried about using sand to form the bag since it might leave some residue that could end up down the bore. Got any other ideas on that?
 
Don't worry about the sand, Just put half a dozen marbles, or marble sized rocks in the bag, and spin them around, They will knock off all the granules of sand that might be sticking to the leather, and it will all pour out. If you rattle the rocks back and forth, they will also soften the leather of the bag after it dries "Hard".
 
Yes, exactly as paulvallandigham says. If , however, you still don't want to use sand, pack it with small sized shot.
 
I agree. Small shot- I have used #8-- works as well as sand, and you can get it out. I am not sure how to get the lead oxide out of the bag after removing the lead shot, but it does work. If its really a ball bag, its going to get more lead oxide over time embedded in its walls anyway.
 
What kind? If you use corn, for instance, you would want to line the inside of the bag with a plastic baggie, so that the moisture in the leather doesn't soften the corn? If you use anything smaller, You also need the plastic liner. If you use something like acorns, you might get a leather bag that has little bulges all over it- same thing can happen using corn.

MY first bag was made using sand. It poured out very easily when the bag dried. I did have to put some old cast balls in the bag and spin them around to get the last of the sand out of the inside, but they left the bag almost translucent under a strong light. I didn't have sand for the second, and that is when I used the #8 shot. It worked better than the sand.
 
It would depend on the size and shape of the ball bag, and the balloon. You might not get full inflation or full pressure against the leather using just any balloon.

My first bag was made from the hide from an old softball. My second is made from Elk Hide left overs I have from making pants. I made the Elk Bag Too Round, and Too Big. It would have been a great candidate for using a balloon, but it holds too much shot, and is cumbersome to hold in use. I have a ball bag made from rawhide that we used sand to form. It also is too big.

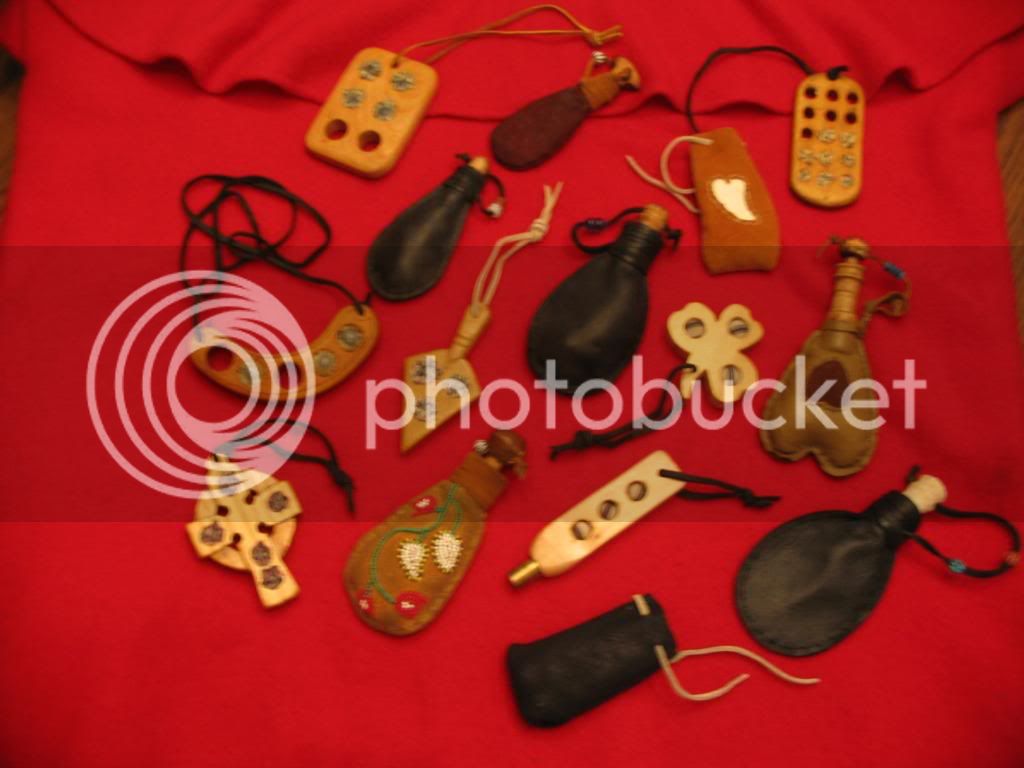
I like the size of the bag show above. But I also like the ball bags that are narrow in shape. They fit better in your hand, you don't need to carry so many balls or as much shot, on most hunts, and they don't make you lean to one side when you carry them in a pocket or over your shoulder walking into the field.

I would rather have several shot bags than just one. That way, I could carry what I need into a field, and leave the rest in my car, or back in camp. I could " re-supply" if needed.

Only dove hunting requires a lot of shot in the field, because of the large daily bag limits. But, I carry a bucket to sit on, and it can carry extra shot bags for that purpose.
 
what kind of grain?
well I used wheat. I live near a lot of wheat fields and was able to get a bag of wheat kernels. I put them in the wet leather and let it dry then dumped the wheat out and ran a few metal nuts around in there to knock any remaining kernels loose. The moisture didn't seem to bother the grain. I would think corn would work as well.
Kirby
 
If , however, you still don't want to use sand, pack it with small sized shot

Methinks the shot will be the way to go. I don't want to soften the leather since it will be done in rawhide and the idea will be to retain the form once dried.
 
Back
Top