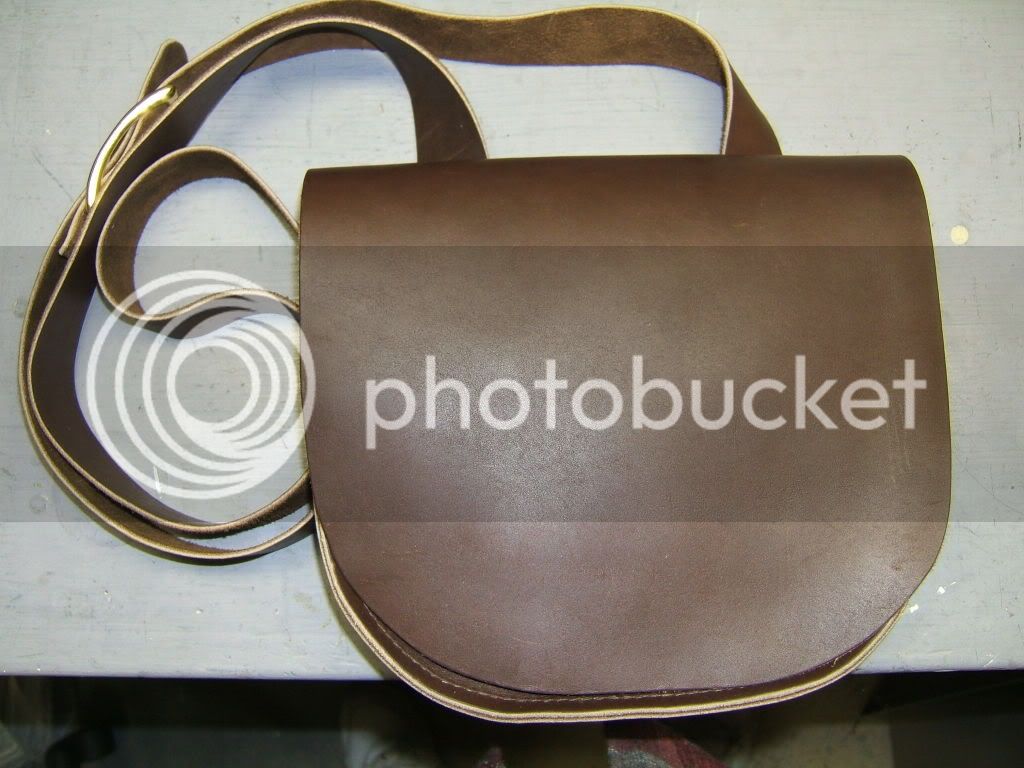
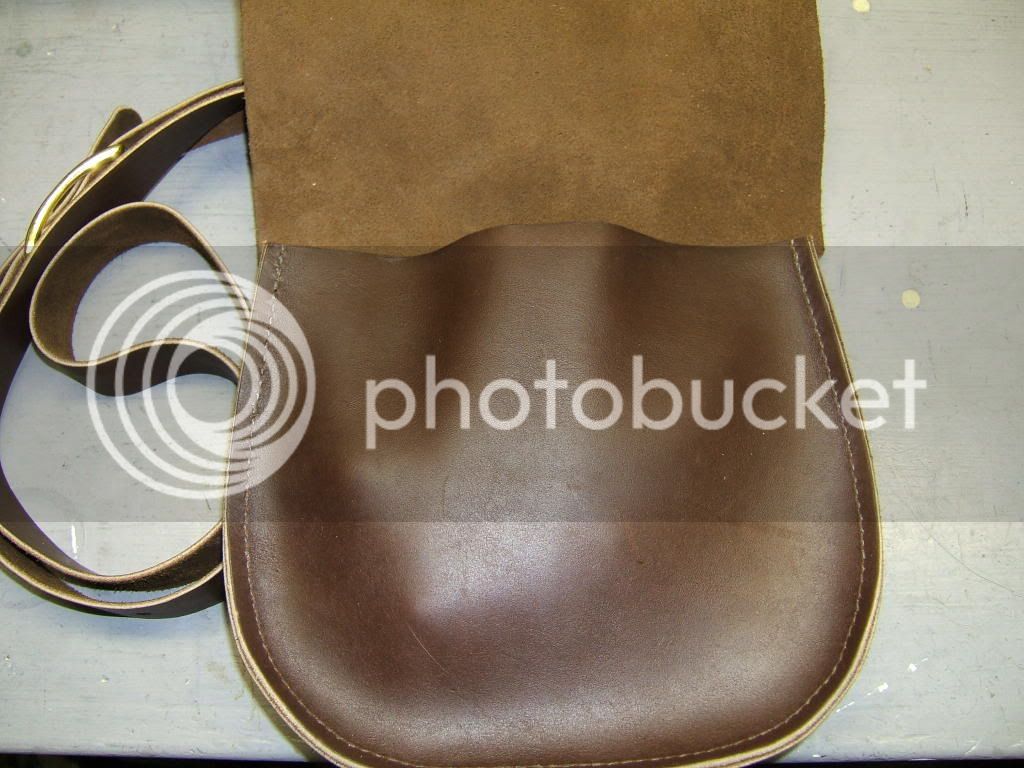
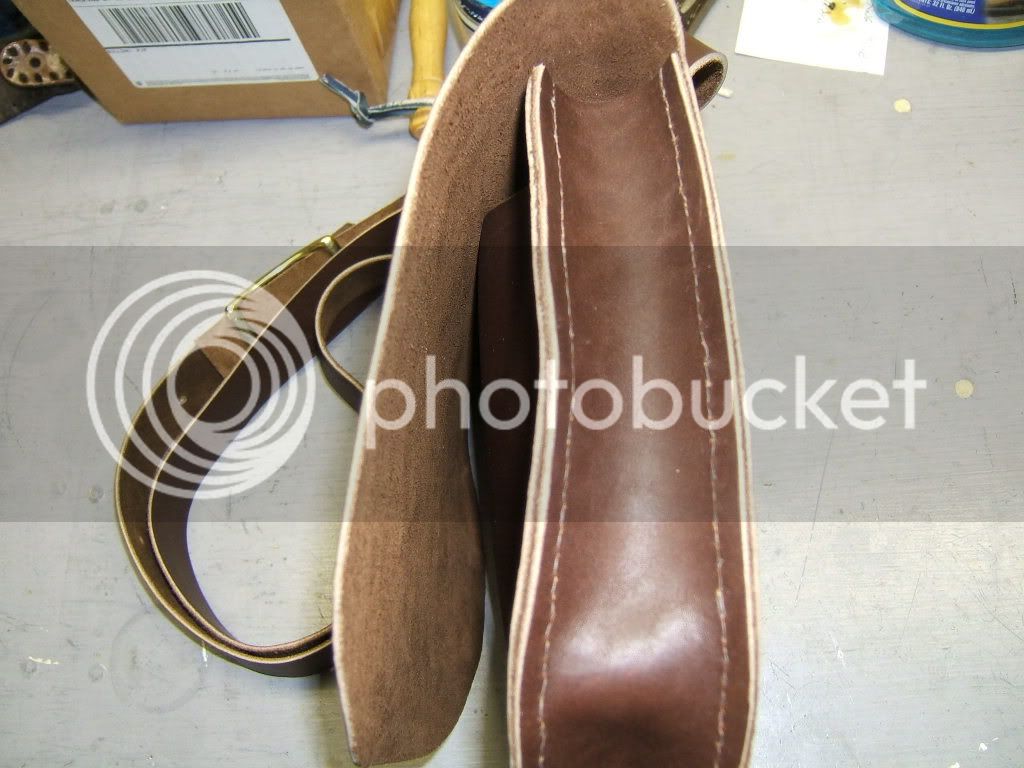
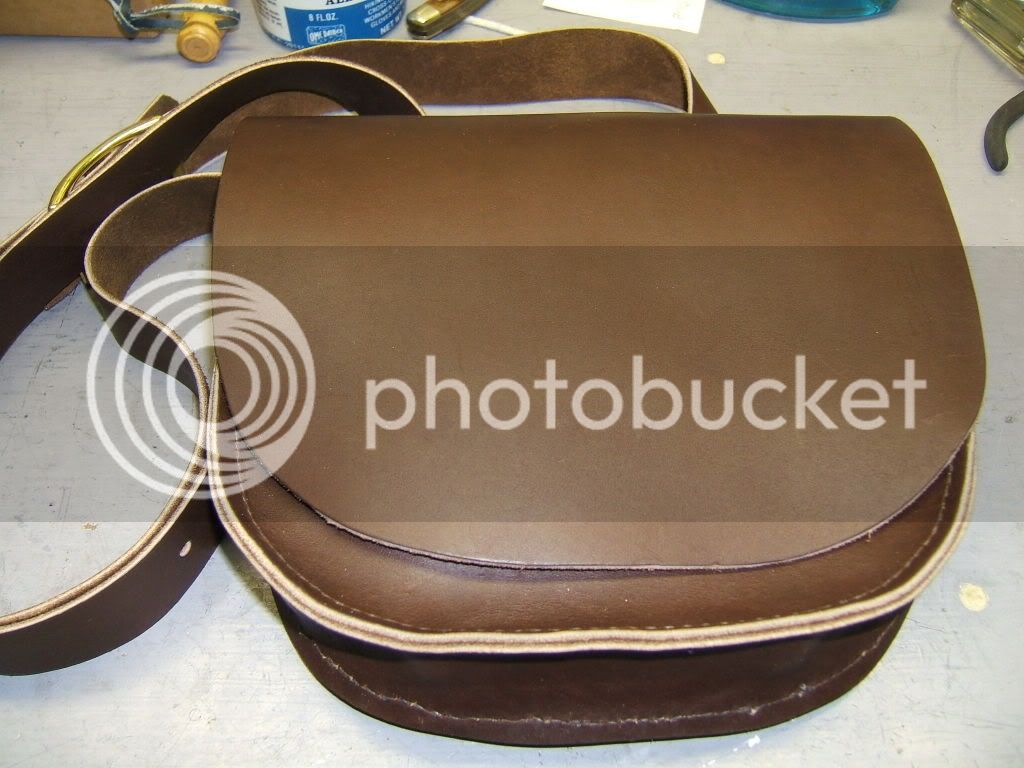
Hi everyone. Awhile ago I purchased a leather Bridger bag kit. I finally have some time to tackle it. It comes with #16 thread for stitching. The instructions are little lacking in thoroughness. Do I use a single strand of thread or double strand? Single to me just doesn't look like enough thread? Should I wax it? Also what length of thread should I work with. I have hand sewn clothing before and I know the optimum lengths to use to avoid knots, twists, etc. Is there such a convenient length when stitching leather? I'm sure to have more questions as time goes on but this is it for know. Thanks, Kurt.
-
Friends, our 2nd Amendment rights are always under attack and the NRA has been a constant for decades in helping fight that fight.
We have partnered with the NRA to offer you a discount on membership and Muzzleloading Forum gets a small percentage too of each membership, so you are supporting both the NRA and us.
Use this link to sign up please; https://membership.nra.org/recruiters/join/XR045103
You are using an out of date browser. It may not display this or other websites correctly.
You should upgrade or use an alternative browser.
You should upgrade or use an alternative browser.
Bridger Bag Kit
- Thread starter uncrichie
- Start date

Help Support Muzzleloading Forum:
This site may earn a commission from merchant affiliate
links, including eBay, Amazon, and others.
- Joined
- May 22, 2008
- Messages
- 607
- Reaction score
- 1,072
I really like the 70lb artificial sinew........ It's not that expensive and sure works well.
Use a 2 needle saddle stitch as it is better than a lockstitch. Punching the holes first will make sewing a LOT more pleasant.
If you use your thread I suggest waxxing the thread with bees wax by pulling it accross a piece of wax. I would probly double it. I use the sinew so twisting and knotting is not a problem....I use a "arm-spread" about 6ft for most things.
- Joined
- Jan 3, 2004
- Messages
- 14,767
- Reaction score
- 319
If you pre-punch the holes, a pair of embroidery needles is sure a lot easier to use than the traditional triangular tipped (cross section) leather needles. The embroidery needles are pretty stout and have larger eyes. Best of all, their points are pretty blunt and have a lot less tendency to pierce the thread when doing a two-needle saddle stitch. And yes, saddle stitch is definitely the way to go.
50cal.cliff
58 Cal.
Take a look at this site and it will help to answer alot of your questions. It explains the two needle saddle stitch and why it works so well!
http://www.wrtcleather.com/1-ckd/tutorials/_leatherstitch.html
It helped alot to get me started that and asking more questions! :wink:
It helped alot to get me started that and asking more questions! :wink:
Last edited by a moderator:
Thanks for all the great information. One last question fellas. Am I using a single strand from each side (leaving 2 threads in each hole) or using 2 strands from each side (leaving 4 threads in each hole) ??? I hope I'm being clear, not sure of all the terminology. Yes, I'm using the embroidery type needles that came with the kit and I will be pre punching the holes. Kurt.
Oh man, I have more questions. #1- I'm right handed and right hand shooter. What side do I want to wear the bag on? Reason I'm asking is the strap has a buckle thats close to one end. #2- do I want the buckle on strap in front or strap in back? Kurt.
- Joined
- Apr 3, 2004
- Messages
- 15,602
- Reaction score
- 19
Not sure I understand your thread question. You should at least use a 4 ply waxed thread and a 6 or 7 ply is better. Use a saddle stitch.
http://www.basketpatterns.com/mm5/merchant.mvc?Screen=CTGY&Store_Code=bp&Category_Code=waxed
For a righty, most wear the bag on right side and the buckle is a preference but most I know wear the buckle on their back and I make my bags accordingly.
http://www.basketpatterns.com/mm5/merchant.mvc?Screen=CTGY&Store_Code=bp&Category_Code=waxed
For a righty, most wear the bag on right side and the buckle is a preference but most I know wear the buckle on their back and I make my bags accordingly.
Last edited by a moderator:
uncrichie said:Wish I knew how to post pictures.
THis may help: http://www.muzzleloadingforum.com/fusionbb/showtopic.php?fid/46/tid/223970
Last edited by a moderator:
Do both needles enter the hole at the same time or do you pull one completely through and then the other?

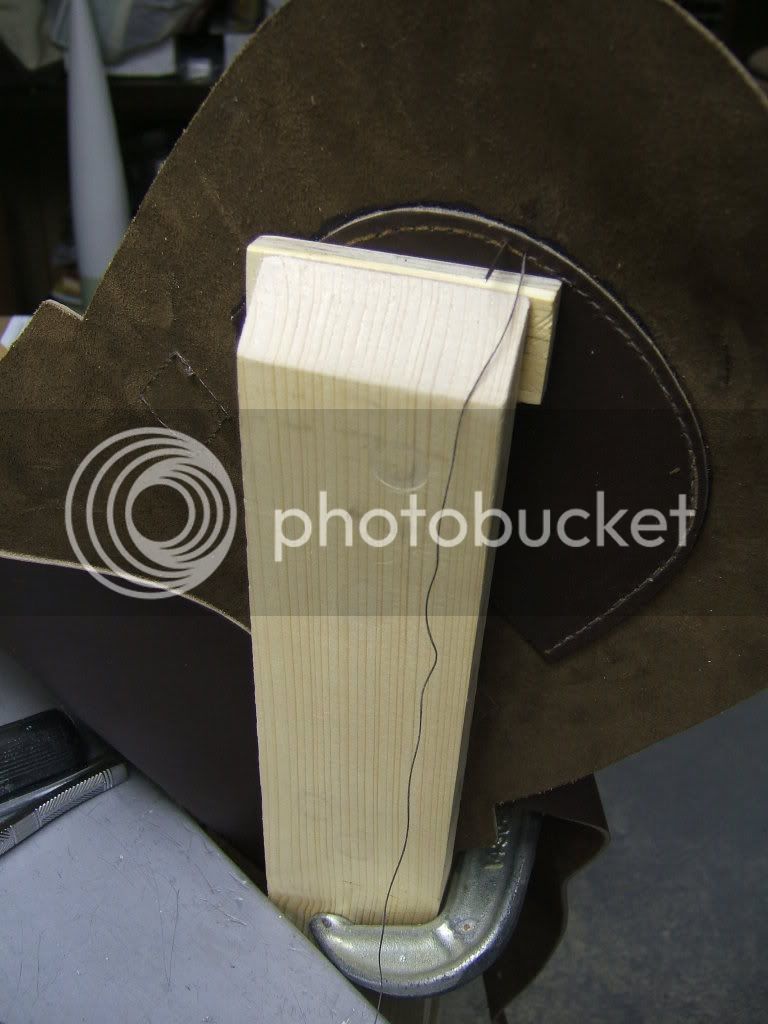
Is this how the thread and needle should be set up? This is what I was trying to explain. As a result only one thread would be pulled through from each side.
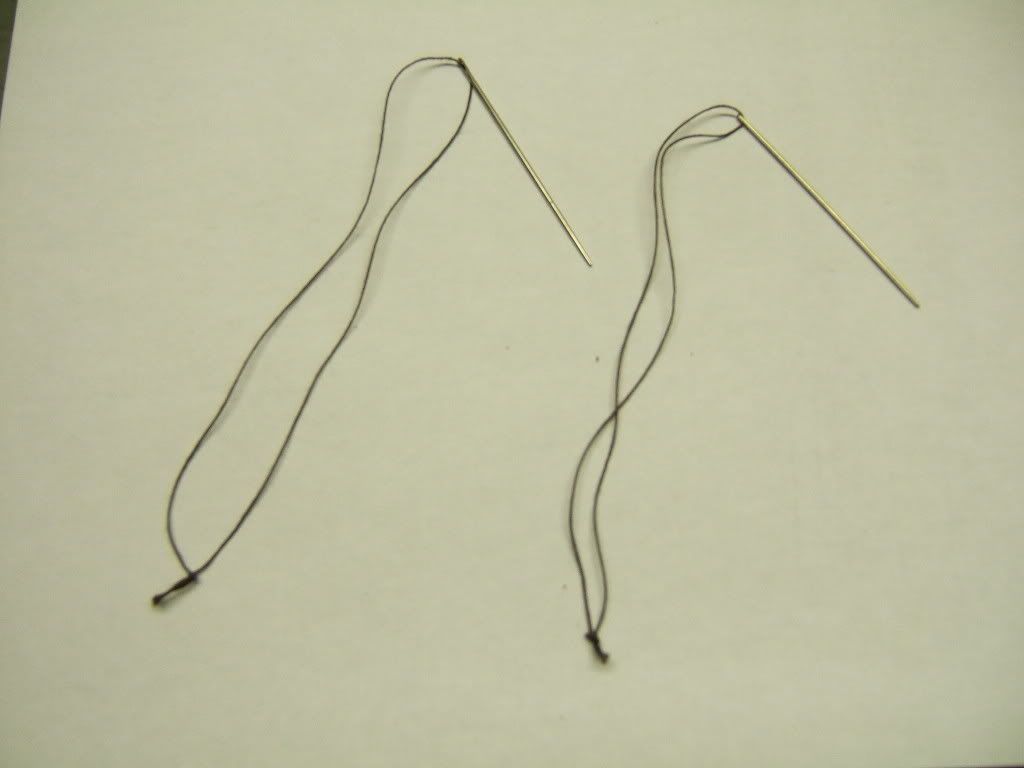
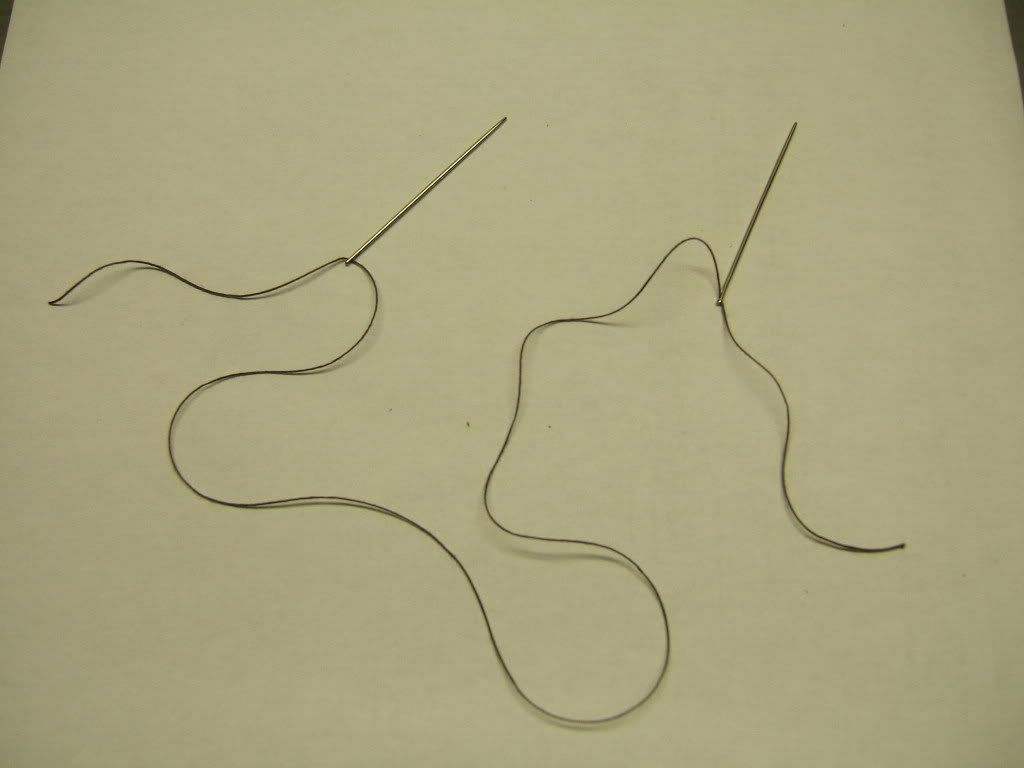
Or should it be setup to pull 2 threads through with each stich from each side.
You'll have to bear with me as this is my first attempt at including photos. Hopefully they are in the correct order, if not I think you'll get the idea of what I'm asking. Thanks, Kurt.
Yikes only 2 of the pictures came through and in the wrong order. You can disreguard I'll try it again sometime, I'm not computer savy. Kurt.

Is this how the thread and needle should be set up? This is what I was trying to explain. As a result only one thread would be pulled through from each side.


Or should it be setup to pull 2 threads through with each stich from each side.
You'll have to bear with me as this is my first attempt at including photos. Hopefully they are in the correct order, if not I think you'll get the idea of what I'm asking. Thanks, Kurt.
Yikes only 2 of the pictures came through and in the wrong order. You can disreguard I'll try it again sometime, I'm not computer savy. Kurt.
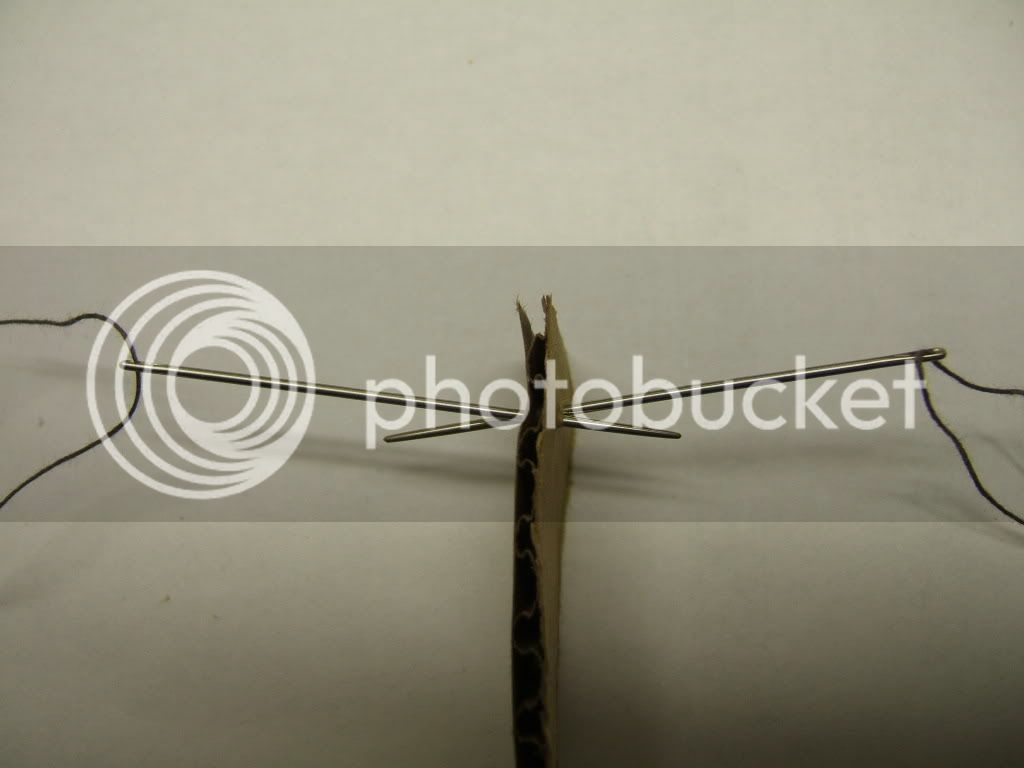
This is the other picture that didn't come through above. Do both needles go through at the same time or one at a time. I figured both at the same time would save damaging the thread? Maybe I'm wrong and maybe it would be too difficult through such a small hole? Which is the correct way? Thanks a million. Kurt.
- Joined
- Apr 3, 2004
- Messages
- 15,602
- Reaction score
- 19
Oh I see, yeah saddle stitch is one thread and needles on both ends of that thread. Push one through and pull the thread so it is even on both sides. Now push one needle through the next hole, then the other from the opposite side and pull taught, repeat and repeat till you get to the end or where you want to go, then back stitch a few times and tie it off if you want.
- Joined
- Jan 3, 2004
- Messages
- 14,767
- Reaction score
- 319
Hey Kurt,
You might want to pick up a copy of Al Stohlman's Hand Sewing Leather from Tandy. There's more good stuff in there on sewing (including saddle stitching) than you can imagine, plus what looks like good plans for building your own stitching pony. Good stuff all around, and $6.50 well spent for current and future projects.
You might want to pick up a copy of Al Stohlman's Hand Sewing Leather from Tandy. There's more good stuff in there on sewing (including saddle stitching) than you can imagine, plus what looks like good plans for building your own stitching pony. Good stuff all around, and $6.50 well spent for current and future projects.
BB, thanks for the Tandy information. I just got a new circular in the mail from them. I made a make shift pony that will get me through this project, I hope. Its small but I think it will help with some of the shallow turns I have to make while stitching. The Bridger bag isn't reall big. Kurt
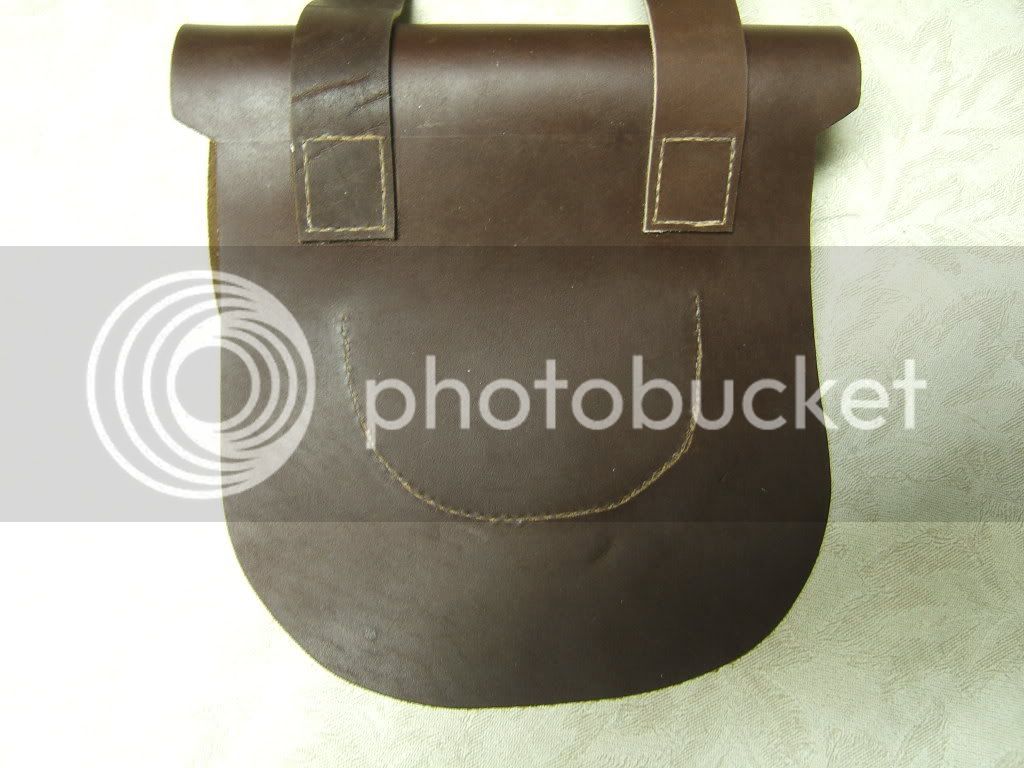
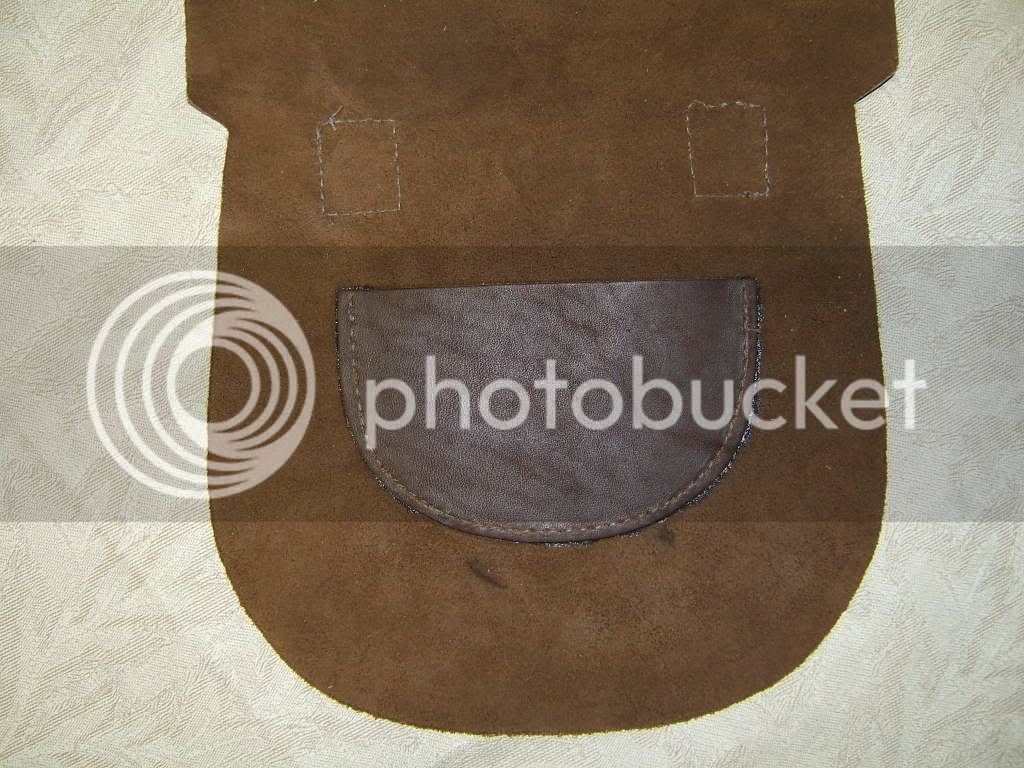
Oops, into every life alittle rain must fall. If you noticed (which I didn't at the time) The straps are on bass ackwards. The finish side of the straps should be against the back of the bag! Oh well, not the first time I've had to rip out stitches.
Similar threads
- Replies
- 3
- Views
- 267
- Replies
- 49
- Views
- 3K
- Replies
- 18
- Views
- 901
- Replies
- 6
- Views
- 813
- Replies
- 8
- Views
- 629


