Building a 1750s English fowler

Muzzleloading Forum

Help Support Muzzleloading Forum:

This site may earn a commission from merchant affiliate links, including eBay, Amazon, and others.
Don't know how I missed this post earlier.
What a wowser. The photo progress is, in itself, a wonderment to look at. Each step reminds me that we are all gifted in different ways. The disaster that would result from me trying that is why I am an honor member of the club that turns $1,500.00 worth of parts into a $200.00 gun.
And that walnut is stunning. The whole thing is truly impressive.
I also am impressed with your workbench. It can actually be seen. Mine not so much. :redface: And, I like that vise.
 
Dave Person said:
Hi Gus,
No special treatment. The fit of the bolt in the hole is not excessively tight but the hole is not oversized, just sufficient for easy clearance. I don't think wood swelling and shrinkage poses a real problem in the wrist. Consider how Hawken rifles were made. I don't think the Hawken brothers worried about their 2 bolt holes in the wrist. I don't think the wrist plate attachment was anything other than convenience on many guns. For example, on my Heylin fowler, the thin cast silver plate would not offer much strengthening to the wrist.

dave

Thanks Dave,

I am a bit gun shy of bolts going through the wrist because the wrist on my Pedersoli Brown Bess carbine shattered when I put only a bit more force against it than one might/would do if one "leaned on the gun" while standing.

I had fired many rounds of PRB and some shot in that gun in 5 years of competition and never had the remotest inkling of how weak that wrist was.

Perhaps I just have to chalk it up to a stock with wood that was not as good as it should have been.

Gus
 
Hi,
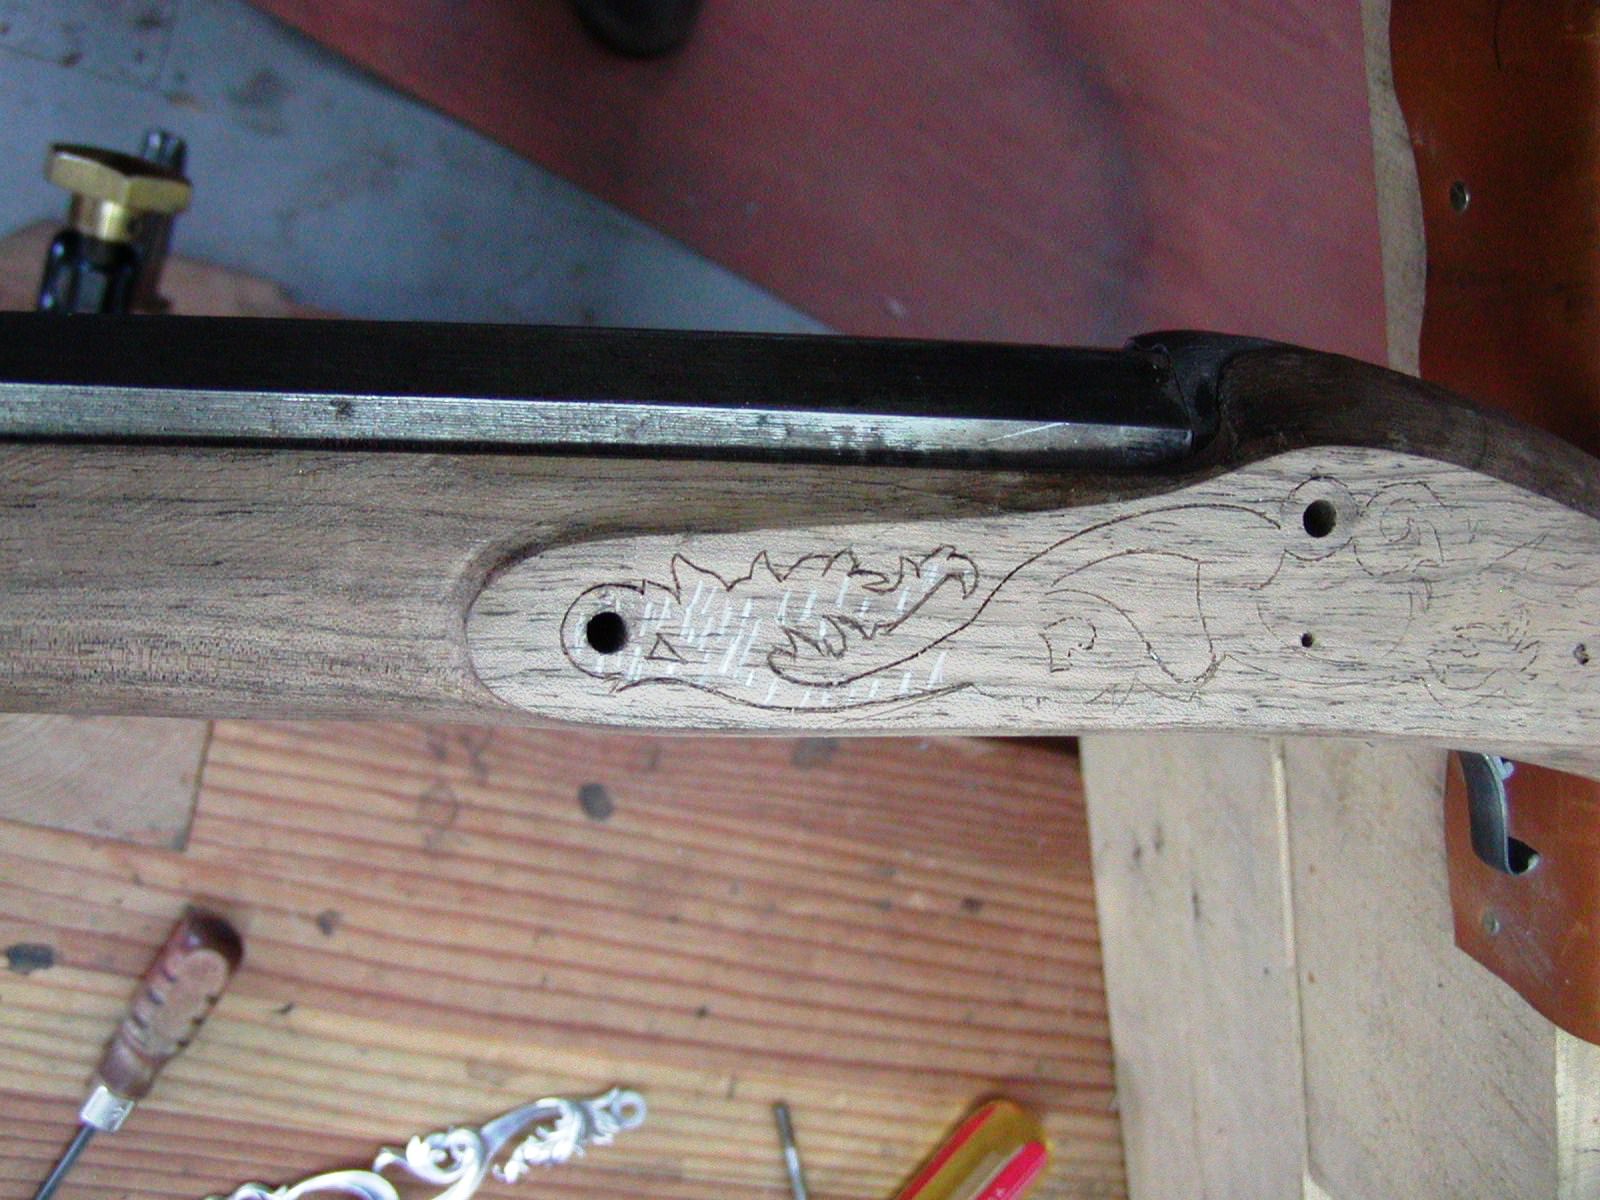
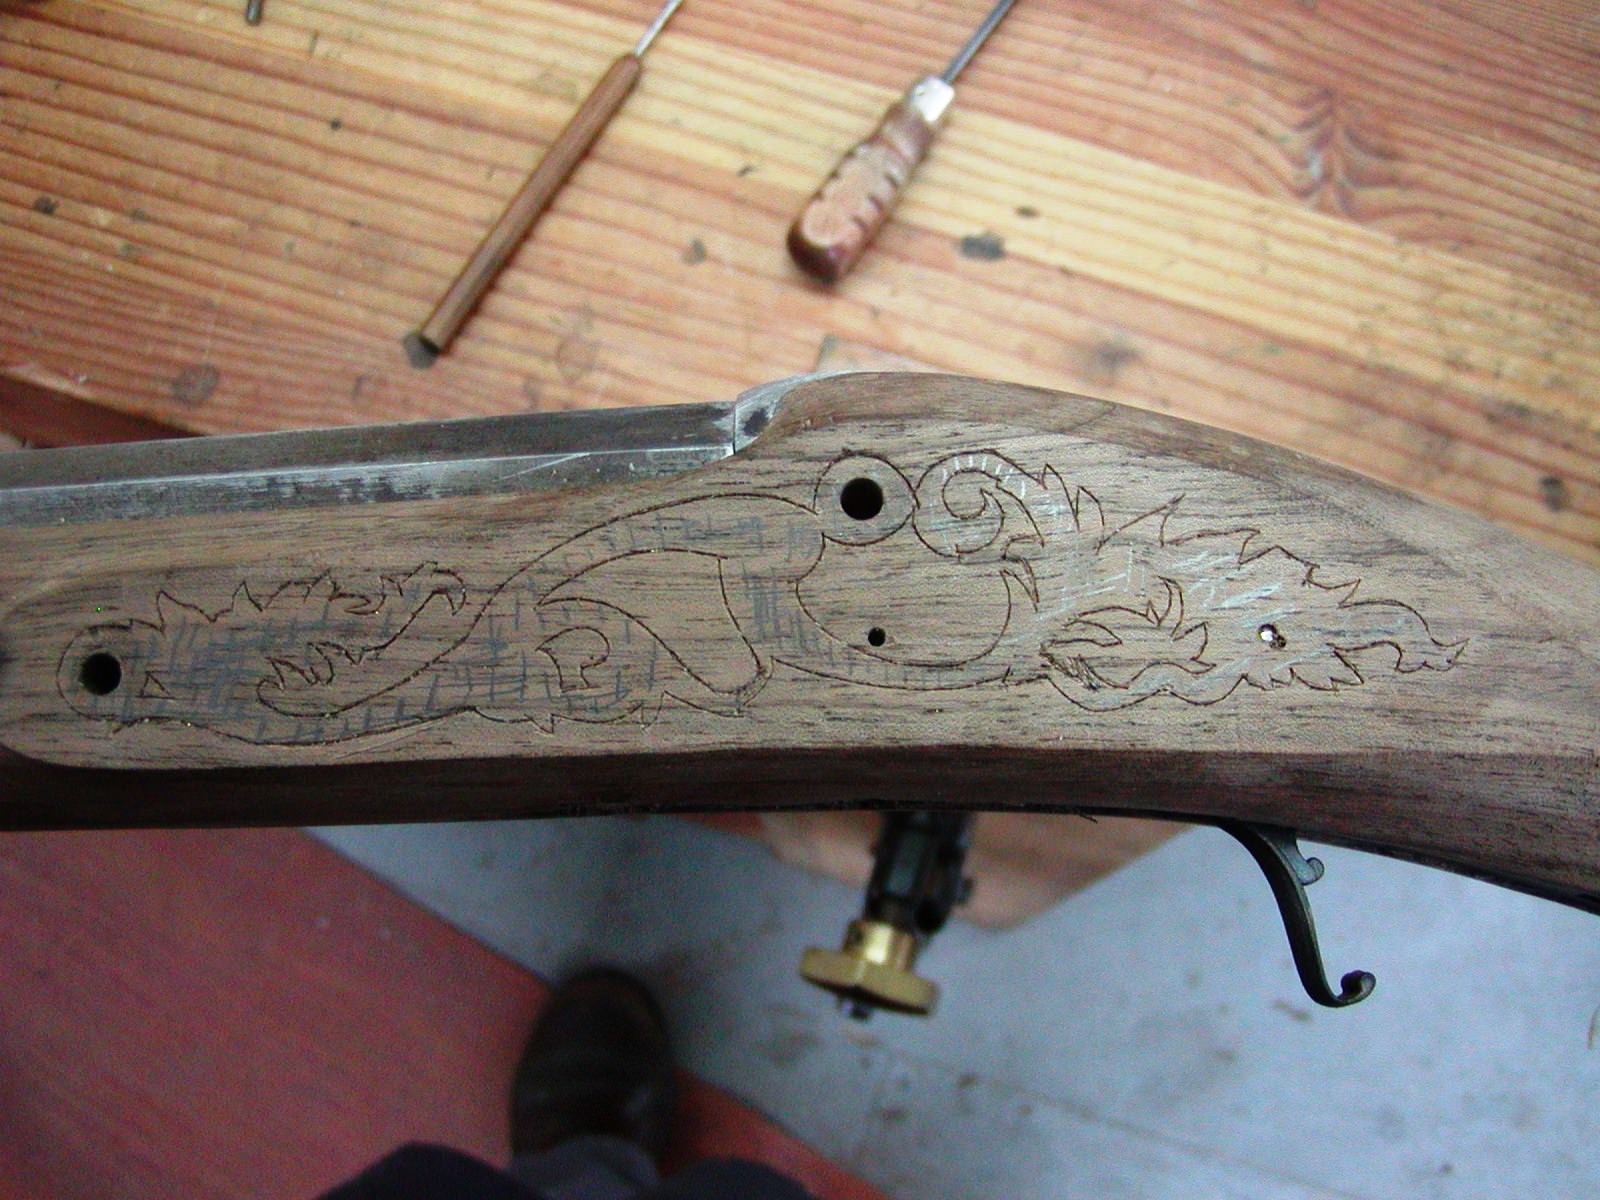
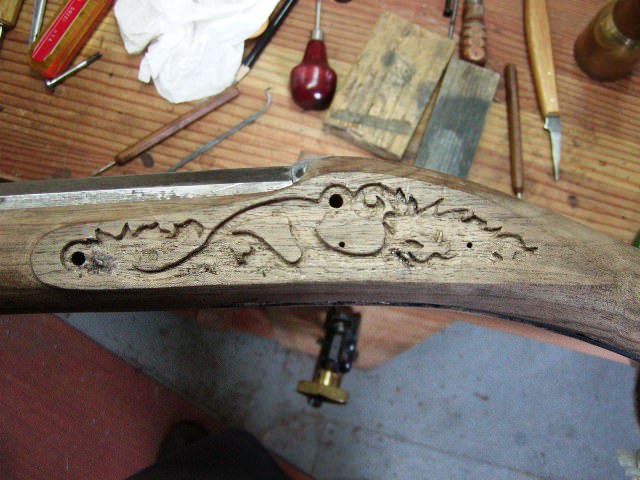
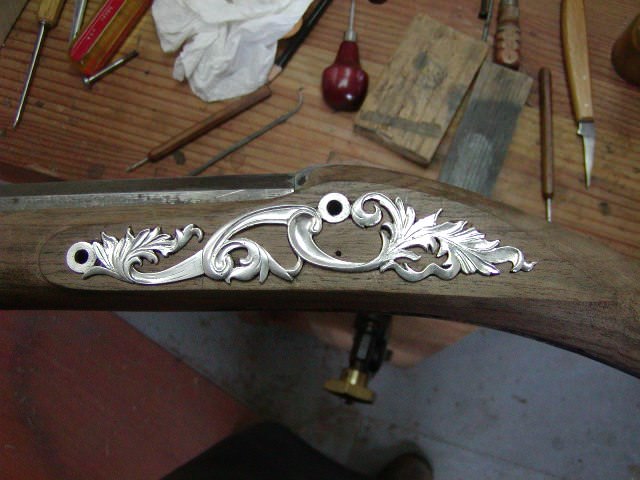
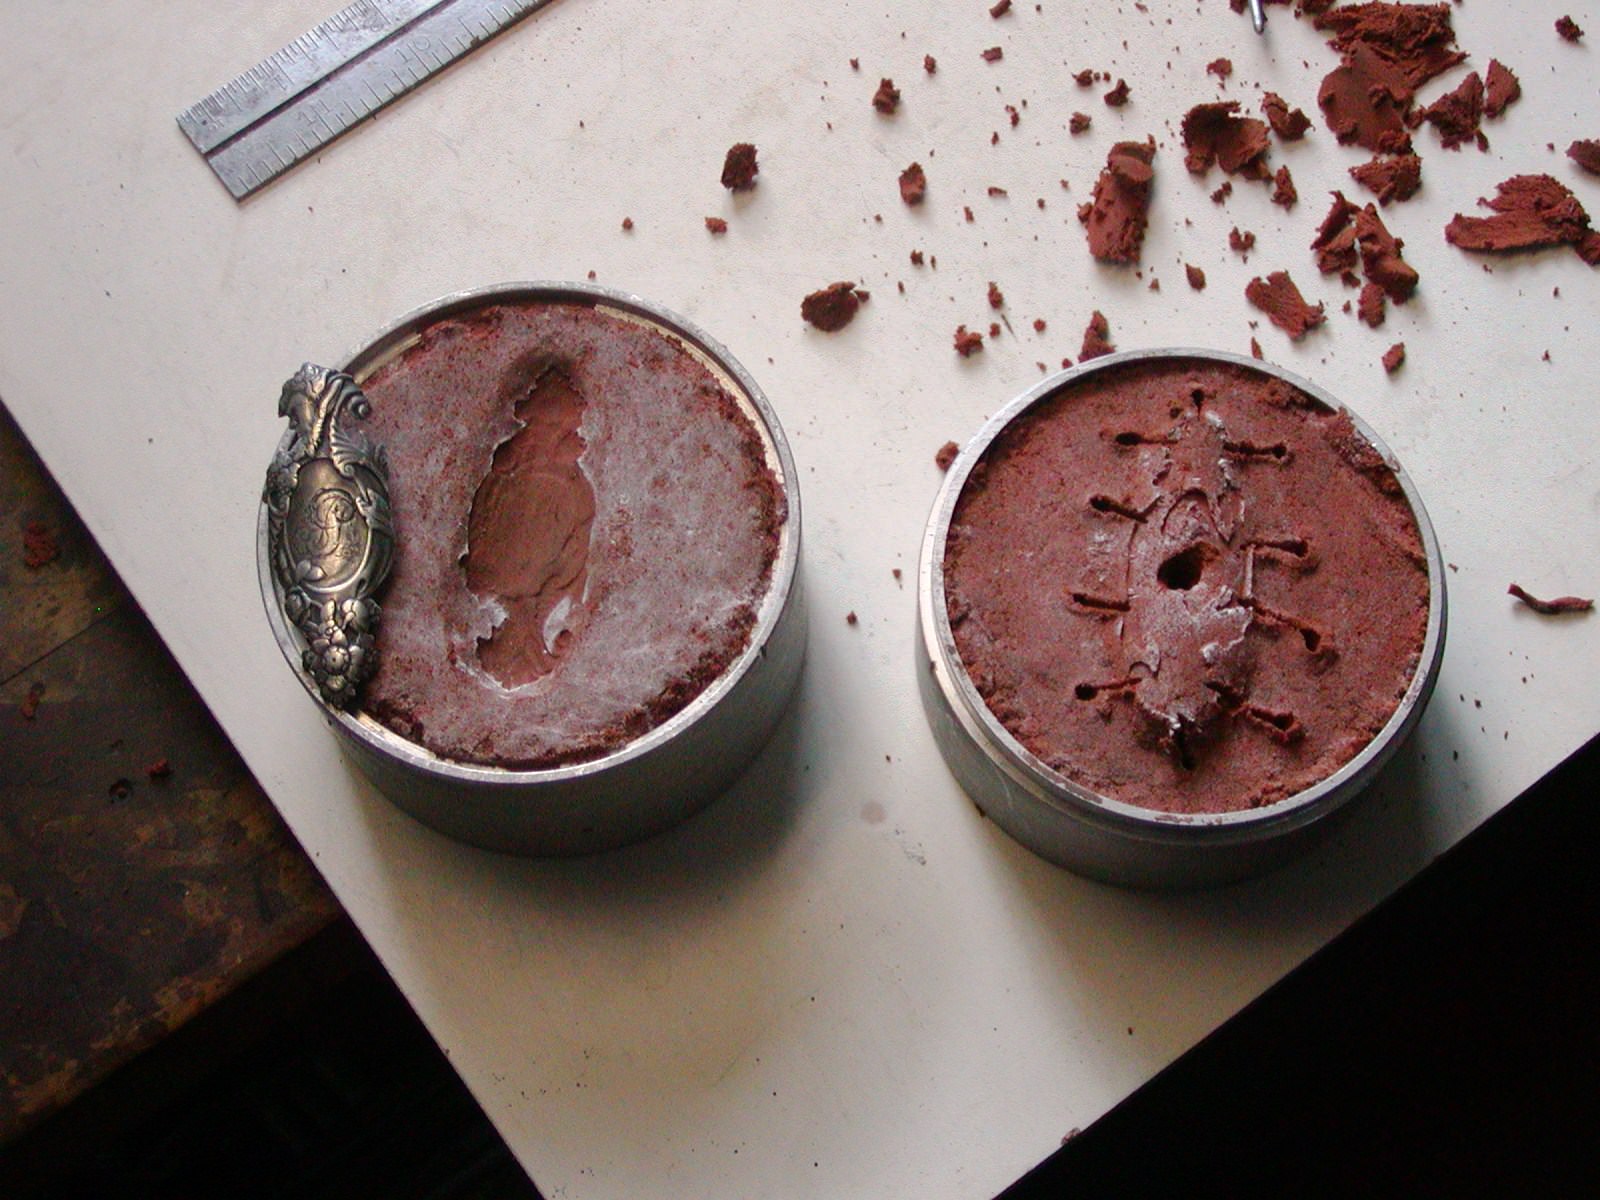
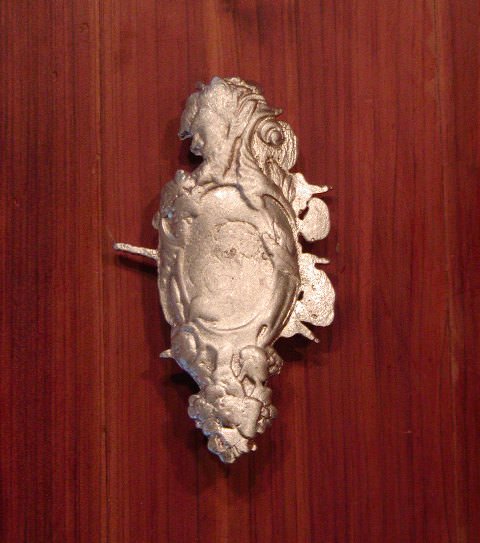
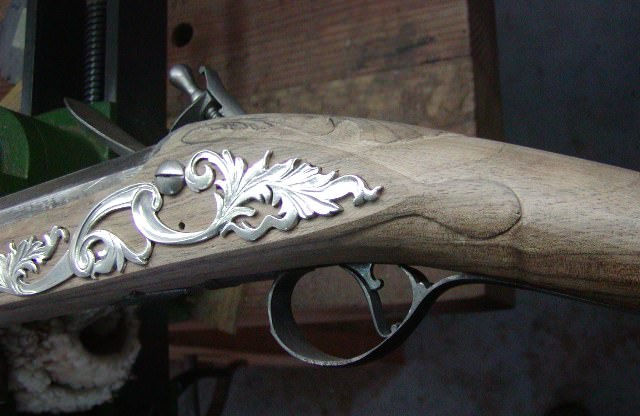
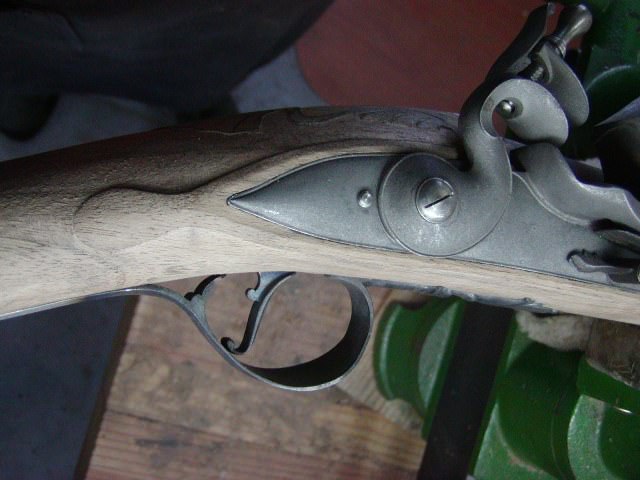
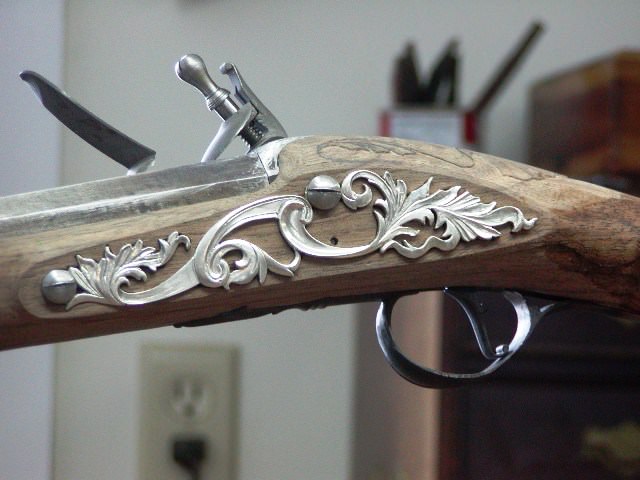
Got a bit more done. The side plate is inlet. I had to glue one chip back in but it came out well. Next I cast the wrist plate copy the one from my Heylin fowler. It will need chiseling and clean up but it came out well.

dave
FfW9ds9.jpg

MGwqEbY.jpg

i1jBO0v.jpg

ZudjRWS.jpg

sgUqKti.jpg

zdiboGV.jpg

hr8Sewg.jpg
 
Being able to cast your own specialized parts gives you a freedom of creativity that those of us who don't do so don't have. Is it expensive or particularly difficult to get in to?

I see the "kits" on e-bay and the entry level seems to be around $1000 give or take, but there's always "one more thing" too.
 
Hi,
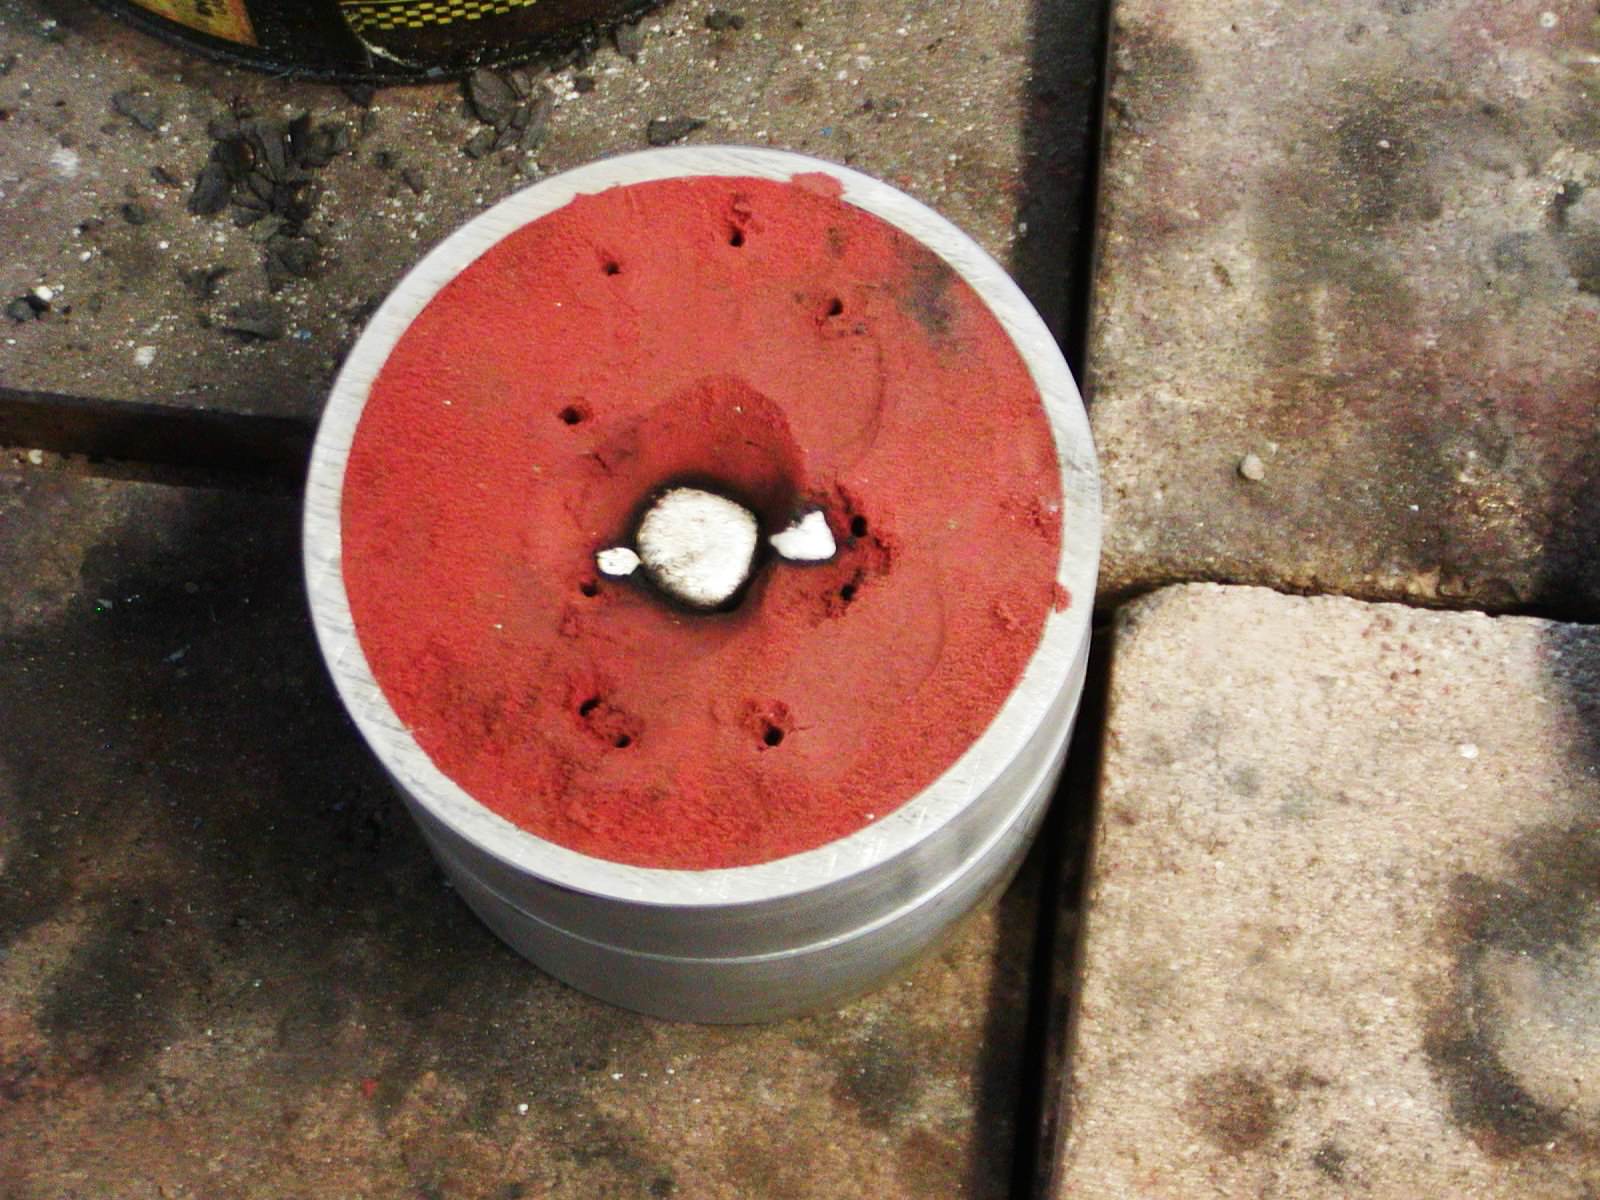
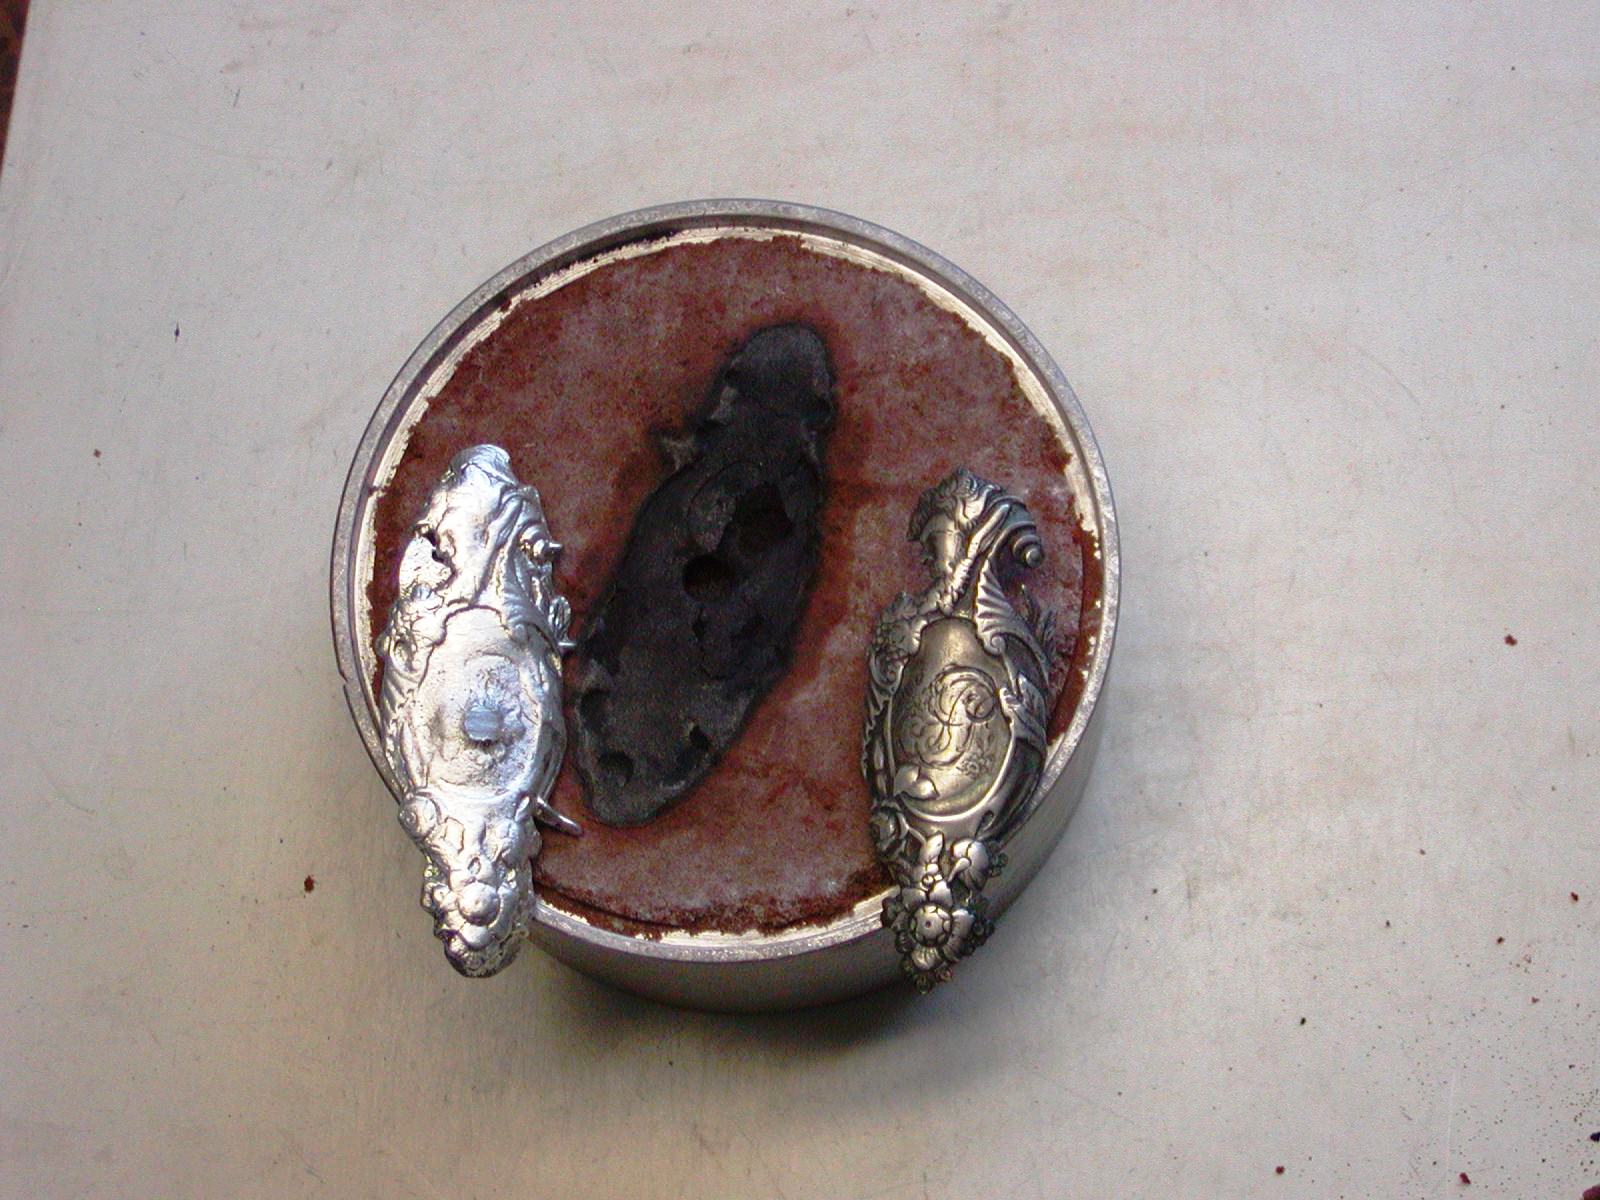
I cast the wrist plate one more time and added more silver to maintain a larger mass of hot metal. That helps the molten metal stay fluid longer and fill the mold better. The new casting came out great and even picked up some of the engraved monogram.
2znaZMD.jpg


David, the casting equipment I use costs less than a 20% of what you mentioned on e-bay. As long as you have a heating source like an acetylene torch or burn-out oven to melt the metal, the Delft clay supplies are not expensive. This is not investment, lost wax, or injection casting. It is simple gravity fed sand casting with clay. The biggest challenge is not the casting but creating the prototype from wax, wood, butter board, metal. etc.

dave
 
I have often wondered how the English gunmakers seem to have done a better job of mastering the art of arranging the various components of firearms in a manner most accommodating to the human anatomy.
The occaisional French Fusil de Chase not withstanding, why do you think they got to be so adept at this ( assuming you agree )?
 
Hi,
That is a good question and I agree that the British gun makers were adept at making fowling guns that fit and performed very well. I am not sure that during the 18th century they were as adept in rifle making, although they certainly made some good ones and borrowed a lot from the Germans. However, for every 100 sporting guns made 90-95 were fowling guns and only 5-10 were rifles. As many as 6 or 7 highly trained craftsmen were involved in the process of making a gun in Britain so there was a lot of refinement and expertise applied to each step. There was also a lot of competition among the gun makers so unless you had lucrative contracts to make military guns, you had to compete for the sporting clientele and that meant you had to offer innovation as well as good performance. Fit and finish for the price had to be top notch. It also appears to me that British makers were more focused on technical innovation and performance than makers in other countries. They brought the flintlock and flintlock ignition to a state of mechanical perfection unequaled anywhere else. They were also much more restrained than other Europeans with respect to ornamentation. The results were elegant but more austere guns that handled magnificently.

dave
 
Amazing work.
Seeing that is a big part of what makes me proud to be part of the ml community. Crafts and skills from the past are being preserved and handed down to others. To me, that is really what this is all about.
 
Hi,
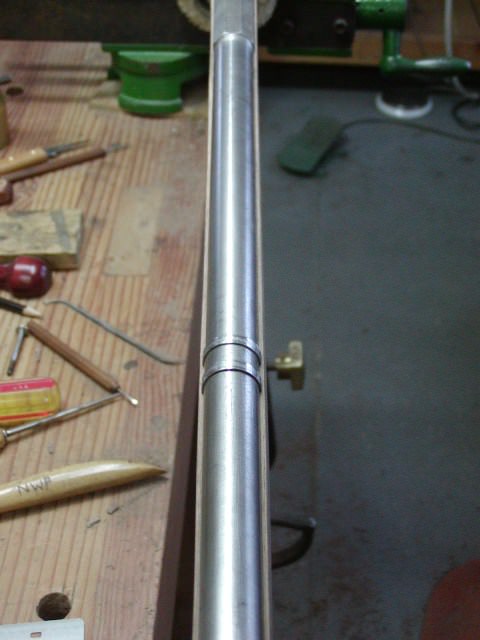
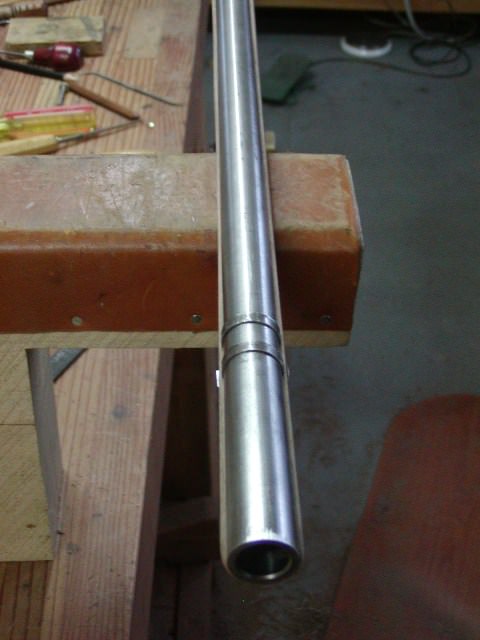
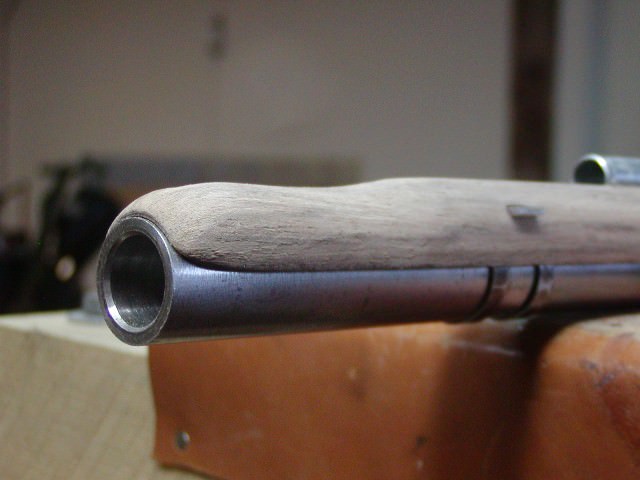
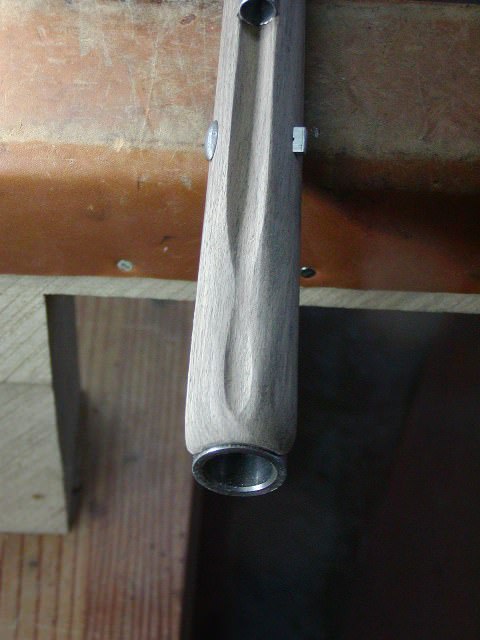
Got a bit more shaping done almost to the final dimension. Fore stocks on British fowlers were almost egg shell thin. No special treatment at the muzzle other than a subtle "schnabel". Unless the gun was built for a military purpose, they did not install nose caps or bands. No molding along the ramrod channel and no special treatment or carving around the rear ramrod pipe. Stock widens a lot at the lock panels.

dave
jvFB0pX.jpg

cP9PoBL.jpg

0GqQkPr.jpg

3XU9cHE.jpg

A16ERBm.jpg

rI557wM.jpg

lY1gTRT.jpg

gnluKrz.jpg
 
Those are very interesting pics of the shaping process.

OK, from these pics, time for another question. :grin:

Especially considering how thin the stocks were in the forearm to muzzle, were the very front of these stocks not normally subject to cracking?

I realize they didn't take the abuse of a bayonet socket slamming into this area of the stock as on military guns, but I wonder how they stood up to the muzzle whip?

Gus
 
Hi Gus,
I believe they were prone to cracking. Many that I examined were cracked from the muzzle down to the first barrel lug mortice. In addition, the barrel walls were almost paper thin after the top of the channel wall is tapered into the barrel. Every original fowler I've seen had chips lost from that edge. I think that is why half-stocked guns came to dominate the late 18th and most of the 19th century English sporting guns. My secret is the barrel channel is sealed with a thin varnish-like layer of AcraGlas that strengthens the fragile forestock a little and my barrel channel walls will end up a little thicker to allow for the inlet barrel bands. I came to appreciate the value of a thin layer of AcraGlas when I made the forestock panels for a swivel breech rifle. The panels have a "v" shaped rib on the inside that fits down into the space between the soldered barrels. On the panel with the ramrod groove, that vee of wood is extremely thin because it is hollowed out for the ramrod groove. I broke 2 while making them and decided to try a coat of AcraGlas on the underside to strengthen the panel. It worked like a charm.

dave
 
Would you consider a very thin layer of acriglass to be a good idea on virtually all LR's (that have room for it) that have thin sidewalls and thin webs?

Do you think the time of year it is applied makes any difference? This time of year (in places that get humid in the summer) stocks and inlets tend to be at their smallest and tightest.
 
Hi David,
Yes I do unless there is a specific reason not to use it. What I am taking about is a layer that looks like the wood is varnished. It is not filling in anything but sealing the wood. I do it when the stock is still squared up because you want the extra wood for strength when you pull the barrel out after the AcraGlas sets. I don't use if someone prefers unfinished or just traditional finish in the barrel channel. However, I do it on all of the guns I make for myself and I believe it really helps protect the stock.

dave
 
Hi,
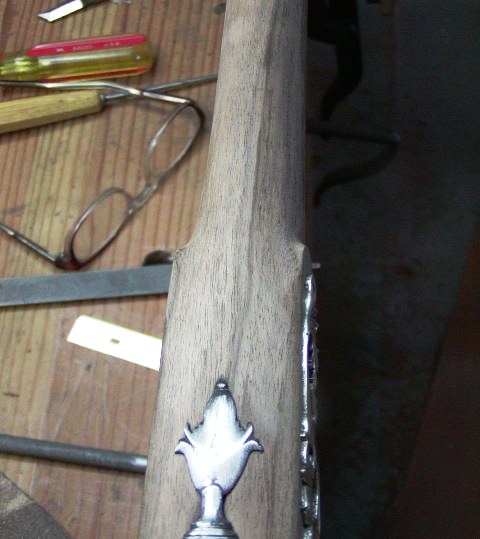
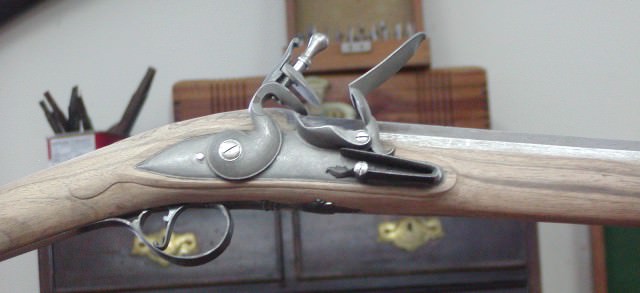
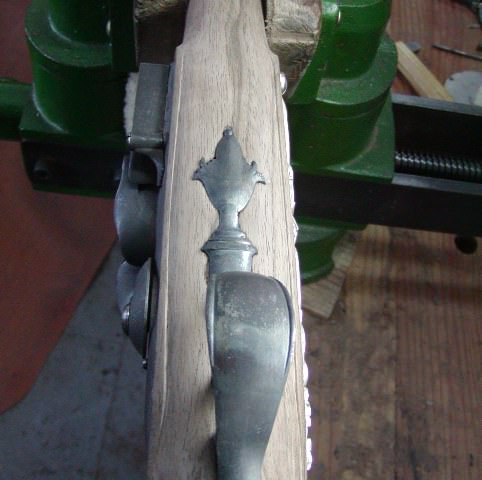
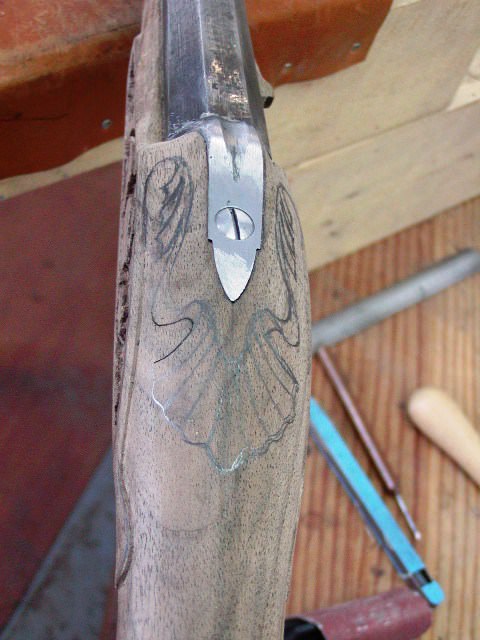
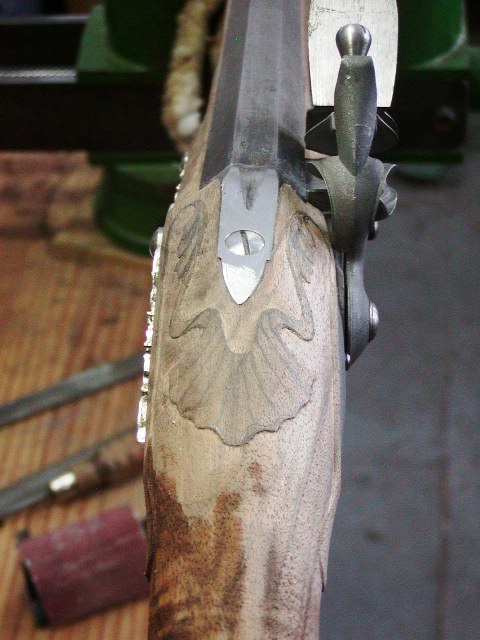
I got a bit more done. Panels and moldings surrounding the lock and side plate on British guns from the mid-18th century are usually very narrow. On guns with round-faced locks they often have no flat area at all except at the front and rear of the lock panel. The flat surrounds were usually a little larger for flat-faced locks because the lock dimensions were smaller. Also, moldings often did not go all the way around the panel and sometimes just enough to outline the beaver tails. I got the lock panels shaped and moldings cut. The flat around the lock will be smaller when finished. I also outlined and relieved the background for the rococo shell carving around the standing breech tang. Most British guns from the period had these shell carvings and they were usually the only carving on the guns. I will cut in the details after finishing shaping and scraping the rest of the stock. Cutting details in carving is one of the last tasks I do before staining and finish.

dave
c2XMxjG.jpg

IQYJ2xi.jpg

iMaZSpS.jpg

ytgSdeI.jpg

hF8y9sg.jpg

ewgeb5w.jpg

v0DtJgw.jpg
 
Hi,
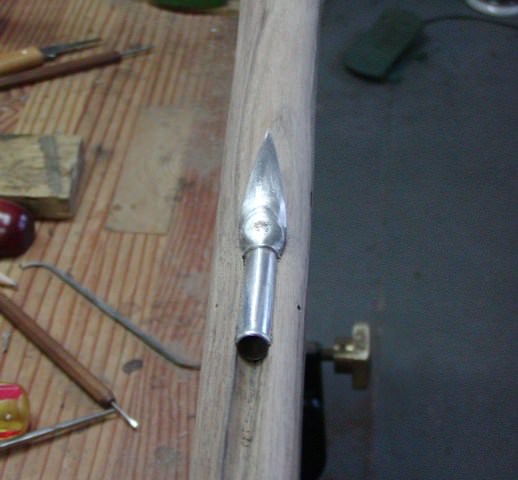
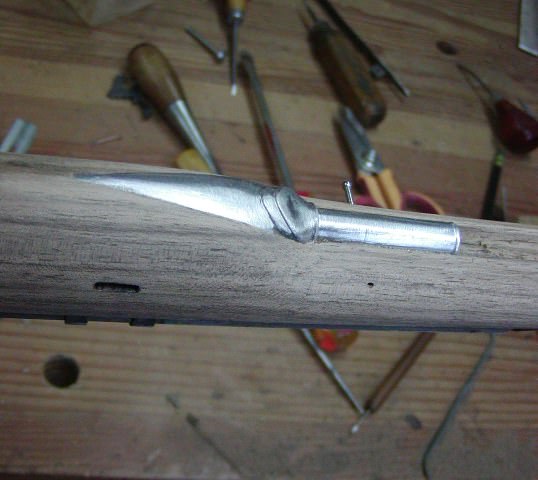
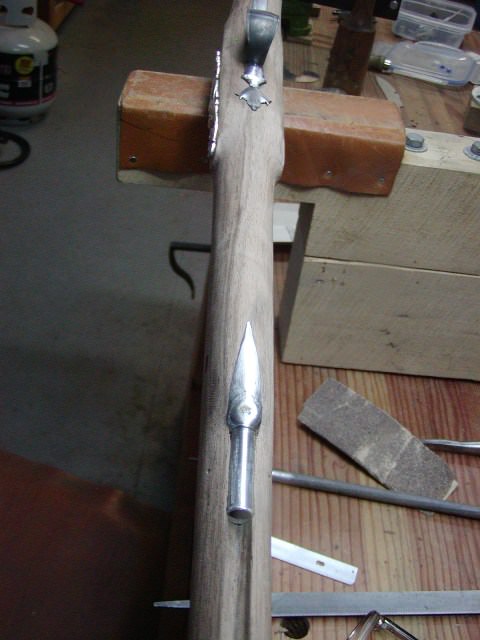
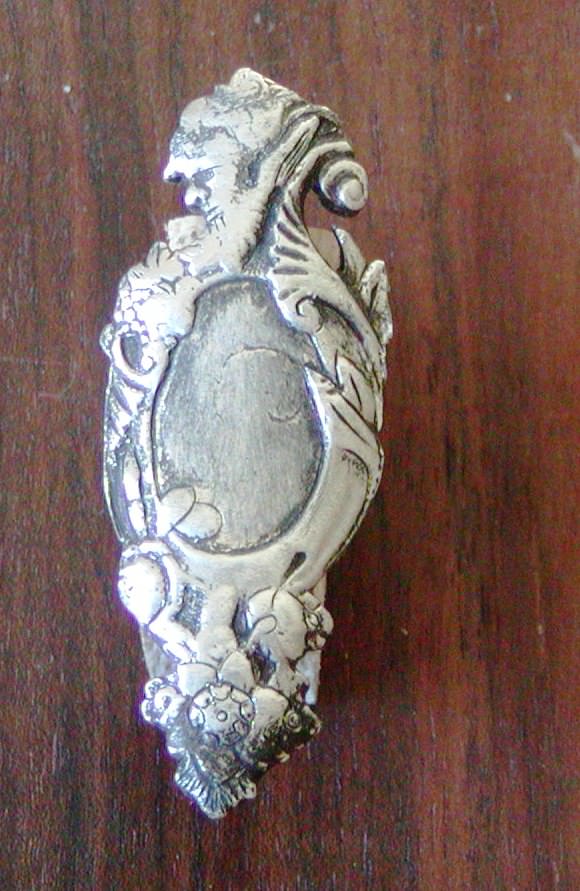
Been working on the wrist escutcheon. The edges of the cast plate first have to be cleaned up and then the details outlined better. That is where I am at. I cleaned up the edges and am chiseling the details. I outlined most of the features today and sculpted the face. It is coming alone nicely. I applied some thin black paint to highlight the details. This work is so much fun.

dave
2znaZMD.jpg

BbyM6ir.jpg
 
I really like the proportions of the "beaver tails" on your lock aprons.

The tang apron carving is truly splendid.

Working the details on fancy side plates, wrist escutcheons, etc. has always eluded me.

Of course, I have so little artistic talent that I barely passed stick people drawing in 7th Grade Art Class. :haha:

Gus
 
Back
Top