Building a British Pattern 1800 Rifle (Baker)

Muzzleloading Forum

Help Support Muzzleloading Forum:

This site may earn a commission from merchant affiliate links, including eBay, Amazon, and others.
Hi Terry,
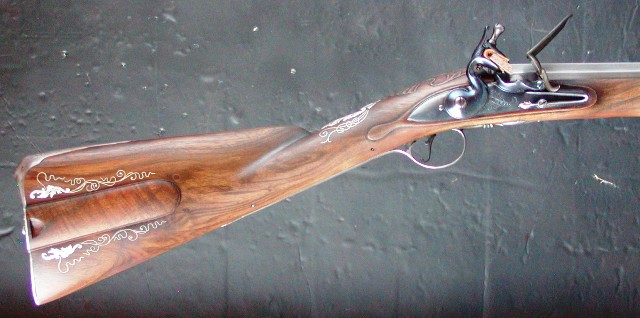
Wow that gun is a special case! I really like the cheek piece on that one compared with the standard. Along with the way Rudyard's Baker is shaped around the lock and sideplate, I have to call the owner and find out what he wants. I always drift toward refinement and better design but that might not fit the owner's wishes. Thank you and Rudyard for your advice. I regard it eagerly and seriously.

dave
 
Hi,
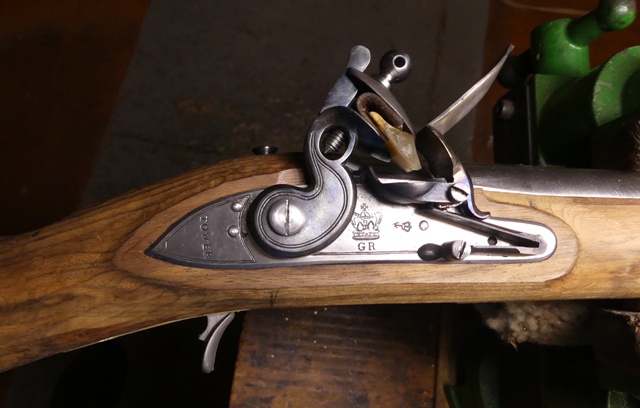
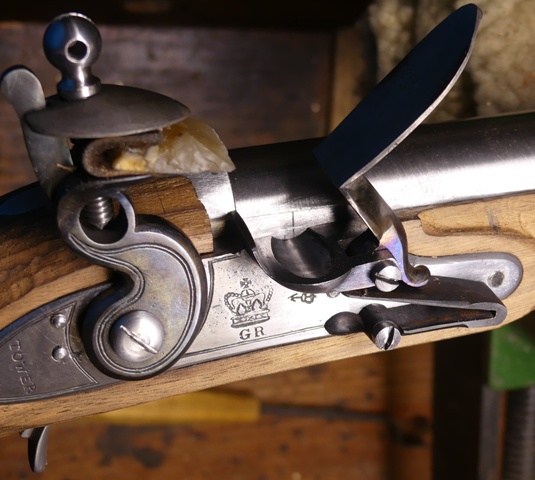
Thanks for looking and commenting folks. I got a lot done today and it was delightful. This gun is going together so easily and well, and Jane and Jesse Mellot deserve great praise for it. My first task today was to finalize the lock. I case hardened the parts yesterday but the battery just would not produce good sparks. It showed white hot sparks when held against a sanding drum but in the lock with a flint, almost nothing. So I go through my check list of possible solutions. Is the mainspring strong enough? Well it requires 10-11 pounds to pull the cock back to full, which is the same as the best performing lock I've ever tuned. The feather spring gave the battery a tension of about 4 pounds to open it so that is in balance with the mainspring. Flints hit the battery at a good angle. So I decided there must have been a problem with the case hardening. So I did it again today, then tempered the battery to 375 degrees. Put the lock together and lo and behold, sparks galore and all in the pan. I am afraid this is a bit too much voodoo but my previous case hardening must not have done the job.

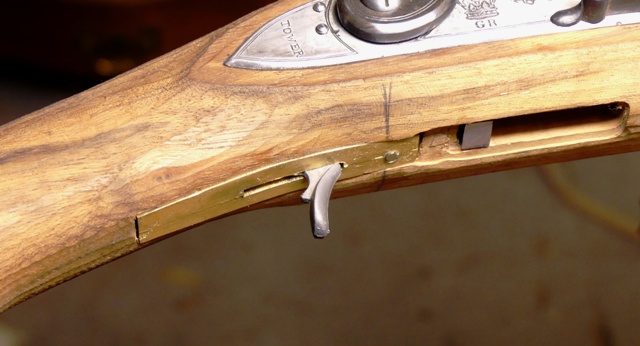
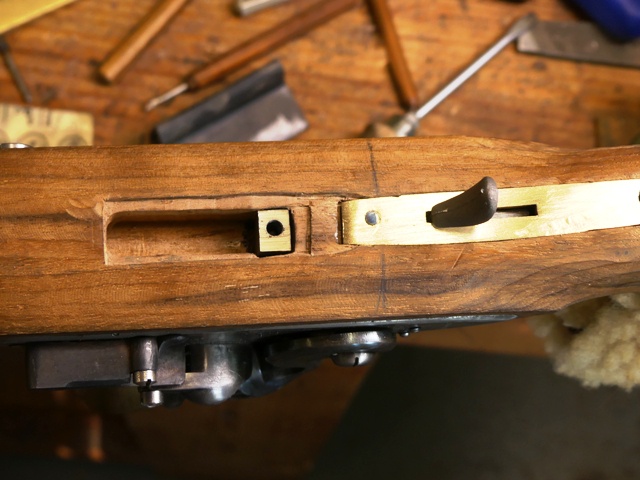
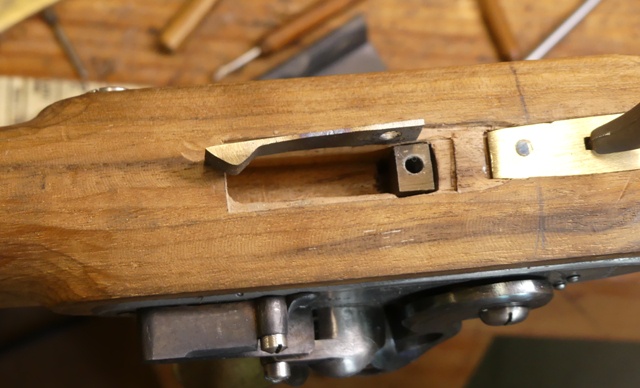
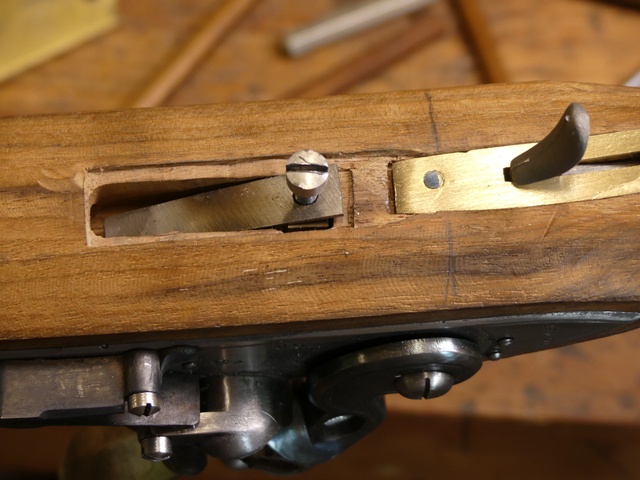
I inlet the lock after finishing it. It was easy and the only major wood removal was in the hole for the sear. It needed substantial deepening with a drill.
b5kJhpW.jpg


A Dremel with a router bit was indispensable for getting the job done quickly an cleanly.
uPhSMBd.jpg


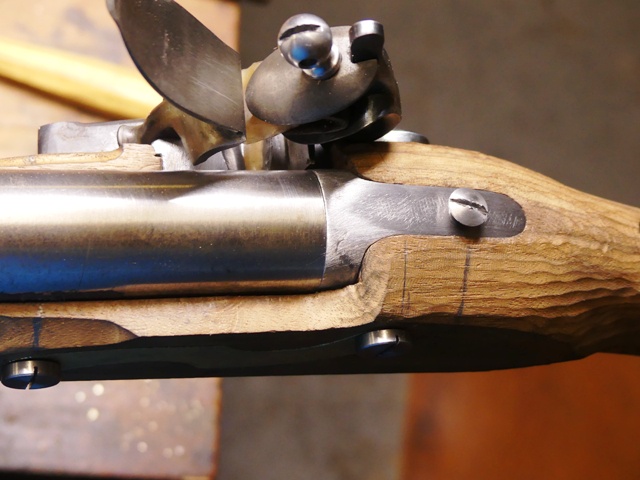
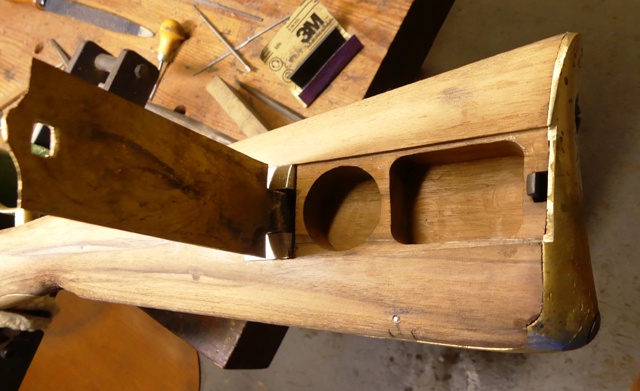
Note the vertical line marking the end of the breech plug. As you can see the face of the plug will require a big notch to clear the vent hole. That apparently is the way it was for this rifle. I will make it wide and smooth so it won't foul and will be easy to clean.

dave
 
Mr Person - This advert from over here has details of a very fine Baker-style rifle with good pics of the cheekpiece side - take a look -

https://www.thelanesarmoury.co.uk/shop.php?code=24800

The 'T' before the 'Foley' stands for 'tac' or 'Terry'. either will do.
Dear Terry . The rifle is an odd bod & the write up seems too pat That rifle isn't a Baker . Its nice & close but no cigar .No ones saying Baker made them all his principal contribution would be his barrel was the one excepted . I'de guess Ordnance would be the ones sorting contracts
.Regards Rudyard
 
Hi,
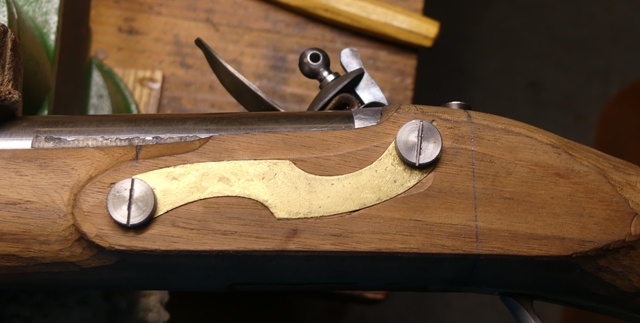
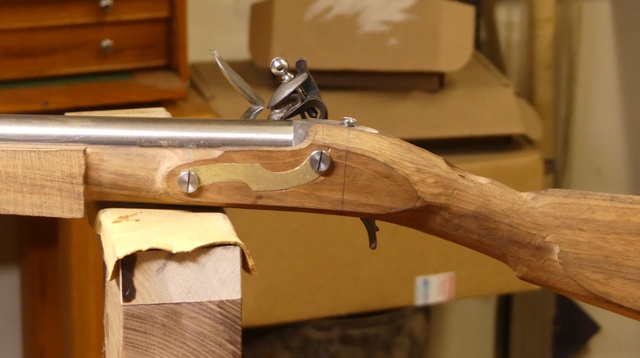
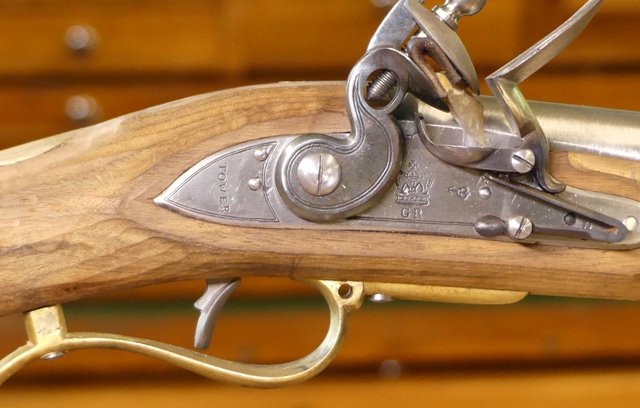
The side plate and side nails are in. The plate took about 5 minutes to inlet once cleaned up. With the side plate position predetermined by the rough machine inletting, the locations of the side nails are kind of fixed. That means they are as well on the lock. Fortunately, everything lined up well. I drilled the side plate first and measured the positions of the holes on the stock. I used the holes in the side plate as a template for the holes in the lock plate and then checked the position of those holes in the lock mortise. It all lined up fine so I drilled undersized holes in the stock through the side plate but only halfway and did the same from the lock side using the holes in the lock plate as guides. Just held a hand drill square and level and the holes met up nicely. I cleaned them up with the clearance drills and then tapped the lock holes. The side nails threaded in perfectly.
BHtt27R.jpg


Next up was the trigger plate, which inlet easily after clean up. The trigger is pinned in the plate rather than the stock so it is an independent assembly. So I pinned the trigger and then drilled the tang of the standing breech, stock, and trigger plate for the breech nail. I locate the position of the hole in the tang using the TRS plans. I drill an undersized hole through the tang. Then I drill a shallow hole with the same drill into the top of the boss on the trigger plate that receives the nail. That shallow hole is simply a large "center punch" hole used to capture the tip of my drill as I drill down from the top through the stock. Using the tang hole as a guide and holding the drill vertical (by eye), I drill down through the stock until the drill hits the shallow hole in the trigger plate and then I drill the plate through. I clean up the holes in the tang and stock with a clearance drill and then using a pulley tap with the tang and stock holes as guides, thread the hole in the trigger plate.
6jv2K4H.jpg

rvE3mQZ.jpg


I don't use any drill press jigs or drilling jigs of any sort. Just eyeballs, a few measurements, a plan, and skill.

It is looking like a Baker. Next up will be the butt plate, trigger guard, and thumb plate.
QyDFEKY.jpg

qibMxq2.jpg

Z4ULvT6.jpg

I5Z313o.jpg


dave
 
I’m glad this TRS Baker rifle is going along without the challenges you faced with the previous TRS build!
I am watching how you will do the tough hole placement. I see a verticals line on the barrel just forward of the pan center, which I think you mentioned is the breech plug face. If so, and if it’s not a patent breech, will you extend the pan by dishing it out a bit forward?
Also, I was happy to read how you lined up the side nail holes by approaching from both sides. I have learned this can be done with the barrel tang bolt but hadn’t thought this method being applied to the lock bolts!
Thanks for bringing us on this building ride. As always, excellent pictures, descriptions and step- by-step trouble shooting explanations.
A gold mine of professional tutoring once again.
-Bob
 
Hi Bob,
Part of the success so far of this project is the stock is good English walnut not some dodgy piece of soft, splintery, black walnut. It cuts and shapes very nicely leaving smooth surfaces behind. My favorite stock wood.

dave
Where in the wide, wide world of sports did you find that wood? I must be looking in all the wrong places.
 
Where in the wide, wide world of sports did you find that wood? I must be looking in all the wrong places.
I suppose you would have to ask TRS, English walnut grows in Aus & NZ Ime not adverse to US black walnut like all trees they all vary as to where they grow climate & soil conditions what minerals that soil has ect.. Unlike steel you have to work with it,can't cast it or forge it .all different .I don't know if it helps but I sing to it .
Cheers Rudyard
 
Dave you've done a superb job describing the build of this beauty !
Back in the 80's I was fortunate to acquire a nice orig. Baker with an excellent bore & loved the way it handled,
much like my favored Jaegers.
Thanks for sharing your journey :horseback:
 
I suppose you would have to ask TRS, English walnut grows in Aus & NZ Ime not adverse to US black walnut like all trees they all vary as to where they grow climate & soil conditions what minerals that soil has ect.. Unlike steel you have to work with it,can't cast it or forge it .all different .I don't know if it helps but I sing to it .
Cheers Rudyard
When I was a kid, we had amid all the trees in our yard one English walnut tree. This was in Oregon, USA. So yeah, I suppose the species can be grown almost anywhere if the conditions are right. My goal is someday to take an English walnut (J. regia) plank and build a bog standard contract 1729-34 fusil de chasse.
 
Oh man, where was this thread when I built my Baker rifle? Great information. I stumbled through mine, and this information would have been great. I have an original 1800/1813 pattern and a Peter Dyson 1800 model to use for patterns, so that helped quite a bit. I had an original patchbox and lower thimble that I used. I left the marks on them as sort of a homage to the original Baker. I might remove them, though, still not sure.

I like Peter Dysons Baker, except that I think he over polished the brass. I have been messing around with case hardening parts. I notice that you heat yours hotter than mine. I've been doing mine at 1400 degrees and tempering at 400 degrees. It's been giving me great colors, but maybe not hot enough? Anyway the TRS shop Baker I built is a Colerain barrel with I believe a 1/66 twist and the Dyson Baker has the original twist is something like 1/110. I'm thinking off the top of my head, so I could be off. I'm anxious to get them both off out and see if one has an advantage in shooting.
 

Attachments

  • 428148337_1500891560643038_6172775389834474106_na.jpg
    428148337_1500891560643038_6172775389834474106_na.jpg
    659.3 KB
  • pix767341360a.jpg
    pix767341360a.jpg
    61.5 KB
Hi guys and thank you for watching,
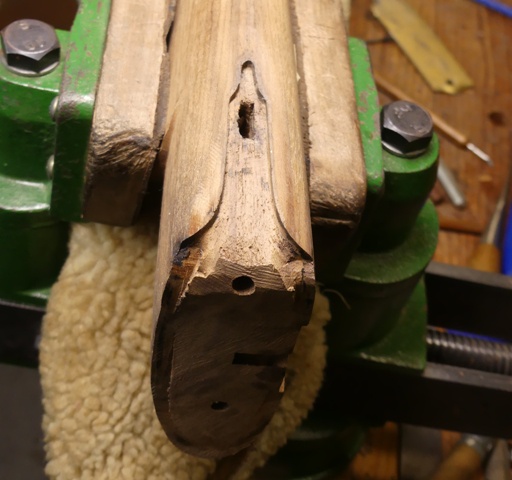
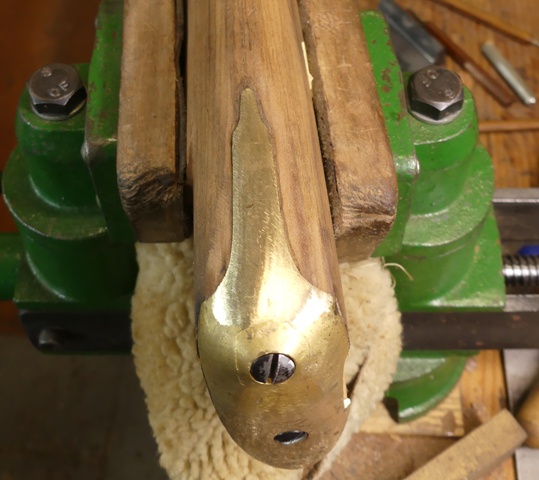
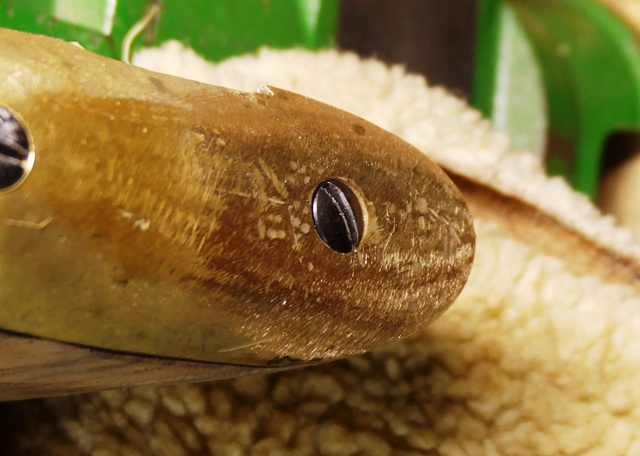
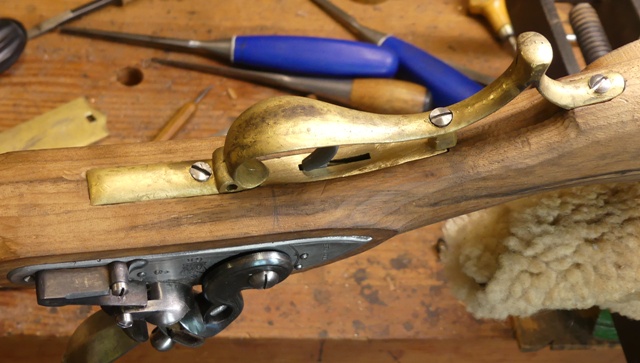
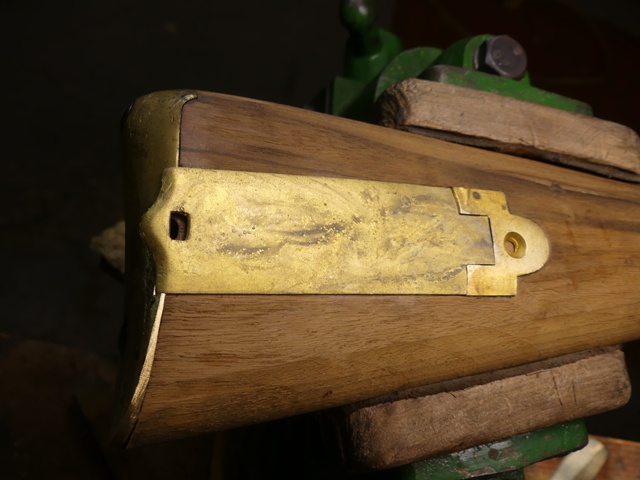
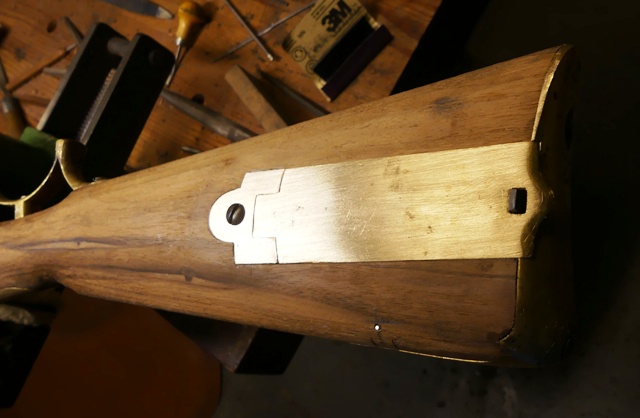
This post will be big and contain a lot of tricks for solving problems. I hope you pay it some attention. I installed the butt plate and it looked like the process would be easy. I just had to cut the slot for the tang lug and inlet the pointy end of the tang. Everything thing went in great but the toe of the butt. Normally, I would inlet the plate deeper until the toe contacted the wood. Unfortunately on this gun you cannot do that because it changes the fitting on the machine inlet patch box lid. Ok, so now we need "heaty-beaty" to bend the toe inward. It worked but I had to heat the brass to red hot and bend it hot. That is very dangerous but required in this case because the wax cast brass, bronze, whatever, would not anneal properly. It all worked and you can see the heaty-beaty marks on the toe of the butt plate. The first step is cutting the slot for the tang lug and then inletting the point of the tang.
Jsn2XMV.jpg

VXsi15E.jpg


sPeuZge.jpg


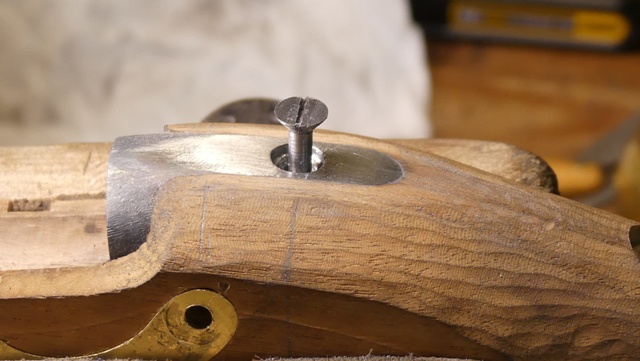
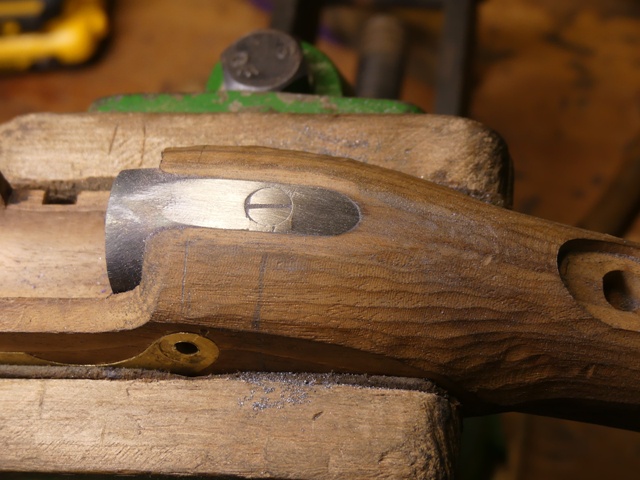
Next up was mounting the triggerguard but first fitting the tang screw in the standing breech. The screw goes in at an angle to the surface of the tang. By counter boring it, I create a bolt that can be filed flush even at an angle. The photos shows the counter bored hole and then the finished product.

9qFZ7oe.jpg

3zoALg1.jpg


dave
 
Hi,
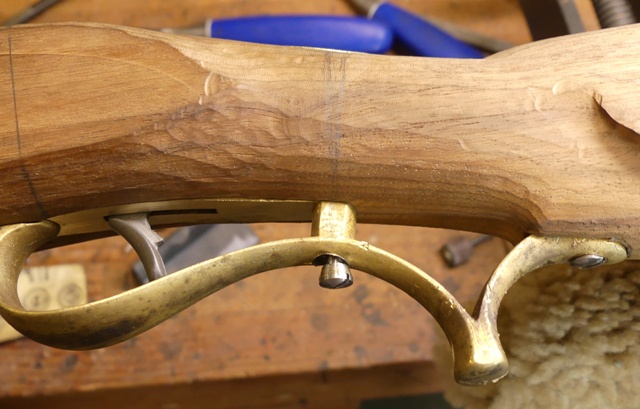
So now on to the trigger guard. This is nothing like installing a guard on a typical long rifle. This involves a lot more planning and fiddly work. You have 3 points of contact and 2 must intersect exactly with the fitting of other parts. The first step is that the predrilled hole in the triggerguard for the forward extension has to line up exactly with the lug coming down from the bottom of the standing brech.
AFUzJtF.jpg

That lug supports the ramrod retaining spring anchored by the same screw, which also secures the front extension of the guard.
a9WaYvX.jpg

Hv1xxK5.jpg

ybWSP5v.jpg


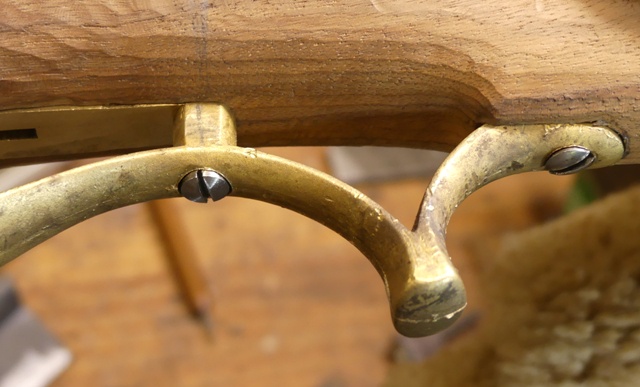
Next, the rear of the guard must fit the step in the stock and be secured by a wood screw.
0vhpSl6.jpg


The inletting for all this was minimal with most of it done by machine but that meant I had limited ability to move things around. For the final screw holding the guard, that was a problem. The third screw goes through the trigger guard, the wrist, and screws into the thumb plate. The problem was the position of the boss on the trigger guard was too far back on the stock relative to the thumb plate. The guard had been mostly machine inlet so its position could not change and now that anchoring screw had to be drilled at a radical angle to the guard. Well, I am pretty resourceful and figured out a solution. I drilled the hole at the required angle and tapped the boss under the wrist plate. Then I used a Dremel and diamond bit to reshape the counter bored hole for the screw cast into the guard. Finally, I tapered the head of the screw so it would automatically adjust to the offset angle and slip into the counter bored hole.
xPgJ8RZ.jpg

0vhpSl6.jpg

It can now be dressed off flush with the triggerguard.

PI5FD6u.jpg


The wrist plate inlet easily but with all the fussing over the angled screw, it got a little cocked in its mortise. No matter, I just gave it a good bash with a mallet and that straightened everything out.
AGAs21r.jpg


Finally, I cleaned up the patch box assembly and began inletting it. It required some finesse and positioning but is is staring out just fine.
RPVBuOc.jpg

kzPoP1e.jpg


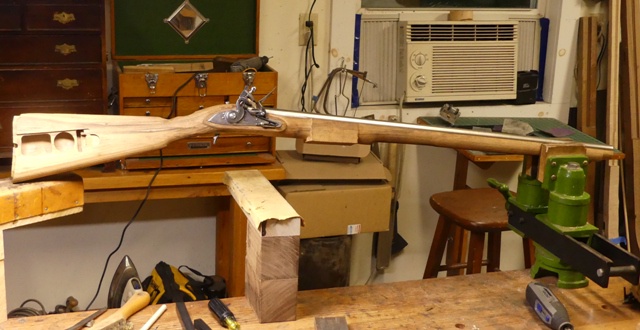
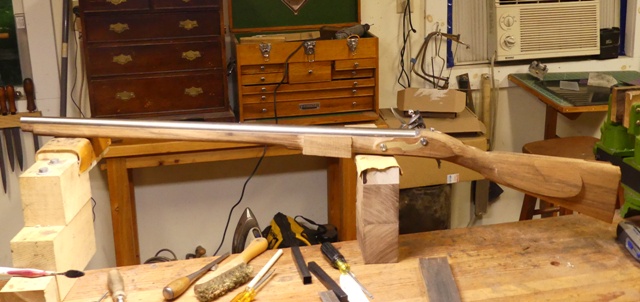
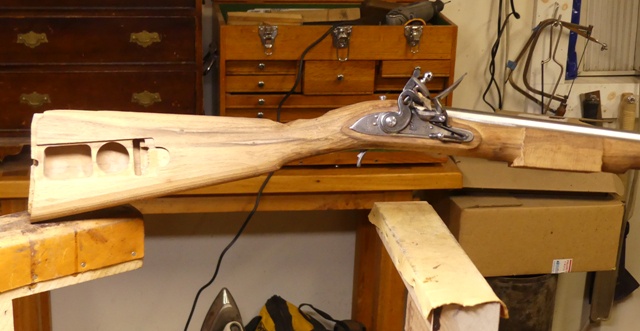
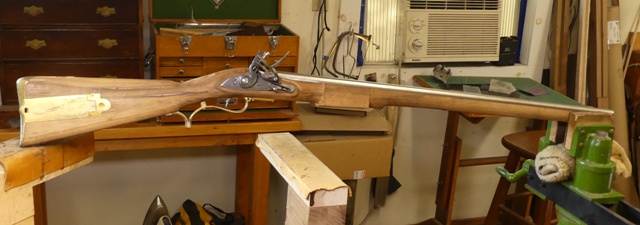
So here is where I am at the moment.

kyjaF49.jpg


dave
 
Getting their, It aught to be' yellow brass', No bronze . Brass founders don't like it because of the fumes from the zink gives them the 'ague'. My old founders at Cornish Place in one of Dixons old shops ran me 'yellow brass 'gets to you. I used to watch them pour ,they had 'the shakes' from it but they kept on into there old age . And I expect you will have all the screw slots ' North & South' I. E . all in line not as they come .But you know that .Never haveing any TRS kits . I was free to wing it they will vary a bit so all contract ones wont interchange just close as makes no odds .Some where later made at Enfield lock I seem to recall so they might be to closer specs . The adopted pitch was 1/4 in 30 " most today seem to be faster . But we today are not being shot at and the fouling aspect hardly relevant .Ide pick one in 60" but this is today not Bakers thinking . We today call it "the Baker rifle" but is was just" the' Infantry rifle " '" Rifled carbines" or some such other than'' the Baker ' '( Eziekiel or Elizabeth who carried on after ) Oh the pics hopefully show the patterns that where made to guide the stamp makers .
Regards Rudyard


1721362565285.png


1721362522991.png
 

Attachments

  • 1721361619306.png
    1721361619306.png
    2.9 MB
Oh man, where was this thread when I built my Baker rifle? Great information. I stumbled through mine, and this information would have been great. I have an original 1800/1813 pattern and a Peter Dyson 1800 model to use for patterns, so that helped quite a bit. I had an original patchbox and lower thimble that I used. I left the marks on them as sort of a homage to the original Baker. I might remove them, though, still not sure.

I like Peter Dysons Baker, except that I think he over polished the brass. I have been messing around with case hardening parts. I notice that you heat yours hotter than mine. I've been doing mine at 1400 degrees and tempering at 400 degrees. It's been giving me great colors, but maybe not hot enough? Anyway the TRS shop Baker I built is a Colerain barrel with I believe a 1/66 twist and the Dyson Baker has the original twist is something like 1/110. I'm thinking off the top of my head, so I could be off. I'm anxious to get them both off out and see if one has an advantage in shooting.
Hi,
Nice guns! Thanks for sharing them. If you are trying to get nice colors from case hardening, your lower temps are the way to go. I find best colors between 1375 and 1500 degrees. I am not trying to produce colors rather to carburize the parts and I go much hotter because that increases the depth of the case for a given time in the heat soak.

dave
 
Hi,
This will be my last post for a while. I have to get my demos and seminars ready for the Kempton Gun Maker's Fair next weekend. I fully mounted the patch box and its retaining spring. It came out well and is strong and works very well. The spring is very simple to install. There is no spring that opens the lid automatically like on most long rifle patch boxes.

wLrK22T.jpg

u7SlAjH.jpg

RRX77OZ.jpg


I'll post more in about a week.

dave
 
Getting their, It aught to be' yellow brass', No bronze . Brass founders don't like it because of the fumes from the zink gives them the 'ague'. My old founders at Cornish Place in one of Dixons old shops ran me 'yellow brass 'gets to you. I used to watch them pour ,they had 'the shakes' from it but they kept on into there old age . And I expect you will have all the screw slots ' North & South' I. E . all in line not as they come .But you know that .Never haveing any TRS kits . I was free to wing it they will vary a bit so all contract ones wont interchange just close as makes no odds .Some where later made at Enfield lock I seem to recall so they might be to closer specs . The adopted pitch was 1/4 in 30 " most today seem to be faster . But we today are not being shot at and the fouling aspect hardly relevant .Ide pick one in 60" but this is today not Bakers thinking . We today call it "the Baker rifle" but is was just" the' Infantry rifle " '" Rifled carbines" or some such other than'' the Baker ' '( Eziekiel or Elizabeth who carried on after ) Oh the pics hopefully show the patterns that where made to guide the stamp makers .
Regards Rudyard


View attachment 334953

View attachment 334952
!drayduR, ffuts gnitanicsaF
 
Hi Guys,
Great post , Terry! I love Rudyard's posts and I've learned to decipher most of them. He has this rich British vernacular style that makes me feel like I've been in a bubble all my life and really know nothing much about other people. Rudyard, I am drinking a dram of Laphroig and toasting you tonight.

One last note before I am off to the fair. Terry, you mentioned the rifles you shot were clunky. When I shoulder the version I am making, and tuck my left arm tight against my ribs with my left hand very close to the lock, and then the back of my right hand cradled in the pistol grip trigger guard, I am locked in position like a granite monument. I have no doubt that if the barrel is good, this rifle will be awesome offhand. The only other rifle I own that compares minus the excellent trigger guard is the 1740s English rifle I made for myself (photos below).
hQuR8YI.jpg

UAzK3hC.jpg


What I don't know is if the dimensions of the TRS stock accurately copy the originals. I've seen some photos of original Bakers where the stock looked so straight (not much drop at heel) to actually be awkward. I also read in Bailey that there were soldiers' complaints about the stocks and that ordnance bent many to increase the drop. By the way, Bailey is wrong about that process, which he wrote involved steaming the stock. No. The method is to wrap the wrist in fabric and soak it with almost boiling oil. When saturated, the stock is clamped to bend it. The result is permanent. I have done this successfully and so have many British gunsmiths over the centuries.

dave
 

Latest posts

Back
Top