• Friends, our 2nd Amendment rights are always under attack and the NRA has been a constant for decades in helping fight that fight.

    We have partnered with the NRA to offer you a discount on membership and Muzzleloading Forum gets a small percentage too of each membership, so you are supporting both the NRA and us.

    Use this link to sign up please; https://membership.nra.org/recruiters/join/XR045103

Building a Kit: ToW Early Flint Hawken

Muzzleloading Forum

Help Support Muzzleloading Forum:

This site may earn a commission from merchant affiliate links, including eBay, Amazon, and others.
Herb said:
A really great tutorial, Spikebuck. Got a question: are you saying that clamping the tang down for 24 hours will put a permanent bend in it to conform to the wood? I just spent about four hours bending and rebending my flint tang to match my hand-sawed stock.

Well, Herb...first I want to say how much I appreciate all the photos, measurements, etc you have been providing! I've never seen a "real" Hawken and your hands-on experience and willingness to share that has been a true blessing to me. So special thanks to you. :hatsoff:

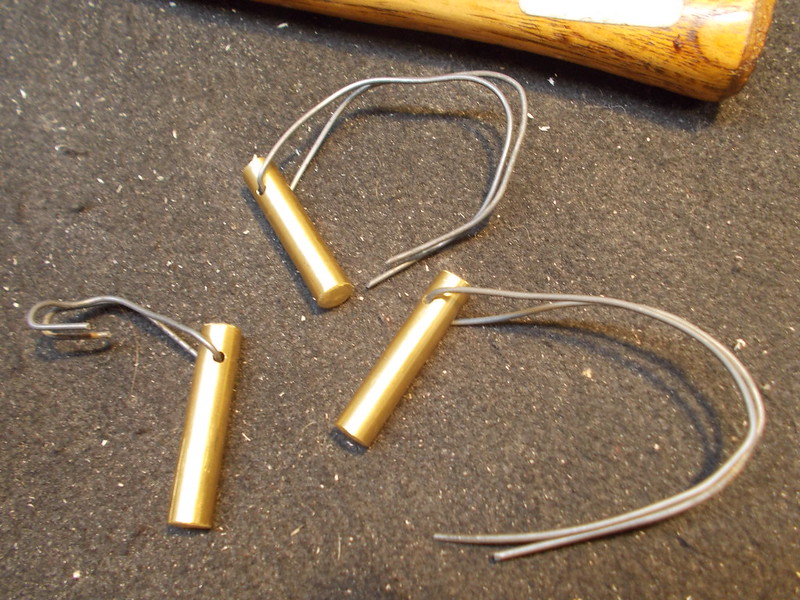
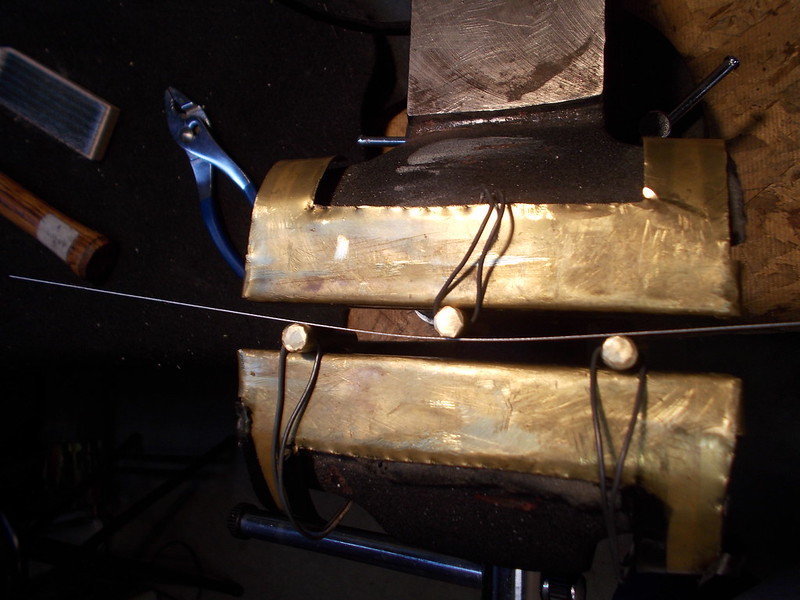
I had to get the bends relatively close first. I was using a technique I saw on the other forum. I used three brass pieces of round-stock I cut from the remainder of a brass ramrod project. Hanging them into the bench vise in various positions I needed to bend. But then I put the glued-together barrel tang assembly in place, clamped it down tight at the joint of the breech and tang, and clamped the rest down with two clamps and small pieces of wood arrow shaft so the clamps wouldn't damage the top of the inlet which allows very hard clamping to the bottom of the inlet. I filed a little flat top and bottom on the arrow pieces so they don't roll. I let it set for 24 hours and while it did try to spring back a little bit, it was such that when I clamped it down, drilled and screwed it down with the two tang screws, it came right into place. I don't know if it saved any time...maybe a little filing on top since the top level wood/metal match was basically a perfect fit.

Unfortunately I didn't take any pictures of the vice-bending process, but here's one of the vice with the bending rods in place and my flexible ruler as the metal. One just calculates the bend point needed and puts the single-side rod under the tang at that point, then positions the two rods on the other side to what seems like a good bending point and applies pressure with the vice to get a controlled bend. I had never done a long tang like this and these simple tools quickly got a fairly close bend in place.
021214 Tang Bending tools and vice process 1 by mdheaser

021214 Tang Bending tools and vice process 2 by mdheaser
 
Ya know for your first gun most people have a hard time with the butt plate. Your doing a great job, I look forward to seeing it completed. Nice build!

beaver T. :wink:
 
:hatsoff: :thumbsup: :bow:

Your doing a VERY good job for just your second build!
I started with a Hawken rifle when my friend introduced me to BP.....she was sold to my FIL and he since has moved away....wish I still had it.....maybe I'll stray away from 'kentucky's " and build one! This tutorial certainly shows me what's involved!
Thank you for picture taking and posting....all new builders need to take a look at it!

Good job, beautiful work!
Marc
 
that tang bending deal is really clever ... i'll have to remember that for next time ...

thanks for the tutorial - your photos are excellent, and your work is really first rate!

:hatsoff: :thumbsup:
 
Thanks to everyone for the very kind words and encouragement.

Like my first build, I'm having a lot of fun with this, and while certainly not perfect, I just try to do the best I can. I came into gun building with literally zero wood or metal working experience, so the learning and trial and error is fun and challenging both. I'd highly encourage anyone that is thinking about it to dive in and give it a go!

When it's all done, and Tom-Tom give's his paw-stamp of approval, I'll know for sure I did the job right! :wink: :grin:
 
After a 4-month "summer" break I've been back at the Hawken build. Pretty much "in the white" at this point. Still some wood to remove, but I think most of that will be through sanding. Some lock panel work to do as well.

Couple weeks of very serious whitetail hunting coming up...week with bow, then a week with the Jaeger and Rocky Mtn Hawken. Then I should be able to get back at it and hopefully get it finished up in December/January.

So for anyone that may be following, many new pics posted. As I was doing before, if you go into full size picture mode, many are "narrated" to describe what I'm doing.
 
Looking good! How are you planning on finishing the wood? Stain? Aqua Fortis?
 
ScottH said:
Looking good! How are you planning on finishing the wood? Stain? Aqua Fortis?

Thank you. I have Homer Dangler Dark Brown and Golden Brown. I'm going to do some experimenting with both separately and in combination to see what looks nicest. My intent is a basic dark brown finish with golden highlights. I suspect putting the Dark Brown on first, letting dry, then putting on the golden brown will get the job done. Then it will be multiple coats of Tru Oil.

I'm going to send the buttplate, lock, breech plug, and tang out for color case hardening. Rest will be cold blued and worked back to result in a bluish-gray finish.
 
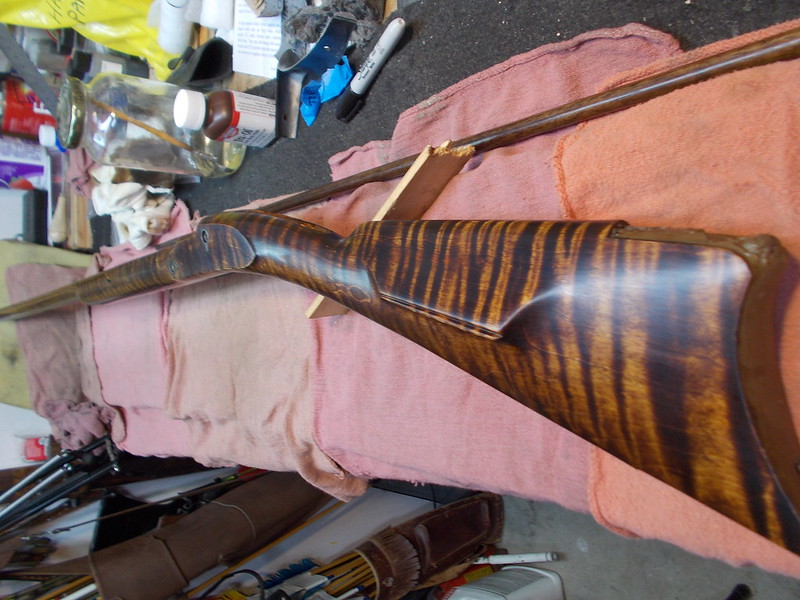
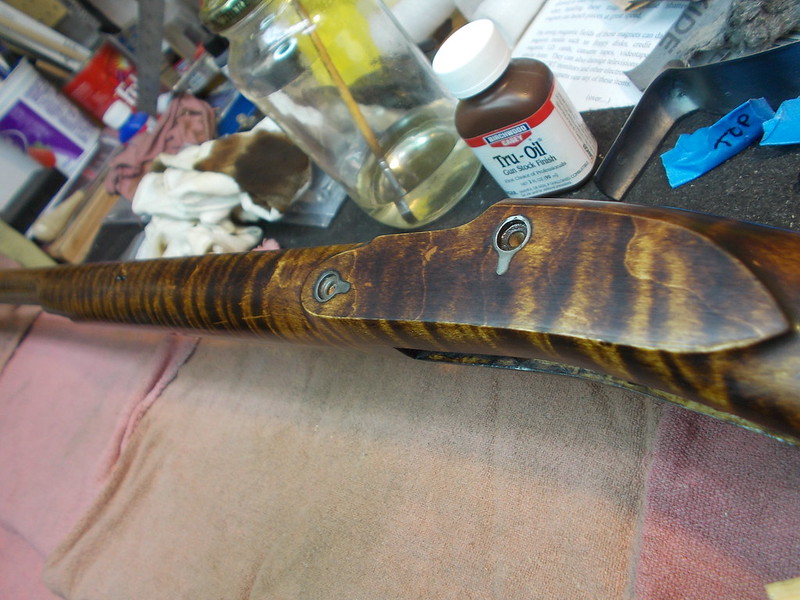
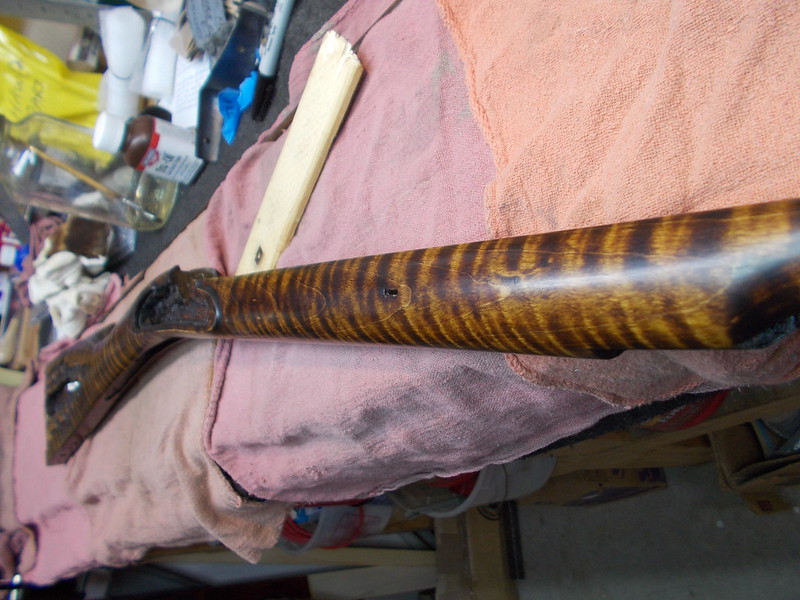
The "building" part is finished and I'm on to the wood and metal finishing. In fact, the stock was completed tonight. After my experimentation, I decided to just start with multiple coats of Dangler's Golden Brown. Did four and liked what I saw. Buffed it back a bit, then applied six coats of TruOil over the last week, buffed back with steel wool between coats. Finished by buffing it back after the 6th coat and then waxed.

More pictures along with ALL the building pics of which most are narrated with the process step information. But I'll post a couple here of the finished stock in case you don't want to take time to look at other "process" pics.

Here's the link to the whole build...I see it's had over 1300 hits!
https://www.flickr.com/photos/100435142@N08/sets/72157639906287386/

By double clicking on any pic it enlarges it and shows below the picture any comments I may have made.

And here's a couple pics of the completed stock.

022715 Stock Waxed Complete 3 by mdheaser

022715 Stock Waxed Complete 4 by mdheaser

022715 Stock Waxed Complete 9 by mdheaser

Tomorrow I start the barrel and other metal parts. I started this build in January of 2014, so I'm excited to be in the process of finishing it up. It's a lot of fun and next fall it will definitely be in the deer woods with me. Should be posting completed pics in a couple of weeks. :grin:
 
Last edited by a moderator:
Looks amazing. Nerve racking jn some parts including going into your barrel. Im not sure ive kept a hobby that long. Whoo. Makes me anxious seeing what you did for this build
 
Herbt turned me on to your tutorial. He is a excellent builder of quality muzzleloader. I have one.
Because of Herb and your tutorial, I decided to build a muzzleloader. I have been reading and looking at everything I can to learn. I would like to have the photos and narrative in your Flickr presentation but can't download and print them. My workshop is in an unheated barn with electricity. The family desktop cannot be move out there. Do you have an account or someway to download the photos and narrative? I'd send you a flash drive, if your willing.
 
Congratulations on a great job!

I am about to try my hand at building - in the third set of pics you showed some notes on proportions beside an open book. I want to collect a few books on gun styles as well as building techniques and the page you showed looked like that book could be a good one. Can you give us the title and author? And any other recommended sources would be a nice bonus!

Thanks in advance,

Jamie
 
Back
Top