Building an Edward Marshall Rifle

Muzzleloading Forum

Help Support Muzzleloading Forum:

This site may earn a commission from merchant affiliate links, including eBay, Amazon, and others.
Hi,
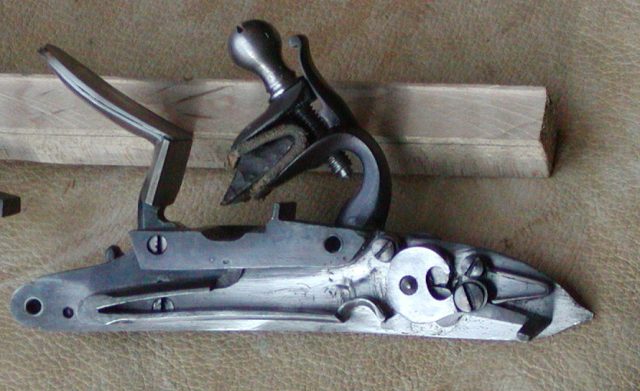
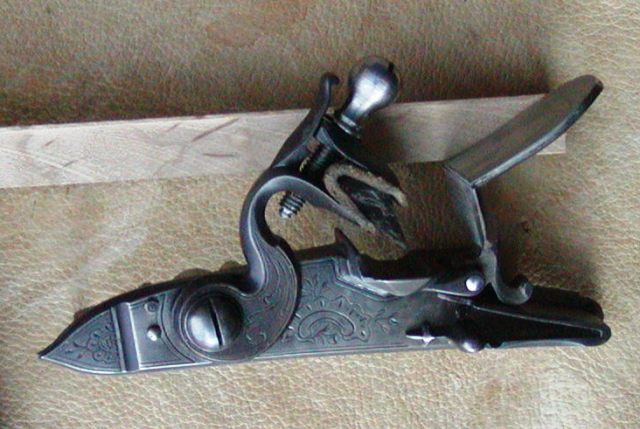
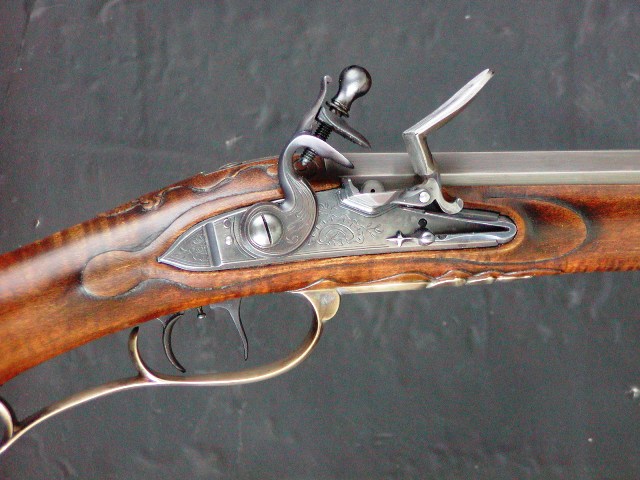
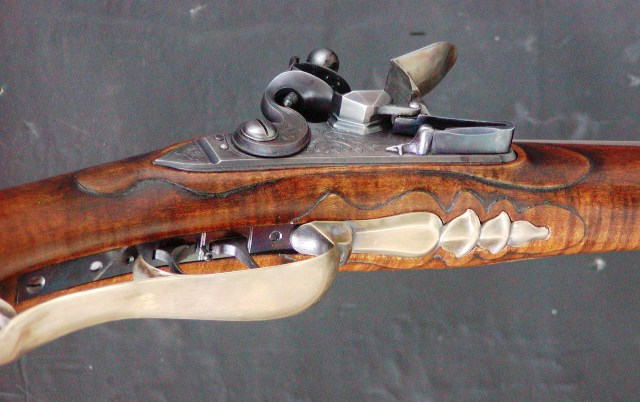
The stock finishing is almost done. In the meantime, I've been working on the other components. I finished polishing the lock and internals, and making any final adjustments to the lock. Then I case hardened the plate, flintcock, and top jaw. I was gentle on the temperature because the case did not need to be deep so I heated the parts packed in charcoal to 1445-1455 degrees for 90 minutes. Before quenching, I let the pack cool a few seconds. That helps reduce risk of the plate warping. The parts came out great and I polished off the case colors, which were beautiful but not likely authentic for the gun. It really hurt to do that but discipline, discipline, discipline. After polishing off the case colors, I tempered the parts for 1 hour at 590-600 degrees F (I usually give a range of temperatures because the actual temp is in that range given the precision of my oven). I left the temper blue color, which I believe is how many of those locks were finished (they were not browned until the 19th century). After air cooling, I coated the parts with vaseline containing phenol (the old medicated vaseline) and heated them until they smoked. That provides some extra rust resistance along with the polishing and hardening.

kPQlj1V.jpg

BVhyJyp.jpg

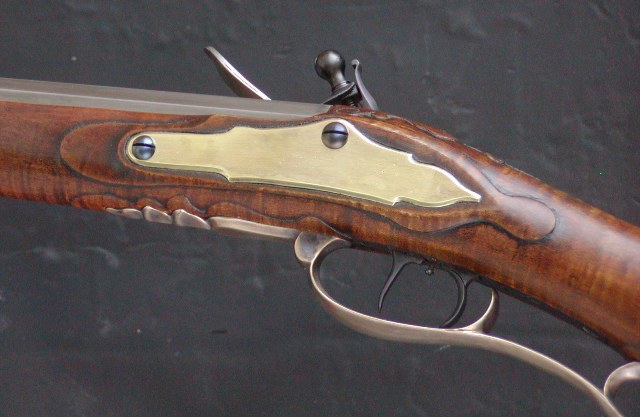
The lock photos show the high carbon sole I attached to the frizzen. The cast frizzen was too thin and needed some mass added plus the design allowed me to add a thick sole. It is an incredible sparker.

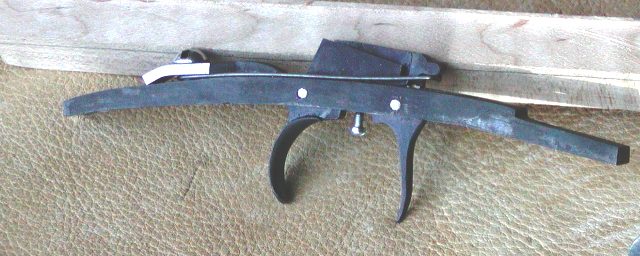
I finished polishing and adjusting the set triggers. Unfortunately, unless you machine your own triggers or have sets from Bob Roller or Walter Cain, the other commercial offerings leave a lot to be desired. These triggers were L&R Hawken triggers that I modified. One thing I changed when finishing them was the front trigger slot in the plate was wider then the trigger so the trigger could slip side to side. I hate that. So I soldered a steel shim on one side of the slot to eliminate the play. That made a big difference. I case hardened the triggers and tempered them to blue. Then I polished the outside of the plate, filed in the decorative lines found on the original gun, and tempered blued it followed by the medicated vaseline treatment.
U7PbVpG.jpg

1vurY1d.jpg


They are all ready to go. Finish the stock, install sights, finish the barrel, and make the ramrod. It will be done soon.

dave
 
Hi,
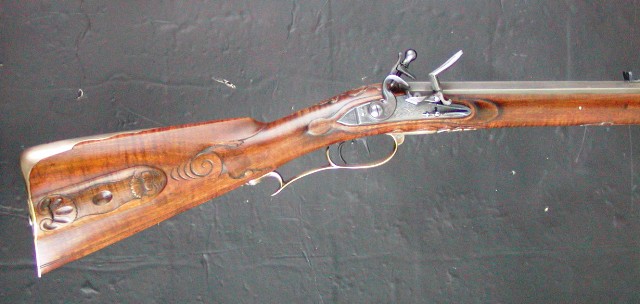
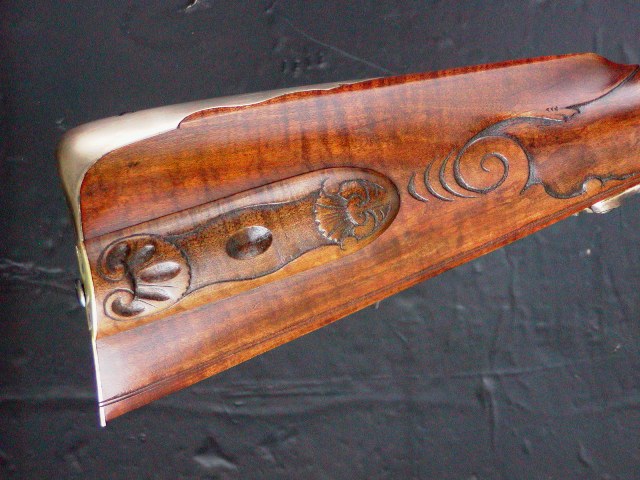
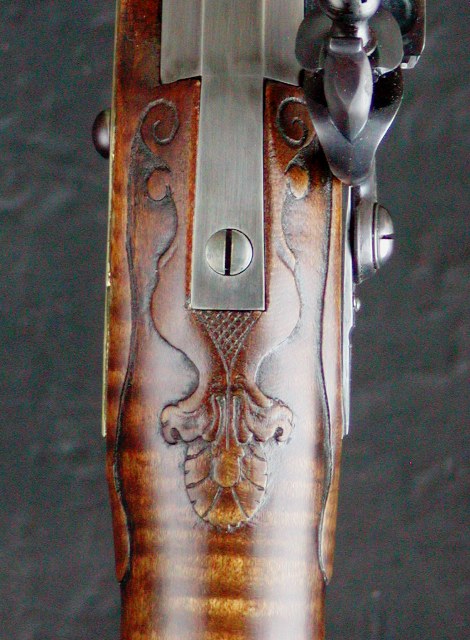
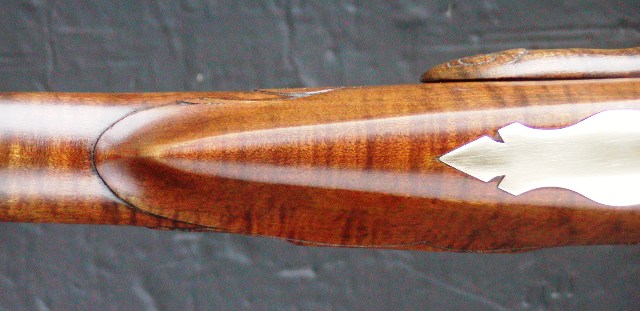
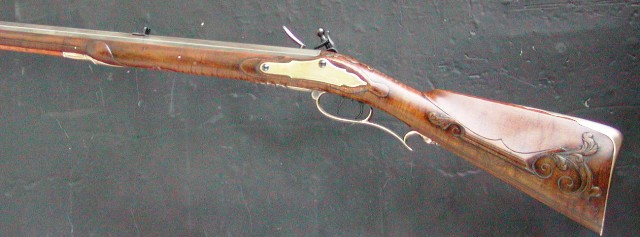
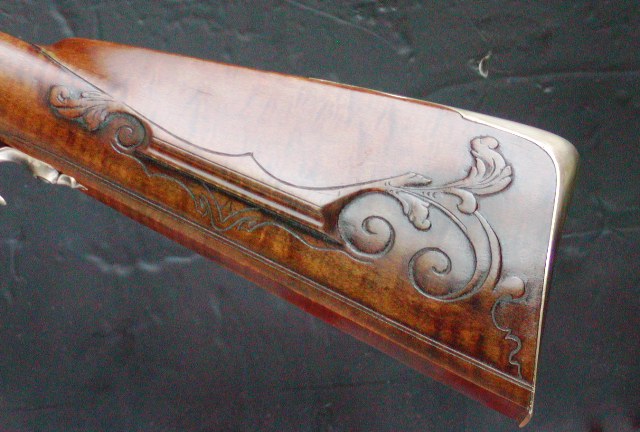
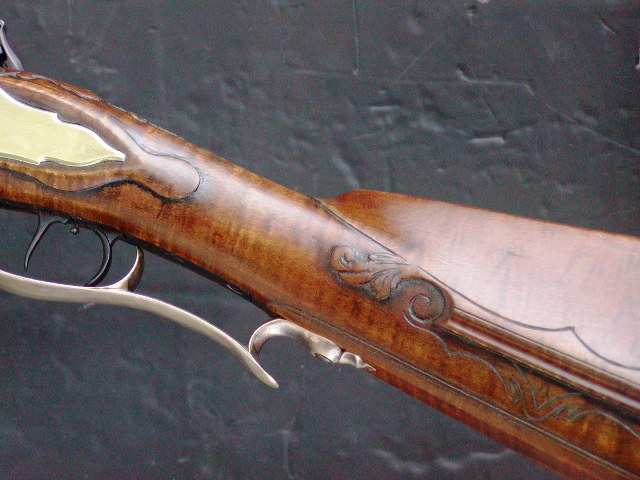
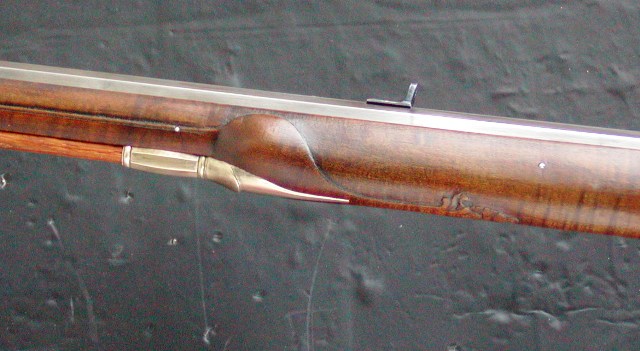
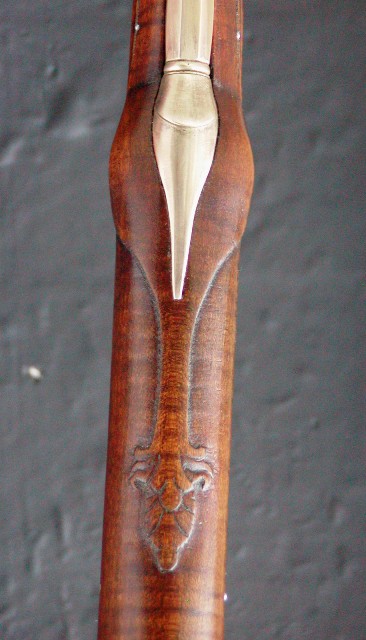
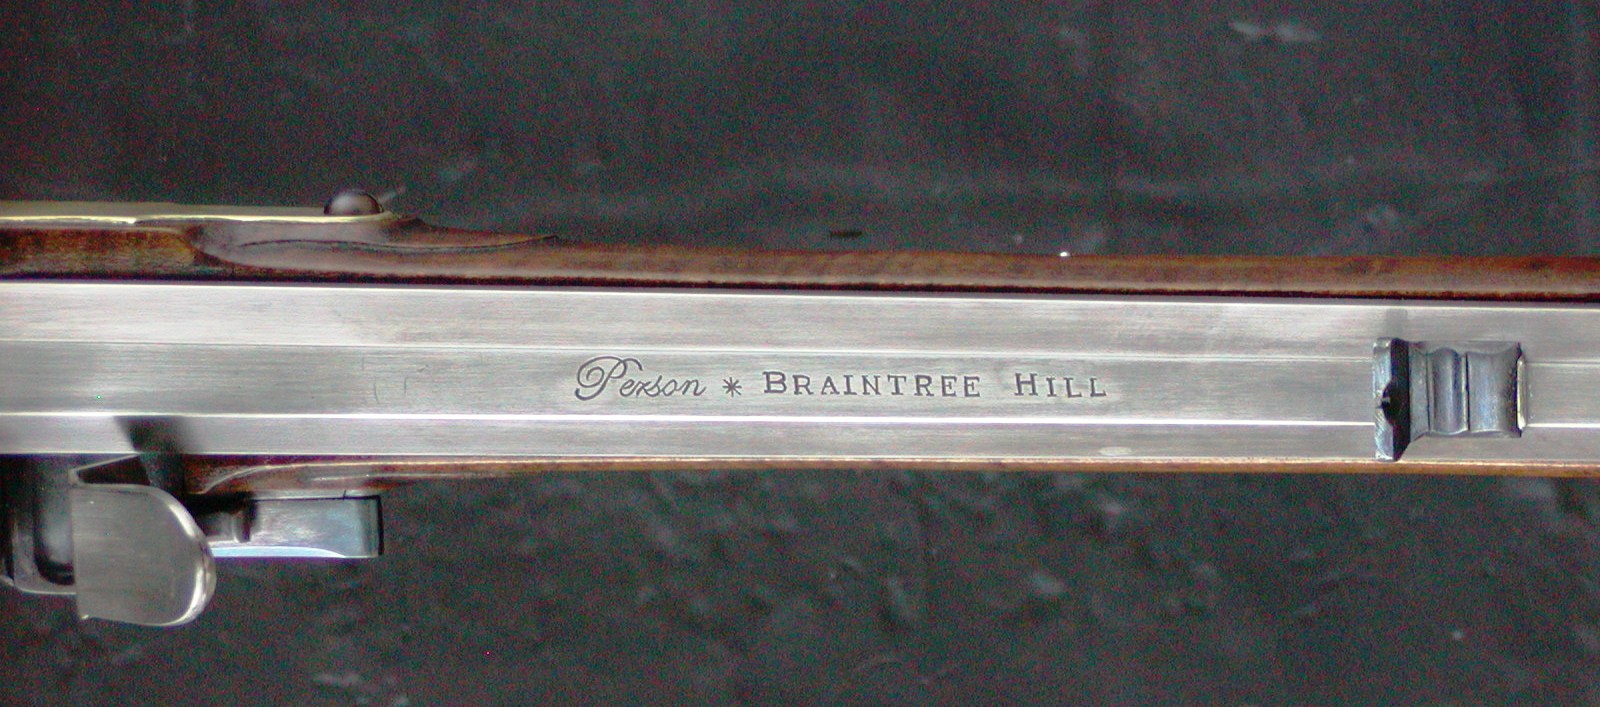
All done. It came out pretty well. I added a bit of light glazing with bone black to add a mellow aged look and tarnished the barrel and brass a little. The final finish before stain was a light scraping, which left some nice chatter marks that look authentic. It looks like a product of the 18th century, which was my goal. Now I need to shoot it a bit before handing it over to the owner. The sights are left high so they have plenty of room for adjustment.
48BvIrd.jpg

vFonceu.jpg

lU84au4.jpg

0vDnuIx.jpg

BRvoqd1.jpg

AKwpwwO.jpg

6iK4xBj.jpg

x6160IU.jpg

jz9TC4I.jpg

dgntHRT.jpg

1xFMM2o.jpg

GQrM8XL.jpg

GPA6Iia.jpg

HrYtaH2.jpg

UZxjsIB.jpg

gli0lXp.jpg


dave
 
You do nice work no doubt about it .But I doubt locks where ever browned , and though I have two dogs "helping " me in my shop it's never as tidy as yours .
Regards Rudyard
 
You do nice work no doubt about it .But I doubt locks where ever browned , and though I have two dogs "helping " me in my shop it's never as tidy as yours .
Regards Rudyard
Hi Rudyard,
Thanks for the post. The lock is not browned, those are the temper colors after case hardening. They will fade eventually to silver grey.

dave
 
Dear David I know you wouldn't brown a lock but you mentioned they where not browned untill the19 th C .That's what I allude to .That today many brown the casting patinated locks we know it wasn't done except by natural attrition viz neglect.
Regards Rudyard
 
No neglect Rudy, I have rifles that were left in the white and they are well taken care of, over the years they have developed a nice coloring too both the barrel and lock.
 
Hi Rudyard,
When John Bivins disassembled the Marshall rifle back in the 1980s, he found traces of temper blue on the back side of the lock plate and traces of fire bluing on the bottom of the barrel. I am not set up to fire blue long gun barrels but I surmised the maker might leave the temper blue colors on the outside of the lock. He also might have polished it bright. Unfortunately there is now no way to tell.

dave
 
Dear Appelilition Hunter My observation was about original rifles or locks not having' browned' as such locks . That today many do . Re .Barrels in the white I do that myself I believe it was common they mellow and could certainly look browned , Fire blue one other option . If we today brown a lock no matter just they never seemed to do them historicaly . & heat blued ,hardened then polished locks last years .
Cheers Rudyard
 
Hi,
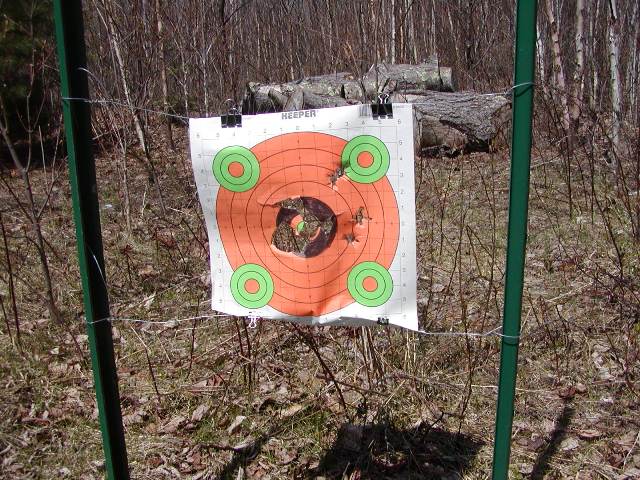
Thanks for the posts everyone. I appreciate the interest and the comments. Well it shoots! I handed off the rifle to the owner today. I set up my shooting bench and range and tested the gun at 50 yards. I have a laser bore sighter that almost always gets the shots on paper before actually shooting the gun. However, I was sure the front sight would be high and that my first shots would be very low. So I aimed at 12 o'clock on the paper. The result was no hole anywhere. I shot again with same hold and no hole! So I loaded up, walked to 25 yards and shot offhand. The shot was 12 o'clock in the nine ring! So I went back to the bench at 50 yards and proceeded to put 5 shots into the 10 and 9 rings. The owner came over and I loaded him up. His first shot was a ten. His second, third, and fourth shots were 10s and 9s. I fired 2 offhand and they were 3 and 4 o'clock in the 8 and 7 rings and the owner fired 2 and they were 2 o'clock in the 7 and 6 rings. There was a strong wind blowing left to right that made off hand shooting a challenge. Anyway, he has very little work to do zeroing in with the load we used, which was 85 grains 2F powder, 0.020" thick patches lubed with ballistol and water, and 0.595" balls. He went home a very happy man. He will b ready for our first woods walk next weekend.

L0GZiJp.jpg


dave
 
I enjoy watching you build dave, I can’t figure out how you keep your shop so clean as you work, mines a train wreck just making a horn!
Train wreck workshop! Mine is so small its a permanent tip . All these super tidy work shops astound me but at least its better than my first workshop in a cellar that periodically flooded from spring water . I worked in gum boots so the fileings fell onto them and once dry again I had red gumboots like Paddington Bear . At least any dropped parts couldn't bounce far .Its 'Reemarkable' how far a dropped part will bounce . A shy three foot drop shouldn't allow a part to bounce much but it does anyway. And its also 'Reemarkable' how fast a tidy up grows back to a jumble . When I 'wintered' in the US I took some needle files .taps & dies a few drills and the useual small carveing chisles . Most customers had the basic saws & benches with a vise & I made a good few guns on that basic plan I used to check out the flea markets for files selling for peanuts but many quite excellent . A far cry from Dave's set up but needs must.
Regards Rudyard
 

Latest posts

Back
Top