• Friends, our 2nd Amendment rights are always under attack and the NRA has been a constant for decades in helping fight that fight.

    We have partnered with the NRA to offer you a discount on membership and Muzzleloading Forum gets a small percentage too of each membership, so you are supporting both the NRA and us.

    Use this link to sign up please; https://membership.nra.org/recruiters/join/XR045103

building new .30

Muzzleloading Forum

Help Support Muzzleloading Forum:

This site may earn a commission from merchant affiliate links, including eBay, Amazon, and others.

razorbritches

40 Cal.
Joined
Jan 10, 2012
Messages
116
Reaction score
3
Home again finally, and I decided to build another of my .30's
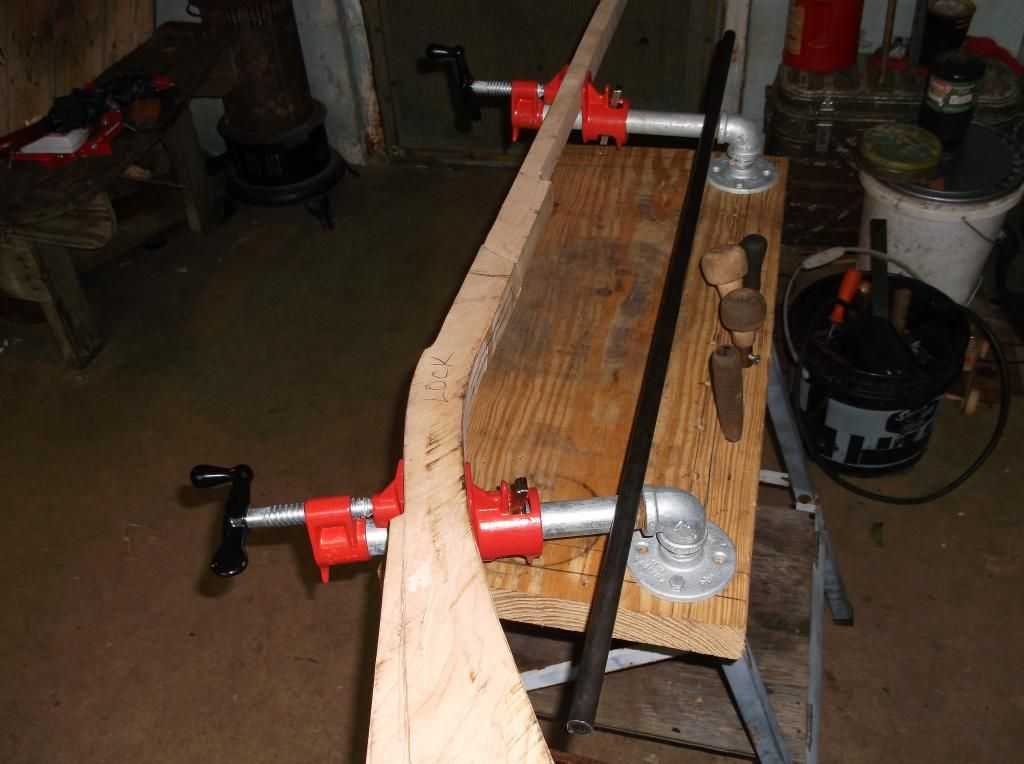
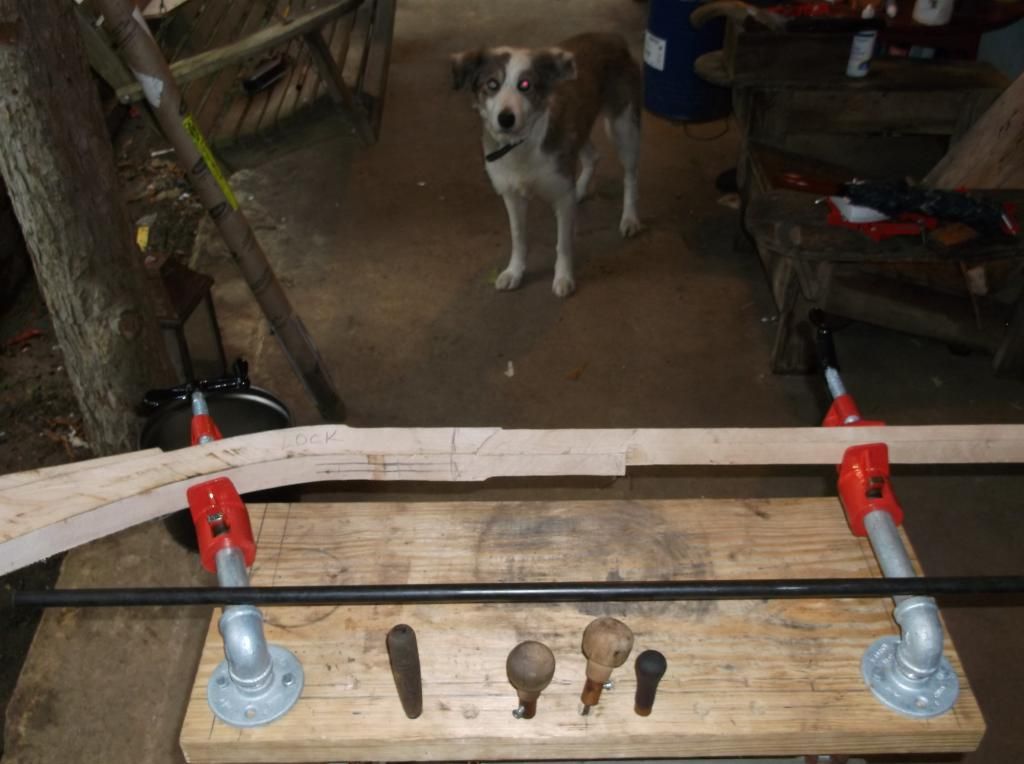
Had to work on my Harbor Freight work bench, I have rebuilt it several times, we will see how this works. So here we are me and Claude the wonder dog watching it rain and whittling away.
 
clever arrangement of the clamps! looks as though you can get a really good grip on the work ...

nice design!

(I like the dog, too)
 
barrel is 40" inches and the lock is a large siler I picked up off the trade blanket lightly used for $50
 
I really like your clamp/vise arrangement. Remembering my Scott heritage (read cheap) I have to try that . I can already see making one that would have adjustable distance between clamps. Now where did I put all those pipe fittings? That is near genius , on your part not mine.
 
Also, you can't call Claude the wonder dog without telling us about him too... Yeah, that barrel looks a bit round to me too, but I'm working with a small screen so could be VERY wrong.
 
I agree about the dog. I "spotted" his keen red eye observing the project. I was wondering if he had a small amount of labrador in him? That way....(ready?) you could post "The LAB" report on the project somewhere down the road!!

Dave

:doh:
 
I already have a line of properly spaced holes pre-drilled to adjust the distance between the clamps. And yes the barrel is round because I generally work with tube.
 
Claude is part mutt and part traveling salesman and probably the most crack-tastic dog we have ever owned. He positively loves guns, loves them so much we have to tie him when we target shoot cause he is down by the target trying to catch what we shot. He is staying close to the gun project so he won't miss anything when we shoot it.
Here is the progress for the day, because I decided to go with all copper fitments I decided to sleeve the first 12" inches with a 1/2" inch copper repair coupling, and filed in the top 5 flats. I put the sights on while I was at it along with the under-lugs and re-inlett it all in.
The sleeve was so close of a fit the barrel had to be polished with emery paper and put in the freezer to shrink it, and the sleeve was cleaned and heated to expand it. The fit was so close they still had to be tapped together, when the temperature stabilized they locked together.
 
Absolutely gorgeous!! I am amazed at both the beauty of the rifle and the ingenuity used. I would usually say more but, I am at a loss for words. :haha:
 
Hate to say it.....but I think you put the front sight on backwards... :idunno:

I will have to say, this is the 1st copper sheathed gun I have ever seen :shocked2:

Marc
 
My cheap Harbor Freight workbench needed to be rebuilt again, it was on about the 4th incarnation. Rather than try to fix it to work like it always did I decided to try something a little more durable, 2 x 12 top and two 3/4" carpenters pipe bar clamps. I did not forsee that they would rotate side-to-side and was a little concerned, but once you have something clamped they are rock steady. The fact that they will clamp an angled piece like a gunstock on it's side is just a bonus. We will see haw it works out in the long run.
 
Back
Top