• Friends, our 2nd Amendment rights are always under attack and the NRA has been a constant for decades in helping fight that fight.

    We have partnered with the NRA to offer you a discount on membership and Muzzleloading Forum gets a small percentage too of each membership, so you are supporting both the NRA and us.

    Use this link to sign up please; https://membership.nra.org/recruiters/join/XR045103

building secrets?

Muzzleloading Forum

Help Support Muzzleloading Forum:

This site may earn a commission from merchant affiliate links, including eBay, Amazon, and others.
many of you may already know this,and i hope i'm not breaking any rules,but there is a wealth of knowledge and tutorials on this other site.www.americanlongrifles.org i just found it and the talent level of some of these guys is just amazing.
This is in NO Way meant to belittle or downgrade this sites contributors.
 
Last edited by a moderator:
I can't have a link to American longrifles dot org. on here ,I guess.Seems like alot of others have links ? Oh well.
 
It shouldn't be a secret but it bears repeating "keep your tools sharp". There is nothing that will ruin and inlet, cut you, splinter wood, skip off and gouge in and make a mess of wood quicker than dull tools. This also applies to metal, dull drill bits, cloged files all can make for problems.
 
Amen to that. Take the time to learn how to sharpen tools. There are right and wrong ways to everything, and sharpening tools is no different. Maintaining the proper angles. Not over heating them on powered sanders and grinders. Not looseing the profile of the various gouges and other shaped tools. Heck, you could do a whole thread on tool care.

It has been mentioned already, but again, if you know an experianced builder within driving distance make a visit or two. The hands on guidance of someone with experiance is priceless. I am very lucky in having a friend Jack Defibaugh that is an accomplished scratch builder. He is a direct decendant of the Lancaster/Bedford Defibaugh family. He has obviously taken to the old family tradition. I am to go shooting with him this monday evening. I plan to have a camera on hand to snap a pic or two of his work. He is the feller I have mentioned before that has no internet or digital camera. But, his rifles are top notch. A mentor is a big help.
 
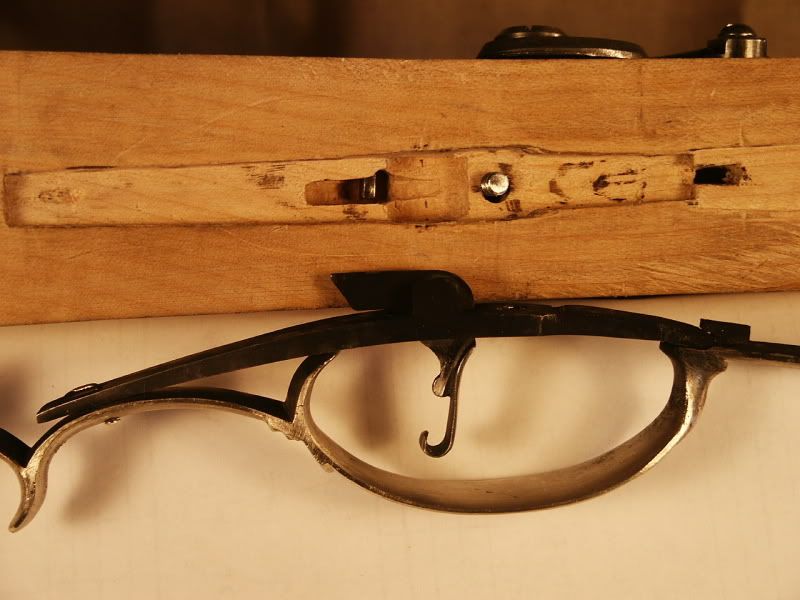
I now have the trigger and guard and butt plate inletted and am slimming the wood to shape. My guard is Track's TG-MA-92-S and the trigger is TR-York-TP. I riveted the rear end of the trigger plate to the guard (this is a temporary rivet, a small brad) and soldered a 5/16" extension on the front to move the trigger back in the guard for more gloved finger room. (Monica will be hunting deer with this .50 in Michigan). I notch the front guard lug to hold the plate in place. Then I cut the lug off to clear the ramrod. This way the ramrod can go back to the tang bolt, another 1 1/4", that much longer than the bore without sticking out in front of the muzzle. The tang bolt holds the whole assembly in, but I also pin the rear guard tang into the wood.
JolleyTrigger.jpg

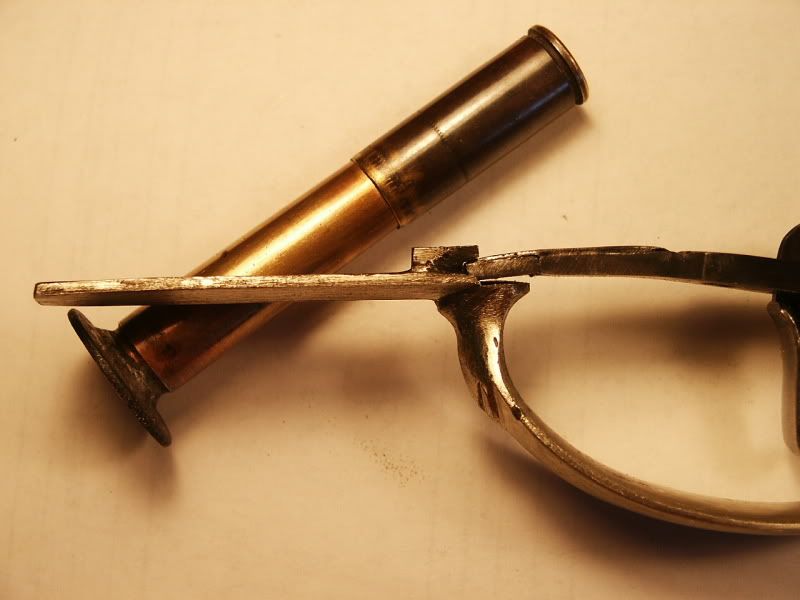
Closeup of the notch. The case has a wick and kerosene in it, a soot lamp for blacking parts for inletting.

JolleyTriggerFront.jpg

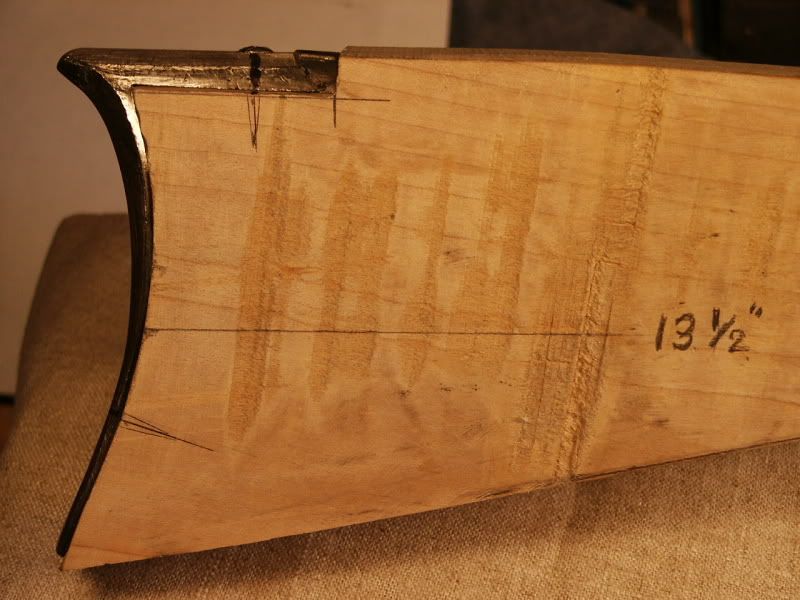
Now that the trigger is in, the length of pull is established by fitting the butt plate. I mark the outline of the BP on the wood and saw it with a 14 TPI blade hacksaw.

JolleyBPSide.jpg

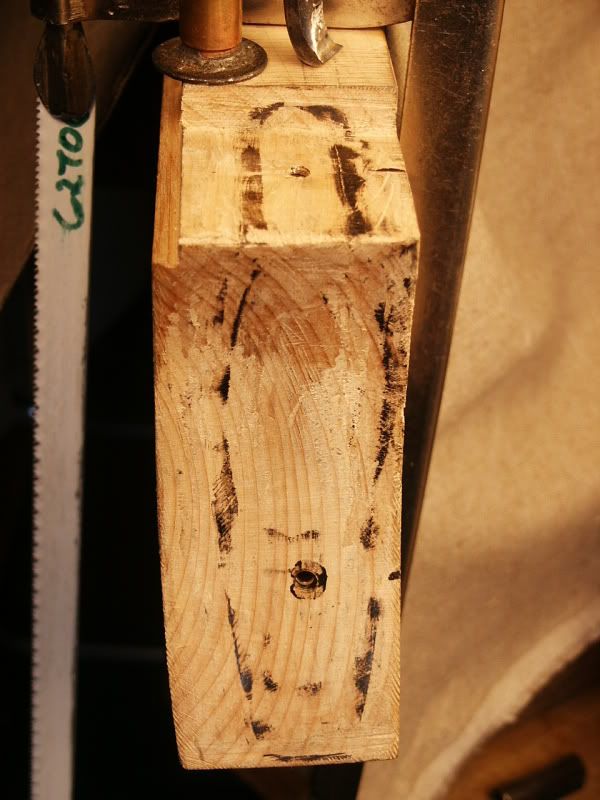
The black high spots are pared down with a screwdriver-scraper, seen at top.

JolleyBPFitClose.jpg

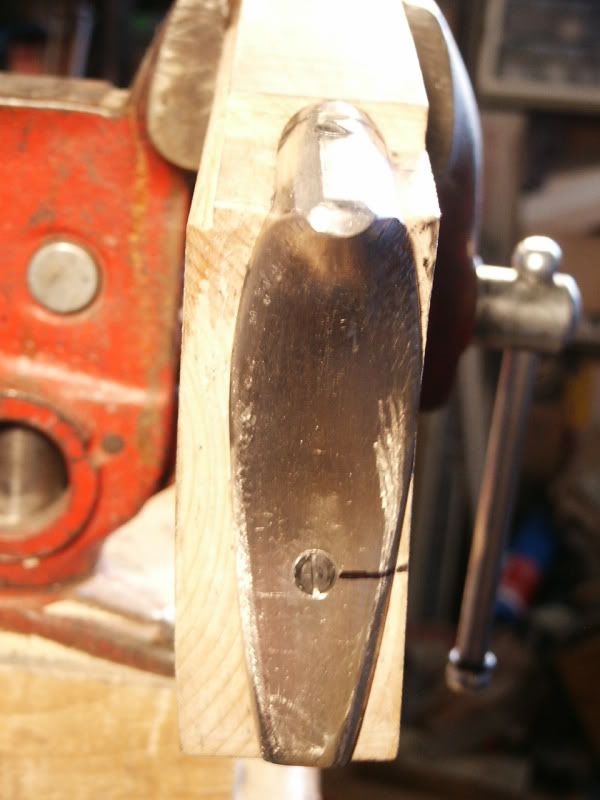
Any gaps at the edges are hammered down with a ball peen hammer. The toe was away, so I put it in a vise and carefully bent it flat. I set the plate to the side for cast off.
JolleyBP.jpg


To remove excess wood, I use a 3/4 inch curved gouge and mallet, followed up by a Surform rasp, then a cabinet rasp and double cut file.
 

Latest posts

Back
Top