Finally finished my Haines .50 cal B-weight and test-fired a dozen shots through it last weekend. What a blast - can't wait to take it to the range and play around with adjusting the sights and optimal charge.
Thanks to all who provided sage advice during my first build - it was much appreciated.
My goal in this project was to create a functional muzzleloader that I could actually fire and would feel comfortable hanging in my house. While I am a decent woodworker, my skills with inlays and engraving are amateur-level at best. I had never done engraving before and wanted to try my hand at it. I live 13 miles from Culpeper VA and wanted to pay a bit of tribute to the Culpeper Minutemen by engraving their motto and rattlesnake logo on a cheek piece. You can see their flag by looking up Culpeper Minutemen on Wikipedia.
One thing that was quickly hammered home during this project was the fact that gun building - at least building one of the these long rifles - is a monolithic project. In other words, unlike a chair or table where if I screw up I can simply cut another leg or slat, every part of the gun attaches to a single piece of wood and there are artistic and functional concerns at each step that offer plenty of opportunity for error. Because of this, it was probably the most nerve-wracking thing I've ever built, and you can get a sense of the quality of stuff I normally do from my facebook page.
In any case, below are some pictures for your perusal and comment. I used Express Blue #1 for the lock and barrel and was extremely pleased with the results. Alchohol-based orange toner and dark brown stain, with 7 coats of Tru-Oil.
I think I got the basics right - while I am happy with the overall appearance, I can use more practice with inletting and engraving.
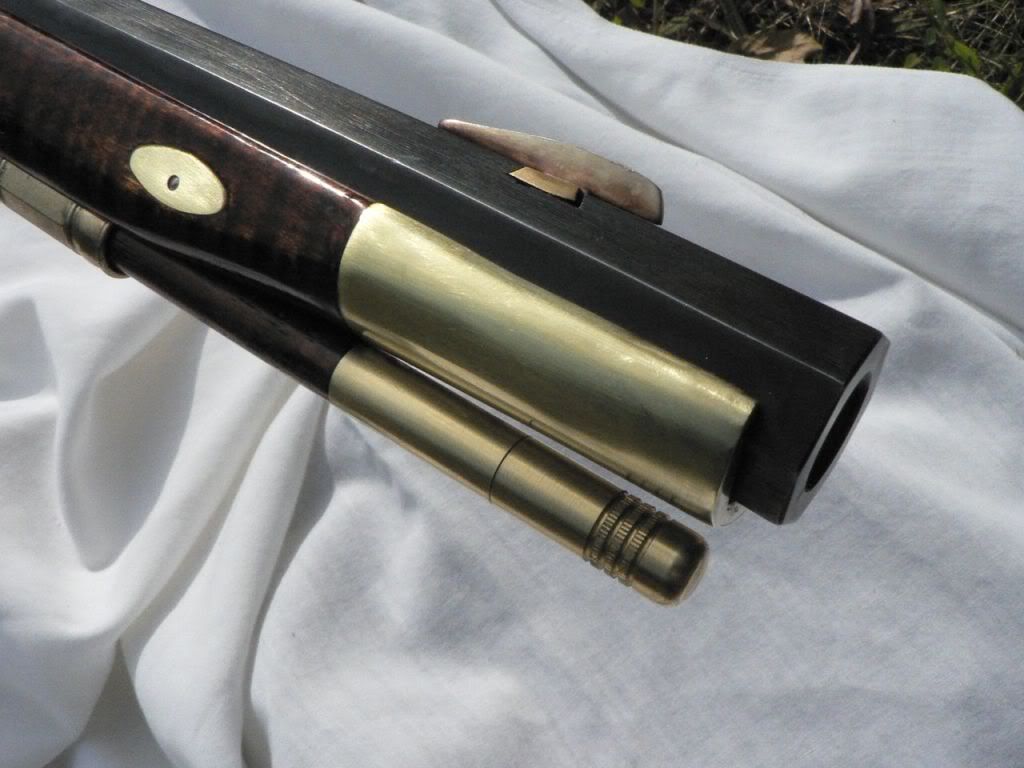
I built the nosepiece myself. The one that came in the kit I considered to be of insufficient length.
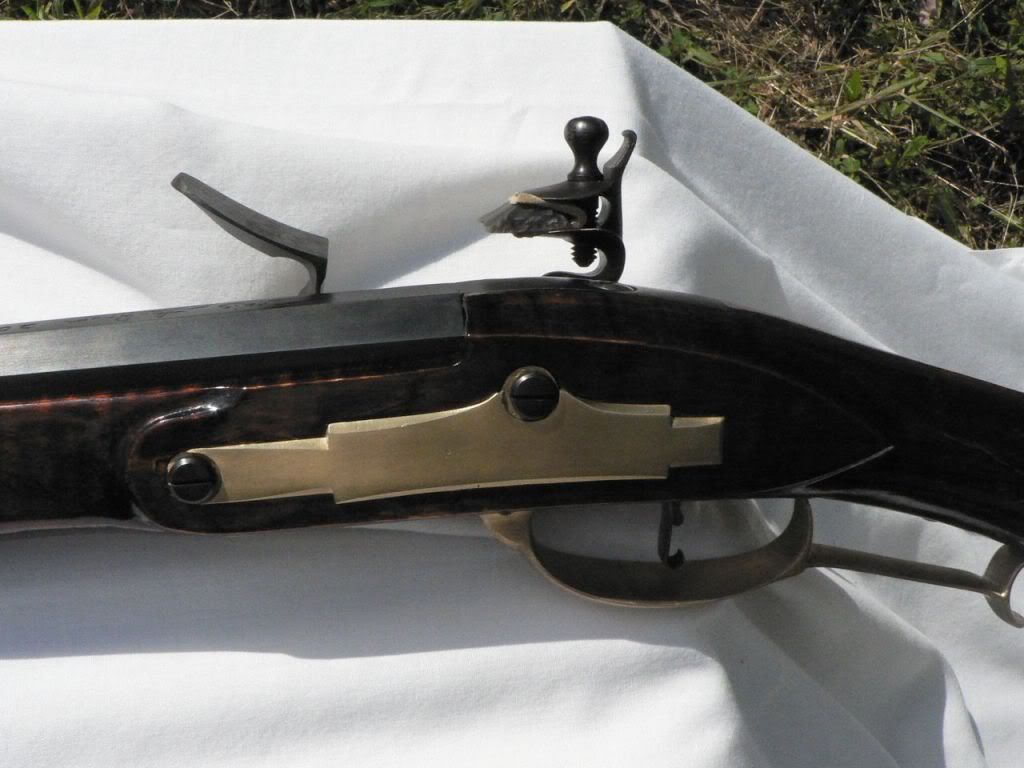
Lockplate area. Pic does not do justice to the quality maple.
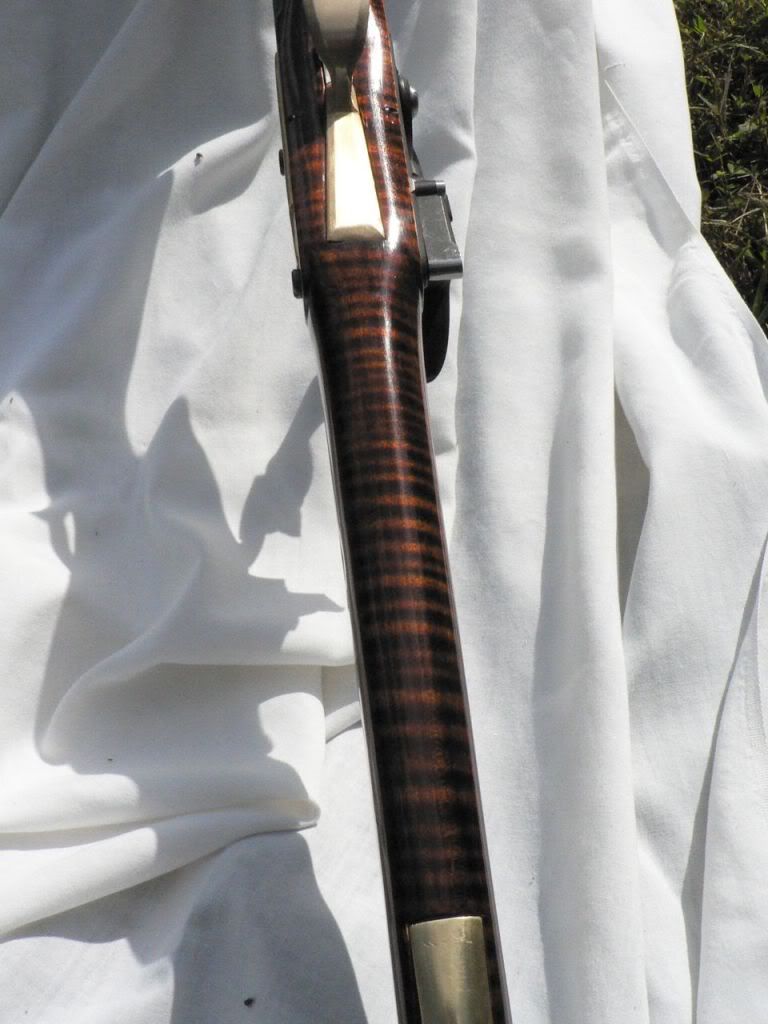
Underside of forestock. Better pic of the maple quality.
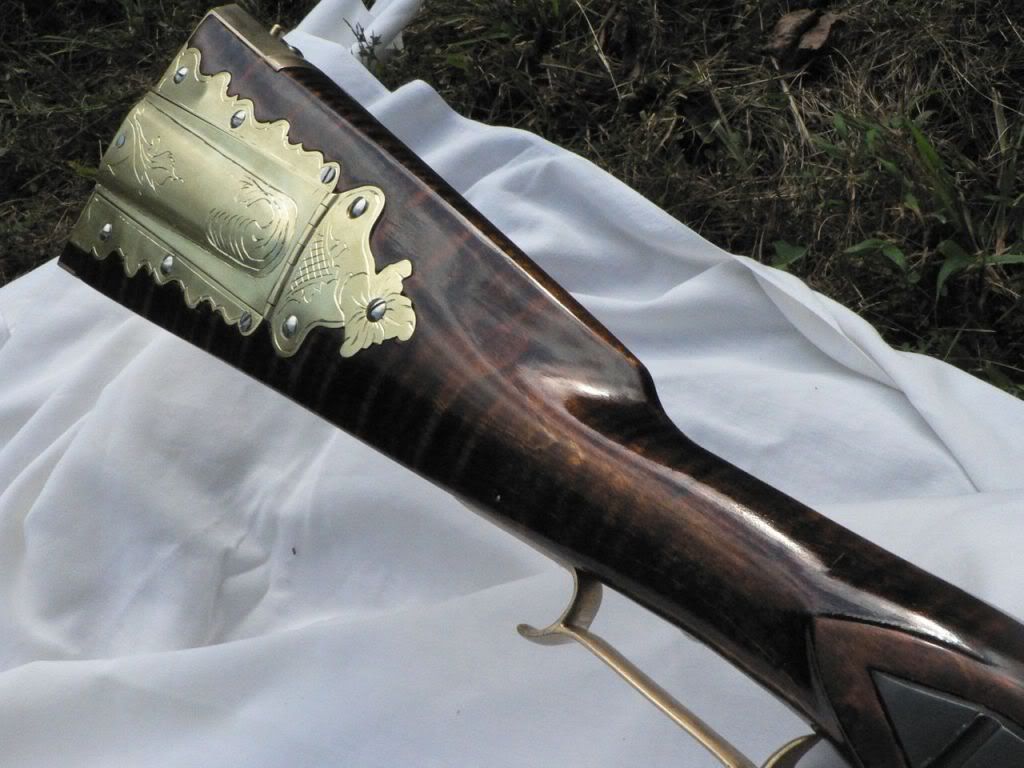
Patchbox area. What a pain it was to install it on that curved stock. Uses a button release pressed from the top of the butt.
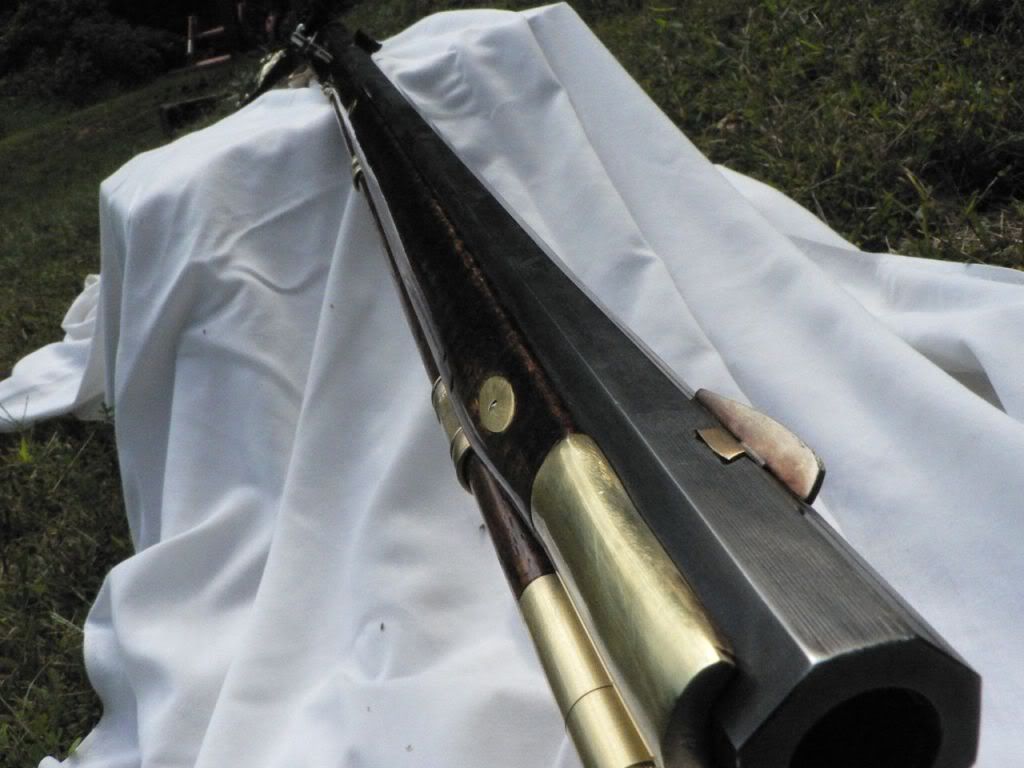
Looking down the barrel. Day was overcast, dulling that maple again.
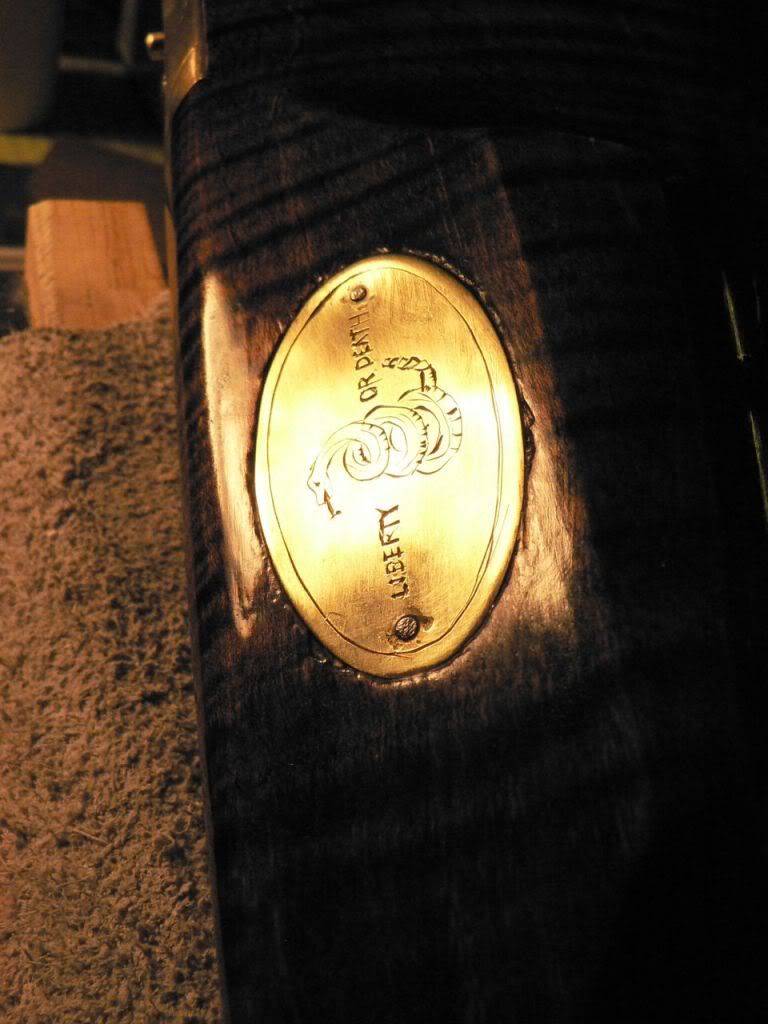
My functional but poorly inlet tribute to the Culpeper Minutemen.
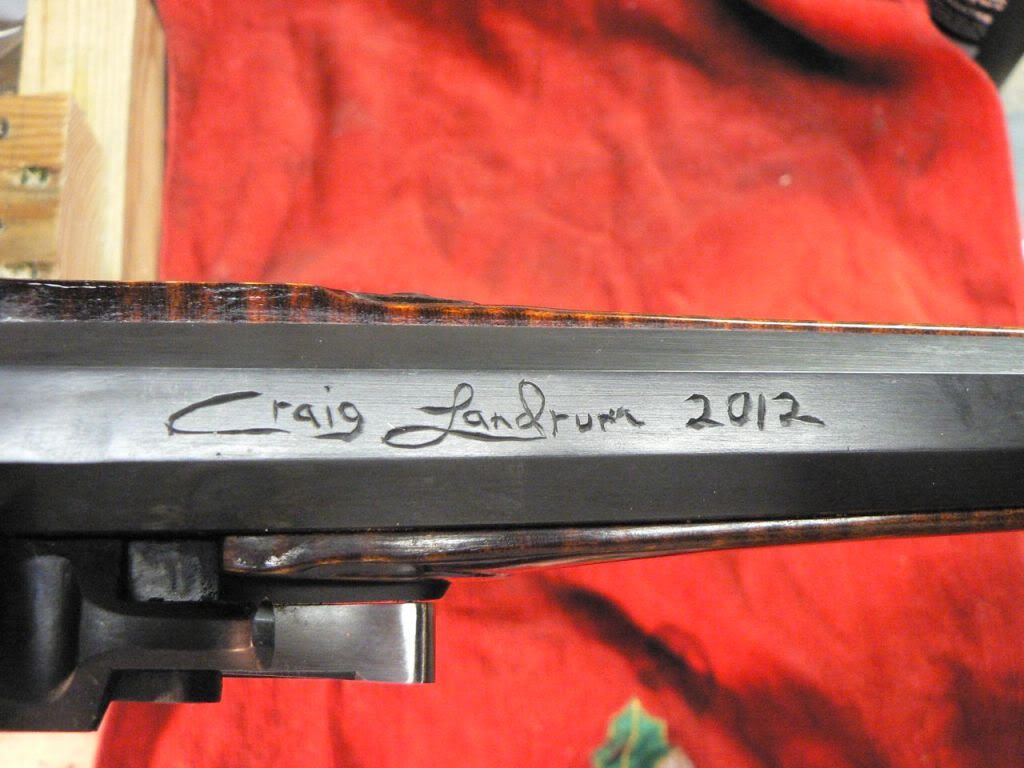
After engraving this, I'm lucky I can still spell my name.
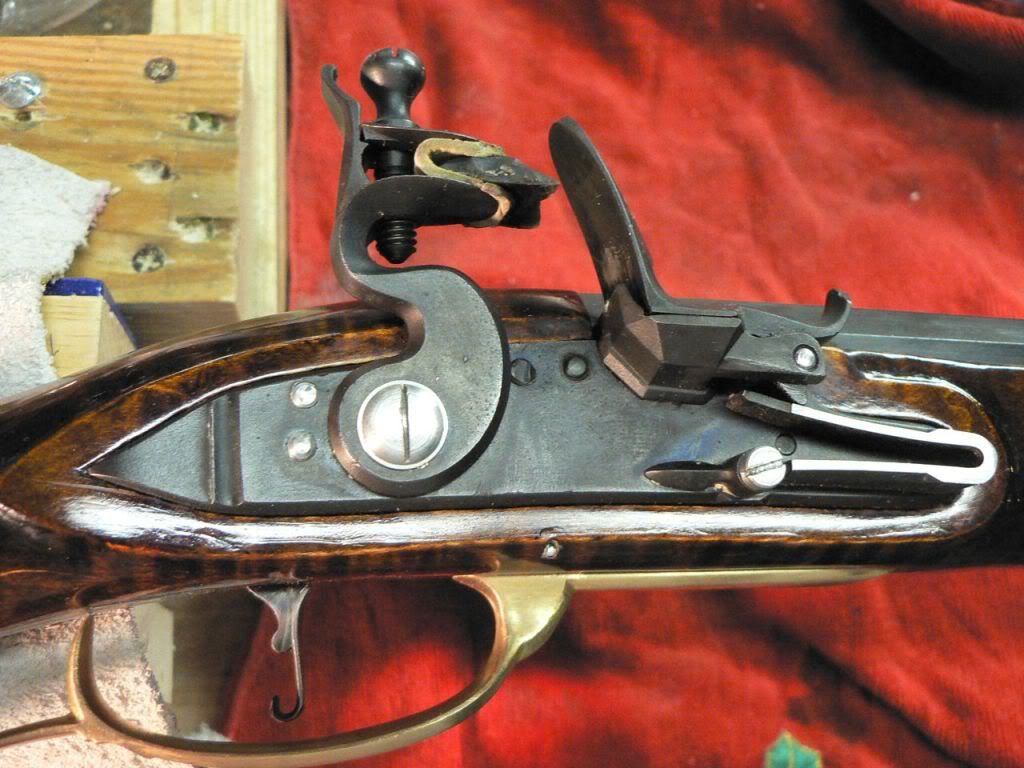
Lock area. The mostly-inlet lock area in the stock from Dunlap I considered to be a bit to large and it was tough to avoid gaps around the edge. Functional inletting at best.
I have additional pics from the build, but will spare you
Comments welcome.
Thanks to all who provided sage advice during my first build - it was much appreciated.
My goal in this project was to create a functional muzzleloader that I could actually fire and would feel comfortable hanging in my house. While I am a decent woodworker, my skills with inlays and engraving are amateur-level at best. I had never done engraving before and wanted to try my hand at it. I live 13 miles from Culpeper VA and wanted to pay a bit of tribute to the Culpeper Minutemen by engraving their motto and rattlesnake logo on a cheek piece. You can see their flag by looking up Culpeper Minutemen on Wikipedia.
One thing that was quickly hammered home during this project was the fact that gun building - at least building one of the these long rifles - is a monolithic project. In other words, unlike a chair or table where if I screw up I can simply cut another leg or slat, every part of the gun attaches to a single piece of wood and there are artistic and functional concerns at each step that offer plenty of opportunity for error. Because of this, it was probably the most nerve-wracking thing I've ever built, and you can get a sense of the quality of stuff I normally do from my facebook page.
In any case, below are some pictures for your perusal and comment. I used Express Blue #1 for the lock and barrel and was extremely pleased with the results. Alchohol-based orange toner and dark brown stain, with 7 coats of Tru-Oil.
I think I got the basics right - while I am happy with the overall appearance, I can use more practice with inletting and engraving.

I built the nosepiece myself. The one that came in the kit I considered to be of insufficient length.

Lockplate area. Pic does not do justice to the quality maple.

Underside of forestock. Better pic of the maple quality.

Patchbox area. What a pain it was to install it on that curved stock. Uses a button release pressed from the top of the butt.

Looking down the barrel. Day was overcast, dulling that maple again.

My functional but poorly inlet tribute to the Culpeper Minutemen.

After engraving this, I'm lucky I can still spell my name.

Lock area. The mostly-inlet lock area in the stock from Dunlap I considered to be a bit to large and it was tough to avoid gaps around the edge. Functional inletting at best.
I have additional pics from the build, but will spare you
Comments welcome.


