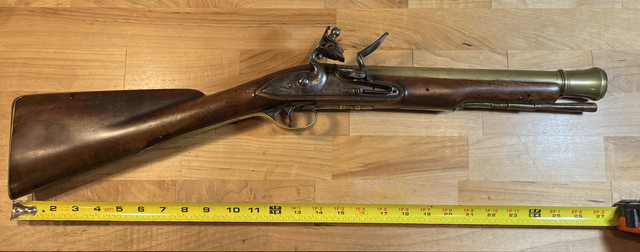
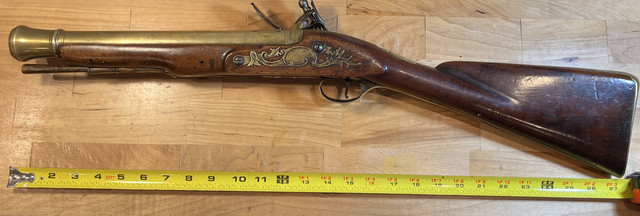
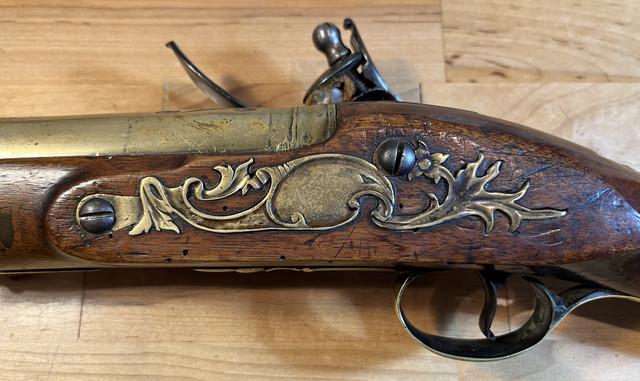
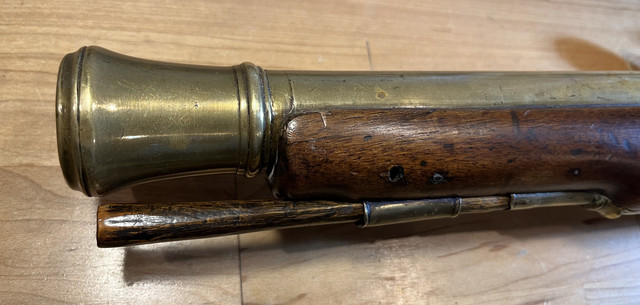
Copy of an original blunderbuss

Muzzleloading Forum

Help Support Muzzleloading Forum:

This site may earn a commission from merchant affiliate links, including eBay, Amazon, and others.
Ran the proof test today. First proof was 473 grains of 1F powder, 315 grains for the second test. Both pushed 2,100 grains (~5 oz) of lead shot. I set it off electrically each time. Just to give you a feel for how large the charge and shot column were, on the first test they took up 7 inches of a 12 inch barrel. The second proof charge took up 6 inches. Here is the set up and the video of the test......This is the same video just cropped so you can see it better. And then a picture of the post test inspection. All the original barrel diameters were the same both before and after the test.
 

Attachments

  • IMG-3694.jpg
    IMG-3694.jpg
    2.1 MB
  • IMG-3700 copy 2.mov
    2.4 MB
  • IMG-3700 copy.mov
    8.2 MB
  • IMG-3700.MOV
    21.7 MB
  • IMG-3708.jpg
    IMG-3708.jpg
    1.5 MB
Ran the proof test today. First proof was 473 grains of 1F powder, 315 grains for the second test. Both pushed 2,100 grains (~5 oz) of lead shot. I set it off electrically each time. Just to give you a feel for how large the charge and shot column were, on the first test they took up 7 inches of a 12 inch barrel. The second proof charge took up 6 inches. Here is the set up and the video of the test......This is the same video just cropped so you can see it better. And then a picture of the post test inspection. All the original barrel diameters were the same both before and after the test.
Thank you, thank you.
Great stuff.

Given your field and location, why didn't you test fire with just wadding,,,, but put it muzzle down and see how high you could male it go?


Just kidding.
Great work sir.
 
Tejano.......sorry I missed seeing your question. Can you send me any kind of a picture of the part you are missing ?
Howdy Super Dave!
I located the "Conch Shaped" Hinged Brass Patch Box Cover on a Dealer's website and it's identical! It also happens to be on a Belgian Percussion Blunderbuss so I'm extremely optimistic! The Following Link will hopefully take you directly to the "Object" of my Lust! www.collectorsarmoryca.com
"Unusual Belgian Percussion Blunderbuss With Duck's Billed Muzzle."
Thank You Kindly! I sincerely appreciate Your Time, Trouble and Patience Amigo! I am not in a Rush so Please take a look at your earliest convenience!
Be Well,
Tejano Libre
 
Wow, that’s impressive! How does the remote ignition system work?
Jstroke,

I just use an electric match (which I use in rocket propulsion testing and they are used by the thousands in the fireworks / pyrotechnics industries) to set off powder at the touch hole on the barrel. Here is a picture of the electric match before I secure it with tape.....The match is fired with a battery powered firing box and through the long firing cable you can see in the foreground...
 

Attachments

  • IMG-3698.jpg
    IMG-3698.jpg
    2.4 MB
Jstroke,

I just use an electric match (which I use in rocket propulsion testing and they are used by the thousands in the fireworks / pyrotechnics industries) to set off powder at the touch hole on the barrel. Here is a picture of the electric match before I secure it with tape.....The match is fired with a battery powered firing box and through the long firing cable you can see in the foreground...
Thanks David. I’ve always wondered what the safest way was to test a barrel.
 
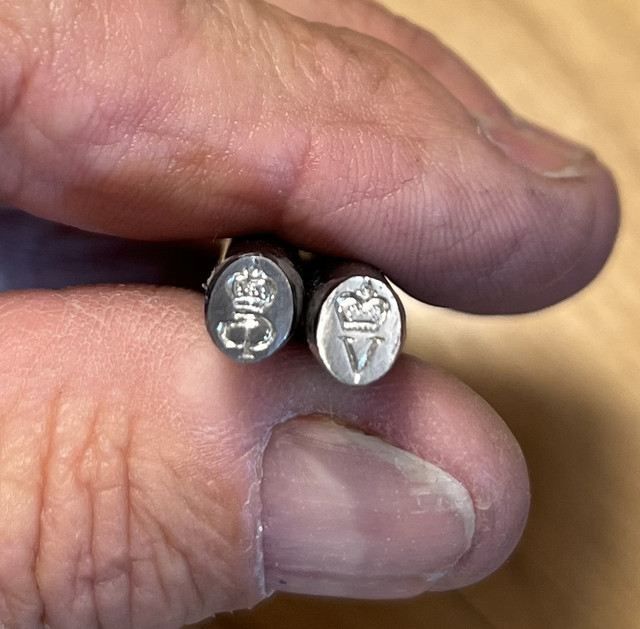
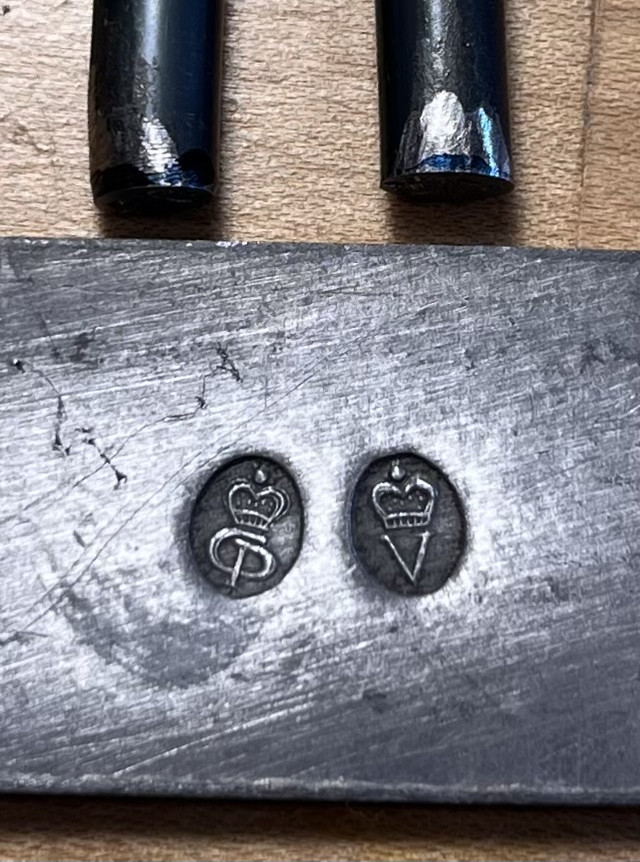
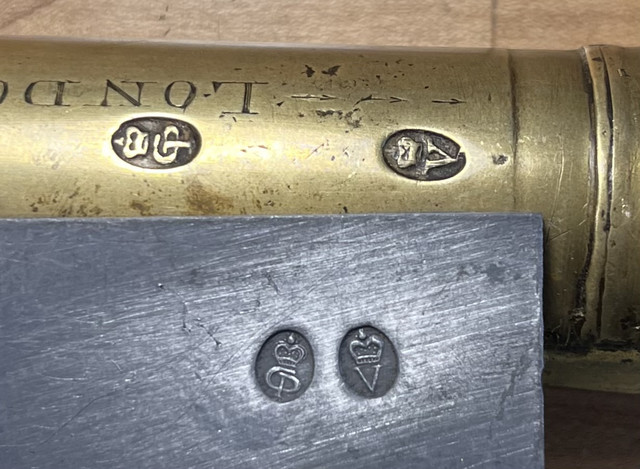
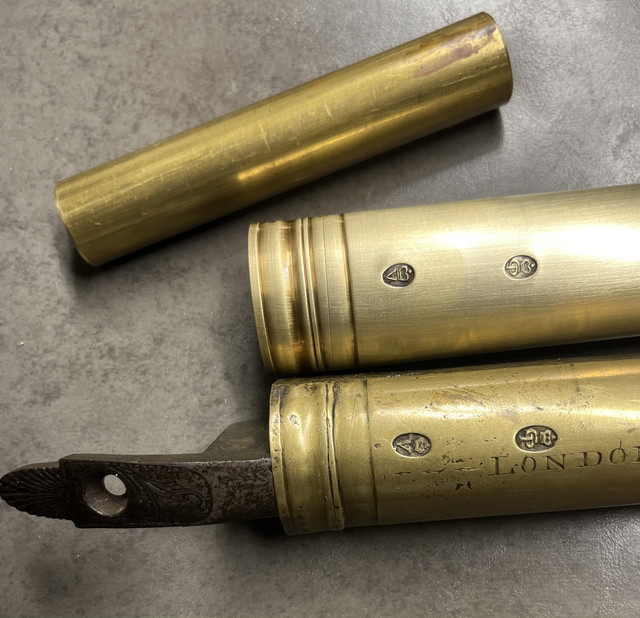
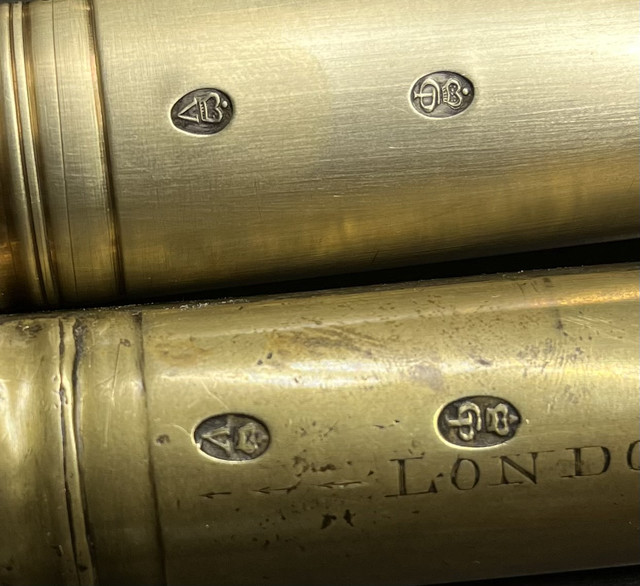
The fellow that commissioned this duplication of a blunderbuss asked if I could mimic the original proof marks and I said I would give it a shot. Now that the barrel has been proof fired, I spent some time trying to duplicate the original proof mark tools. I have a set I purchased from Track of the Wolf some time ago but they are 1) really too large and 2) they are made in reverse....they stamp the design into the metal rather than "coining" the design so that it is raised above the back surface in a small cartouche. So I dressed down a couple of pieces of W-1 drill rod and started in with a graver. These oval tools are not much bigger than a quarter inch in the long axis so it's tiny work but I think they came out OK. I changed the design enough so that, in the future, no one knowledgable would mistake the marks for originals from the 18th century. I may need to do some additional refining but so far so good.....

Tools.......


Struck in lead.......


Lead compared to original barrel marks.....

 
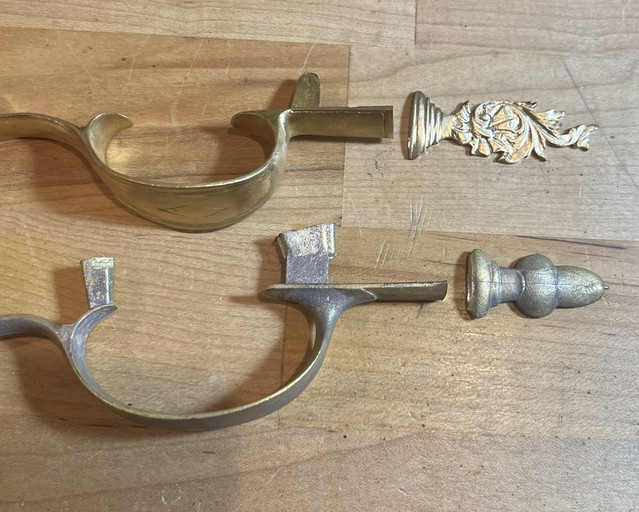
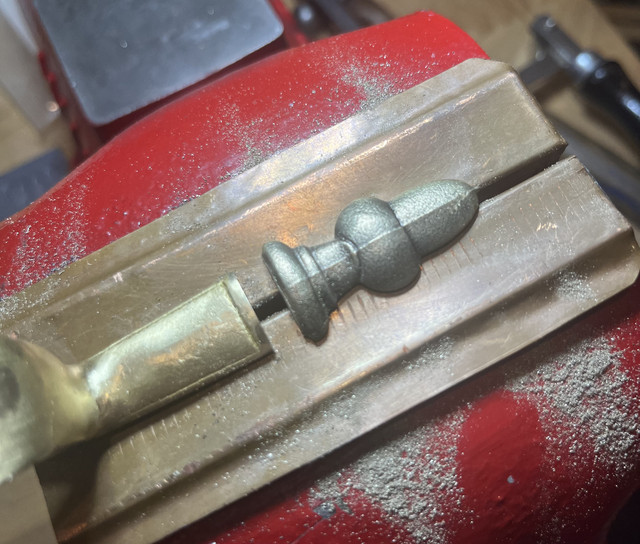
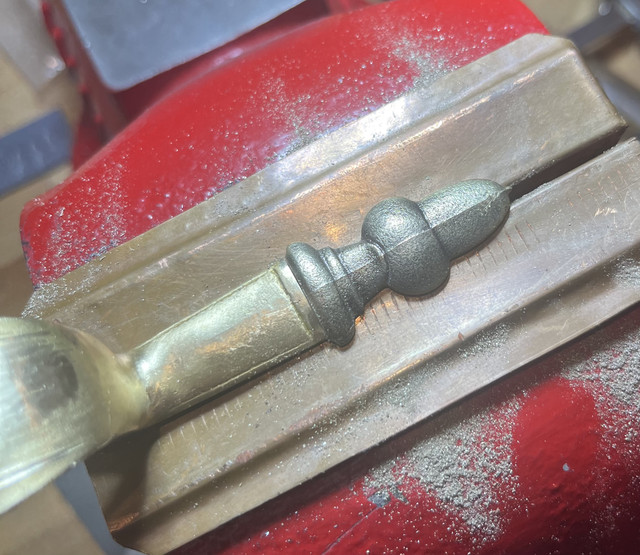
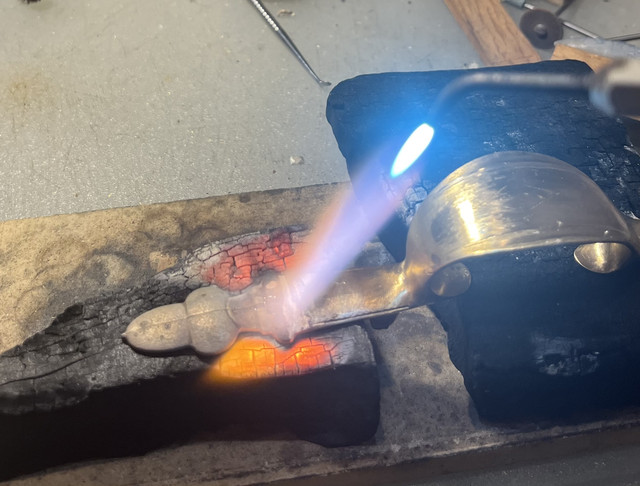
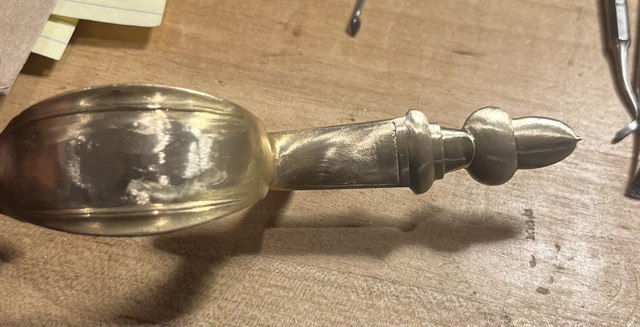
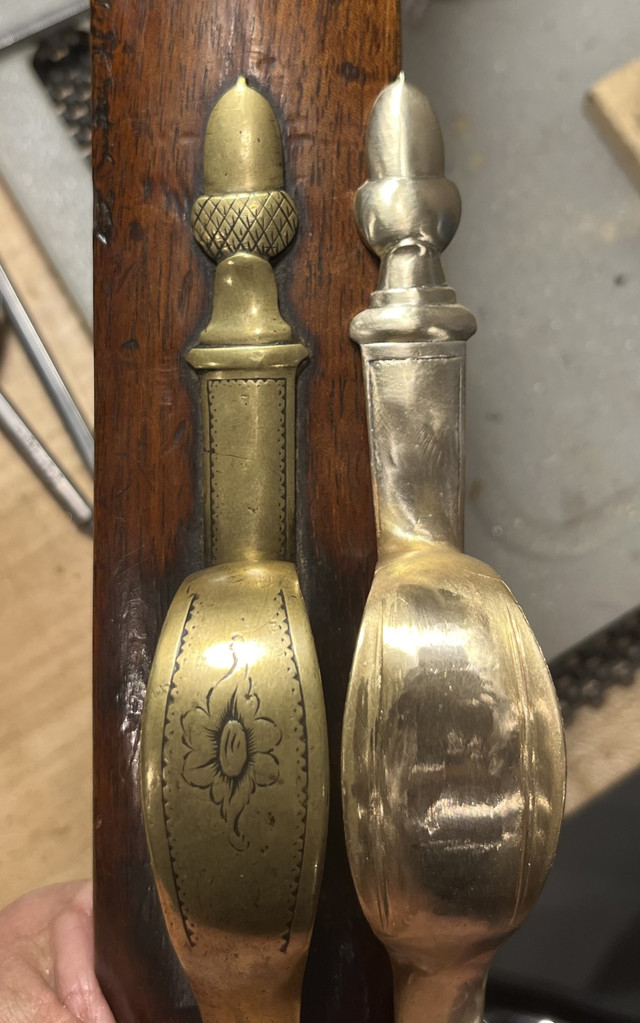
OK....so after looking at it lying on the bench for a couple of weeks, I decided that the trigger guard that was the correct shape really had a finial that was too elaborate for the rest of the gun. I had another trigger guard that had the right finial but was the wrong size and shape.....so I did this......


After silver brazing with brass colored braze alloy, I reshaped the finial to (close enough) match the original guard......


Took a deep breath, put a brass mandrel inside the bore, and used my press and new proof mark tools today......If I mess this up the barrel is a write off...... :-\

But I didn't mess it up !!!!! Came out great :) ;)


Howdy Amigo,
Absolutely outstanding craftsmanship without a single doubt!
So I guess that your learning how to make "Antiques!"
I asked a Client of mine what he did for a living and he said, "I make Antiques in China!"
At that particular moment I thought, what a ******* *******! Then I thought about it.
He doesn't tell anyone that he just Created the Antiques so Yes, an absolutely complete *******!
Eventually I almost laughed! Almost!
And I have been learning how to create "Verdi Gris." 100's of years of Patina!
Be Well,
RG
 
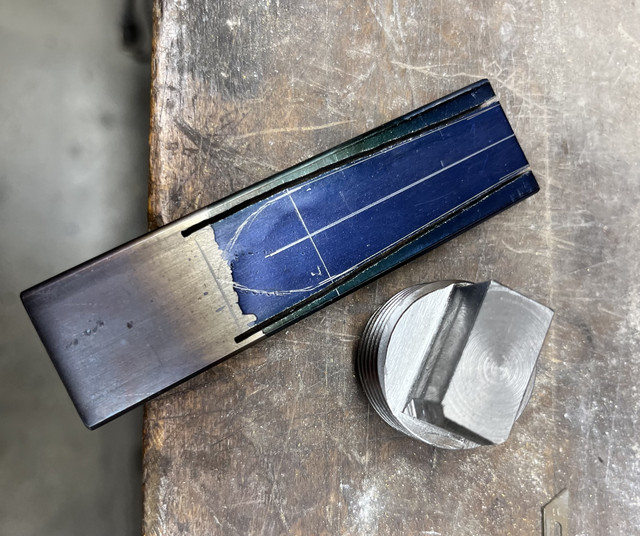
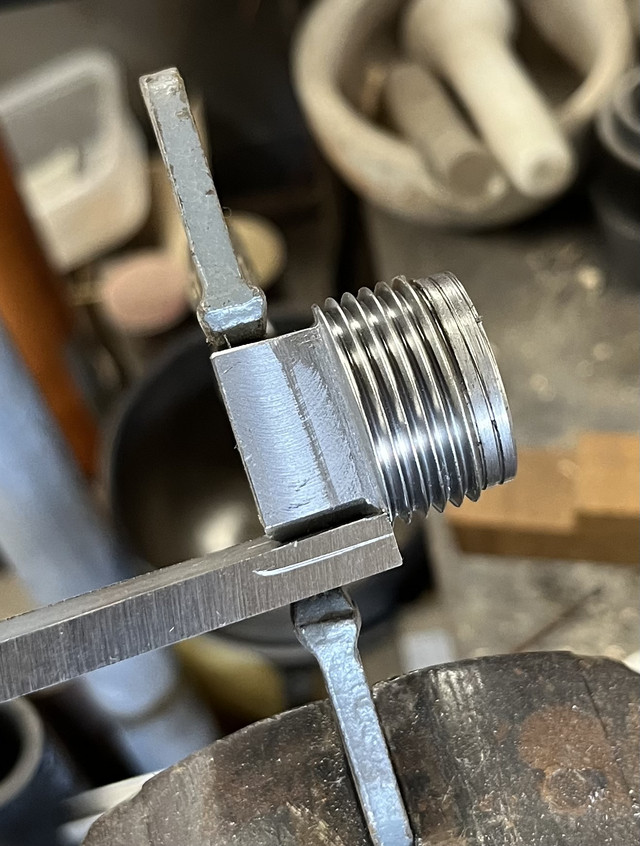
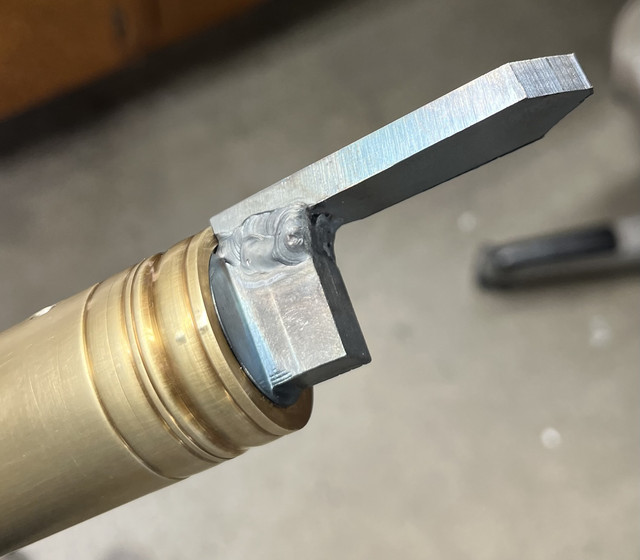
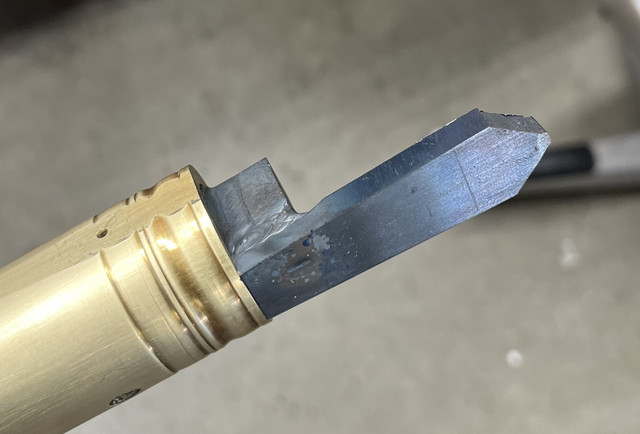
Wanted to finish assembly of the two piece breech plug today. The barrel is tapped 1 1/8"-12 and I had machined a plug to use during the machining of the barrel. It was the same plug I used during the proof firing. Once the barrel tapering and proofing was done I decided to use a part of the same plug for the final breech plug. I cut the threaded plug short and then prepared a stub that the barrel tang would be welded to. Not filed to final thickness and shape but here is the assembled plug. (I actually used this technique to make the breech plug for my first long rifle in 1970.)


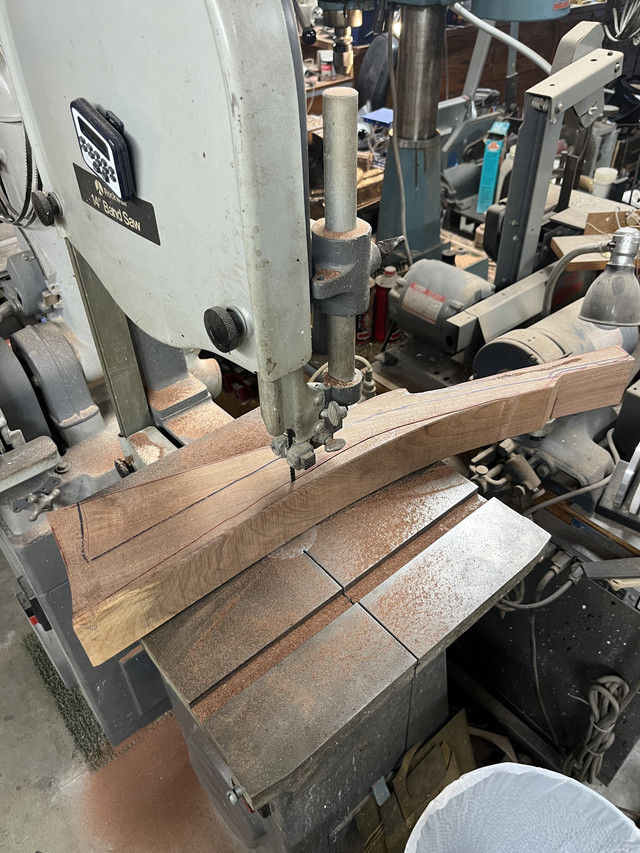
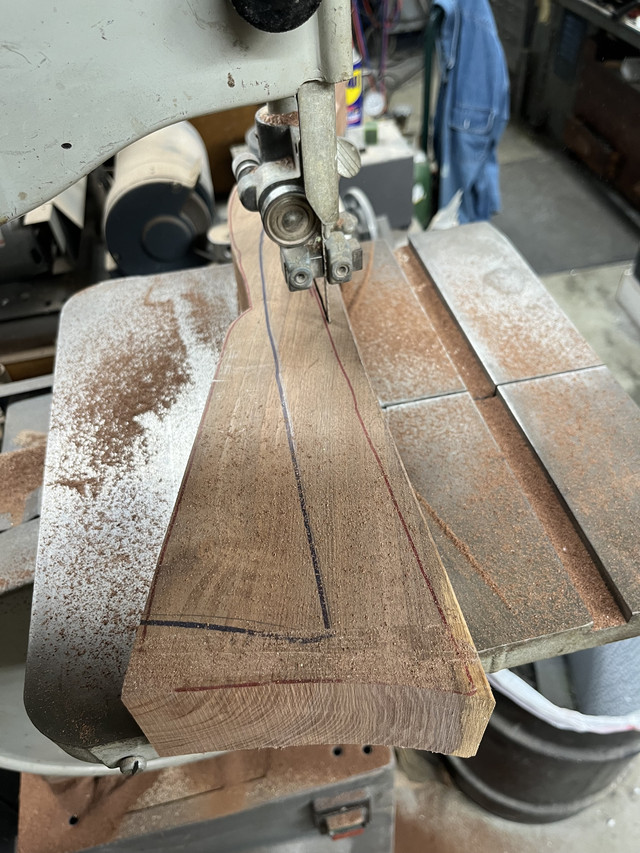
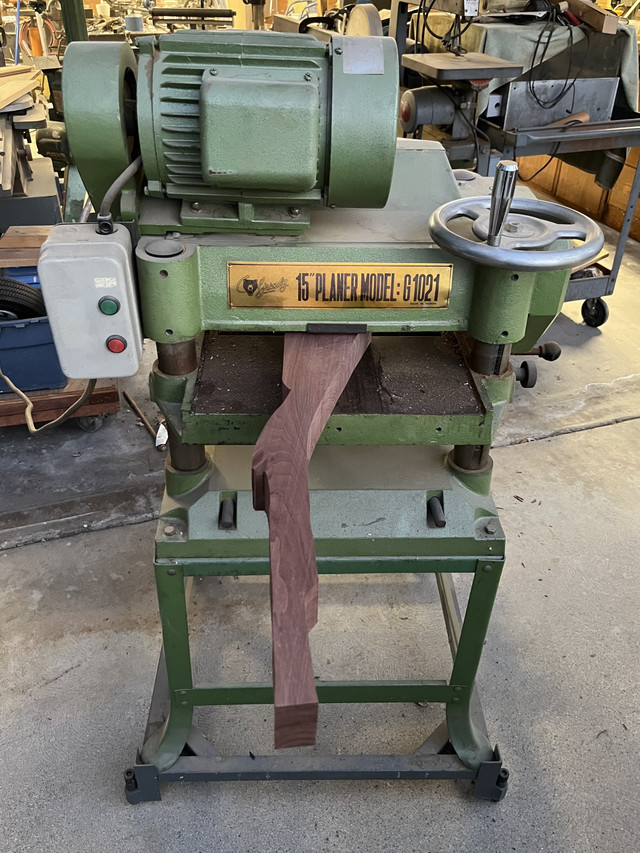
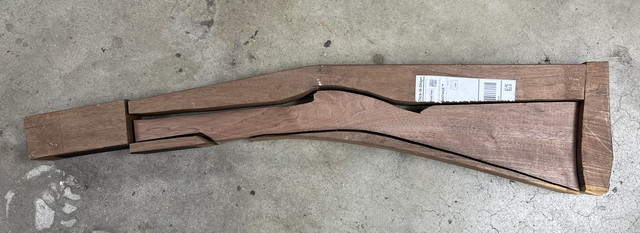
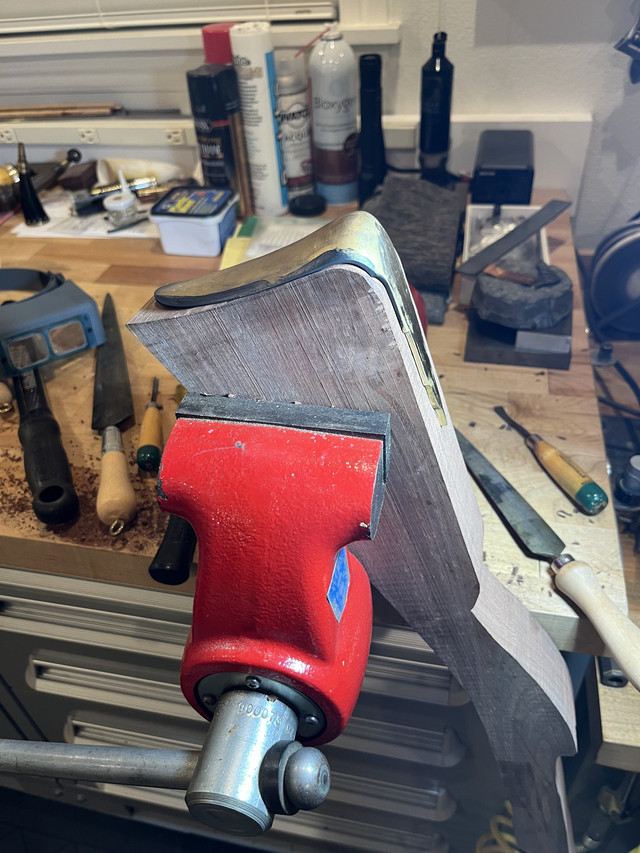
Then I started in on the stock wood. Band saw and then planer .....finally released a blunderbuss stock blank from the plank....


Latest posts

Back
Top