Dixie Hawken

Muzzleloading Forum

Help Support Muzzleloading Forum:

This site may earn a commission from merchant affiliate links, including eBay, Amazon, and others.

kruzer1

40 Cal.
Joined
Aug 15, 2010
Messages
204
Reaction score
42
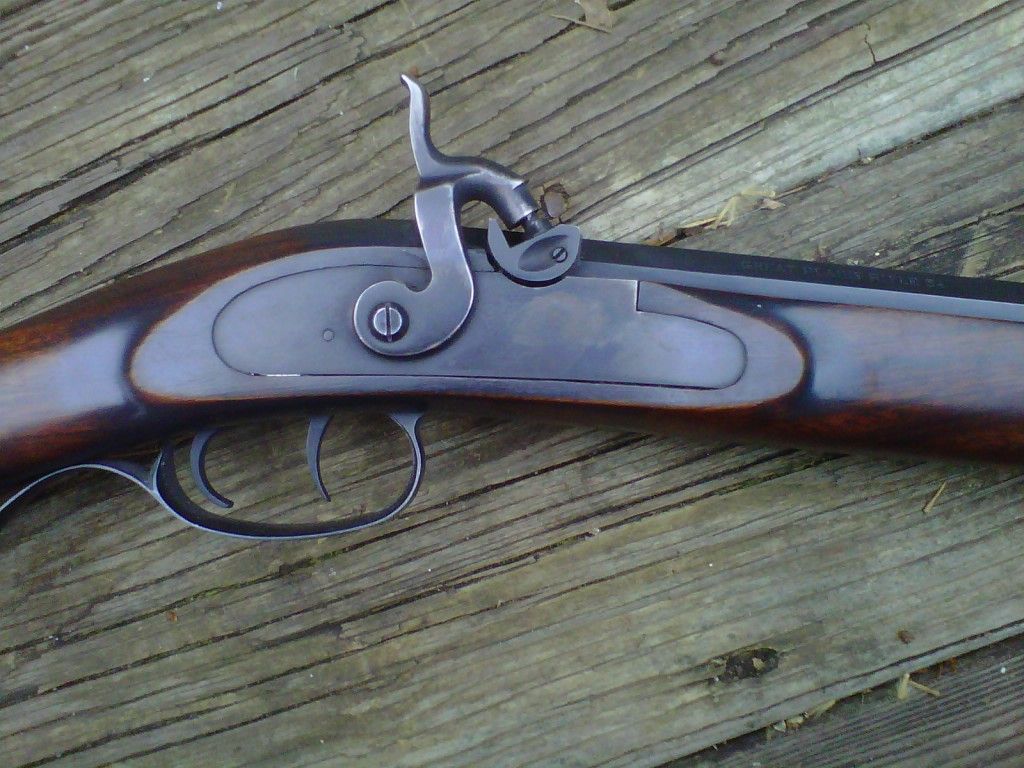
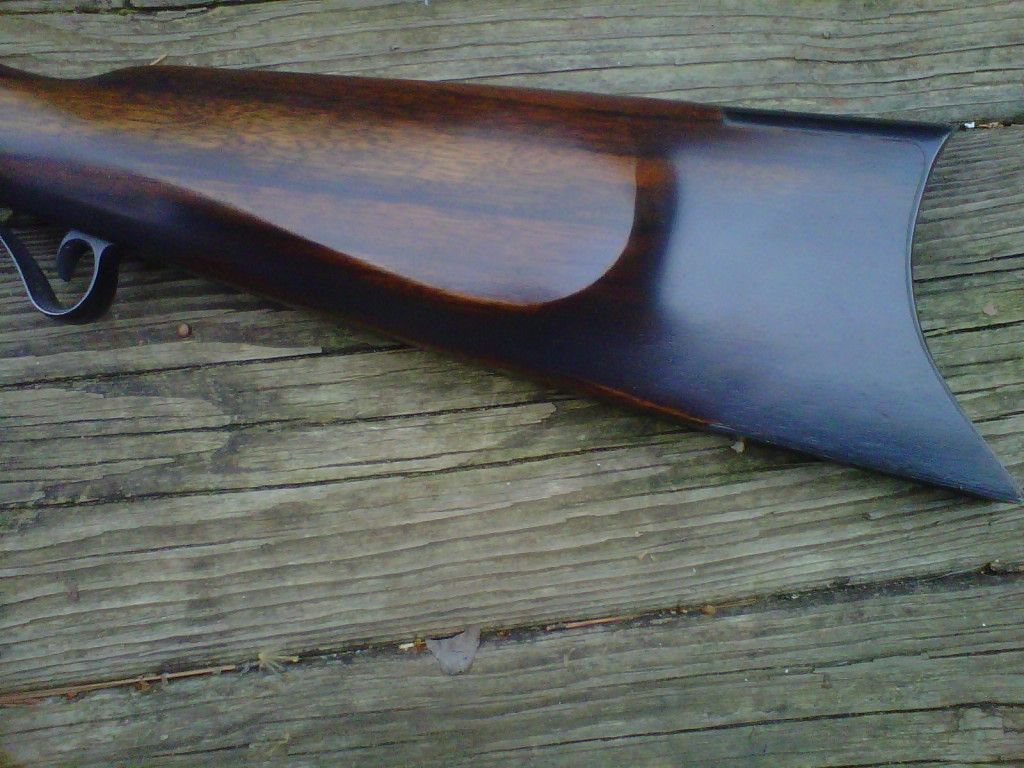
Just wanted to thank everyone on my first muzzleloader kit. I'm about done- just a little more polish here and there:
http://s1103.beta.photobucket.com/user/James_Kruse/library/Hawken

Barrel- slow rust blued (about 10 applications)
Wood- pictures don't show but it has some interesting figure- tru oil, no stain.
I also inletted a star and changed the sights from the factory sights to a fixed buckorn/ german silver front sight. I'll blue the rear sight after I get it sighted in and notched.

All told getting it all to fit together and all the other work I think I put about 60 hours into this. It was a good test start to see if I should move up to one of the more expensive guns next fall. I think I did ok - a few mistakes were made but overall I am happy:)
 
Last edited by a moderator:
The first end of project test is if YOU are happy with it. Looks like you did a good job. Funny thing about mistakes is sometimes only the builder knows they are there.
 
Thanks for the feedback. I know I can't stack up into the fancy stuff some of the members have but I appreciate your feedback for this "Hawken" (or maybe Tyron Trade rifle) :)
 
I know I can't stack up into the fancy stuff some of the members have

There is no reason why you can't. If you research and practice and know what your past successes and past mistakes are you can build on that.

Your workmanship on this rifle was good and I can tell you really took your time with it.

I write this because you mentioned another project this fall. To improve you have know what your mistakes were. Hopefully this may be the feedback you are looking for. In that spirit here are some things you can improve on for the next project.

By far the biggest mistake on that rifle is how some of the stock details were rounded. This comes from sanding without backed paper.

On the lock panels and cheek piece areas the edges need to be sharp. How you keep those sharp edges is with a file and backed sandpaper. Some will actually wrap the file in sandpaper.

Here is a factory finished rifle with the cheek piece and lock panel lines.
SU1HMDA2NTItMjAxMzAyMjgtMTU0Ny5qcGc.jpg

SU1HMDA2NDctMjAxMzAyMjgtMTU0MS5qcGc.jpg


To preserve the lines or edges again, the sand paper must be backed with a small board like a ruler paint stick or even a file mentioned above.

I like your bluing it has a textured finish and I think it came out very well.

With the same method you can blue one to have a shiny/satin finish if so desired by polishing on the barrel.
If you do decide to go with a smoother finish in the future, when polishing the barrel, the sandpaper will also have to be backed as well to preserve the sharpness of the barrel flats.

The stock finish looks very good.

Sometimes when finishing Walnut the grain is filled with a filler, sometimes black or dark brown and it brings out the figure in Walnut even more.

The front sight is on backwards. Most of the time the ramp is to the front. As close as that dove tail is to the muzzle, the way it's mounted now may be your only option with that sight, with out filing it shorter.

Your rifle is fine looking and you should be proud of it.
You can build the next one off the experience and it will be even better.
 
Ah thanks- no I do appreciate the constructive criticism as well as the positive feedback. One of the reason I went with a investarms kit rather than straight to $1000 chambers kit is to get some practice. You've given me good advice on the next project!

Your right this is a game of patience. I don't know how many times I would work for awhile and start to want to cut corners. It was always my signal to quit for the day :)
 
I think you did a great job on that rifle. Your hard work will make shooting it that much more enjoyable. Congrats!
 
Back
Top