Done except for nipple problem...

Muzzleloading Forum

Help Support Muzzleloading Forum:

This site may earn a commission from merchant affiliate links, including eBay, Amazon, and others.

cdg

40 Cal.
Joined
Sep 9, 2005
Messages
157
Reaction score
0
OK, first the good news. I have an old CVA Tower Pistol I've been refinishing. The aesthetics are what I would call done at this point. Have a look:
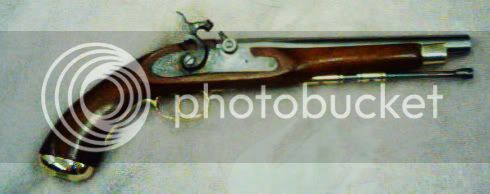
Image014-1.jpg


Overall looks nice

Image015.jpg


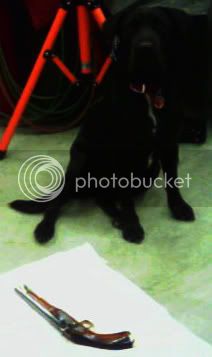
Dee Dee is love attention, love getting her picture taken, and has even come to love firearms as much as her owner! :)
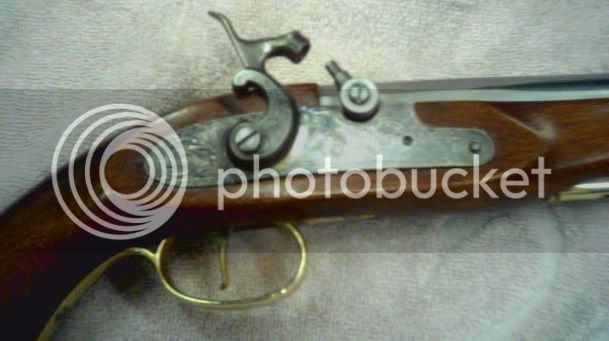
Image016.jpg


Image017.jpg


Slght crack in stock- I'll fix it up right if it gets any worse.
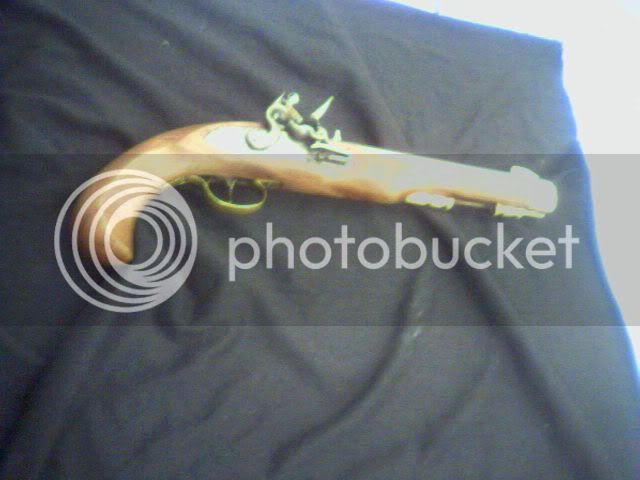
Image018.jpg


Pretty good looking nosecap. Needed a lot of work to get it to this point- I might do some more work with it later...
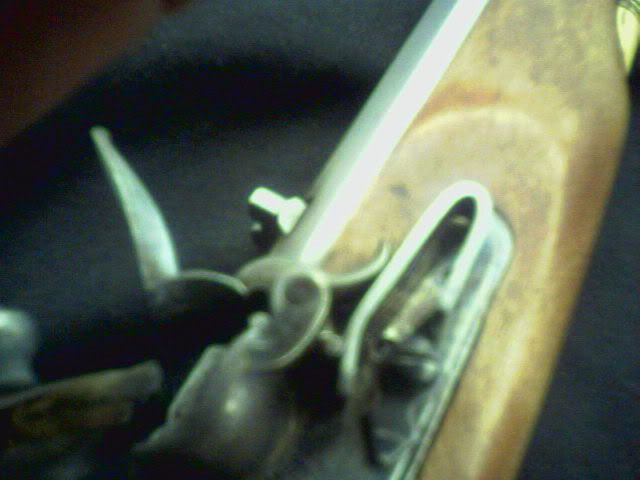
Image020.jpg


Image021.jpg


Image022.jpg


Now the problem- the nipple allignment looks something like this:

Image019-1.jpg


Is there any other way to adjust this misalignment besides heating and bending the hammer back? I was hoping to shoot it before having to take apart the lock. But ah well.

Just putting this out there. Any thoughts are definately appreciated. Thanks! :)
 
It looks like the problem is that the drum is screwed in too far.

The solution is to remove the barrel from the stock and unscrew the drum from the barrel.
Then go to your local Auto Parts store and buy some thread locking compound.

Clean the threads on the drum and in the barrel to remove all grease/oil, apply a drop of the thread locking compound to the drums threads and screw the drum back into the barrel so it is almost in the right place.
Place the barrel back into the stock and lower the hammer down onto the nipple.
Turn the drum until the nipple is centered with the hammer's nose and let it sit for a few hours for the compound to cure.

By the way, this alignment problem is not a safety issue. It's only affect is to have very unreliable ignition.

zonie :)


I forgot to mention that to remove the drum, leave the nipple in place so that it can serve as a driver for a adjustable wrench, tightened against the outside of the drum.
 
Nice job!
If you are in doubt to Zonie's great solution,
plan B would be to order a drum from dixie or track and start from scratch.
Either way will solve your dilema.

Brett
 
While Zonie's and Brett's solutions will both work, the easiest solution is to remove the drum and put a shim under it and reinstall it. You may have to fool around with two or three different thicknesses of shim stock before you get it right.

Randy Hedden
 
Zonie: I walked to the auto supply (AKA our auto garage) :grin:, and got some 271 LocTite thread locker. My experience with 271 is that if I want it back off, it's going to have to be heated, so it should prove tough againsted whatever temperatures and shocks it might need to withstand. You were right, that drum was really on there... Anyway it's back onto where it should be, and I have the gun sitting half cocked now. Problem solved in any case!

I like the shim idea too, but I think this thread locker thing is going to work out. :)

Oh, I should mention to those who might be looking closely at the nosecap- I realize it still has a kind of wrinkly texture from the rather rough casting. I'm going to get some of the 2000 or so grit embry paper I used to use back when I was making jewelry in high school. That should smooth out the texture without removing much material...
 
Back
Top