• Friends, our 2nd Amendment rights are always under attack and the NRA has been a constant for decades in helping fight that fight.

    We have partnered with the NRA to offer you a discount on membership and Muzzleloading Forum gets a small percentage too of each membership, so you are supporting both the NRA and us.

    Use this link to sign up please; https://membership.nra.org/recruiters/join/XR045103

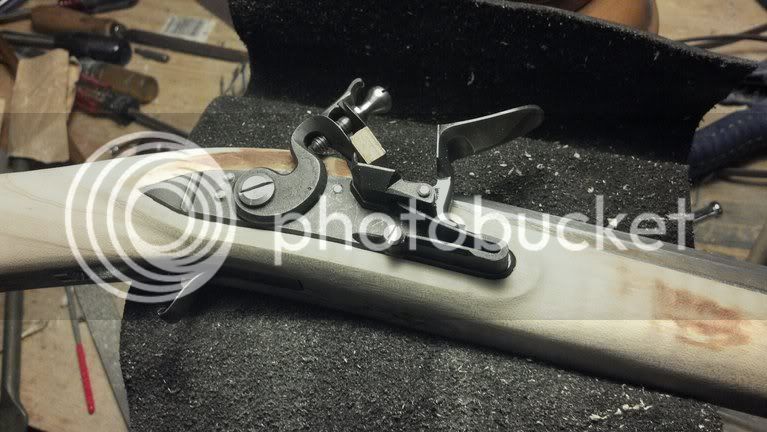
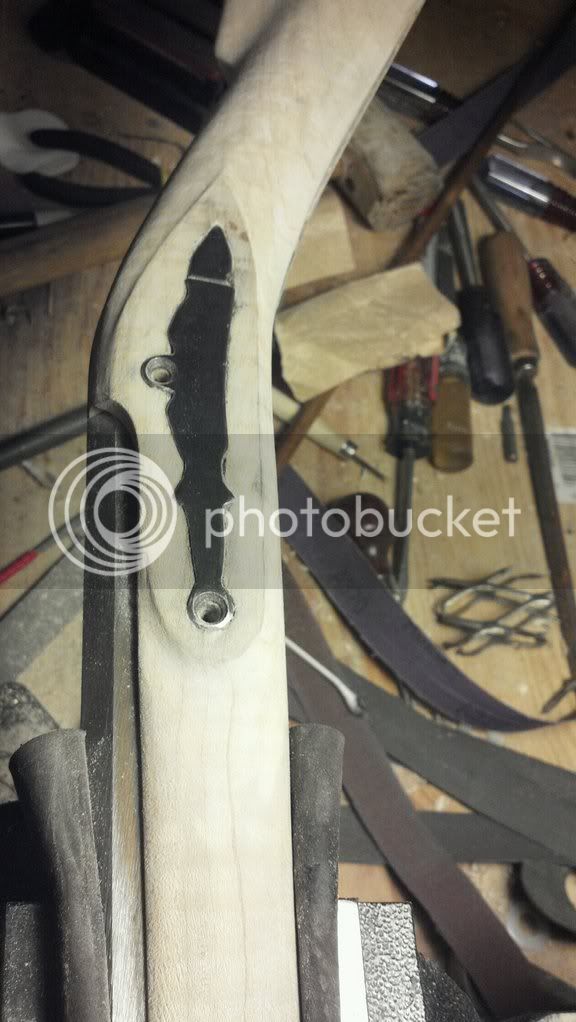
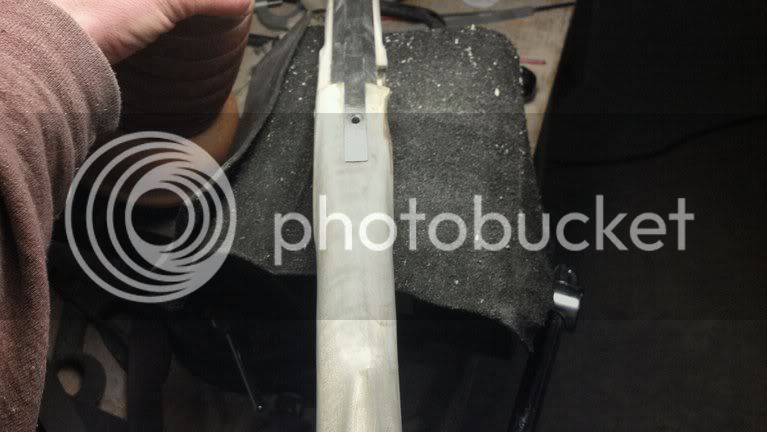
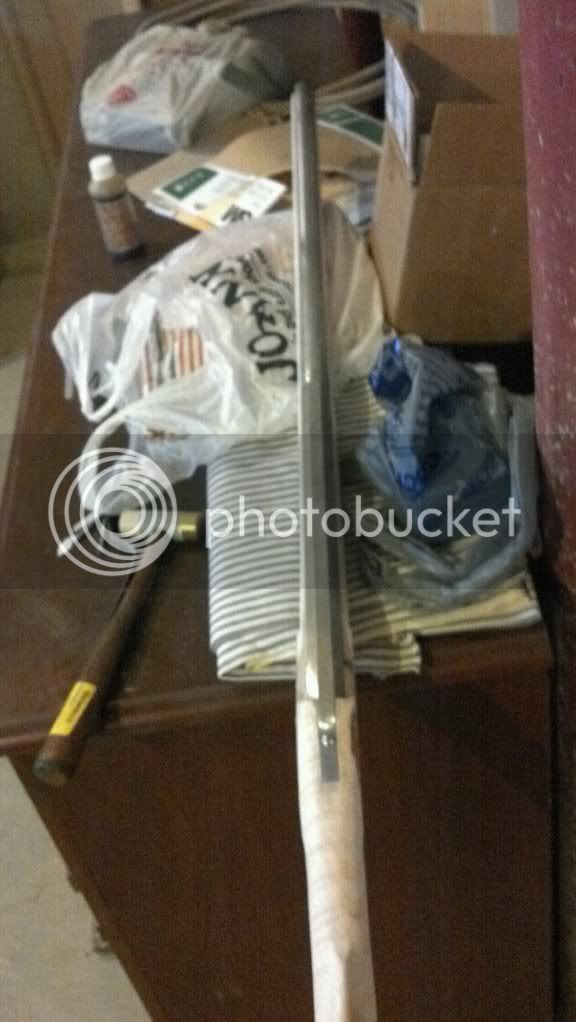
far from done but getting excited!

Muzzleloading Forum

Help Support Muzzleloading Forum:

This site may earn a commission from merchant affiliate links, including eBay, Amazon, and others.
necchi said:
FWIW, great thread, but it's beginning to be like ApprenticeBuilders forboding post above,
Too many cooks,,,
You've already got plenty of food for thought.
Do what YOU want or it could end up like Vt's thread that just kept going and going and he got frustrated,,
Good luck.
As long as he keeps asking I'll keep helping him out. If he wants to do it HIS way he's on his own. :v
 
Awh Mike your fine no disrespect intended, a great asset to the forum and I'm very happy to see your tutorial and links here, I follow them myself. Added comments from yourself is a HUGE benefit for any and everyone.
I was just sayin that a feller can get twisted around when following well intentoined advice from too many,,
It can be overwhelming.
 
I've been following along here and enjoying it immensely. I'm also learning a lot along the way. Part of me is thinking that I'd like to do exactly the same thing on my next build and post pictures before I'm done so I can get some helpful criticism and part of me thinks that I might be too thin-skinned to take all of it and get angry. :grin:
 
hehehe, you can't hurt my feelings.


I appreciate all of the advice, from everyone. I have already watched a dvd, read two books, and had what i though looked right........so lots of info already. 1/8" of wood below ramrod, geezadzooks! makes me all kind of nervous. i picture the first roundball being thrown alongside all the splinters from this tiny stock!


i know i know, they are supposed to be slim.


I will be posting up pics this evening of my progress today, and we will see what that brings. I hope for a nod, but honestly if i just wanted it done and wasn't concerned about it being "right" , i would have never asked for the criticism. Nothing learned via undeserved congratulations.

I'm glad others are learning here.......i just told VT how much i learned from his thread.


anyway......to be continued this evening!
 
Also mike........if u did it for me i wouldnt love this piece of wood so much even though there are problems! A fowler only a father could love....lol
 
as promised! its gotta be comming the way i want it now.......right? 3/8 made fading a whole lot easier!

photobucket-2560-1330561189721.jpg


photobucket-958-1330561224966.jpg


and i know there is more to take off here, but it is starting to get womanly curves....

photobucket-1101-1330561255698.jpg
 
Actually, you already did a fair job before you asked for pointers. Nothing wrong with striving to do better. :thumbsup:
 
Thanks mike! and to all the others who have contributed to this thread!

funny thing about those finials......now i like it the way it is and am going to leave them off.
haha. anyway, more to do!
 
It's looking better and better.

Some things I see....
Looking down on the stock from behind, earlier in the thread the stock appeared straight like it had no lock panels at all.
In the latest veiw it has some shape.
That's the curves you were talking about.

I would thin the wrist to match the width of the forestock in front of the lock panels. Then go from there.

You may want to consider thinning that forestock down some more, then wrist to match.
With that done I think the lock area will start to emerge gracefully. Problem areas will be easier to blend.

If I'm wrong or out of order, folks like Mike and others please correct me!

BTW...
A True Carolina gun weighs just a tad over 5 lbs and thats with 46" barrel. Fowlers are light and dainty.
 
If it were my gun, I'd keep it real simple, but in any case, if no one is going to say it, I will;

that's pretty!
 
Thanks guys! I agree about the wrist needing more thin nning.....actually i got outof bed last night and went at the wrist a bunch more i will post pics of it in a minute.

Im thinking simple is better too at this point. I will be putting a thumbpiece in......and i did pay up for crazy curl. So i think there will be plenty to look at without wire and. Carving.

This baby weighs in at seven lbs on the money currently. I dont believe that will change much now given how light the wood is and what is left to take.

New question-- i know the forearm can be much skinnier than it is now. However....i am going to hunt the heck out of this thing. Probably just shy of 100 hunts a year plus target shooting (the beauty of being a farmer who slows down work in winter)

I eventually bump bruise and beat all of my babies by accident. Should i leavening just a little extra for keeping the splinters down when i eventually drop her? These are the thing going throgh my head. And i know there are dainty originals still around so they lasted......im sure there are my that became tomato stakes as well.
 
Great job on your build! I am almost exactly at the same stage as you on my first build, a Bedford County 50 cal. This thread has caused me to look at my lock panels and I, like you, have more work to do and more wood to remove. I will echo all's comments that this forum is the next best thing to having all you 'experts' right there in the shop with us! I have a lot of irons in the fire and don't get to spend alot of consistent time on my gun. Maybe that's a good thing. But I'm at the same stage of getting close enough to being done that I'm getting anxious. I have goals of wanting to have it done by a certain time. But I think one needs to relax and realize now is not the time to get anxious but a time to reflect and do the little things right and put the finishing touches on a gun you'll be proud of! Thanks, armymedic, for posting your pics and asking the questions. You've helped alot of us that are on our first build!
 
Now you’re working in the right direction. Knocking the bottom off of em really helps don’t it?

As you work your new flat out of the under side the wrist to lock panel transition can’t help but come out better.

Don’t be afraid to take off a little more of the lower forearm. It should be kind of egg shaped. If you leave it the way is now, it will be hard to get rid of the flat sides.

You still have lots of wood around both panels to work with.

One thing I have found is, the lock mortise shape is dictated by the wrist and forearm . When I’m working on finial shaping I always work from the forearm back and the wrist forward. Then just smooth everything out in the middle.

I have one the bench right now that is still 100% square, I wish I was a little closer to shaping. I would take pictures to show you what I mean. I’m maybe 2 or 3 days away from that right now.

Bruce
 
Bruce, if i had one that was still square, i would be three weeks away from shaping! hahaha.


glad this is helping and i will continue to post up this thread as long as people are interested in seeing what i/they might be doing.


bruce, i will take more off of the forearm the next time i hit the wood. im going to take a break from that for a moment so i can think on it, and remove/resolder the front sight as i now believe it is about a mm off to the right side of the barrel. it drives me crazy when i sight down it. Then i will degrease, blue, and steel wool the blue back out to create the silver effect like roundballs barrel.

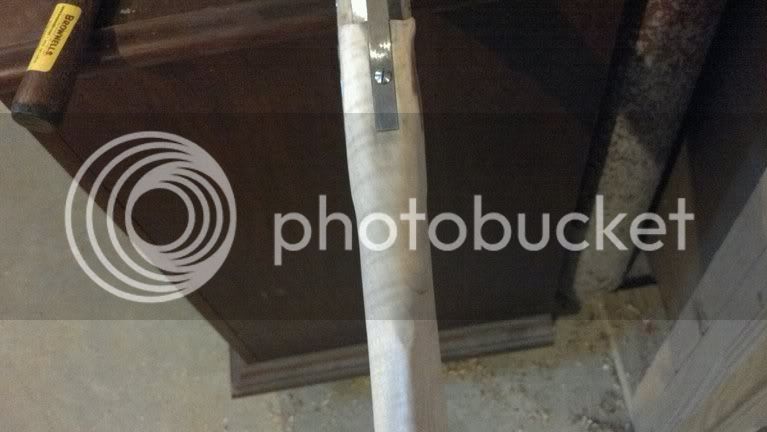
A fix i didn't share yet......my ramrod would not go all the way into the channel because it angles up very hard against the barrel, which tvm opens............ this angle up also smacked the ramrod tip straight into the forward lock bolt.


To fix this i soldered a "ramp" onto the underside of the barrel, about 2 inches forward of the bolt it was hitting. This angled the rod back down and really snugged up the fit which will be appreciated in the briars. Then I settled on a final depth for the side plate and lock plate, marked and relieved the bolt itself so a liottle less than half of it turned into a moon shape to allow the rod to pass through the bottom third of the bolt. I will take pictures later if anyone has the same problem and wants to see what i idd. worked very well for me, without deepening the less than ideal ramrod channel.
 
Here are a few pics of the one I am getting close with, started this awhile back, its from the blank.

Next time it goes out on the trail it will be finished.

Hope these clarify some things a bit.

IMG_2670.jpg


IMG_2669.jpg


IMG_2679.jpg


IMG_2677.jpg


IMG_2673.jpg


IMG_2672.jpg


IMG_2666.jpg


IMG_2665.jpg


IMG_2676.jpg


IMG_2674.jpg


By the way, there are many mistakes on this one, most looking at it will never pick them out.
 
Could be the photo angle, but the left side of the lock wood appears to be thicker than the right side, and same on the tang, it looks off-center.

Also, go shoot the firearm before ya resolder the sight & be sure.... you have it where you want it before ya go bluing or browning anything.

Keith Lisle
 
i think he is talking about mine AB. it does look like that in the photo. Just the angle though.

The sight is definitely off center. though ya never know it could zero me in better! lol.

Is firing before finishing these guns a common thing? i mean, even if the barrel needed to be bent, my pins are already in place so i believe i would be out of luck.

i did last night take a wierd red light futuristic object and place it in my barrel. the spot showed up just where i would have hoped in relation to the sight!
 
Back
Top