• Friends, our 2nd Amendment rights are always under attack and the NRA has been a constant for decades in helping fight that fight.

    We have partnered with the NRA to offer you a discount on membership and Muzzleloading Forum gets a small percentage too of each membership, so you are supporting both the NRA and us.

    Use this link to sign up please; https://membership.nra.org/recruiters/join/XR045103

far from done but getting excited!

Muzzleloading Forum

Help Support Muzzleloading Forum:

This site may earn a commission from merchant affiliate links, including eBay, Amazon, and others.
He could very well be talking about mine also.

I never finish a project without first shooting it, as far as bending the barrel, your not gonna bend it that much if at all, little goes along way

This project had several issues that never became obvious until I got into it, one of which was quite glaring, for these reasons it got shoved to the bottom of the pile several times and has been in the build process for several years.

This is a good example of working thru the problems and finishing it up anyway versus pitching it in the corner and finding another passion, there will always be issues to deal with and fix on each and every build.

Finaly decided to "man up" and deal with it and get it finished so I can move up the process chain.
 
AB, I think he was talking about the 6th picture down...forestock looks thicker on one side.... :wink:
 
+1 on thanks for posting all the pictures.

Great gun, I can't wait to see it finished. I love the fact that you plan on using the heck out of it.

I hate safe queens of any variety, guns were meant to be used.....period!
 
good for you A B, its hard to get back into anything that you dread a bit for one reason or another.

honkey......guns that sit in safes aren't guns, tjhey are ornaments...lol even my "baby" modern so i won't chat it up, got shot in a sandstorm without regard to the barrel or 1700 glass on top. it is what it is. they have a real purpose!


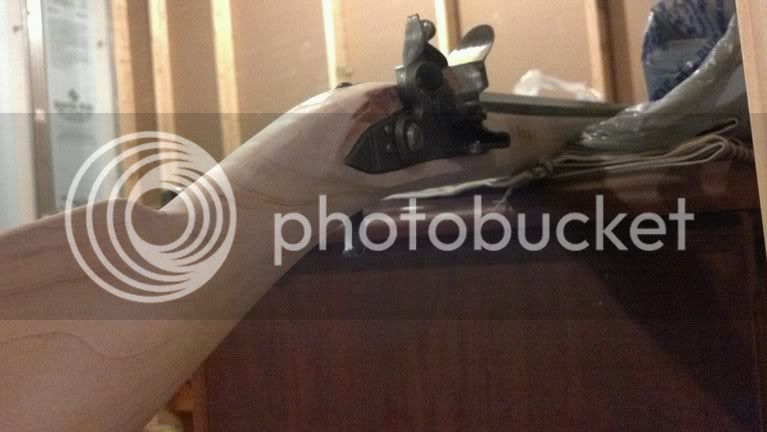
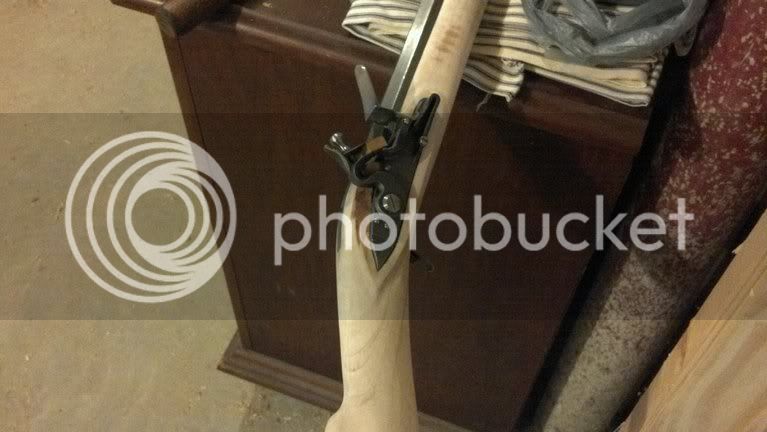
annnnyyywayyyy... I am now satisfied with her shape and thicknesses and all of the inletting. she has some deep gouges every so often from a wayword file, sso i am going to leave it where it is in anticipatin of heavy sanding . I still have a thumbpiece to put in as well whenever my supplies get here.


so i am going to take the advice above, and shoot this baby on monday and see whats up. given the funny red light i used earlier i think the shot will be just fine, so monday i will make and then shoot a bunch of PRB out of her and see what happens.


here are some pics of the "problem areas " you all have helped me with so much. I realy can't say thank you enough, especially since i'm not done yet!


here is where im leaving off, and will refine a touch after shooting..

photobucket-4021-1330640590552.jpg


photobucket-4115-1330640619126.jpg


.....and probably make another thread askng what to do about the crack in the wrist! haha
 
Ok. Dumb question. Any concern about the fouling from shooting before the finish is on staining the wood black? Anything done to ptotect it? I have a ton of sanding to do yet but not really where the cock is..........
 
The rifle I have pictured had 2 women sharing it on a 19 station trail walk last weekend, your looking at the results of 38 shots.
 
Maybe I'm looking at it from the wrong angle, but isn't the top of the sideplate panel and the top of the lock panel supposed to line up with top of the vertical barrel flat when viewed from the side, kind of like this (please excuse the sloppy line-- I'm very poor at using the drawing tools):

photobucket-958-1330561224966.jpg


In other words, the top of the stock along both sides of the tang should slope more downwards. I think this was what Rich Pierce was trying to say earlier.
 
haha, AB i guess i shouldn't worry then huh lol.


Bio- you are right and i thought i had gotten that squared away. two seconds wiht the file. here is is now, with sanding bringing it down that extra hair.

photobucket-5465-1330691799218.jpg


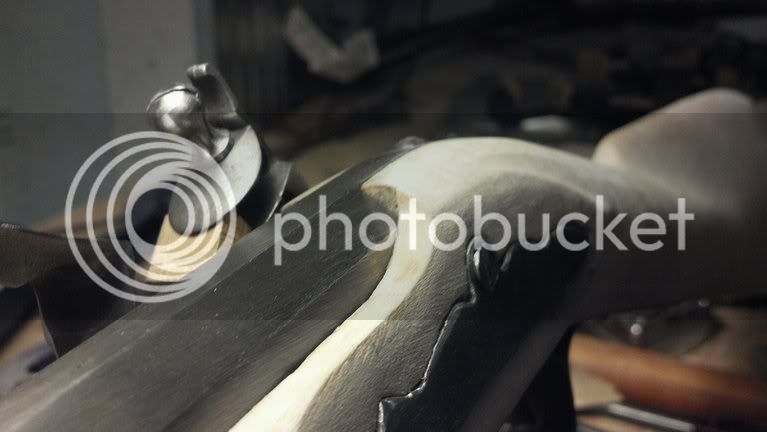
the last area that i am really disliking is where the breech butts up against the wood on either side of the tang right at the beginning. you can see it in this picture, just looks too staight lined and modern. need to think on how to pretty that up.
 
keep goin with the rasp and file, Medic.
Yeah it's scary, but keep takin off more wood.
It appears you still have big "shoulders" around the tang - wood gradient from tang to lock panel could more follow the angle of that barrel oblique.
My red line is straight, but you might should use a slight radius in reality.
photobucket-5465-1330691799218.jpg


I reproduce here a photo from Mike B.'s tutorial.
Look at how his wood slopes down & away from the tang.
Compare yours to that.
z88.jpg


regarding your worry about BP flash on your raw wood, I put masking tape on the wood closest to the pan during my last pre-fire. seemed to work, but not sure it was necessary.

just my 2 cents.
/mike
 
yup. I see what you are saying. I'll try and work that down a touch more sunday night after my farmers markets.

I did hit her again with the rasp and file, particularly on the wrist and forearm. It curves really nice now but it doesn't show well on pics.

Loooking at a ton of pics, especially in "the gunsmith of grenville county" it looks like they left quite a bit of the flat shoulder i don't like so much. some of it might be there to stay and i suppose that fine if that is common. mine does slope down from the tang but maybe not as much as it could.

thank you for taking the time!
 
masking tape was a good idea! like you said maybe not necessary but thoughtful none the less! AB sure didn't seem to have a problem with his caplock. I know what my lock panel can look like after a long day of squirrelin though......
 
I started a new post called "Shaping a Stock" to show you how I do it. Hope you enjoy it.

Bruce
 
Back
Top