• Friends, our 2nd Amendment rights are always under attack and the NRA has been a constant for decades in helping fight that fight.

    We have partnered with the NRA to offer you a discount on membership and Muzzleloading Forum gets a small percentage too of each membership, so you are supporting both the NRA and us.

    Use this link to sign up please; https://membership.nra.org/recruiters/join/XR045103

First Build Update

Muzzleloading Forum

Help Support Muzzleloading Forum:

This site may earn a commission from merchant affiliate links, including eBay, Amazon, and others.

19283

36 Cal.
Joined
Feb 26, 2014
Messages
60
Reaction score
0
Howdy!

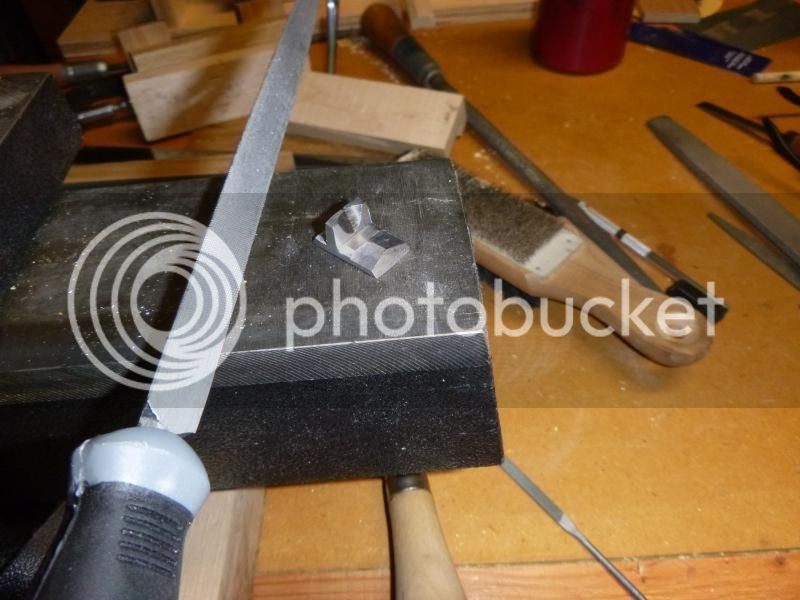
I finished the muzzle cap and started on my sight and patch box.

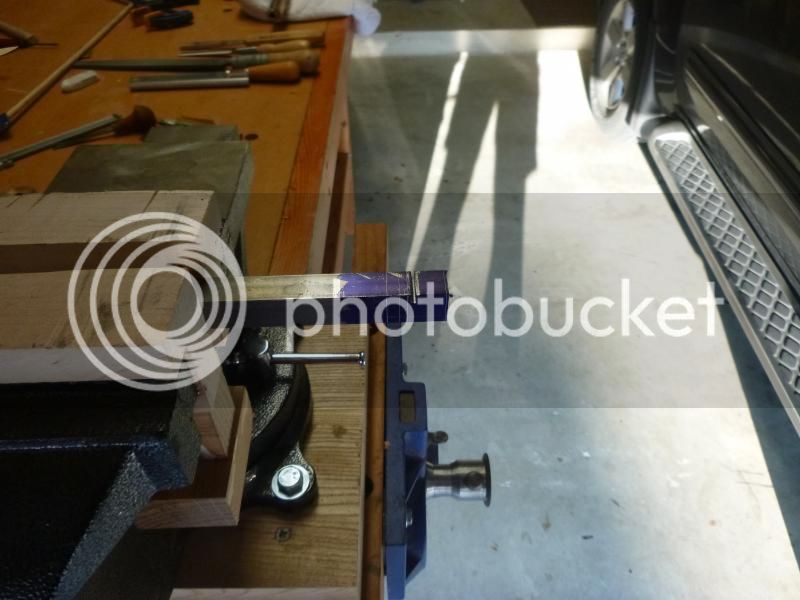
I actually ordered a sight with the kit, but decided to try and make my own instead:
P1010072.jpg

P1010074.jpg

Here's the muzzle cap. My camera finally died, and here's the last pic she took, fuzzy and all....
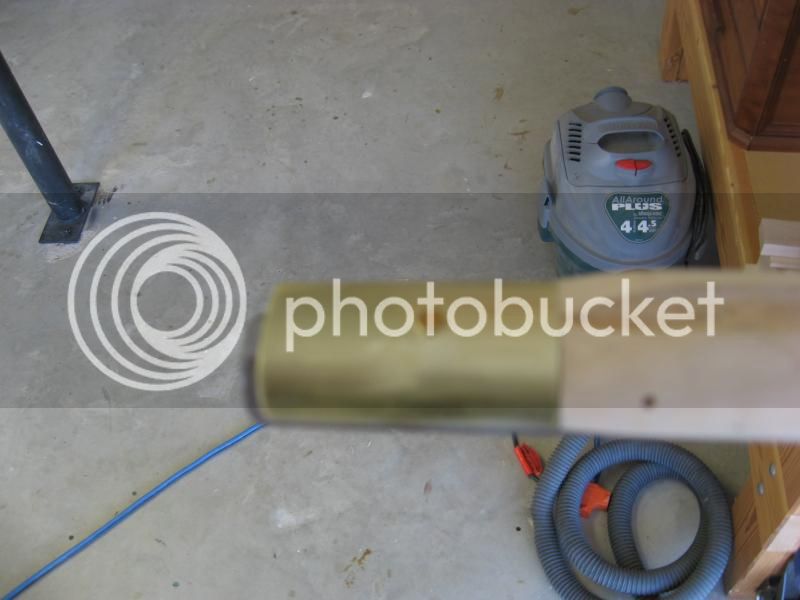
IMG_1194.jpg

Good thing the wife has one!
Side view:
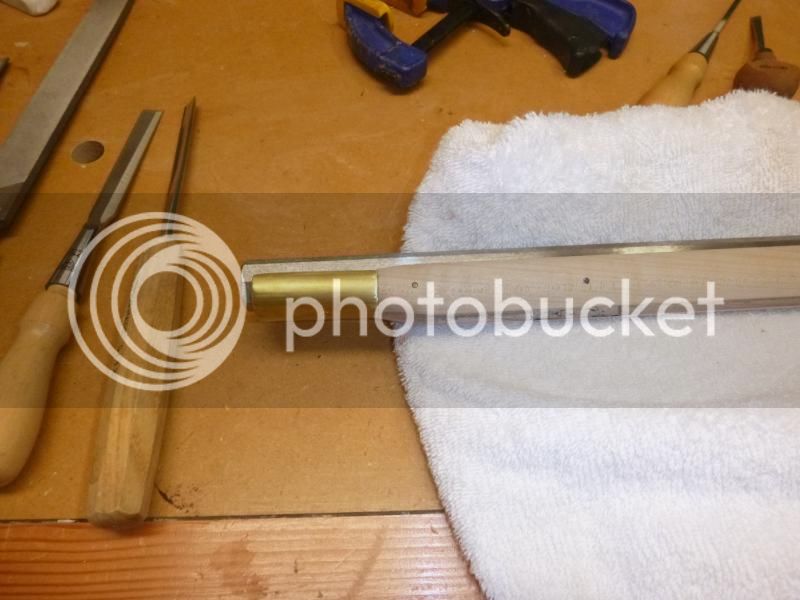
P1010073.jpg


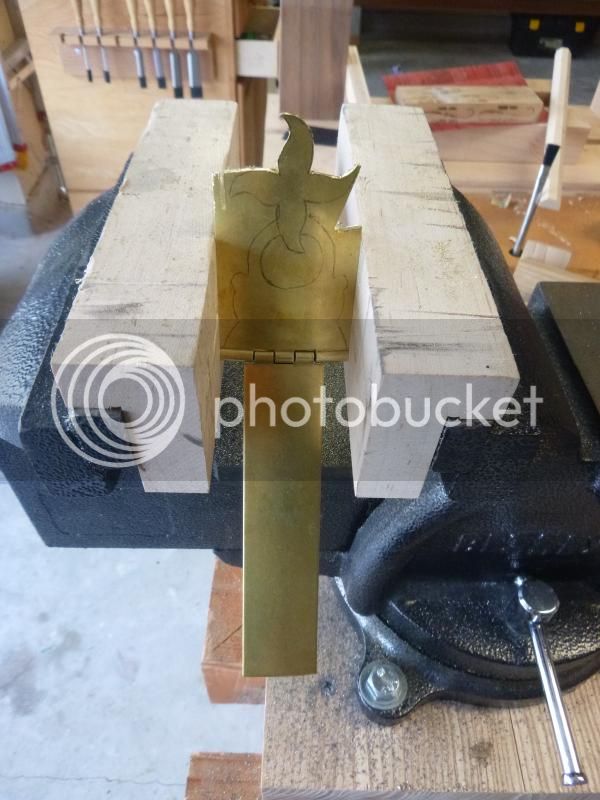
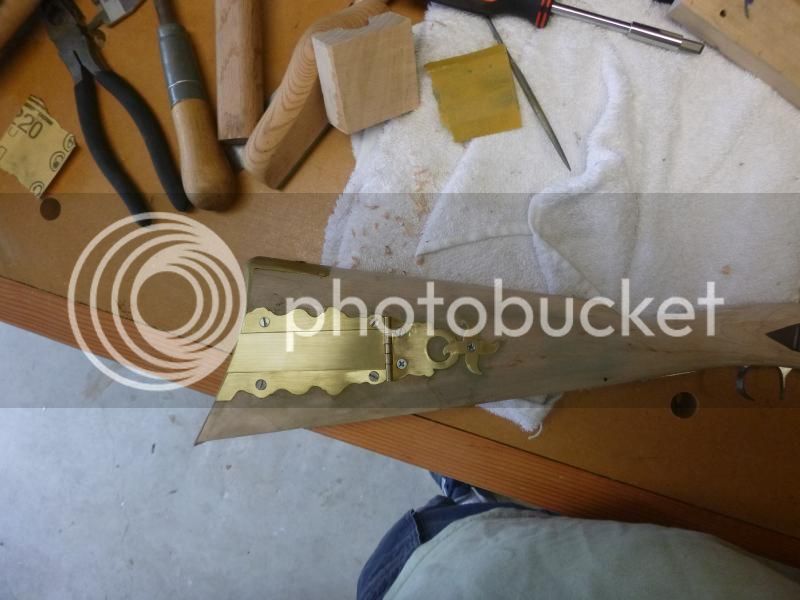
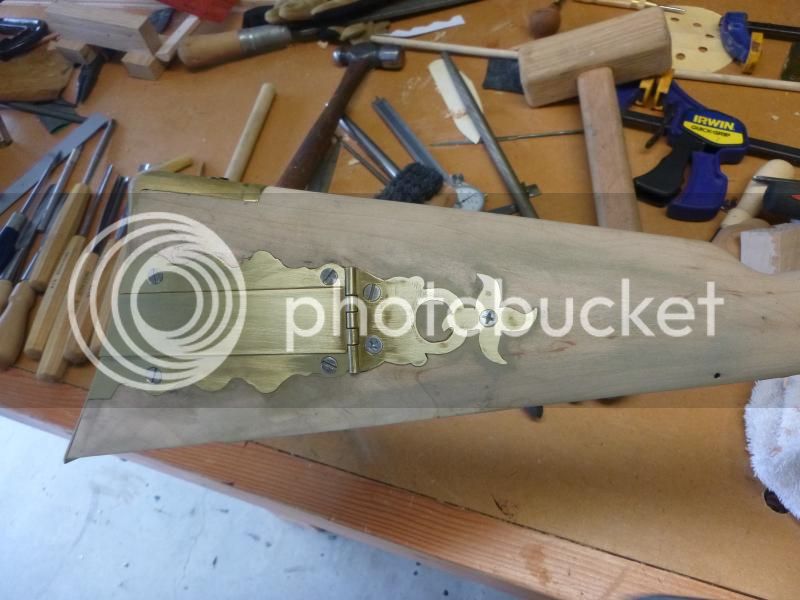
I started on the patch box. I'm trying to be original, which is something I'm not good at. I took some things I like and tried to tie it all together. Here's my attempt at being artistic:
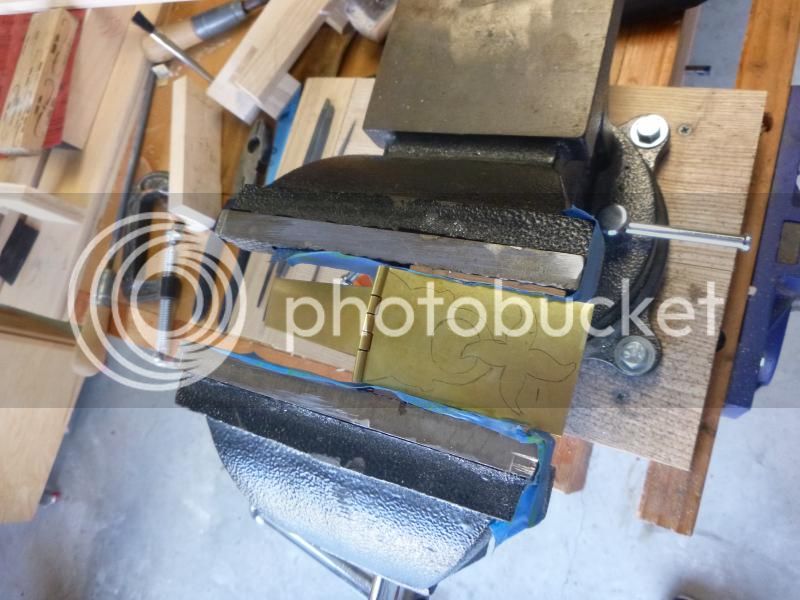
P1010077.jpg

P1010078.jpg

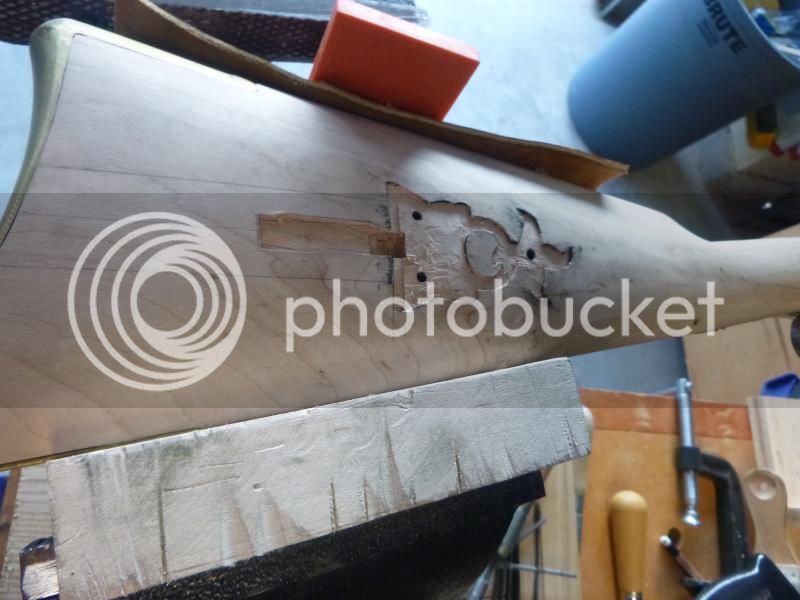
On to inlaying!
P1010080.jpg

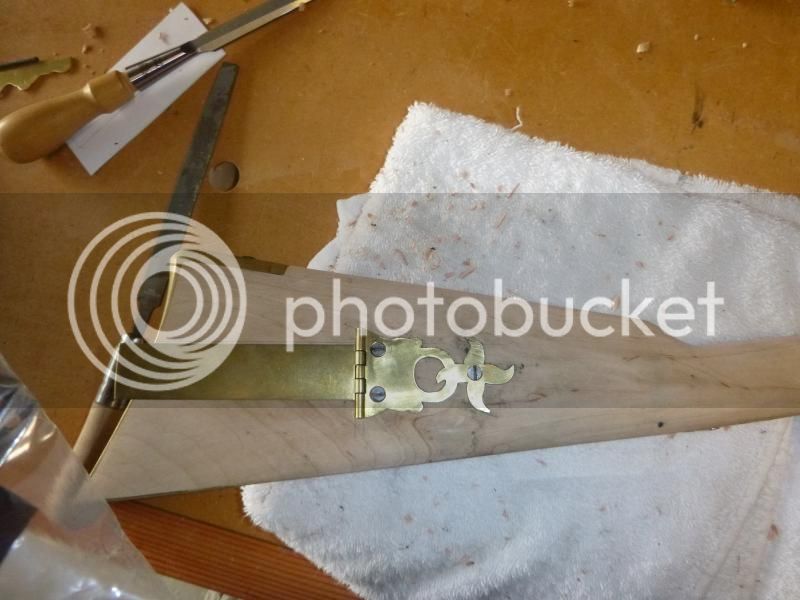
Almost there....
P1010083.jpg

I get after it more tonight. It's a little warm in the garage right now after work...100° outside, and my house faces west :idunno:
 
Very nice work, and I like your PB finial and the sight looks good! :hatsoff: I know the feeling, we average about 110 degrees where I'm at in the summer and my shop is a metal shed :youcrazy: keep up the good work!
 
looks good so far ... avoid working in the heat - doing so always made me stupid (or even more stupid, if you ask my kids) ...
 
Just a suggestion, to keep parts even & same on both sides, etc.

Draw out the pattern on a piece of paper.

Now fold the paper in the middle.

Pick the side that looks the best in having smooth curves & edges & etc.

Touch it up with pencil, get that side the best looking you can, then with it folded, cut both sides out using the best side for the cutting guide.

Now you now have a pattern with sides that are exactly the same & uniform.

Transfer that pattern on the patchbox or whatever.

You can actually glue that paper pattern right on the brass patchbox material & then cut it out with a jewelers saw.

Keith Lisle
 
Great start keep up the fine work. Also with that heat drink lots of water. Hate to see ya go down with a chisel in hand and drag it across the gun.
 
Thanks Keith,

I'll try that. I also need to get a jeweler's saw. When using the hacksaw, there's just too much filing going on!
 
If you can get a fine tooth coping saw you can probably use that. I "back" thin brass when I saw it, By "back",I mean put a piece of wood behind it to support the brass so it doesn't bend while sawing- if that makes sense.
 
crockett said:
If you can get a fine tooth coping saw you can probably use that. I "back" thin brass when I saw it, By "back",I mean put a piece of wood behind it to support the brass so it doesn't bend while sawing- if that makes sense.


+1 for the backing ... this will get you a much cleaner edge - less filing and fussing to get to the finished product!
 
"Backing" is almost imperative if the pitch or number of the blades teeth are courser than the sheet metal is thick.

Because the backing needs to be cut too, it prevents the courser teeth on the blade from grabbing and locking onto the sheet metal while the cut is made.
 
If your going to keep making guns you might as well get a jewelers saw now. You will need one later anyway. A #3 blade will do a nice job on brass or steel. You will need more than one blade. Like maybe a dozen or two.
 
Picked me up a jeweler's saw...makes things much easier. Here's the semi-finished patch box. I think it came out OK. Ignore the Phillips screws, they were all I had :grin:
P1010085.jpg

P1010086.jpg

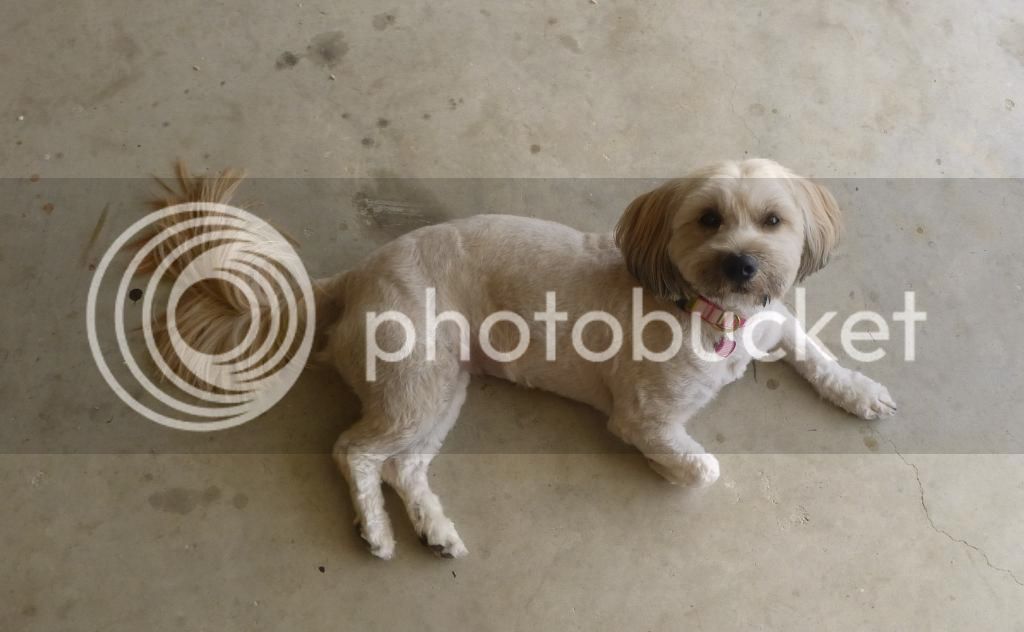
One of my shop dogs....
820965f2-ac4a-4cd3-b19b-89e30e2305a8.jpg
 
I use phillips screws all the time during the build. With as much as the gun is assembled and disassembled during a build they make perfect sense.

Have you figured out your engraving designs yet?
 
I've sorta thought about it, but I better start thinking a little harder. The time is not far off. I'm still trying to figure out what kind of graver(s) to get. In the videos I have, the guys use gravers about 6 inches long. Besides Brownell's, I have not found any sources. They call those big ones sinker chisels?
 
Back
Top