• Friends, our 2nd Amendment rights are always under attack and the NRA has been a constant for decades in helping fight that fight.

    We have partnered with the NRA to offer you a discount on membership and Muzzleloading Forum gets a small percentage too of each membership, so you are supporting both the NRA and us.

    Use this link to sign up please; https://membership.nra.org/recruiters/join/XR045103

fixing bad tang inletting

Muzzleloading Forum

Help Support Muzzleloading Forum:

This site may earn a commission from merchant affiliate links, including eBay, Amazon, and others.
Whiskers are fibers in all wood that raise by lightly wetting the wood. When you sand the wood starting with the coarser grit to where the finish is even then dampen the wood with water. When it drys these fibers will raise. Then the next finer grit paper is used then dampened again. The fibers will again raise but they should be less. Continue with finer and finer paper in this manner till the whiskers don’t raise then stain. Check for whiskers and if present they should be small and can be burnished off with steel wool. All this must be done before finish is applied.
Boiled linseed oil isn’t useful for you at this stage of stock work.
 
It looks like you're making good progress. Keep at it and you'll get it looking its best in short order.

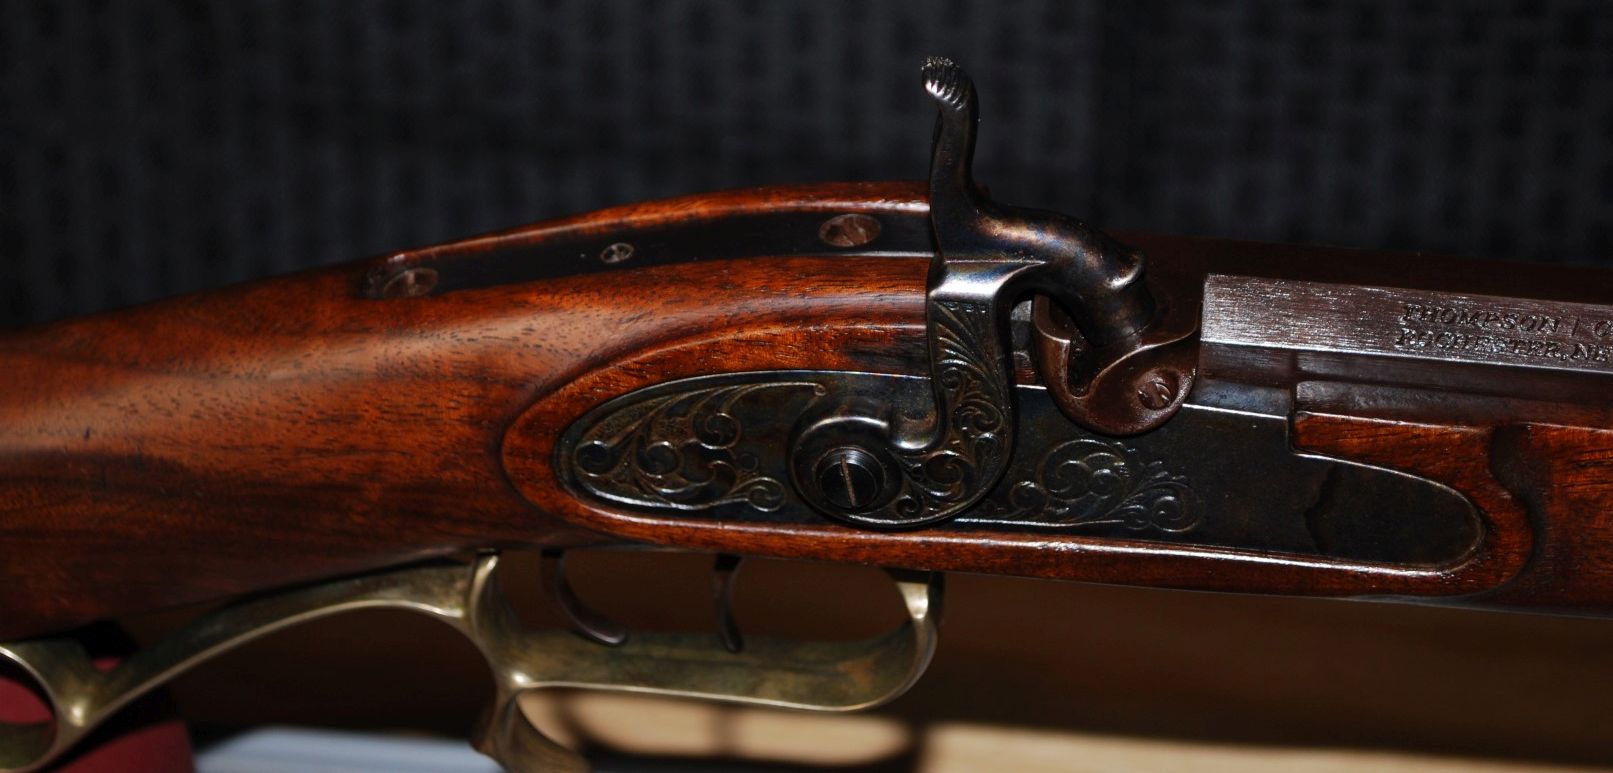
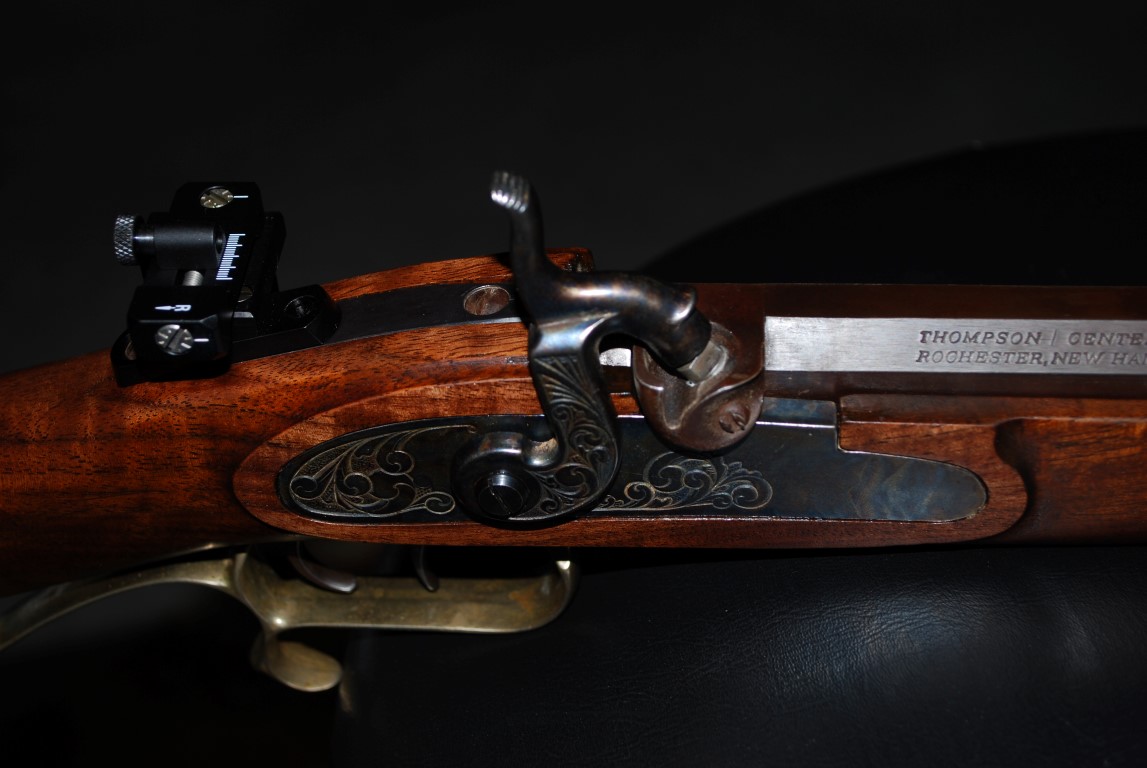
I had a similar issue with a TC Hawken I picked up recently. It is a kit gun that someone put together years ago. It had the same issues with the sideplate and tang area. In fact, the tang was so deep I could not mount a peep sight.

A little sanding and shaping put things more to my liking.

Before
T9leqDg.jpg


After
Etpobag.jpg


Still not perfect but it's much better. With tax season closing in on me I won't have much time but after April 15 I'll probably refinish the entire stock.

You may not have been expecting a project but when you're finished you will have a rifle that is uniquely yours. Let it be a source of pride.
 
The pattern in the stock photos looks a lot like the grain Beech wood has.
If the stock was blond after the factory coatings were removed then Beech it is.

Beech is notorious for having a very tight grain that doesn't accept oil based stains well (if at all). A alcohol or water base stain usually works pretty good on it.
If that is what the stock has on it, then that is about as good as it gets.
 
michael: First run a patch down your barrel and see if you have even pressure ALL the way. I have a Trade Rifle that was purchased in 2001 and was .50 and wouldn't shoot accurately till present. When I ran a patch down the barrel it had a big belly half way down and it kept tearing patches. Best group I got was 6 inches at 50 yards! I sent mine to Bobby Hoyt and he bored it to .54 and it shoots 1 1/2 groups at 50 yards now. I guess my point is wood you can fix pretty easily, the barrel is another animal. I refinished my rifle with Jim Chambers' finish and it came out beautiful.
 
michael: First run a patch down your barrel and see if you have even pressure ALL the way. I have a Trade Rifle that was purchased in 2001 and was .50 and wouldn't shoot accurately till present. When I ran a patch down the barrel it had a big belly half way down and it kept tearing patches. Best group I got was 6 inches at 50 yards! I sent mine to Bobby Hoyt and he bored it to .54 and it shoots 1 1/2 groups at 50 yards now. I guess my point is wood you can fix pretty easily, the barrel is another animal. I refinished my rifle with Jim Chambers' finish and it came out beautiful.
the barrel is good put a rmc touch hole liner in it... my great plains tears patches. going to see if i can work a load with the hornady great plains..
 
its done what do you thank..
 

Attachments

  • 20200213_153657.jpg
    20200213_153657.jpg
    40.2 KB
  • 20200213_153733.jpg
    20200213_153733.jpg
    81 KB
  • 20200213_153739.jpg
    20200213_153739.jpg
    80.9 KB
  • 20200213_153818.jpg
    20200213_153818.jpg
    92.6 KB
Looks good to me. Now you just have to get out there and break it in by shooting it. :)

By the way, did you check to see if the vent hole will allow a 1/16" drill bit to pass thru it? If the bit doesn't, use it to drill out the vent to it's 1/16" size. That will greatly improve the reliability of the gun.
 
It looks like you have a good start there, from what I can see you need to blend the wrist more and make things flow from the lock panels back into the buttstock. Use a good flat sanding block on the lock panel and it will gain you some width if you need it. At this point you could also add some "beaver tails" and make a nice side plate to class it up some, or not, whatever. You could do all kinds of stuff to this gun and give it some "purtty" like lock moldings, beaver tails and tang carving as well as a thumb piece. It would never be mistaken for someone else's "off the shelf" rifle!
When you are ready to stain make sure you sand and steel wool all your file marks out, use water to raise the grain and sand some more! Why not look at Laurel Mountain stains? (www.trackofthewolf.com) I would try nut brown (it has some red in it and brings out the highs and lows in the wood well) or honey brown ( for a lighter color) go behind that with some of Watco's Danish oil (natural) and let it soak in. Come back at it with linseed and hand rub the heck out of it.
These are all just suggestions form a rifle builder but, "you do as you think best..."
 
Looks like you have a good start on it. It will look better with the rest of the wood taken off. For a smooth look the lock panels should line up close to the top corner of the barrel flat and then the wood should be rolled up to the tang and blended back into the wrist to eliminate a lot of the flat areas around the tang. Of course it is your rifle so it is done when you say it is done. First rifle I built was from a precarve. I thought I was done and and took it up the street to a friend who was a good builder. He looked at it and said: "Take another sixteenth off the stock. I ran back and started filing. Finally about the fourth time he said: "OK now it looks like a rifle".
 
It looks like you have a good start there, from what I can see you need to blend the wrist more and make things flow from the lock panels back into the buttstock. Use a good flat sanding block on the lock panel and it will gain you some width if you need it. At this point you could also add some "beaver tails" and make a nice side plate to class it up some, or not, whatever. You could do all kinds of stuff to this gun and give it some "purtty" like lock moldings, beaver tails and tang carving as well as a thumb piece. It would never be mistaken for someone else's "off the shelf" rifle!
When you are ready to stain make sure you sand and steel wool all your file marks out, use water to raise the grain and sand some more! Why not look at Laurel Mountain stains? (www.trackofthewolf.com) I would try nut brown (it has some red in it and brings out the highs and lows in the wood well) or honey brown ( for a lighter color) go behind that with some of Watco's Danish oil (natural) and let it soak in. Come back at it with linseed and hand rub the heck out of it.
These are all just suggestions form a rifle builder but, "you do as you think best..."
like to find a video.. picture's showing how to do this .. dont wont to screw the stock up...Inlay large Man-in-the-Moon, nickel silver that might look good on it..Inlay,tear drop, nickel silver and this as a thumb piece...
 
like to find a video.. picture's showing how to do this .. dont wont to screw the stock up...Inlay large Man-in-the-Moon, nickel silver that might look good on it..Inlay,tear drop, nickel silver and this as a thumb piece...
There's a series on YouTube by duelist1954 for doing a GPR kit that might prove useful
 
Back
Top