• Friends, our 2nd Amendment rights are always under attack and the NRA has been a constant for decades in helping fight that fight.

    We have partnered with the NRA to offer you a discount on membership and Muzzleloading Forum gets a small percentage too of each membership, so you are supporting both the NRA and us.

    Use this link to sign up please; https://membership.nra.org/recruiters/join/XR045103

Flintlock repair

Muzzleloading Forum

Help Support Muzzleloading Forum:

This site may earn a commission from merchant affiliate links, including eBay, Amazon, and others.
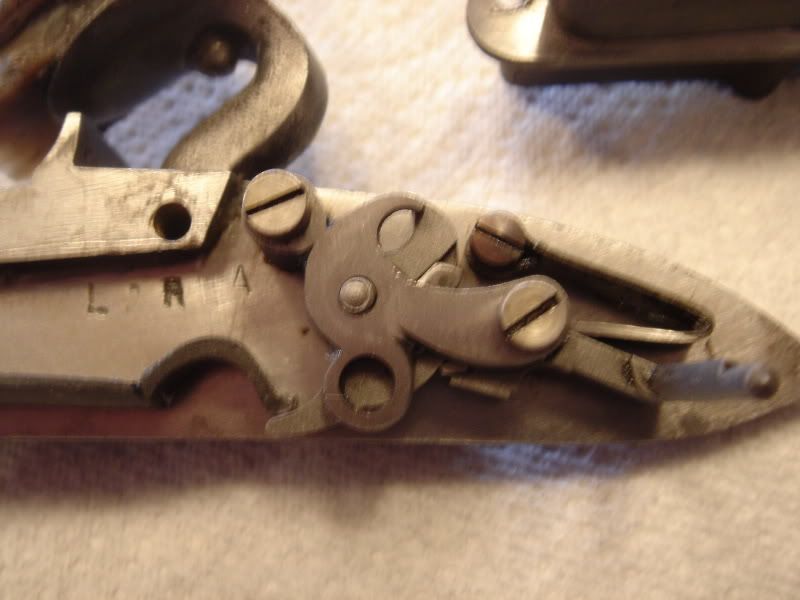
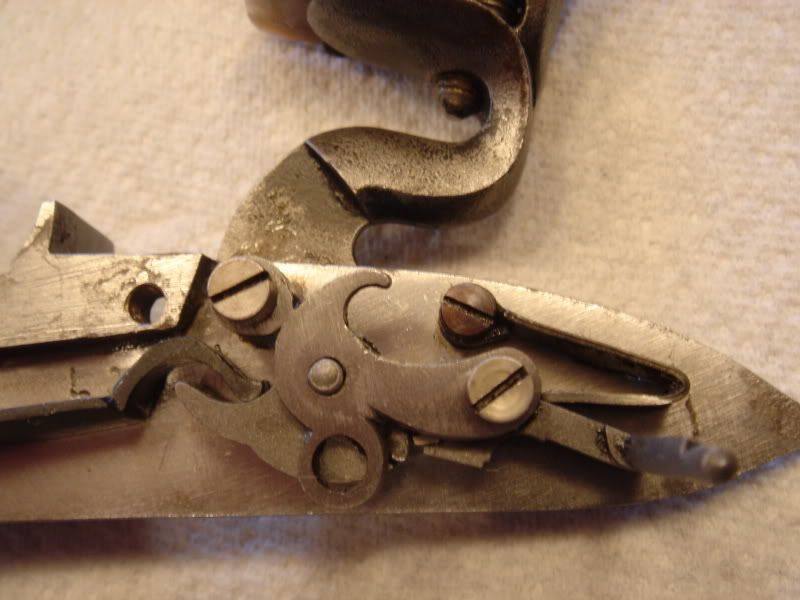
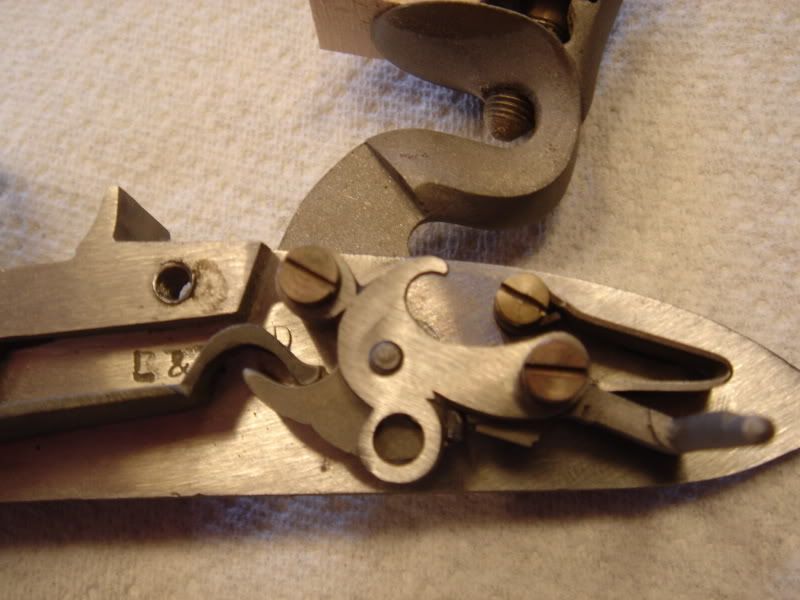
I just had another thought. If applying all of the advice offered here doesn't fix your lock, and if you have a set of number drill bits and a micrometer, check the diameter of the sear screw and using the drill bits as pin gauges, insert the drill bits into the sear screw hole in the sear, and check the clearance. I bought an L&R Manton about a year ago with such an oversize sear screw hole, that the sear would cant to one side, partially engaging the full cock and half cock notches.

The tolerance of a screw to screw hole should not exceed .005, and that is getting sloppy.

L&R casts their parts to final dimensions to reduce or eliminate machining. Unfortunately, casing screw holes to acceptable tolerances apparently isn't possible.

The difference between the screw diameter and the diameter of the sear screw hole, in the Manton, was .010. IMHO, that is waaaaayyyy to sloppy for for safe, reliable lock.

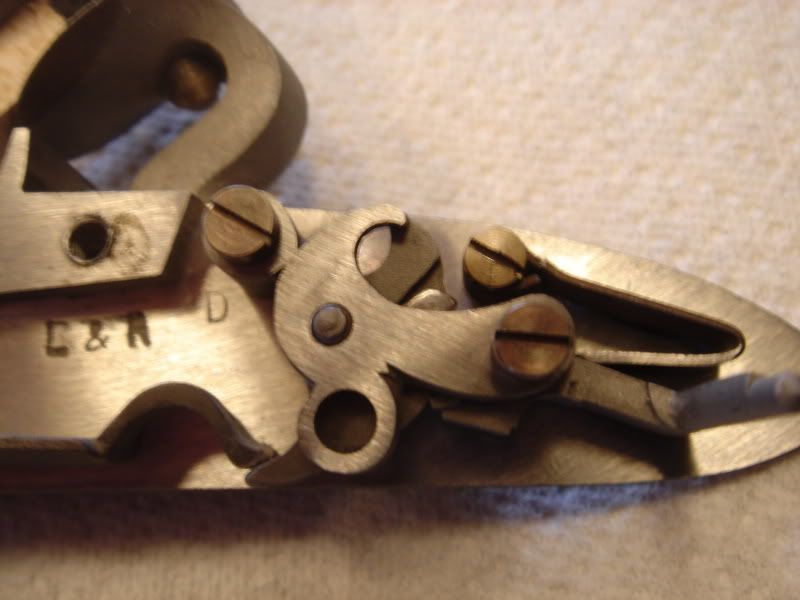
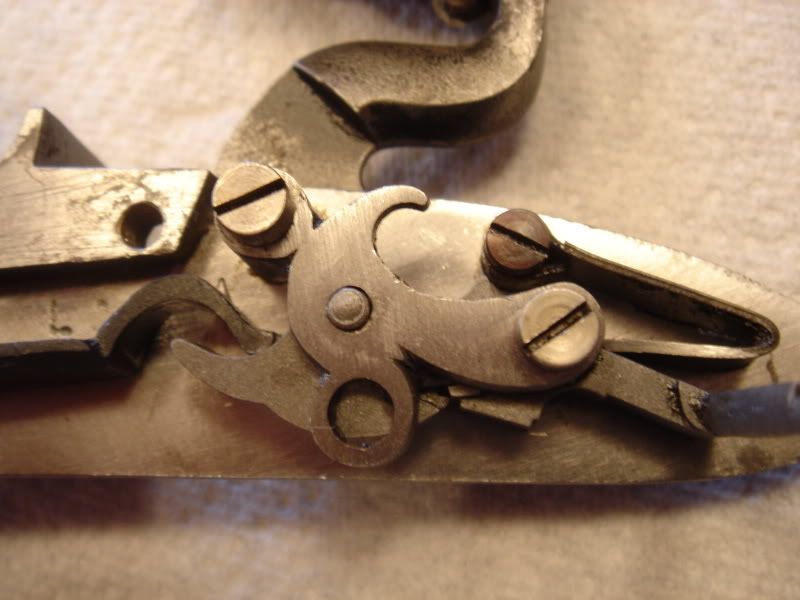
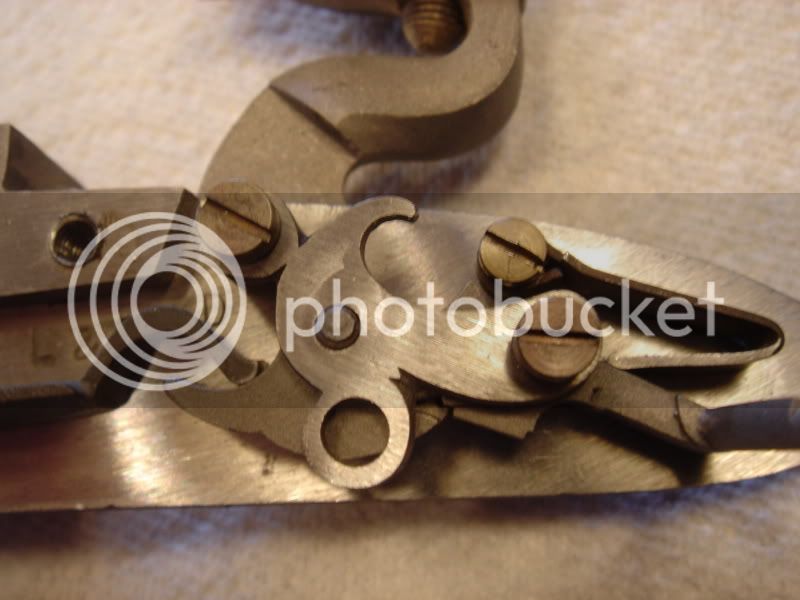
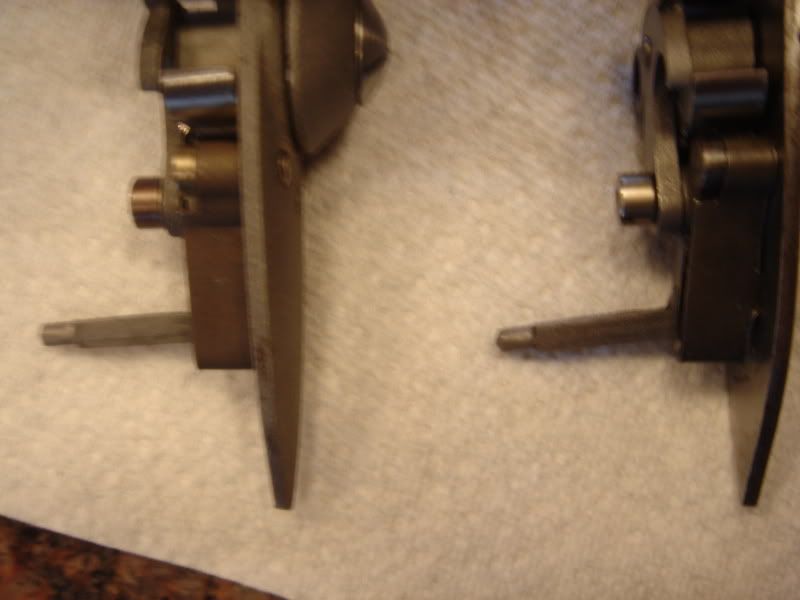
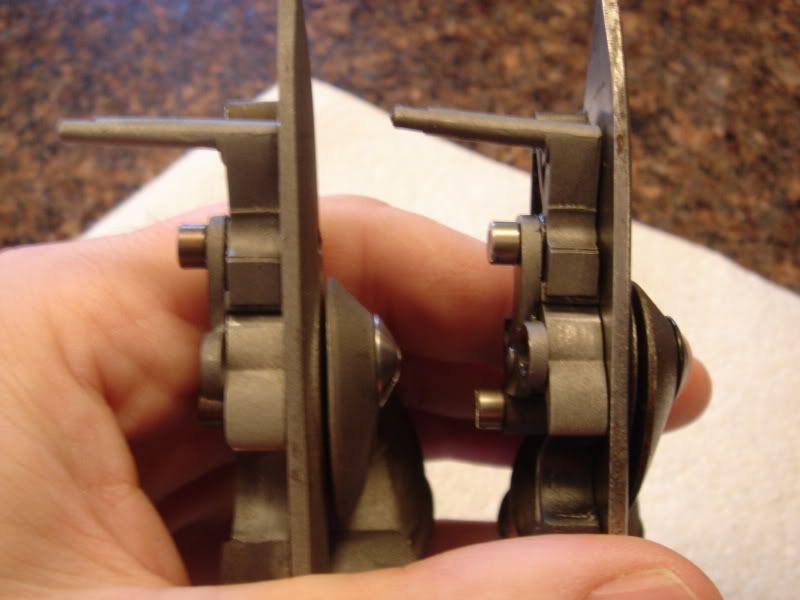
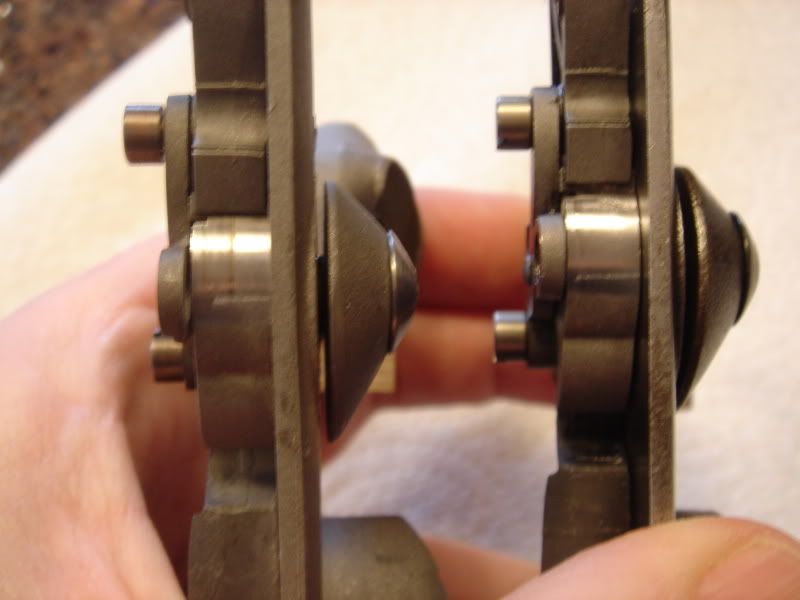
Can you post a close up photo of the sear in the assembled lock, from the bottom?

Let us know how things are going.
 
As Zonie said, check yur sear screw for over-tightness. Without the sear spring installed, the sear should move by force of gravity if you rotate the lock from an upside down position to rightside up.
 
Ok here are the pics I promised.

At rest bad lock
DSC02409.jpg


At rest good lock
DSC02410-1.jpg


half cock bad lock
DSC02411-1.jpg


half cock good lock
DSC02412-1.jpg


Full cock bad lock
DSC02413-1.jpg


Full cock good lock
DSC02414-1.jpg


Good lock on left and bad on right
DSC02415-1.jpg


Good lock on left and bad on right
DSC02416-1.jpg


Good lock on left and bad on right
DSC02417-1.jpg
 
I am going to take a few things apart and see if I can do a few of the suggestions for testing that you all have suggested.
 
Is the bridle on the bad lock bent? Looks like its on an angle in the second photo from the bottom. From the photo, it appears that the nose of the sear may be dragging on the inside of the bridle. Does the inside of the bridle show any wear marks where the nose of the sear might be dragging?

Ether remove some material from the side of the nose of the sear, or from the inside of the bridle, only where the drag marks are, tapering to tumbler axle hole. Leave a "boss" around the inside of the bridle around the location of the sear screw, for the sear to ride on.

Also, The nose of the sears, in both locks, don't appear to be fully engaging the half cock notches.
Might have something to do with the sear nose dragging, on both locks, to some extent, but I certainly would give some attention to the half cock to sear engagement on both locks.


God Bless,
J.D.
 
The fly on the bad lock looks to me to be just a hair too short and to be worn some. You can get one from L&R for a couple of dollars. Give them a call and if it ships tomorrow you'll probably have it in a couple of days.
 

Latest posts

Back
Top