frizzen to pan seal

Muzzleloading Forum

Help Support Muzzleloading Forum:

This site may earn a commission from merchant affiliate links, including eBay, Amazon, and others.

Brokennock

Cannon
Joined
May 15, 2011
Messages
8,019
Reaction score
11,178
Location
North Central Connecticut
Okay, so now that I can post photos, I can ask a few questions more clearly. The large Siler lock on my Early Virginia smooth Rifle is fast and smooth, but, the frizzen doesn't quite seal the pan. At first I though the corner where the bottom of the frizzen turns up to the face was hitting a small lip on the shooter side of the pan. (sorry about my lack nomenclature) I appears that something is hitting closer to the hinge.
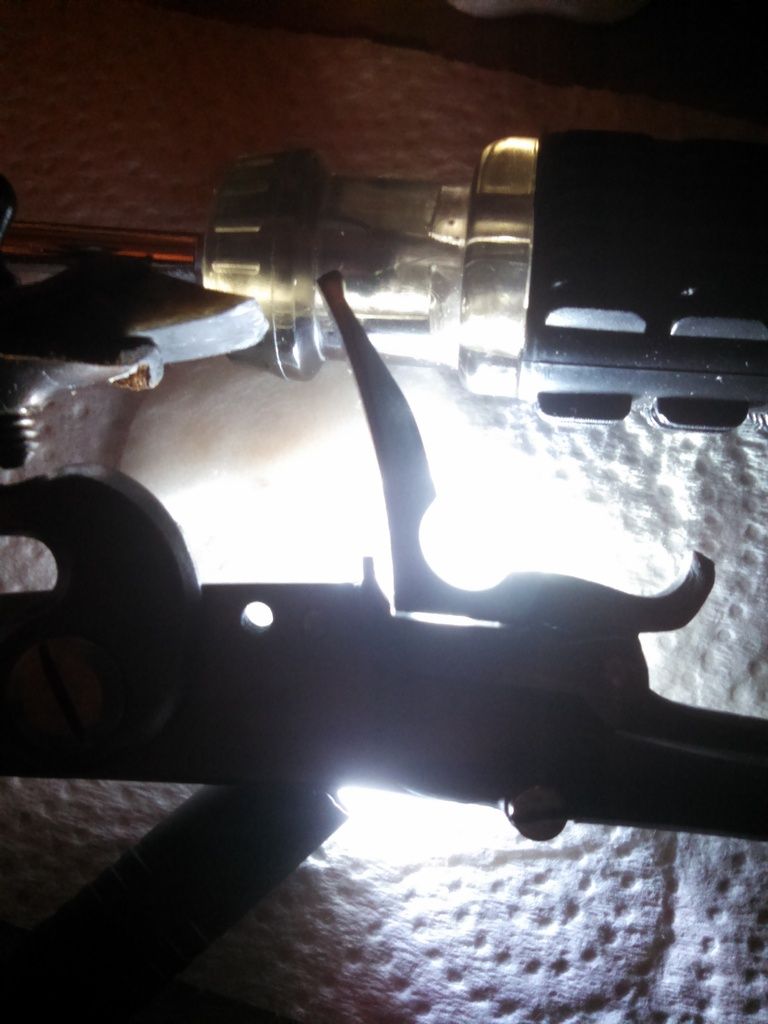
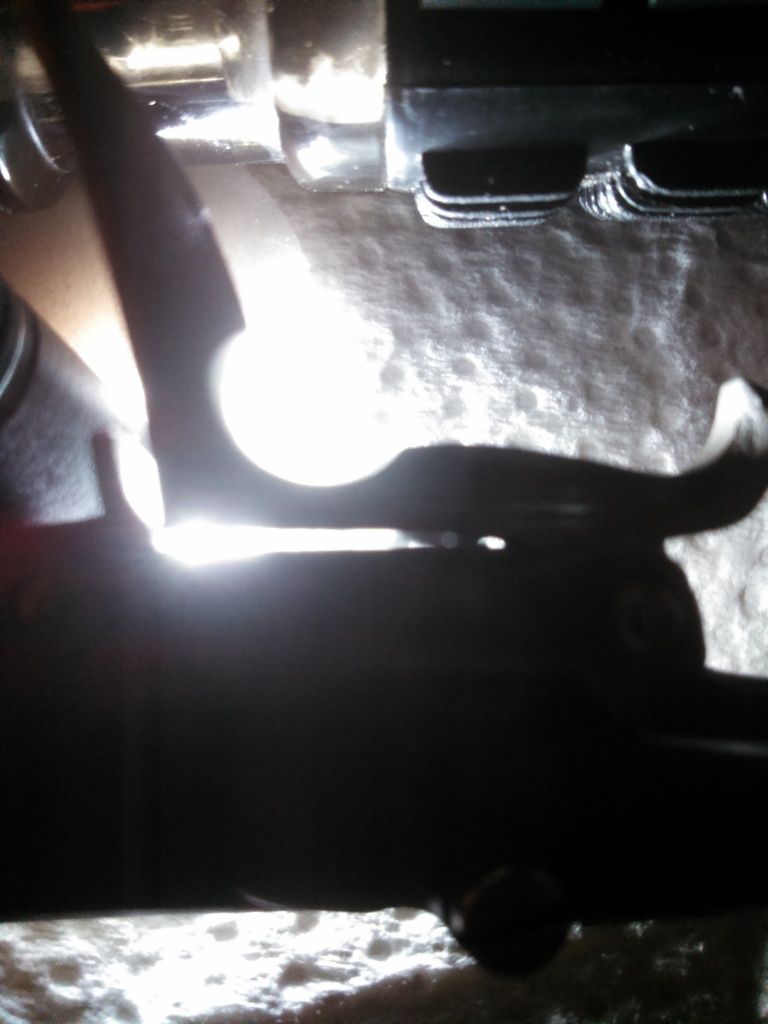


I think it is hitting the small circled triangle seen here,
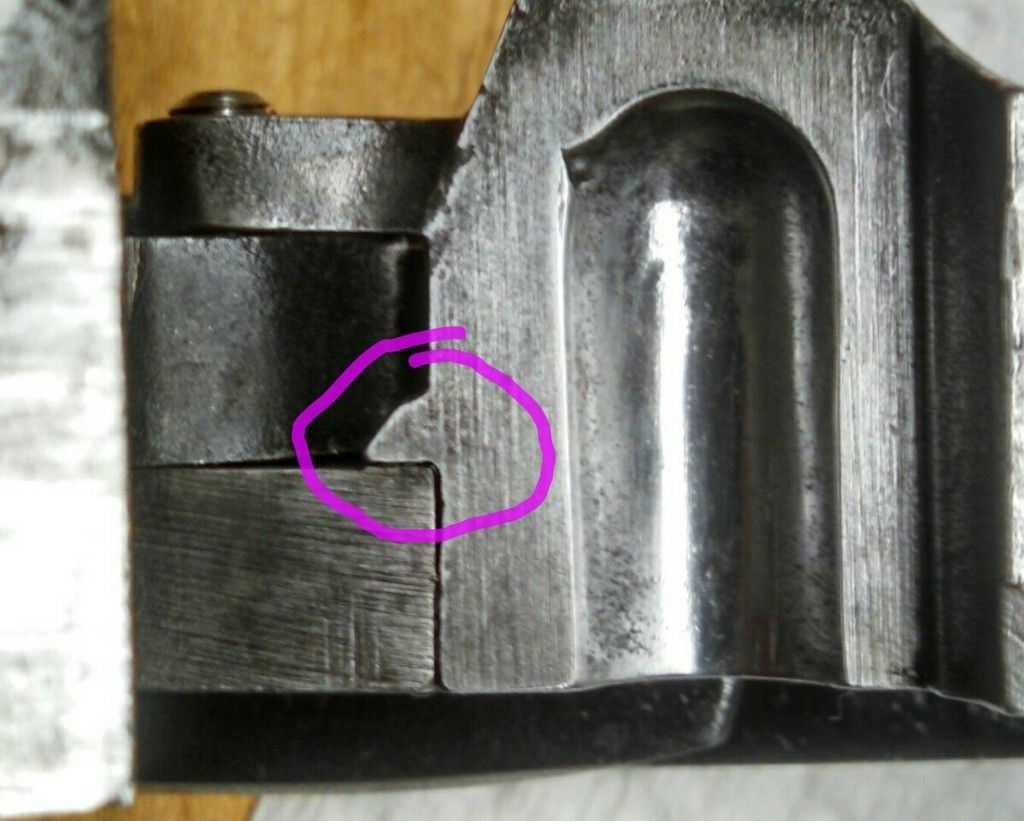


If not, it would almost seem the hinge is too high as the bottom of the frizzen seems parallel to the pan, but it's not touching.

Any thoughts?
 
I would think that nub blocks it. Try to remove the frizzen and frizzen spring. Slide the frizzen in and see how it fits. A small jewlers file should remove that easy.
 
Hi Brokennock,
Wow, that appears to be a big gap and needs work. Is this a gun you are building? Before you do anything, put some inletting black or Prussian blue on the bottom of the frizzen and close it on the pan. That will tell you where the problem is. Use needle files to remove metal from the pan where it is marked. Hopefully, your lock plate has not been hardened yet. It should be eventually, but it must be annealed so you can file the metal if it was hardened.

dave
 
Guys, in the photos it shows carbon in the inside of the lock below the edge of the pan...does that not mean there is a gap between the lock plate allowing the blast, or worse, some powder down into the gap?? Doesn't he need to address the lock's contact with the side of the barrel???

LD
 
It sort of looks like that to me too. The screw hole being off is lowering the pivot and is causing the frizzen to catch the edge, keeping it open at the pan. Raising the pivot point will raise the edge and allow it to lay flat.
Try removing the screw and position it so it lays flat over the pan and see if the screw hole lines up.
 
Loyalist Dave said:
Guys, in the photos it shows carbon in the inside of the lock below the edge of the pan...does that not mean there is a gap between the lock plate allowing the blast, or worse, some powder down into the gap?? Doesn't he need to address the lock's contact with the side of the barrel???

LD

I would be concerned if priming is going down the gap and building up but you will get some fouling from the priming in that area regardless of how tight the pan is. You can determine if priming powder is getting inside the lock mortice by simply removing the lock after a couple of shots. It would take quite a bit to cause damage but you still do not want it in there.
 
Evidently your Siler lock isn't made by Chambers....otherwise you could have him fix it.

I also think it's the frizzen pivot screw location....too low. Possibly a replacement frizzen?

When I started building LRs in 1977, the quality of the flintlocks was lousy so I bought some Siler kits and made my own. Then chambers started selling locks and I bought all my flintlocks from him....w/ the exception of one of which another lock assembler did a lousy job w/ a Siler flintlock kit. Took me quite a few hrs to correct the many defects and thereafter always bought from Chambers. Good luck w/ your problem.....Fred
 
Hi,
The problem is that the lock is not finished and the parts not fitted properly. I hope it is a build in progress because no lock that poorly finished should ever leave a commercial shop. There is no question that the Siler was not assembled by Chambers' shop.

dave
 
It is a finished gun that I purchased. It has no other issues and shoots great. I noticed the burnt area below the pan but it simply appears to be some of the beeswax and oil mix I use to protect the metal that got cooked. There is no powder in that area when the lock is removed.
 
Oh, and the gap isn't as enormous as the backlit photos suggest. Without the backlighting it is easily not noticed. I will try to post a normal picture of the lock with the frizzen closed when I can get to a desk top computer. Not sure if the pics will let you follow them as a link back to the photo bucket gallery they are from.
 
I finally got around to removing the frizzen spring, screw, and frizzen. I placed the frizzen on the pan as suggested and the screw hole lines up perfectly. There really seems no position in which the entire pan seems sealed by the bottom of the frizzen. I definitely see a contact point in the area I pointed out in a previous photo preventing the edges of the pan from sealing. I placed a small thin piece of metal on top of that area and the bottom of the metal sits above everything around it.

Any more fix it ideas? Will Chambers work on it for a fee if I send it to them?

As I said earlier, the gap isn't huge, 4f priming powder does not even leak out of it, but knowing it's there bothers me, and I know I need to really slather on the wax/oil lube to seal it hunting in wet weather which I don't find ideal. I would like to get it fixed right, but can wait a couple months till hunting season ends if need be.
 
It's not going to make any difference. You have you seen liquid wick through the tiniest crack. Even the later English "waterproof" pans were not really water proof.

It is a finished gun that I purchased. It has no other issues and shoots great.
Why worry?
 
If your gap is too large, you will lose fine priming powder through the crack. You can either use larger prime (3F) or fix the gap.
Use a felt tip marker to color the top mating surface of the pan. Place a small strip of thin sandpaper between the pan and cover and then pull it out. The shiny areas will indicate the high spots. If they are large, then the pan is close to where it needs to be, if small then you need to do a little work.
 
I usually prime with the same 3f as my main charge while hunting. I prime with 4f at the range. I placed a priming charge in the pan and closed the frizzen then shook it pan side down over white paper, no flecks of powder on the paper.

It basicly just bothers me knowing it's there. And I'm concerned that if I put too much sealant on it while hunting that it won't open properly.
 
54 ball.

I agree, I have never found a method to truly waterproof a pan. Grease, wax, or other elixirs will work for a short time but a cow's knee is about the best.

That, plus after the first 5000 rounds, what you did orignally has loosened up. Tight fit is a product of constant vigilance.
 
When i drilled and tapped my small Siler, i got the hole for the frizzen off on an angle due to bit flex. i welded up the holes, ground and filed the welds, redrilled (Much more carefully) tapped after checking for true. works great.
 
To make the pan fit.
First the frizzen pivot hole has to be drilled in the right place.
Then the use of files and scrapers, usually on the pan, with a magic marker (or a candle to smoke the parts) to show the high spots will fit the parts till they are essentially water tight. But it takes patience and some skill with tools. Few American LR locks were of this quality. The better to best English locks and the better ones imported here were or at least very close when new.

Dan
 
Back
Top