• Friends, our 2nd Amendment rights are always under attack and the NRA has been a constant for decades in helping fight that fight.

    We have partnered with the NRA to offer you a discount on membership and Muzzleloading Forum gets a small percentage too of each membership, so you are supporting both the NRA and us.

    Use this link to sign up please; https://membership.nra.org/recruiters/join/XR045103

Hawken Investarm Kit

Muzzleloading Forum

Help Support Muzzleloading Forum:

This site may earn a commission from merchant affiliate links, including eBay, Amazon, and others.

pc.knife

40 Cal.
Joined
Jul 1, 2008
Messages
180
Reaction score
1
Some time ago I ordered a set:
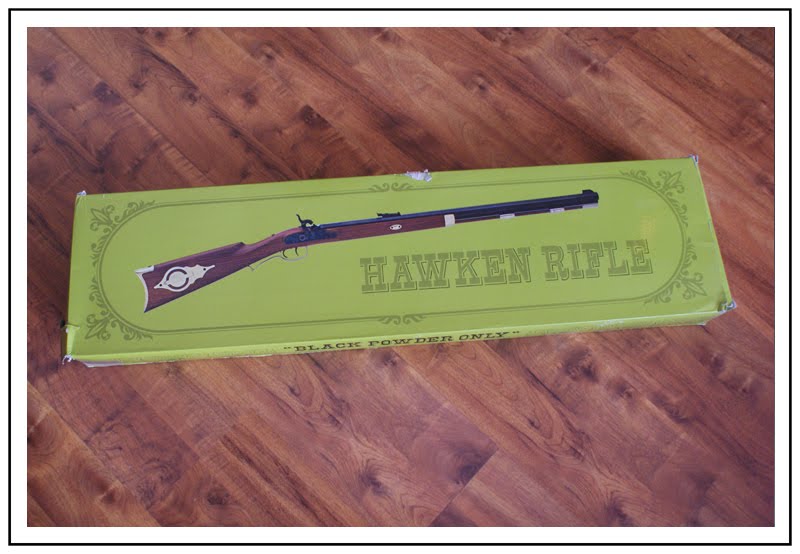
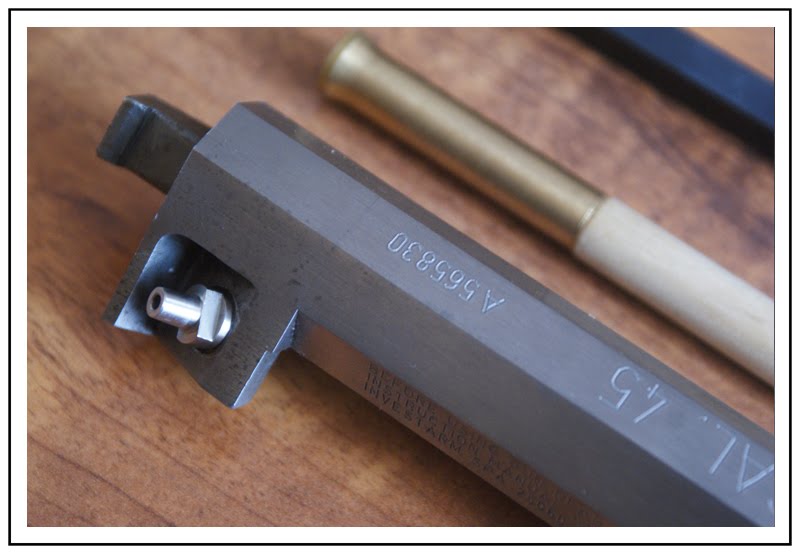
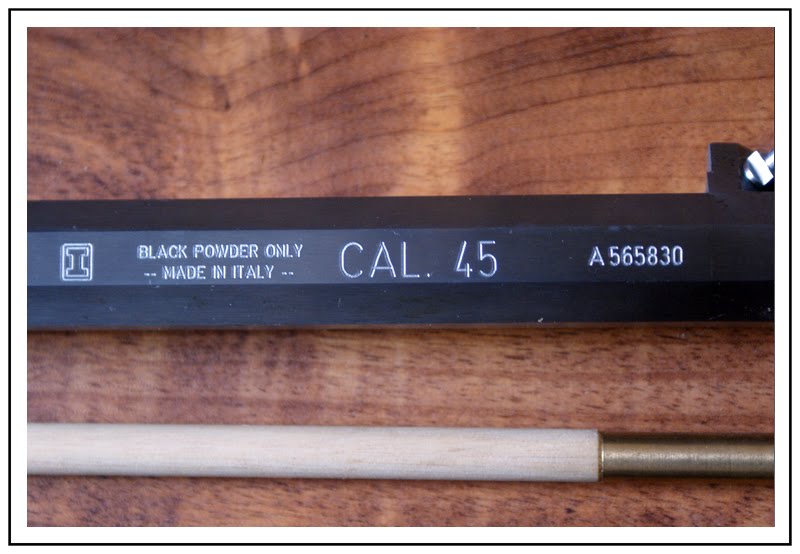
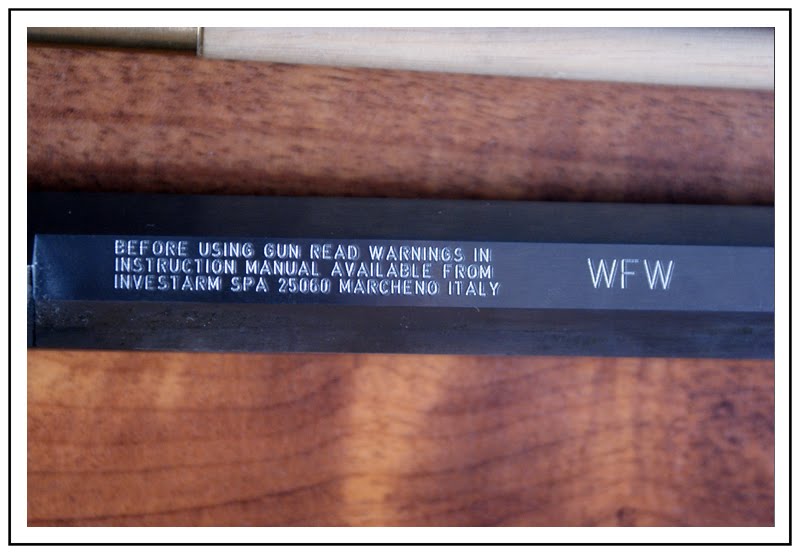
Investarm Hawken Kit
CAL 45, 1:48 pitch, total length 114cm, weight ~ 3.7 kg

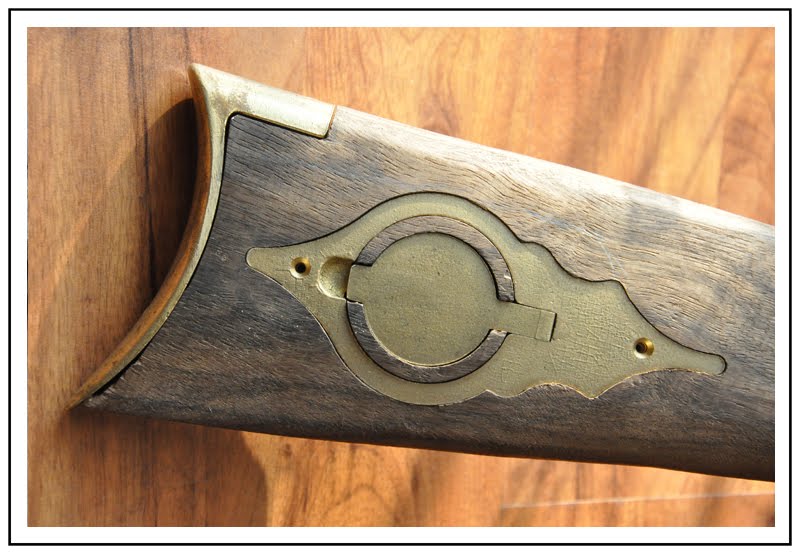
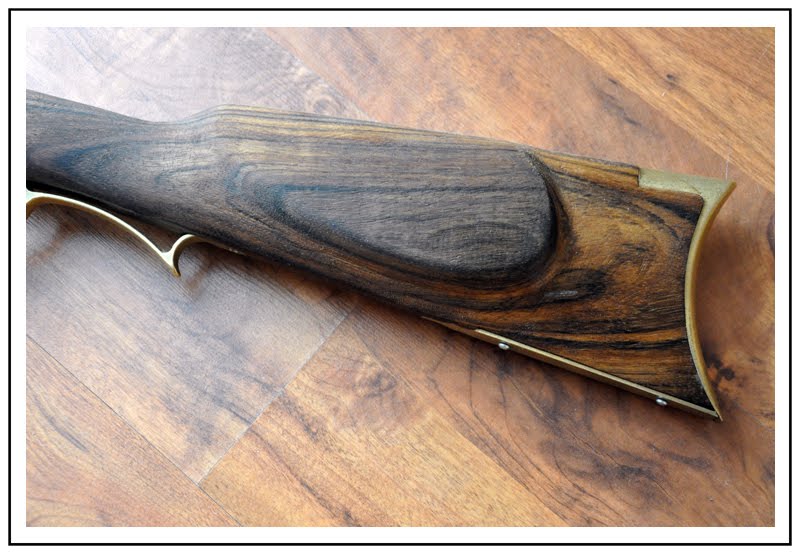
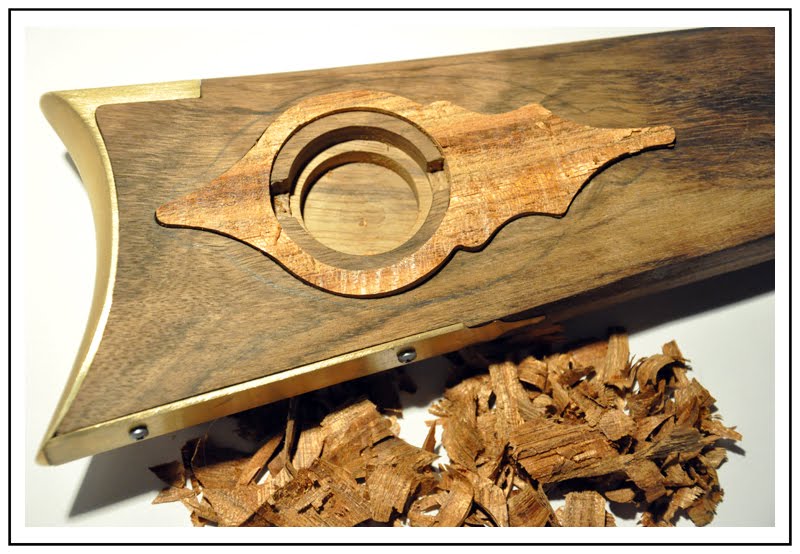
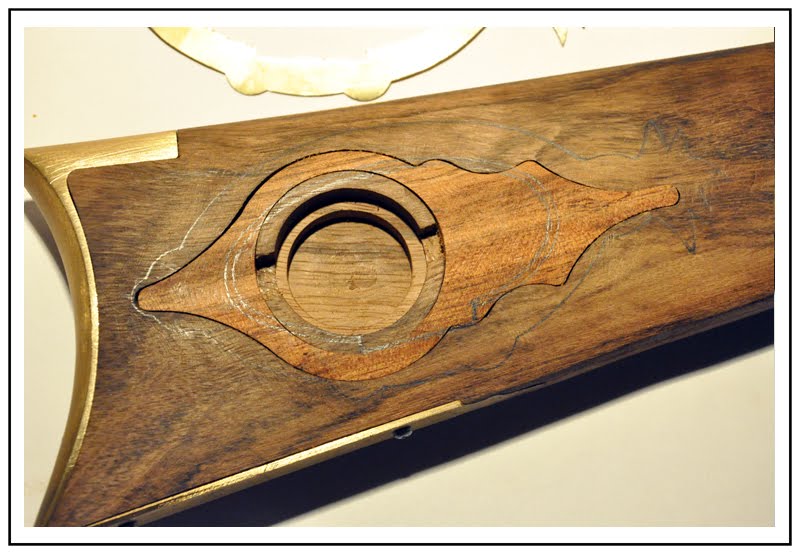
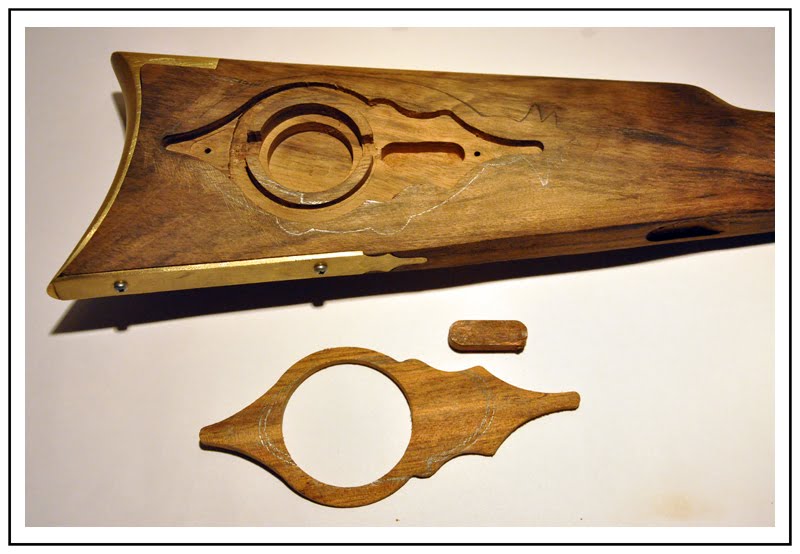
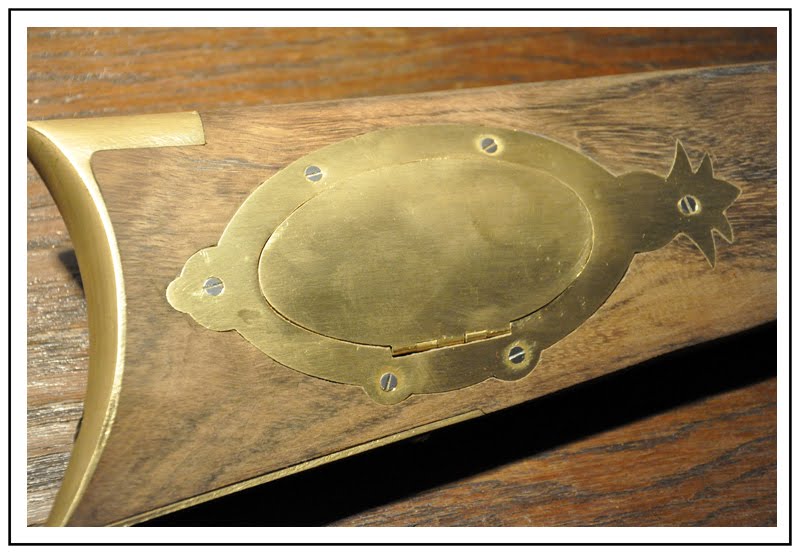
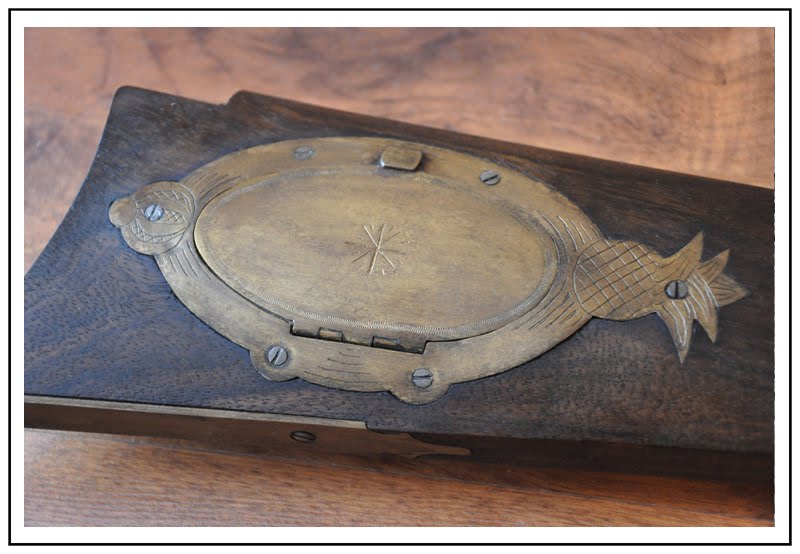
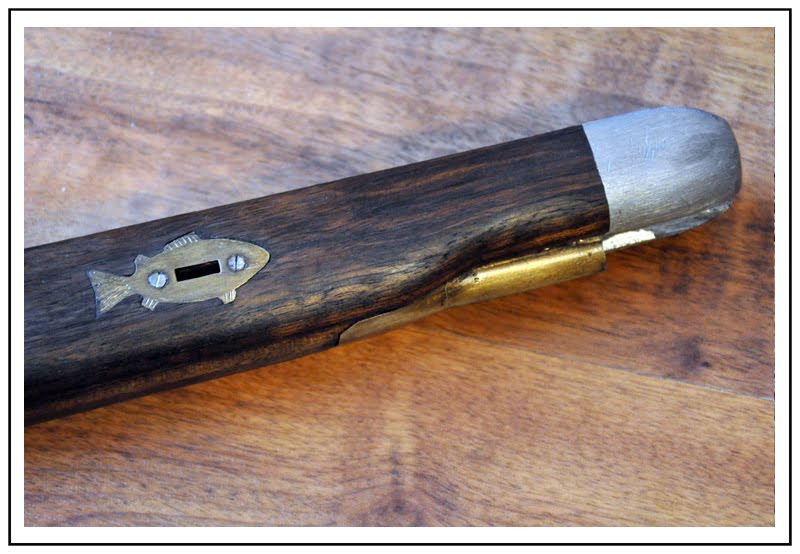
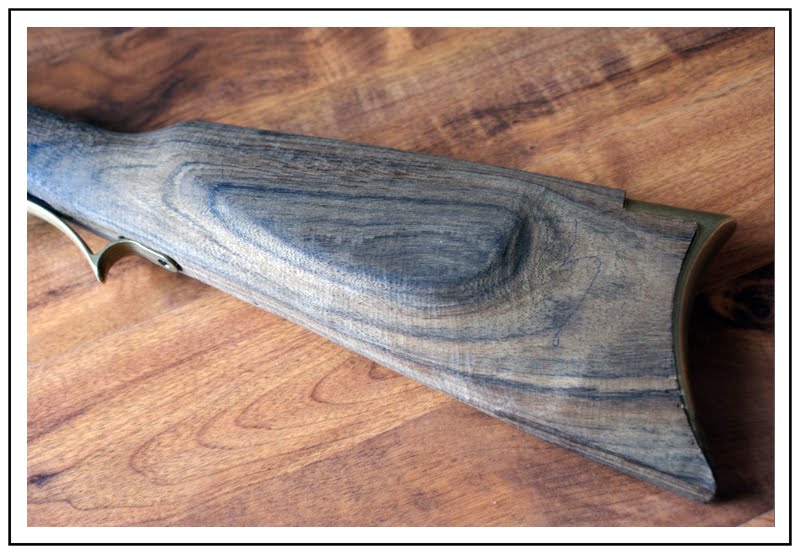
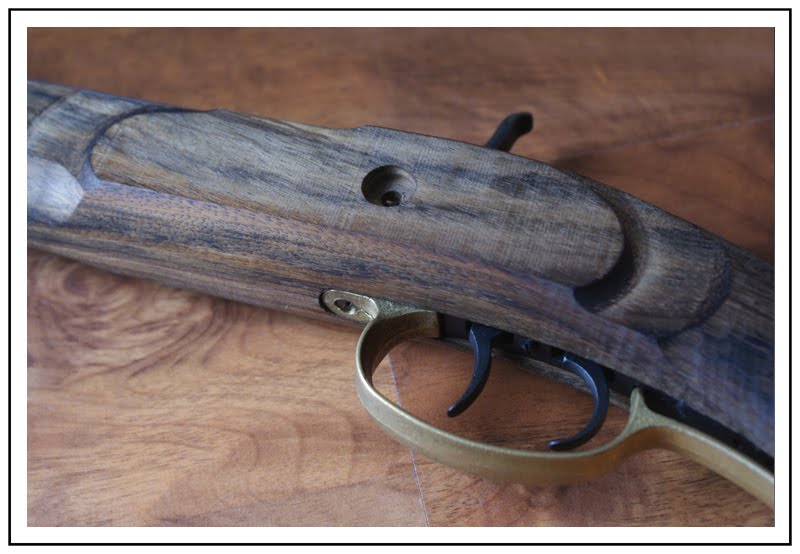
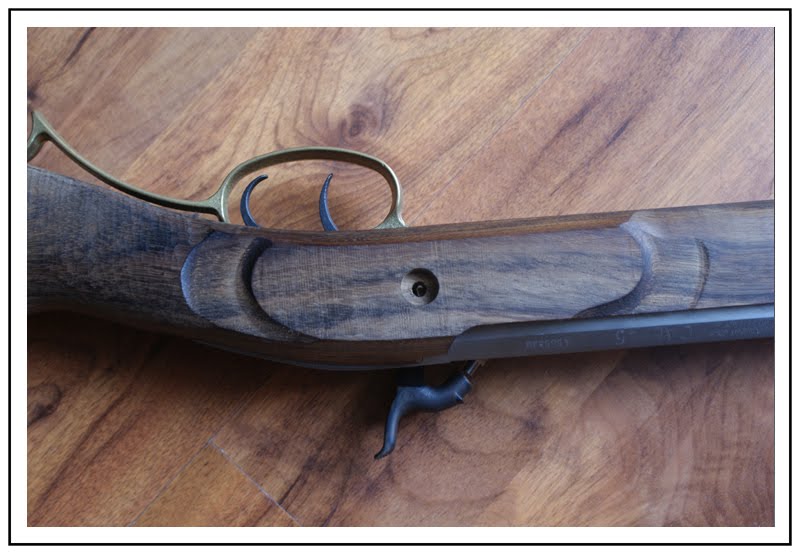
I was looking for something with a nice wood and managed to ... stock has a beautiful color and grain.

This was the set after unpacking the package

3.01.jpg


3.02.jpg


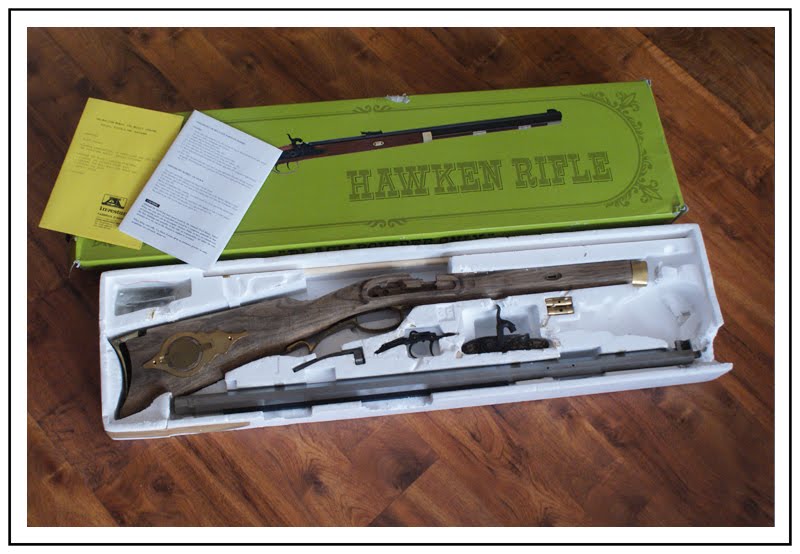
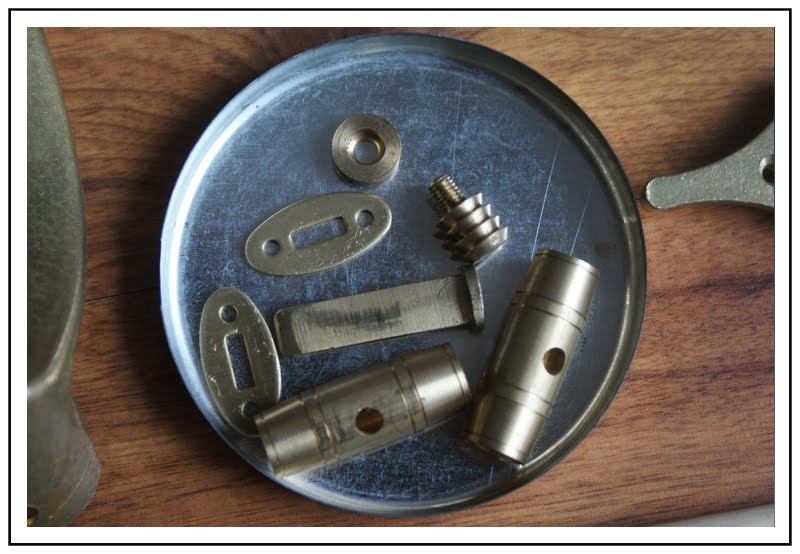
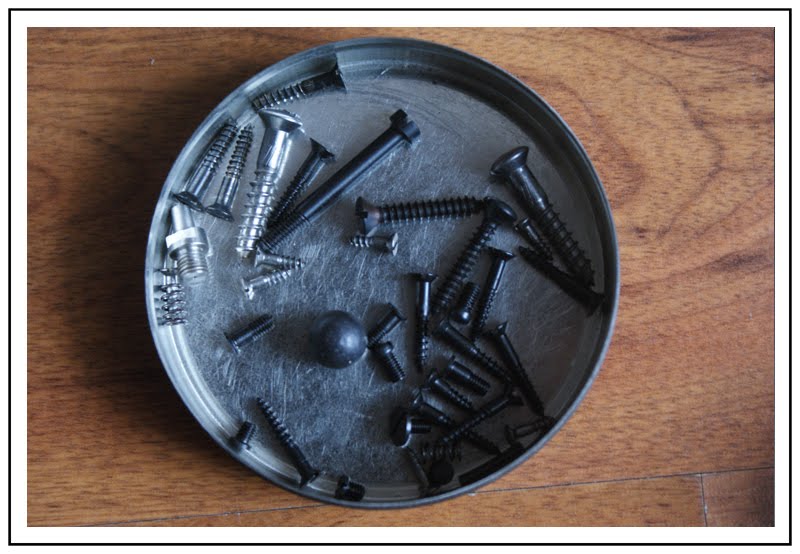
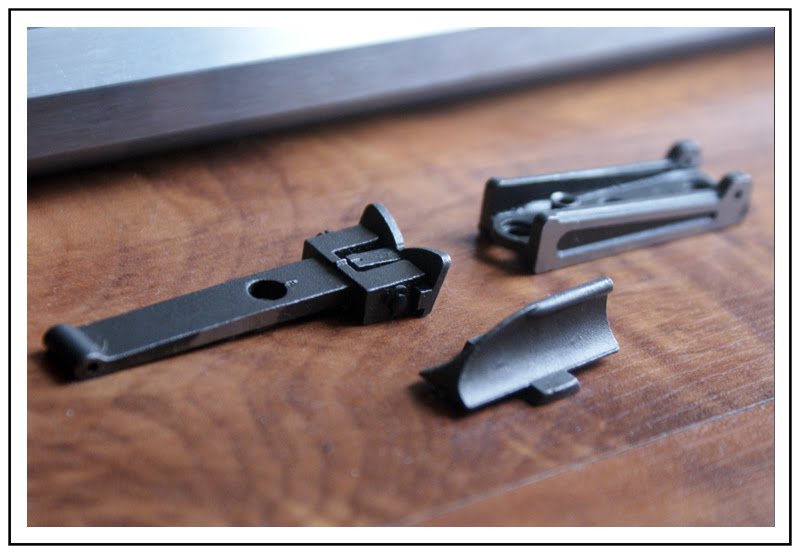
All items taken out of the box

3.03.jpg


3.04.jpg


3.05.jpg


3.06.jpg


3.07.jpg


3.08.jpg


3.09.jpg


3.10.jpg


3.11.jpg


3.12.jpg


3.13.jpg


3.14.jpg


3.15.jpg


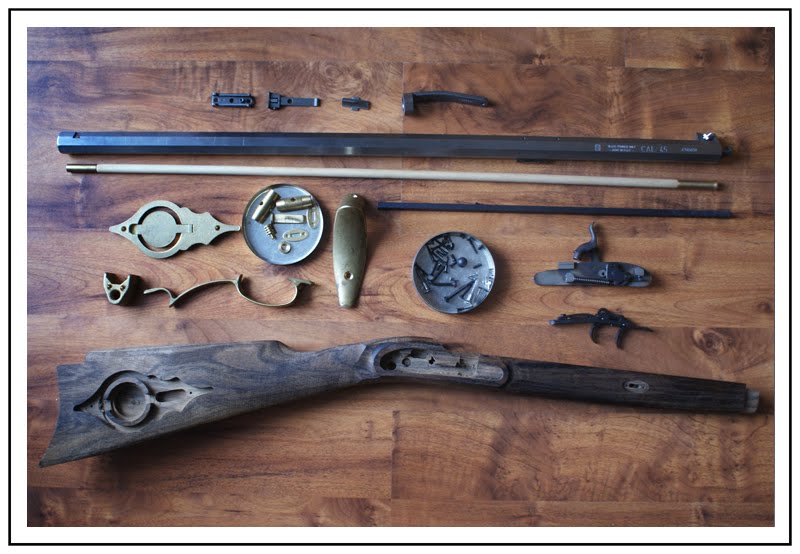
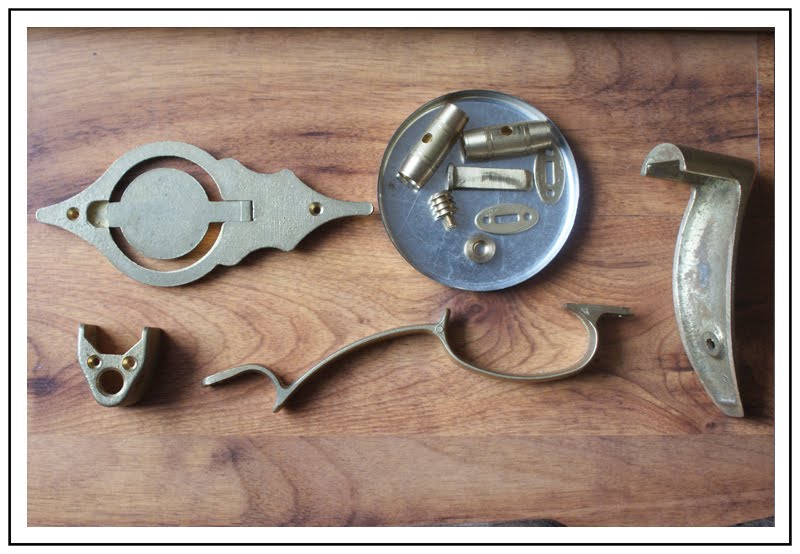
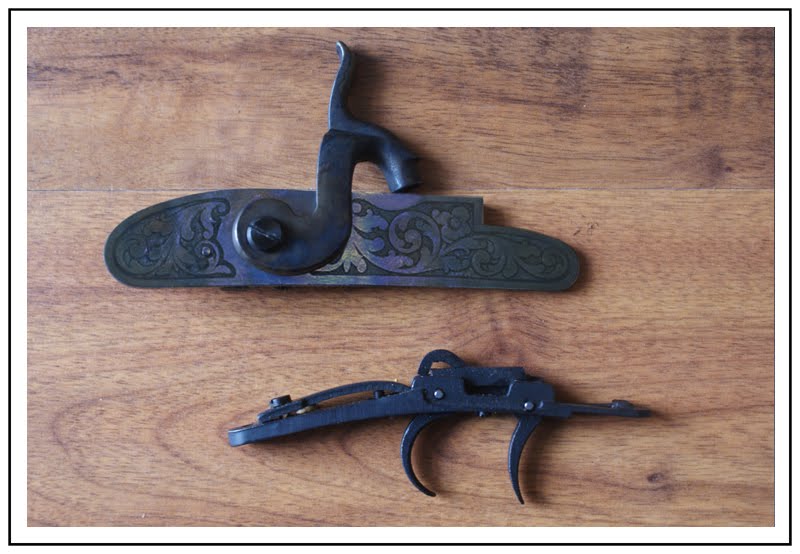
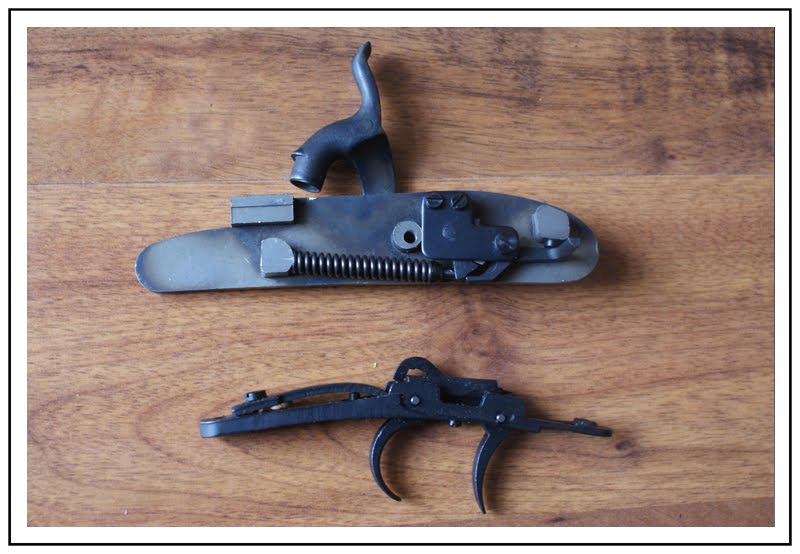
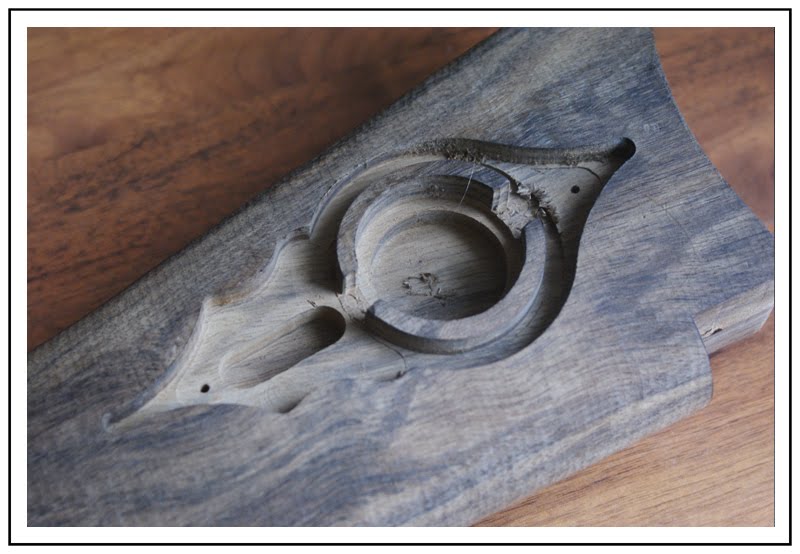
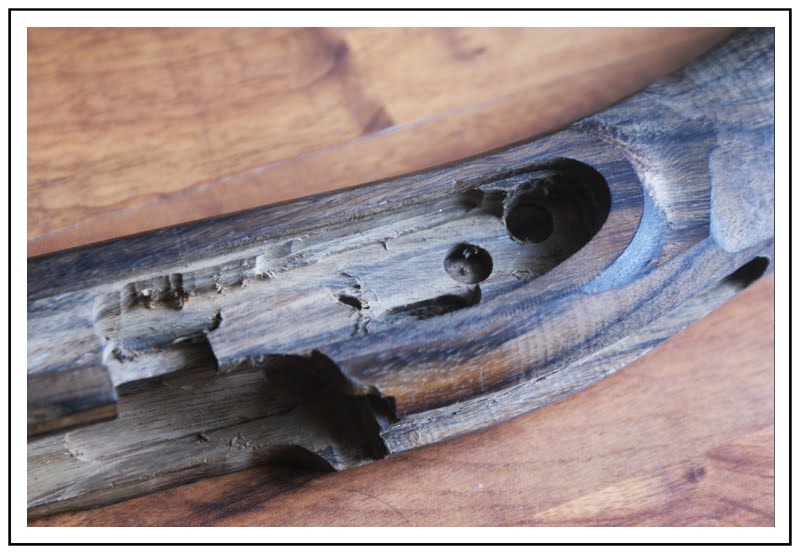
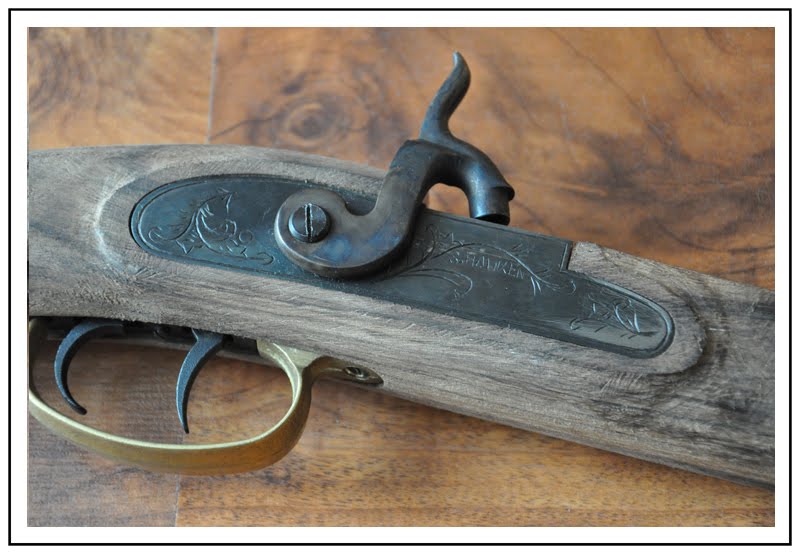
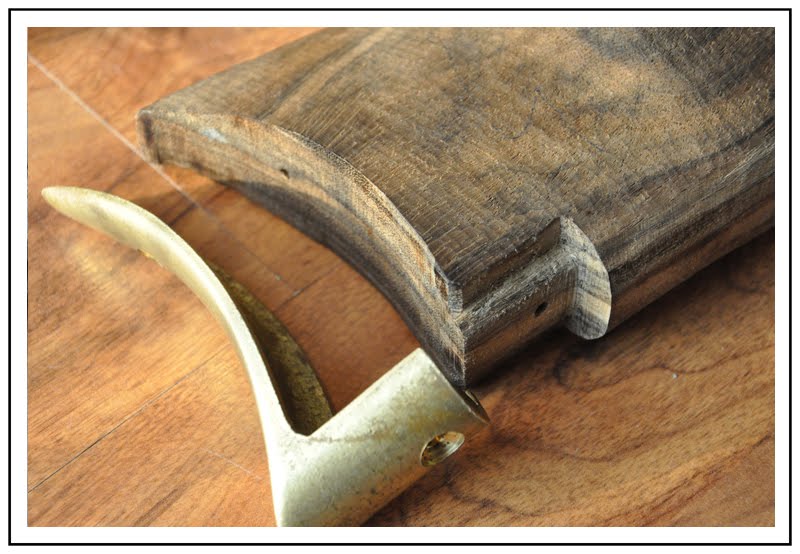
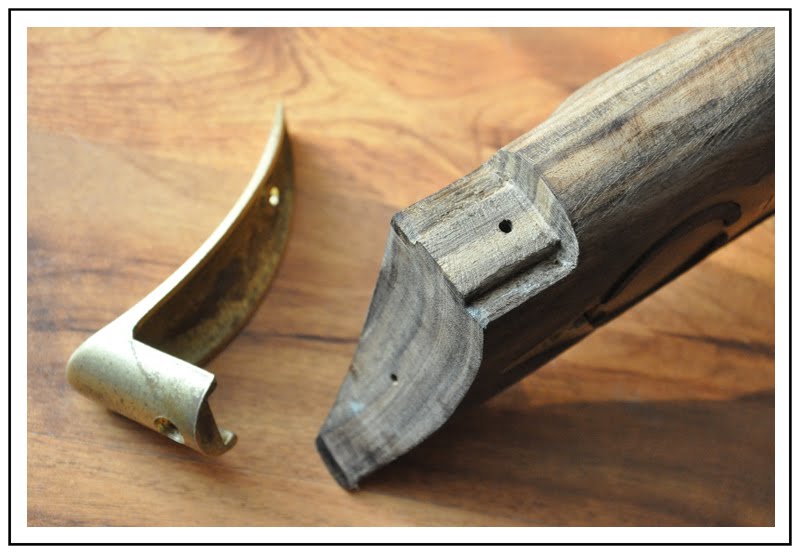
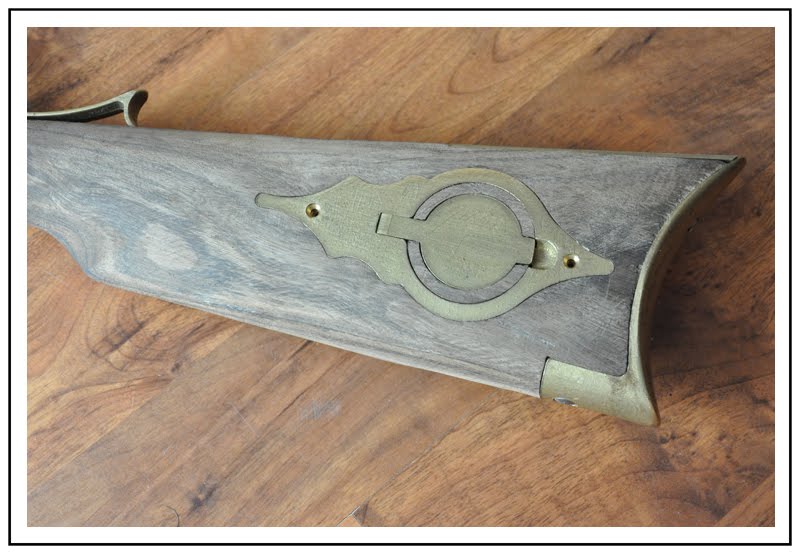
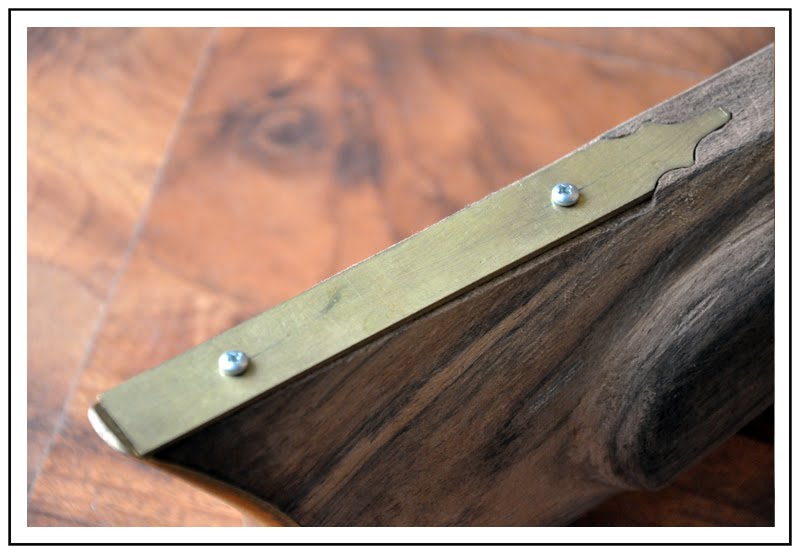
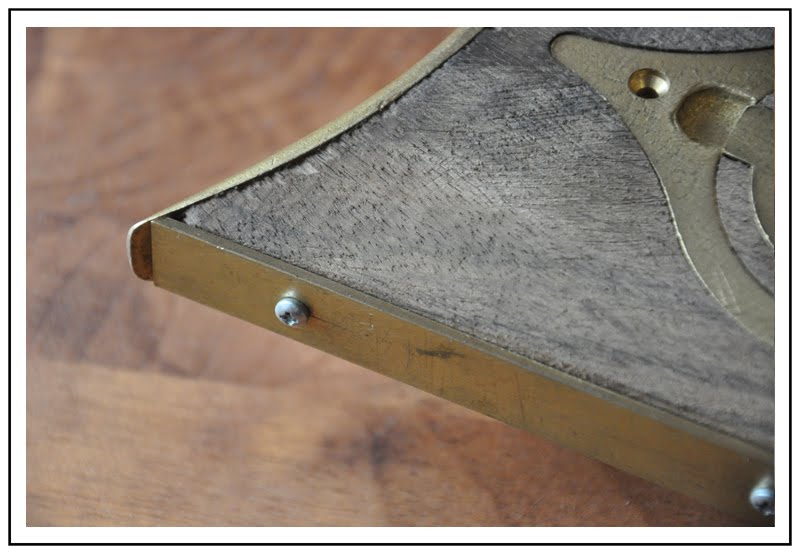
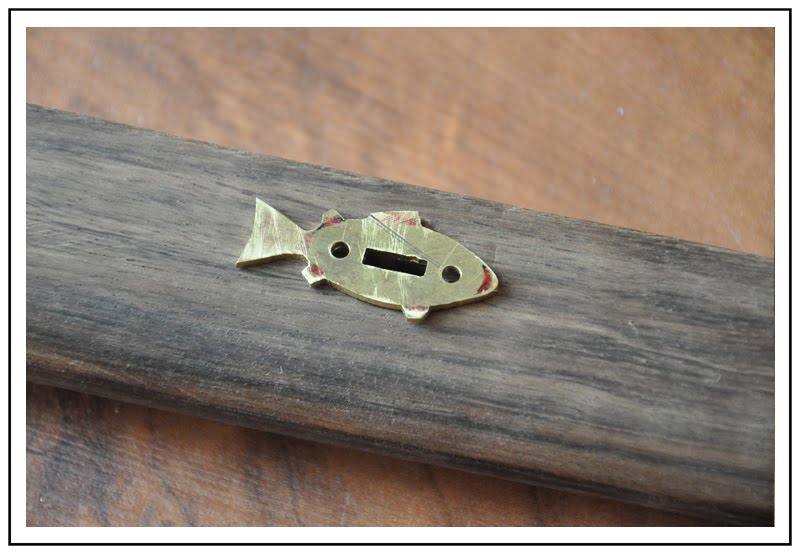
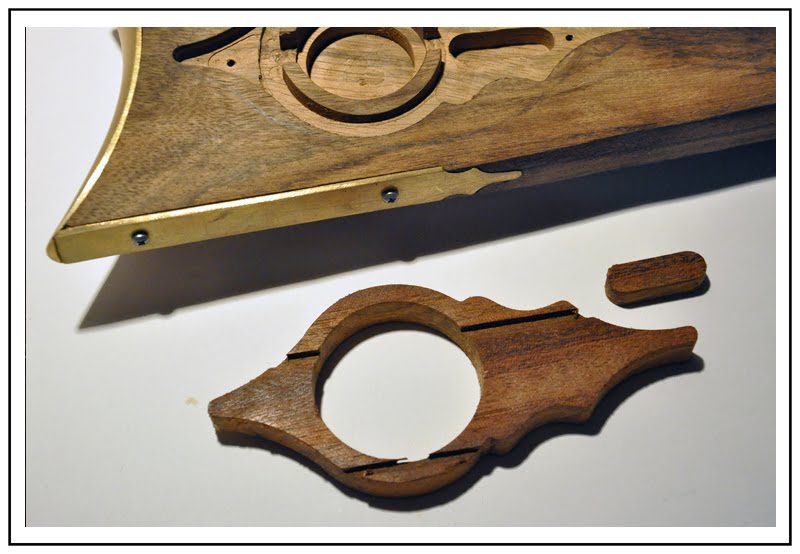
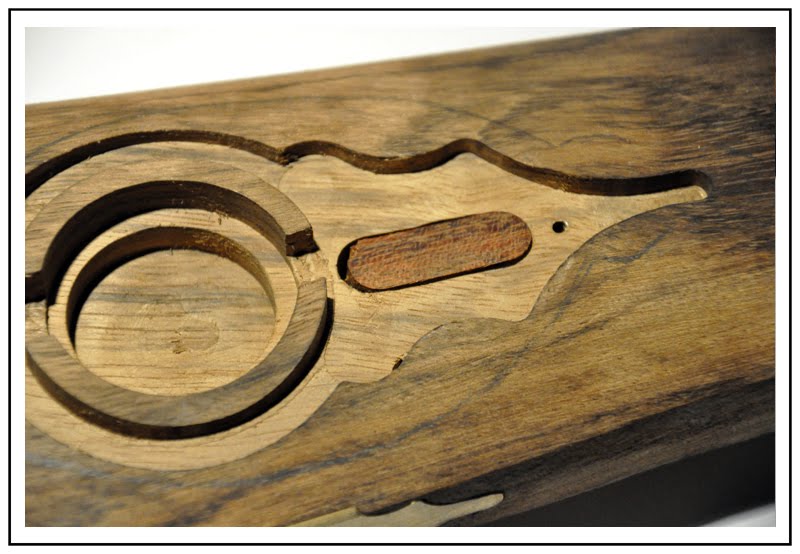
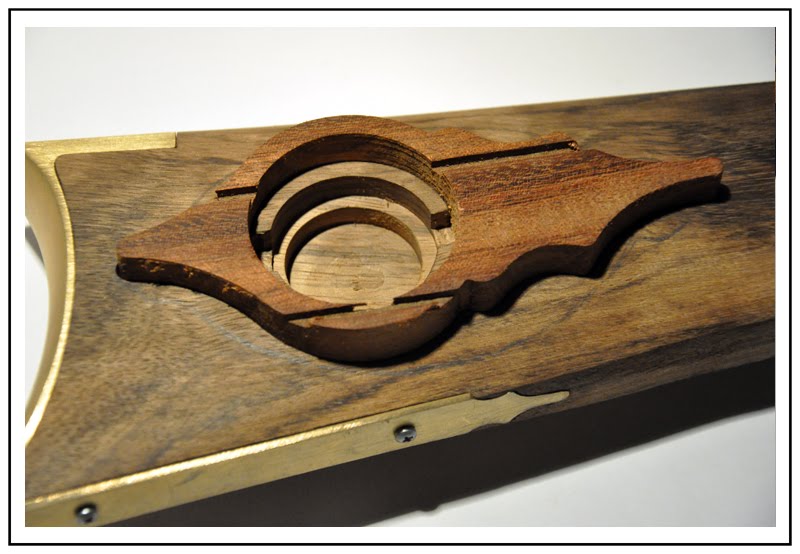
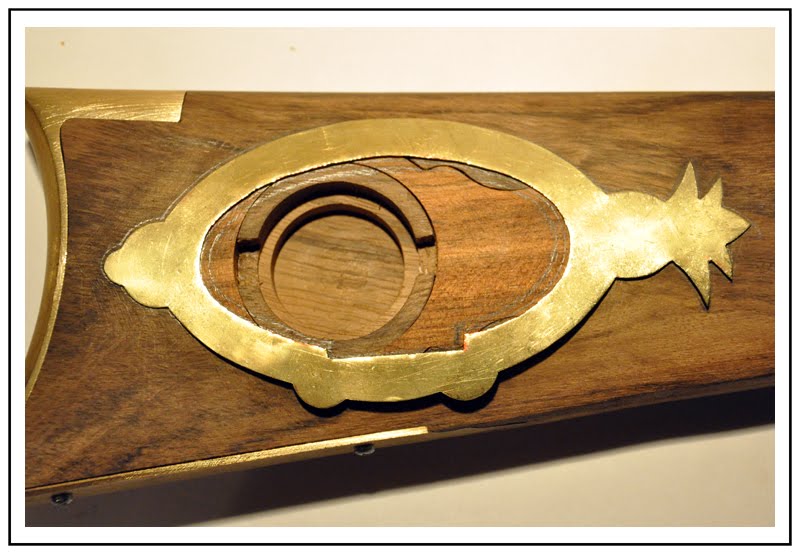
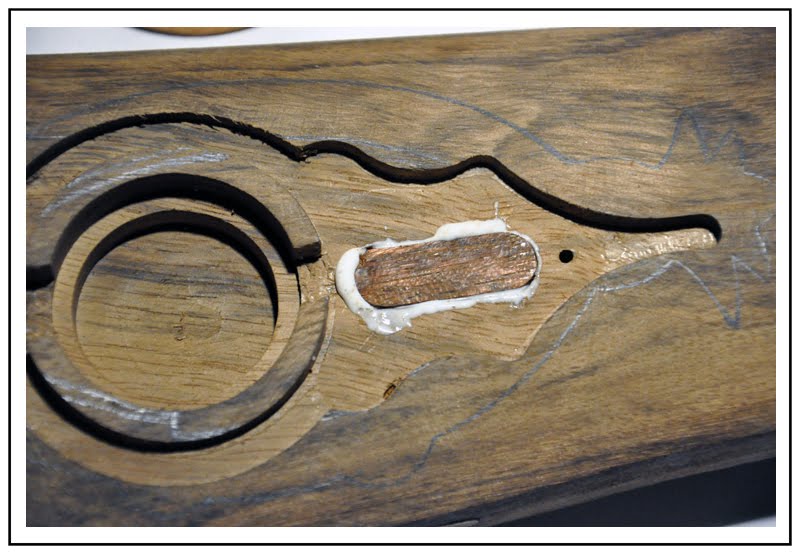
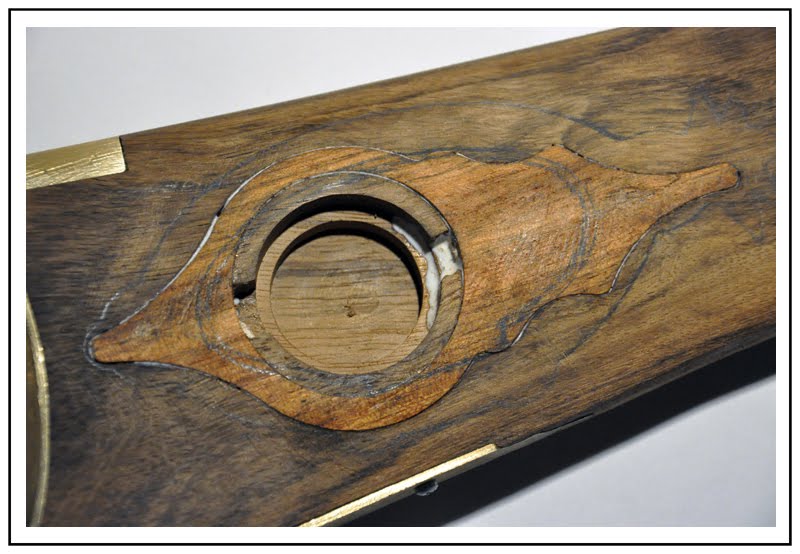
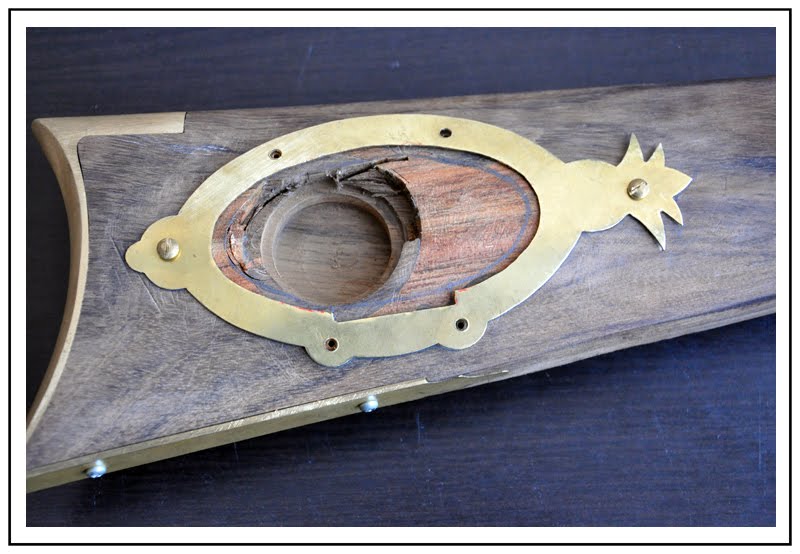
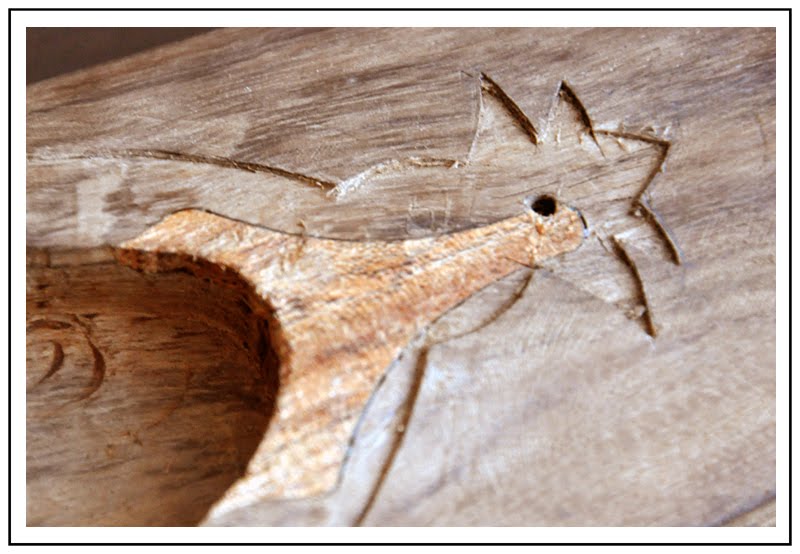
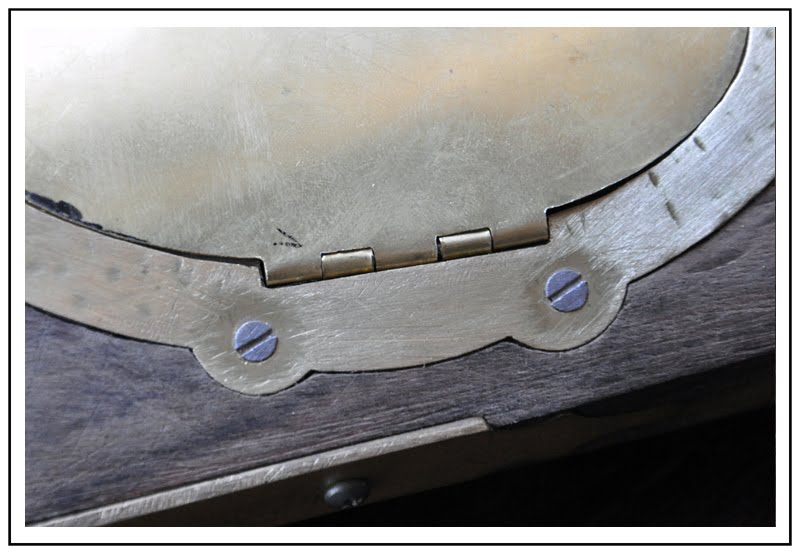
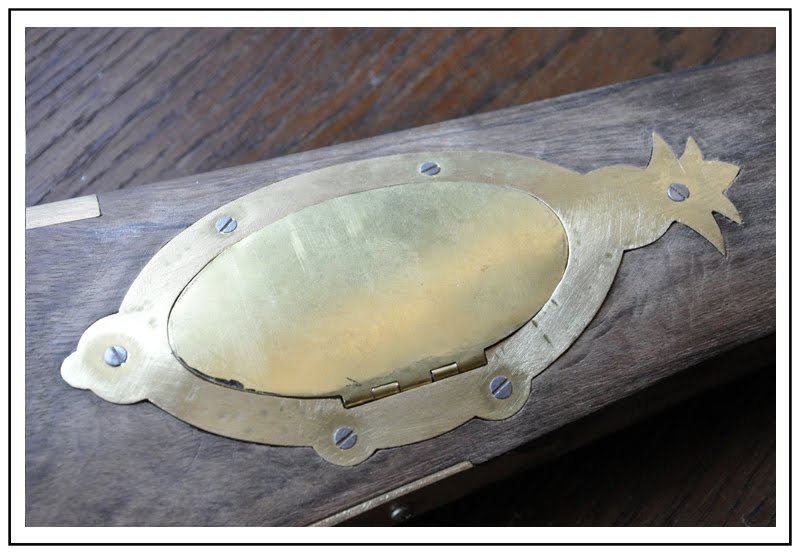
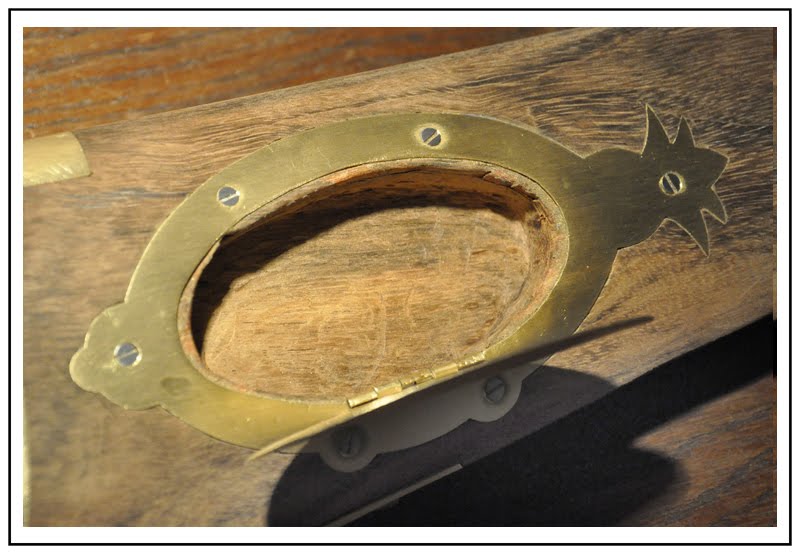
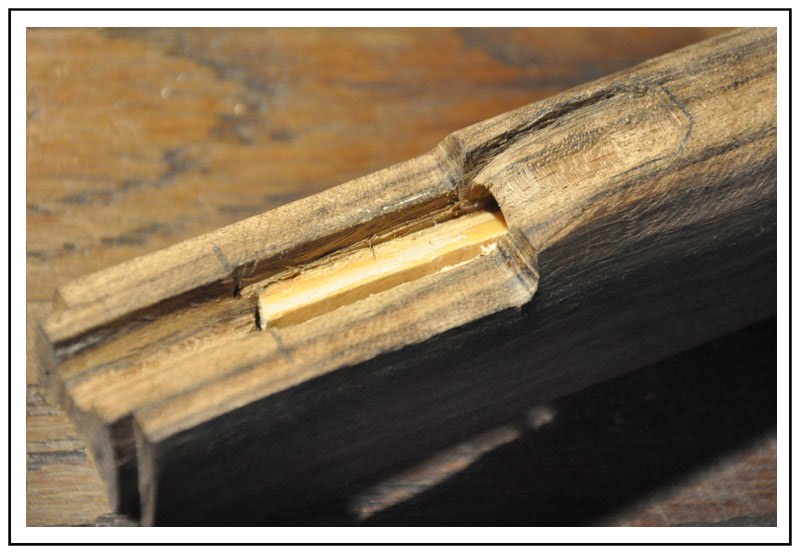
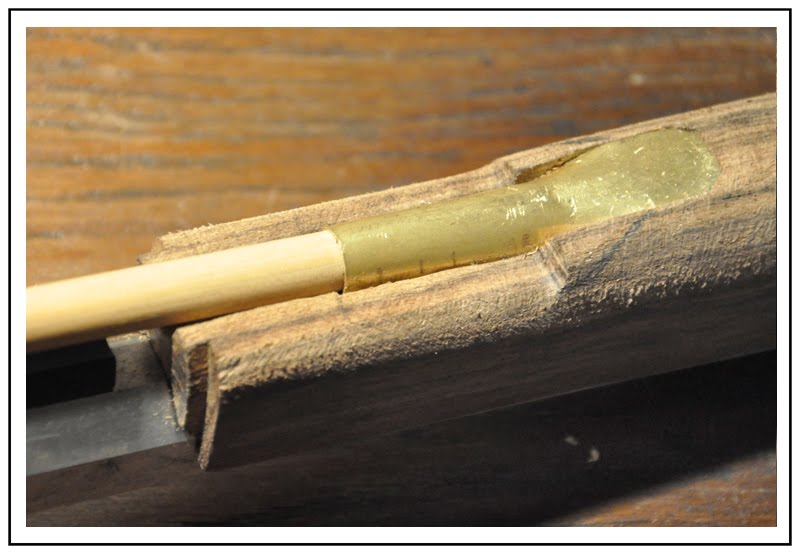
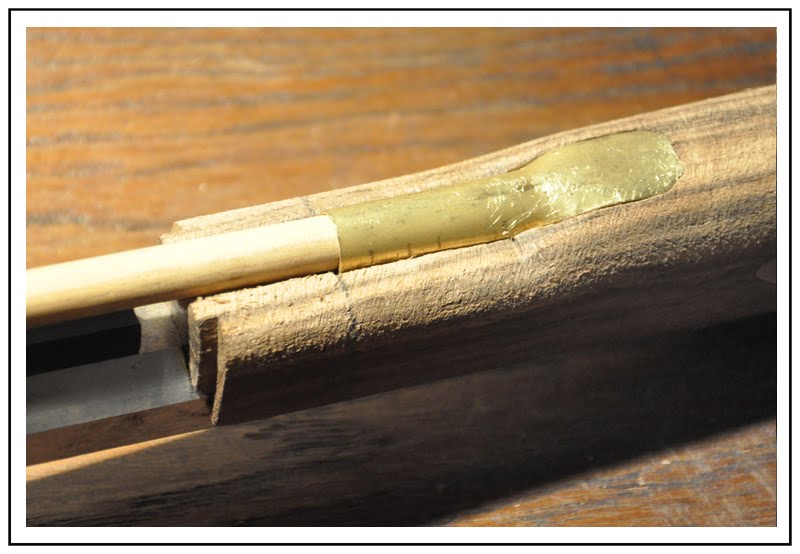
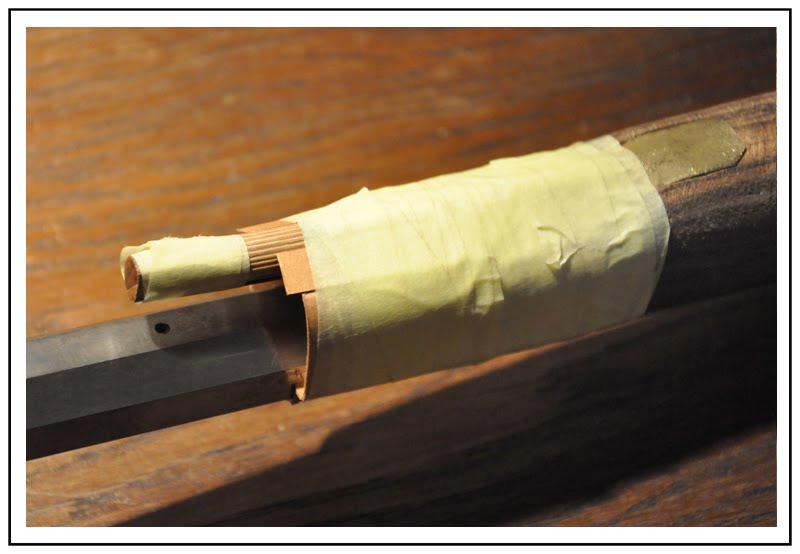
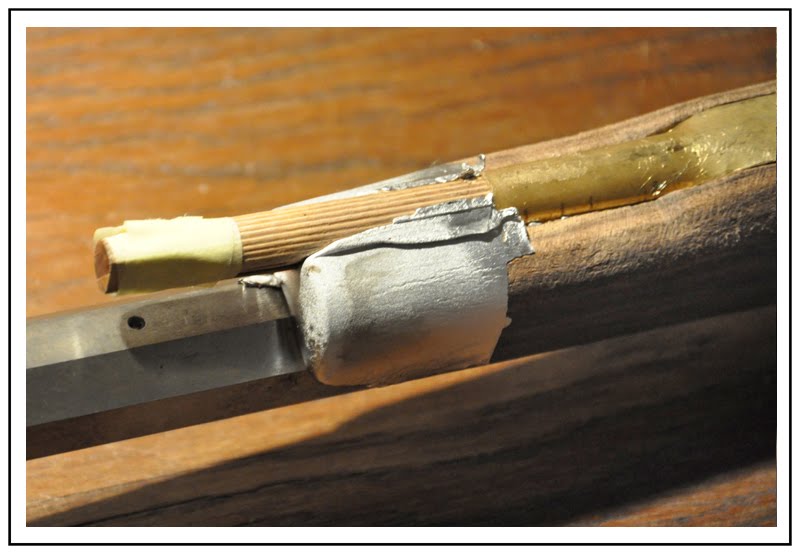
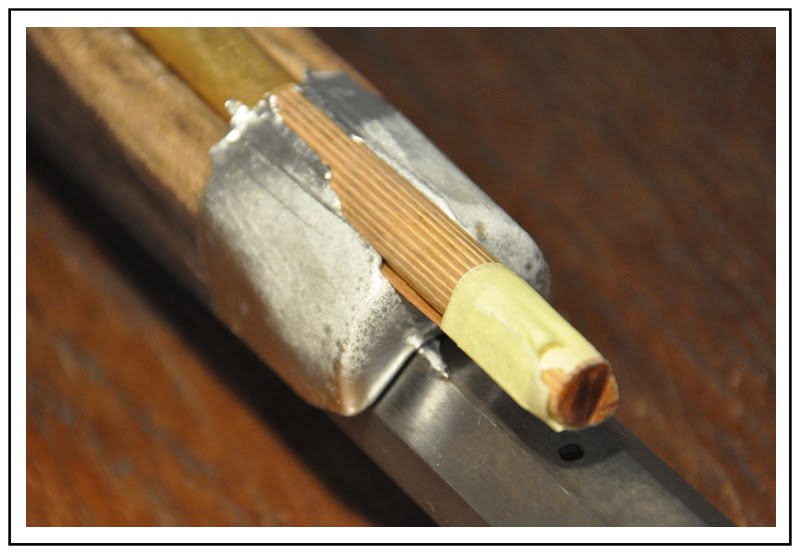
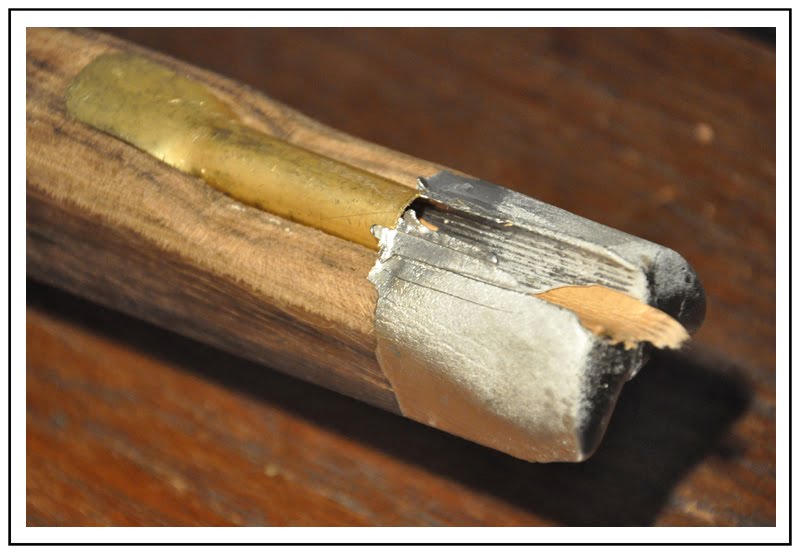
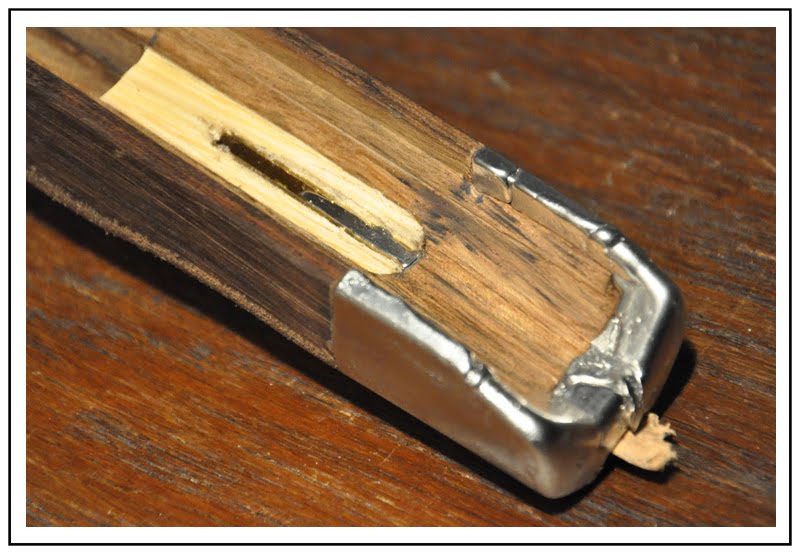
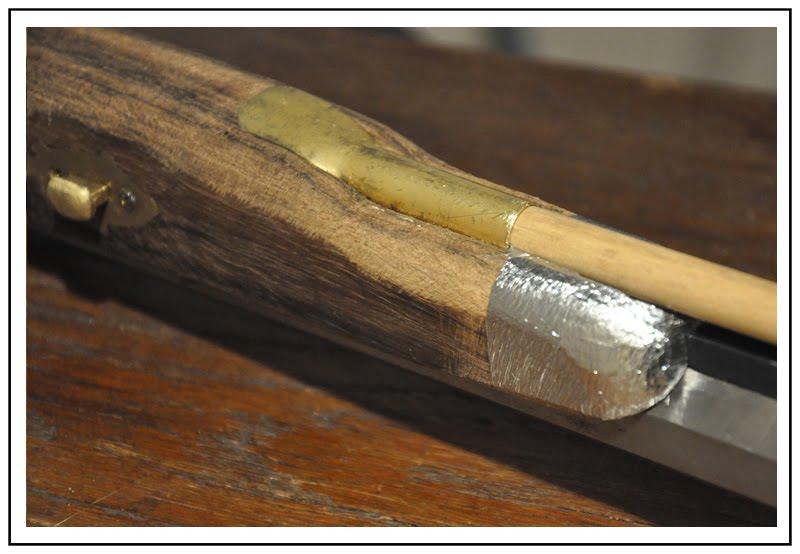
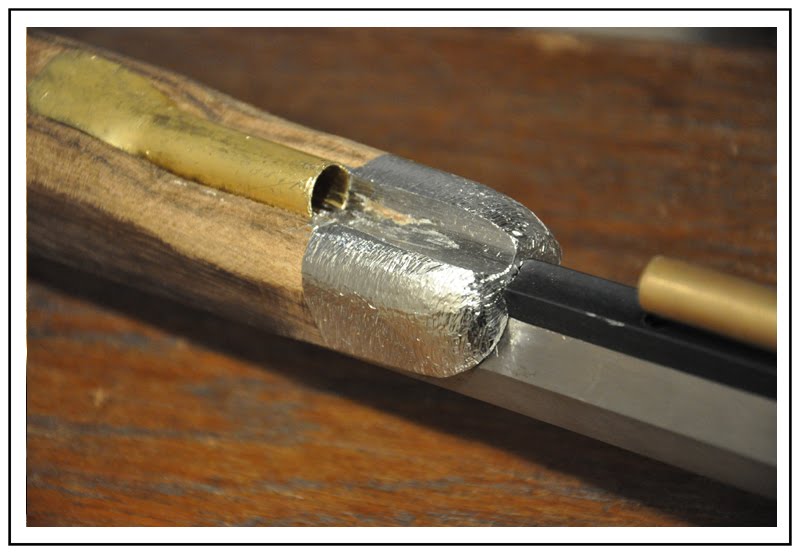
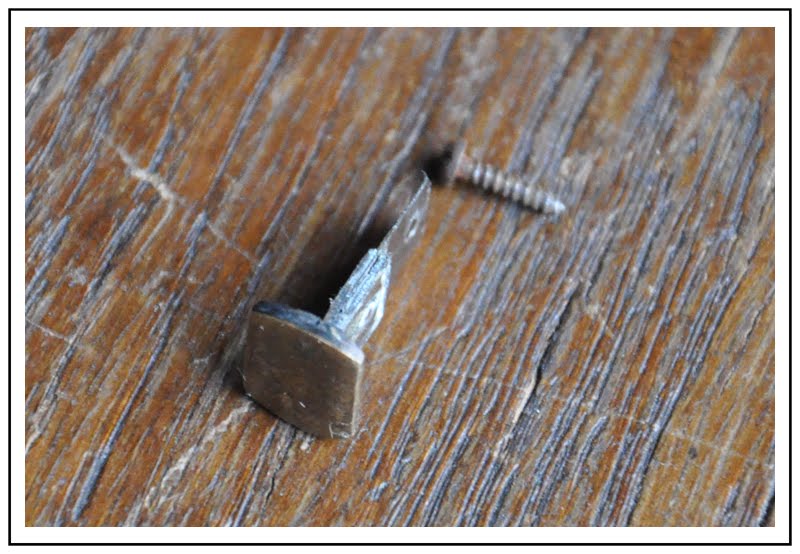
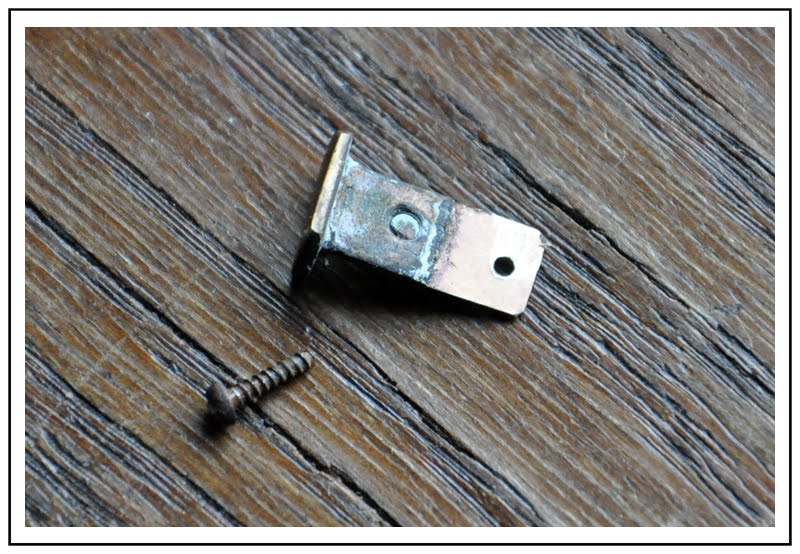
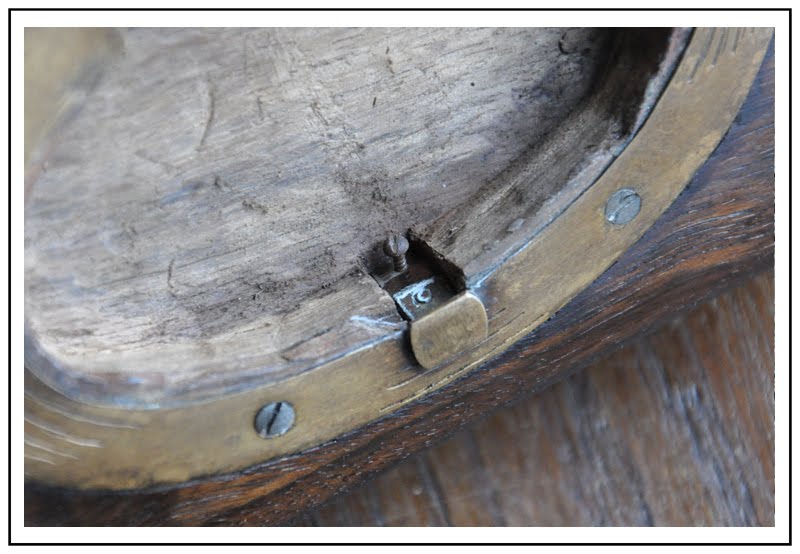
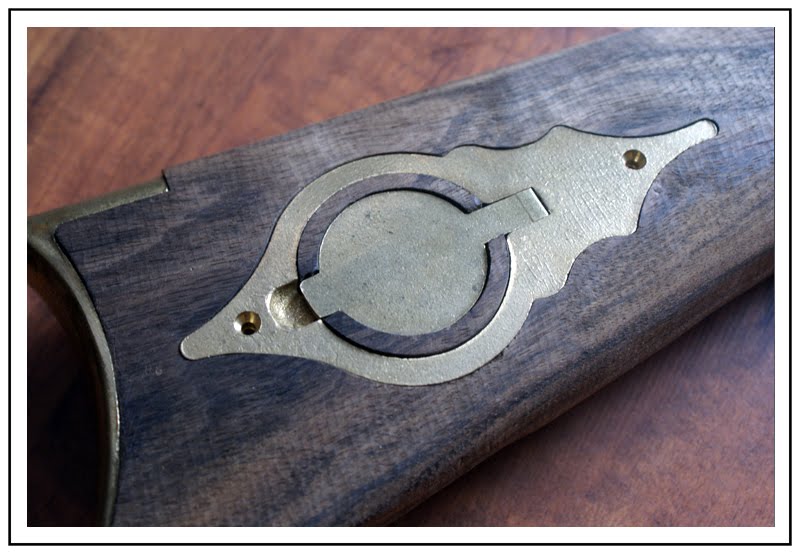
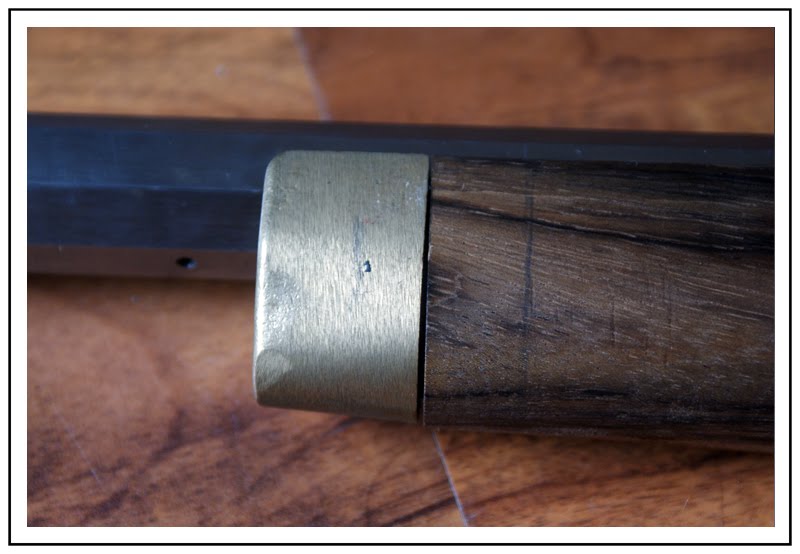
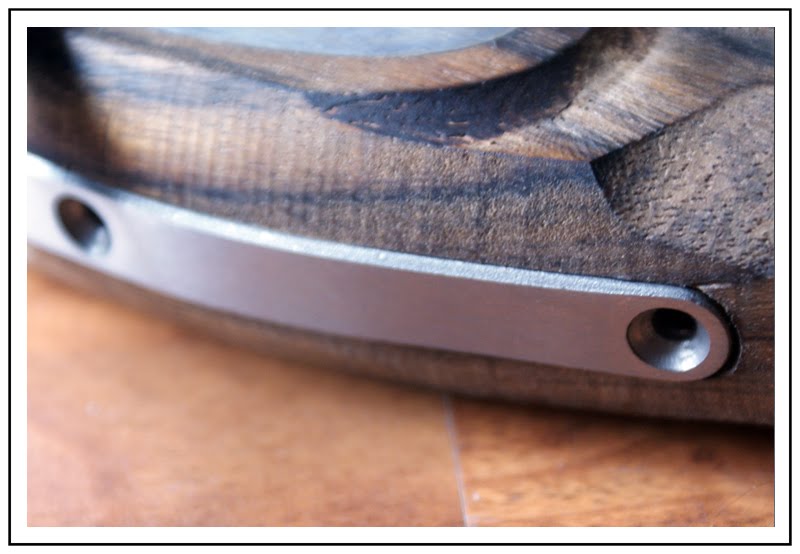
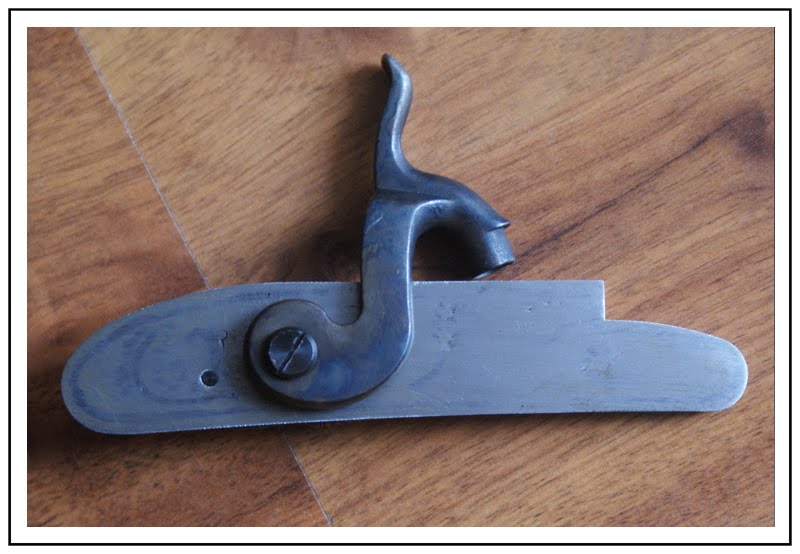
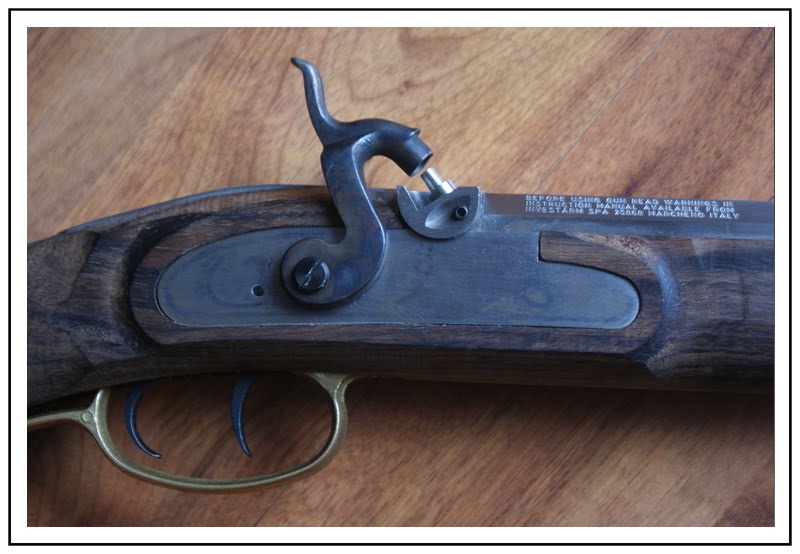
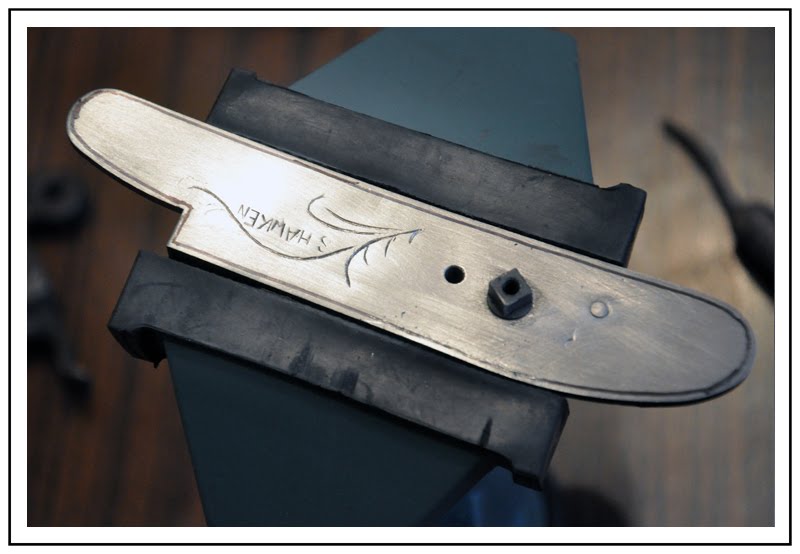
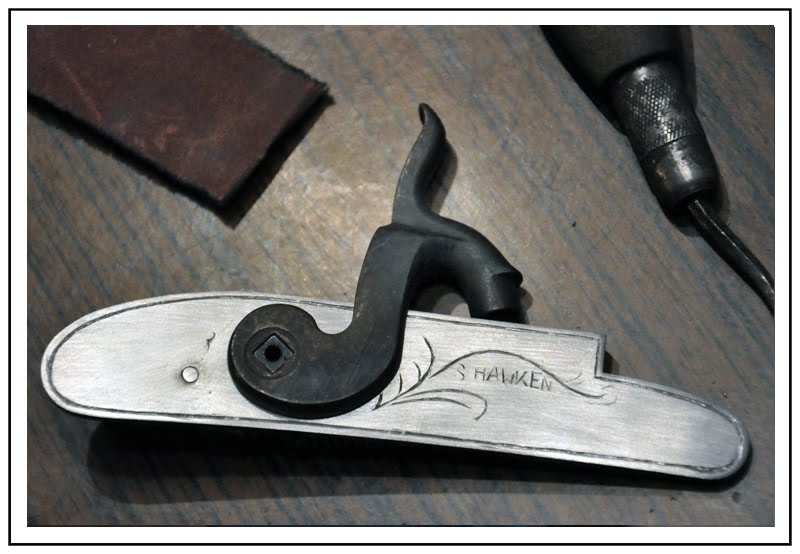
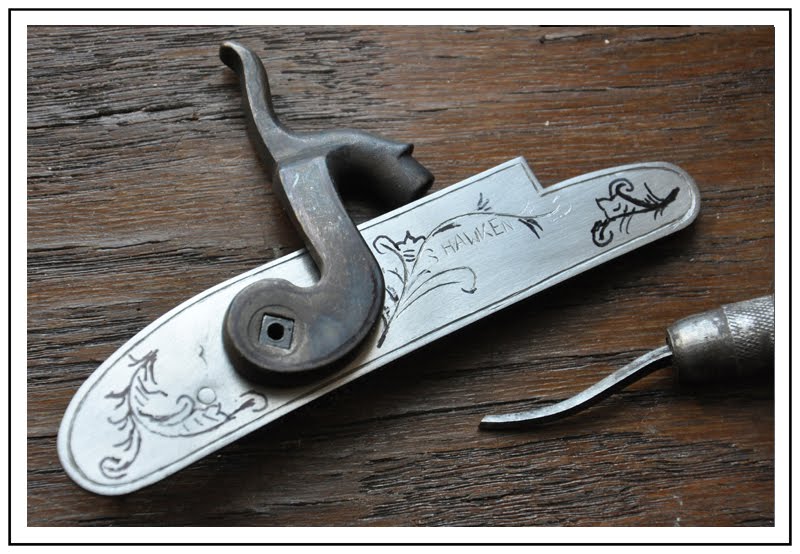
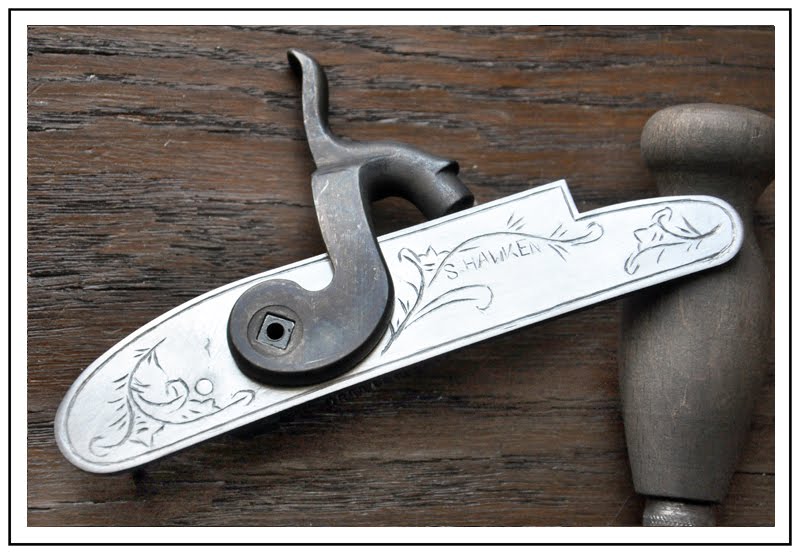
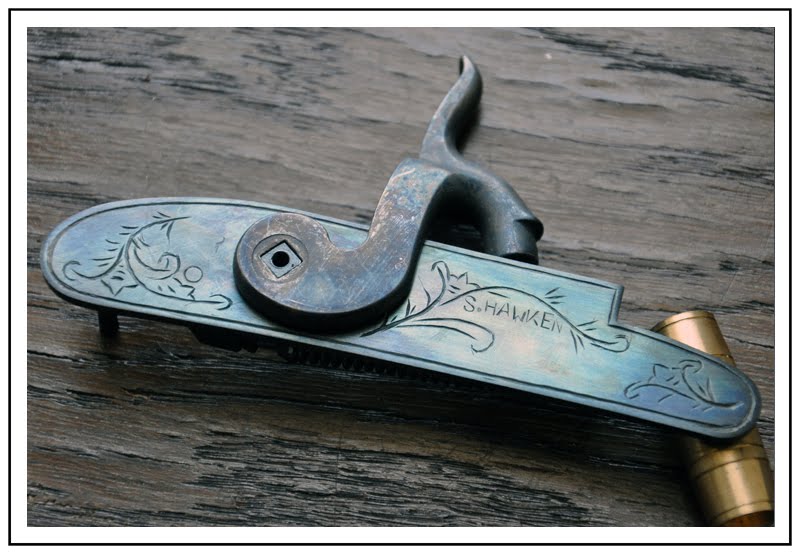
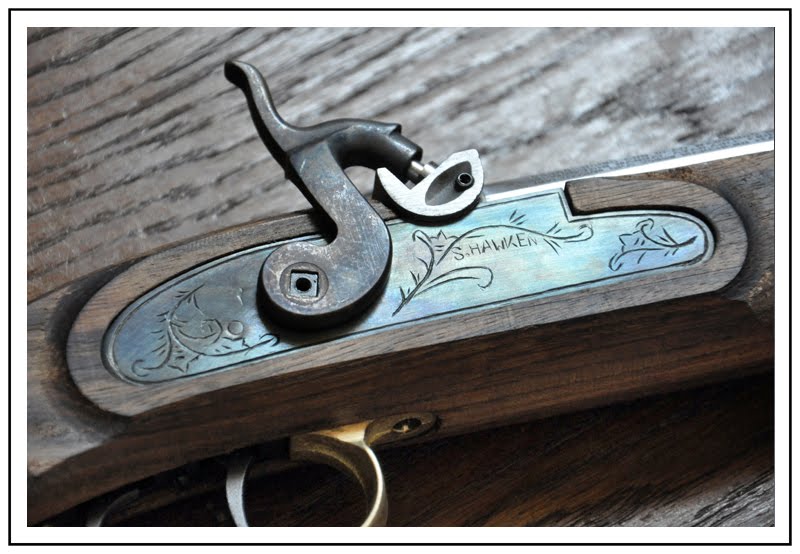
The first thing I did is fitting all the major components: hardware, barrel, lock and trigger. It turned out that the wood has a nice supply of treatment so I need not fear that I lack the material.

3.16.jpg


3.17.jpg


3.18.jpg


3.19.jpg
 
Then I took the lock whose original decorations I did not like.

So I removed them with a file, preparing surfaces for engraving ...
I plan to delicate patterns like original hawken lock

3.20.jpg


3.21.jpg


3.22.jpg


3.23.jpg


I managed to do engraving on the lock.
Temporarily sealed the surface of cold-oxidative

After taking photos, I concluded that I must still make some adjustments. By the way, it is interesting how much the pictures reveal any weaknesses that are not visible to the naked eye ...

3.24.jpg


3.25.jpg


3.26.jpg


3.27.jpg


3.28.jpg


3.29.jpg
 
As you've found, you have a LOT of sanding to do.

Take your time and don't cut corners trying to make things go faster.

One of the 'corner cutting' tricks that always screws up a potentially good gun is way the new builder will sand off the wood right next to the metal furniture so that it matches the metal part without carrying the shape a long distance away from the joint.

This ends up with sort of a 'chamfered' or beveled look and it is a true sign the builder didn't know what he/she was doing.

All of the surfaces on a gun should blend and fair smoothly and gradually so there are no sharp or rapid transitions except for the lock plate and side plate (on the other side) flats which always stand out proud.

Have fun and don't be shy about asking questions about all aspects of your build.
We're here to help. :)
 
Zonie is right, you have alot of wood to remove. take you time, and do it right. i used a small finger plane to make things go a little fast, but when you get close switch to 100 grit sand paper, and alot of it! those are nice kit's and should make a fine rifle. that's some real nice engraving you did there, keep up the good work!
 
You are doing a great job so far, don't get in a hurry and keep going you'll be fine.When you are finally ready to shoot the rifle the nipple will have to have a "sharp " edge on it . Your picture showed it to be rather flat on top. A tool stone will work. Just put the nipple in a drill and hold the stone up to it and slowly turn the nipple until you get a knife edge. :hmm:
 
Thank you all for your advice :bow:
and ask for more :grin:


I worked a little on matching metal parts for wood.
I also made a few parts from scratch, in his own way ...

1.02.jpg


1.03.jpg


1.04.jpg


1.05.jpg


1.06.jpg


1.07.jpg


1.08.jpg


1.09.jpg


1.10.jpg


1.11.jpg


1.12.jpg


1.13.jpg


1.14.jpg
 
Sorry for the one post after another, but

I forgot to add that the screws are of course temporary
only to match
 
I came up that I would be quite different patchbox.
As I thought I did ...
I cut the brass plate shape.
The opening patchbox in the kit filled timber.
Roughly matched the new element into the wood ...


1.15.jpg


1.16.jpg


1.18.jpg


1.19.jpg


1.20.jpg


1.21.jpg


1.22.jpg


1.23.jpg


1.24.jpg


1.25.jpg


1.26.jpg


1.27.jpg


1.29.jpg


1.30.jpg


1.31.jpg


1.32.jpg


1.33.jpg


1.34.jpg


1.35.jpg
 
The main parts patchbox over ...
Have to do: close the lid and a spring pushing the castle of the opening.


1.36.jpg


1.37.jpg


1.38.jpg


1.39.jpg


1.40.jpg


1.41.jpg


1.42.jpg


1.43.jpg


1.44.jpg


1.45.jpg


1.46.jpg


1.47.jpg


1.48.jpg
 
I have that exact same rifle PC. I love it but I like what you are doing there...I may have to give it a make over too.... :applause:
 
Work on the Hawken moved forward a little to the front ...
Pewter end stock I like a lot more

1.49.jpg


1.50.jpg


1.51.jpg


1.52.jpg


1.53.jpg


1.54.jpg


1.55.jpg


1.56.jpg


1.57.jpg


1.58.jpg


1.59.jpg


1.60.jpg


1.61.jpg


1.62.jpg


1.63.jpg


1.64.jpg


1.65.jpg


1.66.jpg


1.67.jpg
 
wow, that's gona be a full custom when you get done. very nice work. i like the patchbox, think it's big enough! :haha:
 
After long figuring and finally came up with how to make a castle for patchbox. A piece of flat spring and riveted to the brass bar, bent in a "T" did the trick. I've still only earn some extra spring, which will open the lid. Pre-oiled wood ...
Brass parts of the engraving, and the preliminary patynowaniu. I think the end result will be satisfactory ...

1.68.jpg


1.69.jpg


1.70.jpg


1.71.jpg


1.72.jpg


1.73.jpg
 
Cover part of patchbox the solution of potassium polysulfide.
After 12 hours wash off the residue with water and, depending on the effect that we want, to repeat the process or leave as is.
The solution has a very unpleasant smell :wink:
 
Back
Top