First off I would like to say if this was the first time you put leather banding on the seams of a pouch and especially as you had no mentor to show you how to do it, you did a fine job doing it. Give yourself a good pat on the back because you deserve it.
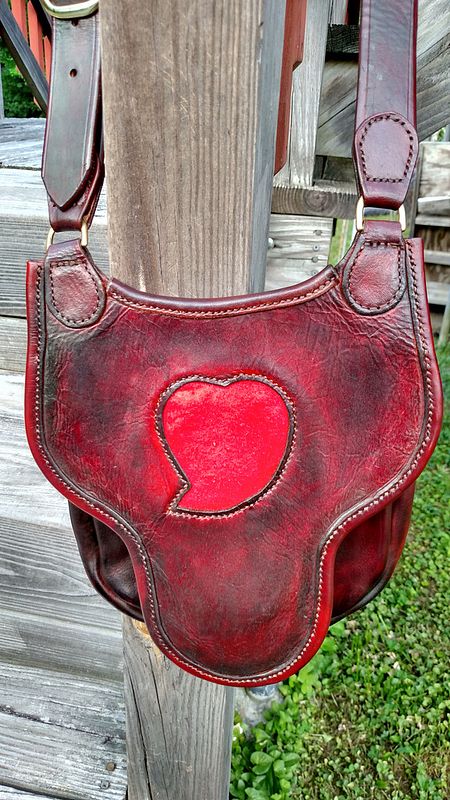
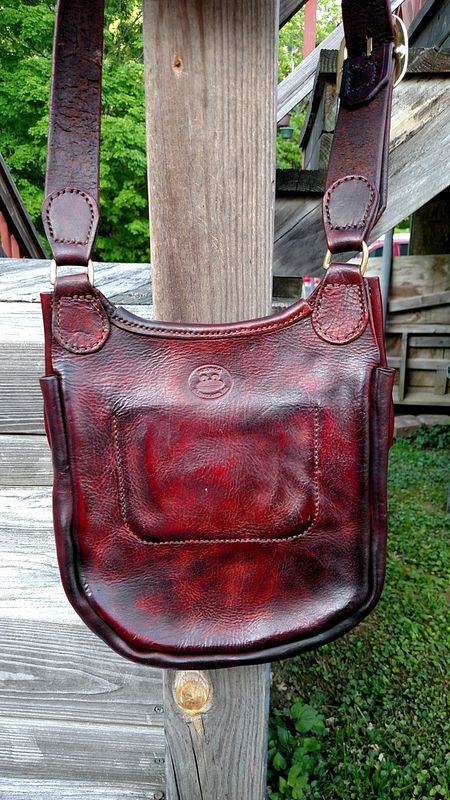
In the following photo, it looks like you may have cut the edges of the banding on the top/front of the pouch at an angle to sort of “agree” or line up with how they came close to the seam of the bag. You may have cut them off square, though, and it is only an optical illusion.
Bullfrog said:
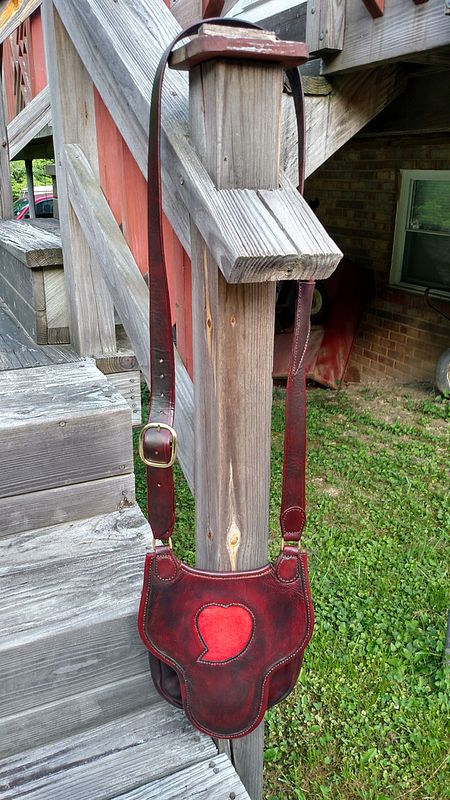
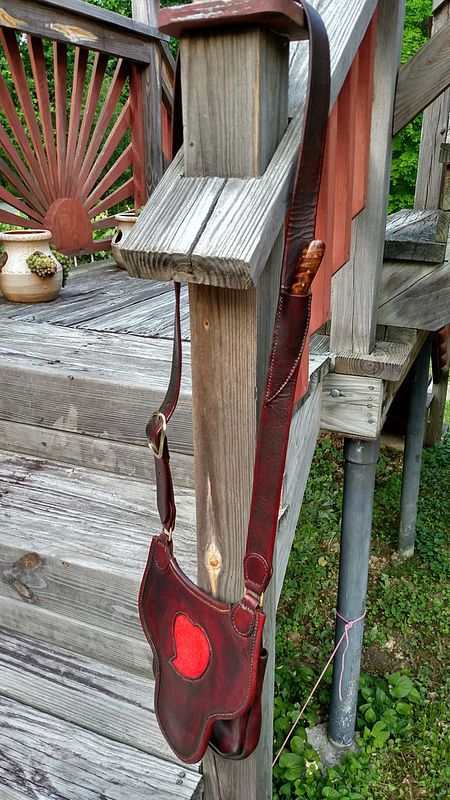
In this second image, you did cut the ends of the leather banding square on the ends and that leaves an open space on each end of the leather banding between the edges of the banding and the “tabs” that hold the rings. I am not sure if you sewed the ring tabs on before the banding between them or not? If you had sewn the ring tabs first, you could have cut the edges of the banding at an angle, so they were right up against the sides of each tab and not leave the open spaces. This is not a matter of strength, but rather it would look better if the banding was right up against each side of the tabs.
[/quote]
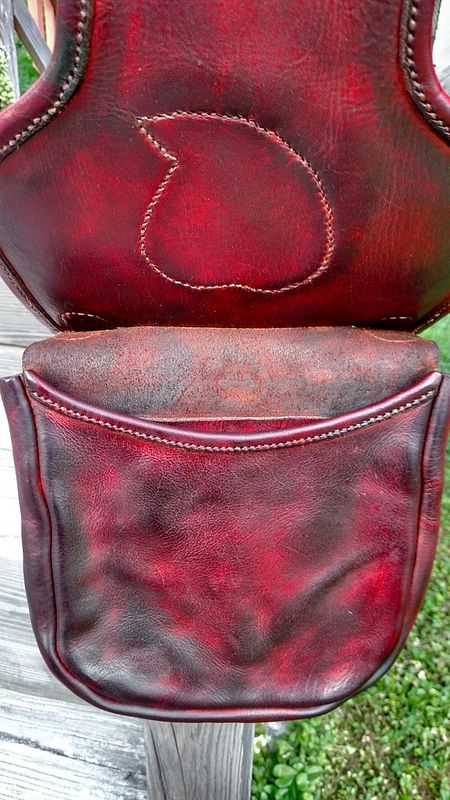
It also looks like the exposed ends of the banding are open on each side at the top of the front flap, or is that an optical illusion? There are a few period ways to deal with this so it looks a little better. One way is to put a small piece of the leather banding over the open edge and sew it in place when the banding is sewn on. The second way would be to angle the ring tabs out a little more and then cut the ends of the banding at an angle to fit closely to them and glue the ends of the banding shut. The third way would be to just glue the open ends of the banding shut.
One thing I learned the hard way from making and wearing an 18th century waist belt was it generally is
not a good idea to sew across the width of leather near a buckle or ring because it is a high stress point. In the case of my waist belt with the fairly substantial 5-7 oz. veg tanned leather I used, I stitched across the leather near the center bar of the buckle. I
thought it would be a good idea and it would look better. What I found out was the leather cracked through the stitches from use, even though I properly finished and oiled and maintained the leather in that belt. I have done similar things to this before on the ends of slings where they attached to pouches, bags and cartridge boxes. I often made square or rectangular shaped “boxes” of stitching on the ends of those straps. But after the waist belt failed from the cross stitching, I re-examined how to attach the ends of slings to bags, etc. and how back in the 18th and early 19th century it was done on originals, and of course on belts as well.
They almost never sewed a “box” of stitching like that or across the width of the belt near the center bar of the buckle. On waist belts, they often just ran a line of stitches along the length of the belt on each side of the leather folded over the center bar of the buckle. Sometimes they added a third line of stitches running along the length in the center of the turned over leather as well. But they did not normally sew across the leather near the center bar. OOOOPPS !! I had missed or ignored that detail on some originals I had seen years ago. I went back and looked at some originals and then I realized why they had not sewn cross the width and close to the center bar of buckle or the rings on a hunting pouch, because just like on my belt, it could/would have caused the leather to fail there.
OK, sorry I had to go into a somewhat long explanation before getting back to your bag, but I thought it important to explain why I would suggest doing something different on your pouch. It is a nice touch to sew around the edge of the ring tabs like you did, but I would recommend you don’t sew across the width of the tabs, that form what looks a little like a flat top on the “tear drop” shape stitching there, next to where the tabs keep the rings in place. An open topped “U” shaped tear drop stitching will hold the tabs just as securely and you don’t risk the stitching breaking through the leather next to the rings. BTW, on original straps you do sometimes to often see a “U” of stitching on the ends of the strap where it attaches to the bag, BUT the flat bottom of the “U” of the stitching is at the very end of the strap where it does not have much stress. The open end of the “U” of the stitching is facing towards the middle of the strap and is subject to much more bending and twisting, so you don’t want the stitches across the leather there.
Please understand this are not huge points, but things that will make your future bags look better and in the case of not stitching across the leather near stress points, it will make parts of the bag last longer.
Gus
