Lyman Great Plains Rifle Kit build series

Muzzleloading Forum

Help Support Muzzleloading Forum:

This site may earn a commission from merchant affiliate links, including eBay, Amazon, and others.

duelist1954

40 Cal.
Joined
Jun 27, 2011
Messages
430
Reaction score
73
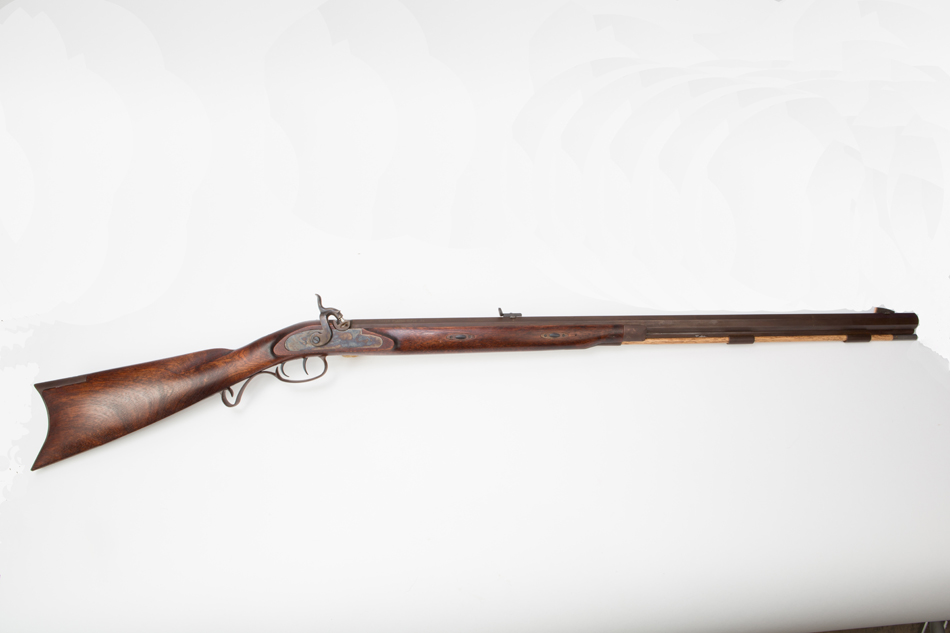
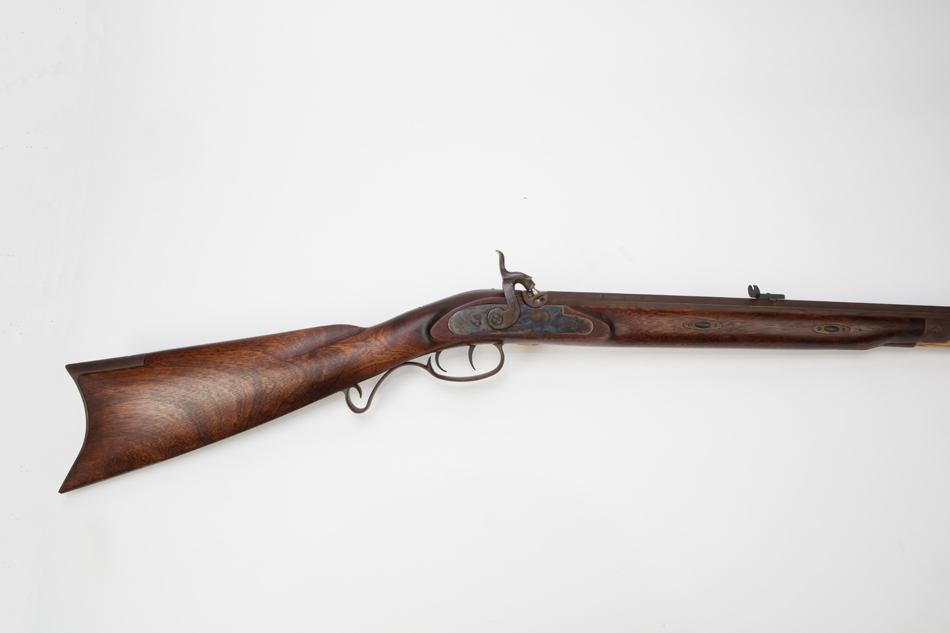
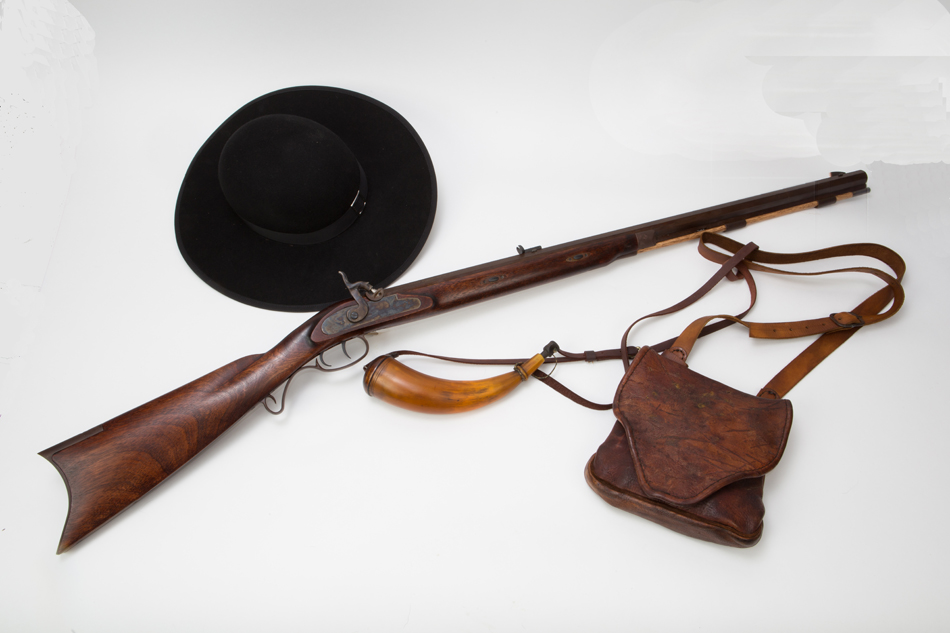
I recently completed building a Lyman Great Plains Rifle kit for an article in “American Frontiersman” magazine on guns used in mountain man movies. I thought it would be more fun to build the gun, rather than buying a completed model.

The difficulty level for putting this kit together is pretty low. Anyone, with enough patience, and a few tools, can do a good job on it. So it is a great first project build to use to learn the basics of wood and metal finishing.

But easy as it is, it still takes some knowledge to pull off a good job. Unfortunately Lyman provides absolutely no directions or educational material with the kit.

So, to help out first timers, I’ve put together a short video series that takes you completely through the build.

The videos on this YouTube Playlist will take a prospective builder from un-boxing, right through final assembly of the completed rifle.

I hope someone finds it helpful.
https://www.youtube.com/playlist?list=PLHljRs6NHyZlfr-UMJ7xBABzYtC0Vtv5G
 
Last edited by a moderator:
I would find it helpful & your post more informational if your text & 'pitchers' didn't go for three miles off the side of my computer so's as not to have to do all that scrollin' back & forth.

nice lookin' gun by the way.
 
I have edit buttons on my replies, but not on my original post...do not understand...


yEtlT8G.jpg


ODxJd3b.jpg


eTaRKSi.jpg
 
nice looking rifle! (too bad about the oversized pictures... well stuff happens ... sometimes you're the dog, and sometimes you're the fire plug
 
I know this thread is older, but I want to give you a big thanks for that great video series. Your dedication and patience epitomize the saying "If it's worth doing, it's worth doing right". I have a GPR .54 cal Flintlock kit sitting on my bench right now. Originally I thought it to be a weekend job and then get out and shoot it. After studying your video series several times I have now ordered Hershel House's DVD "Building Hawken Rifles" and Alex Parker's "The Gunsmith Of Grenville County". I want to study rifles made by masters so I can really understand what the end result should be, based on my own preferences of course. It was your amazing video series that inspired me to go farther and slow down. To step back and develop a vision of what I want this rifle to be before I start tearing into the wood. I've spent a couple of days just holding the stock, cocking and firing the lock and trying to get a feel for the rifle that is buried inside this hunk of wood. Thanks to you and your diligence and your good advice I am enjoying this way more than I would have otherwise. I'm 45 years old and I've never fired a muzzleloader yet. But because of you I'm going to force myself to take my time and enjoy every little task to the utmost and learn as much as I can from those who have gone this path before me before I start cutting into this kit. Thanks a million, I might just follow your instructions exactly as you did a wonderful job and I would be extremely happy if I could make something half as nice as what you did. You're humor is great too, some of the guys in my shop turned me onto your videos and we all get a good chuckle out of earl and the high fructose gang!

Thanks brother and may God bless you,

Steve
 
Thx for posting this.
I really wish this video series was available when I built my kit.
I built my Lyman 54 in 2014 and it was my first kit. I did draw file the billboard and warnings on the top and left side. (I attached a pic of the nasty billboard that it comes with). I left the serial # and the Lyman Great Plains 54 on the right side. I blue'd mine though. One thing that I did not realize when buying the kit was how much time I would be spending on preparing the metal. But I did it much like in the video filing then sanding and ending up with a grained/brushed look.
 

Attachments

  • IMG_4148.JPG
    IMG_4148.JPG
    95.2 KB
  • IMG_4151.JPG
    IMG_4151.JPG
    88.7 KB
  • IMG955186.jpg
    IMG955186.jpg
    131.4 KB
  • IMG_4161.JPG
    IMG_4161.JPG
    61.5 KB
  • IMG_4158.JPG
    IMG_4158.JPG
    110.4 KB
  • IMG_4152.JPG
    IMG_4152.JPG
    52.3 KB
  • IMG_4159.JPG
    IMG_4159.JPG
    97.3 KB
i built one years ago. did this to it, converted the back of the stock to a shotgun type butt plate. cryo treated the barrel. put better wood screws in it that was provided. put a nice ghost ring sight on the back sight as a replacement. put a mag spark nipple on it for a nipple even though i used real black in it. mine was a 1/32 twist. shoot 525 grain paper patched bullets in it and it was and is a one hole gun at 100 yards from off of a bench. used 80 grains of 2f black in it. gave it to my son who is a minister in denver on a low ministers income. looks great and shoots great, not sorry i bought it and rebuilt it. the ones with a 1/60 twist can shoot a round ball with the very best of any gun. my friend has one in 1/32 twist and i saw him shoot a huge antelope buck in the head at 100 yards and dropped him like a rock. i never forget that day. rolling plains which we were on and mountains in the background and that big buck went down like a dead rock. enjoy your gun, it is a good one.
 
Back
Top