- Joined
- Nov 26, 2005
- Messages
- 5,241
- Reaction score
- 11,008
Hi,
Next up in my queue is an early Peter Berry inspired by the gun below.
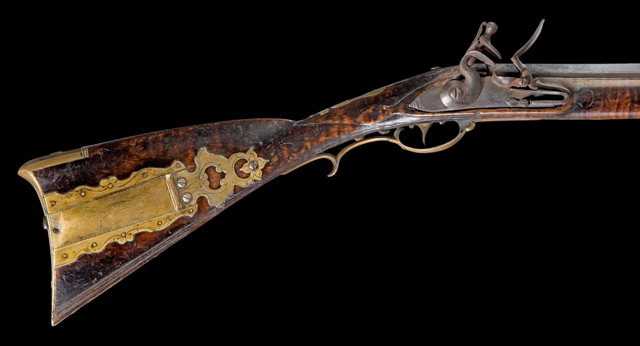
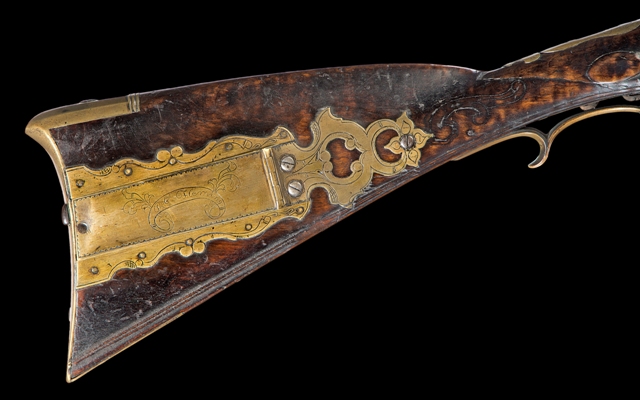
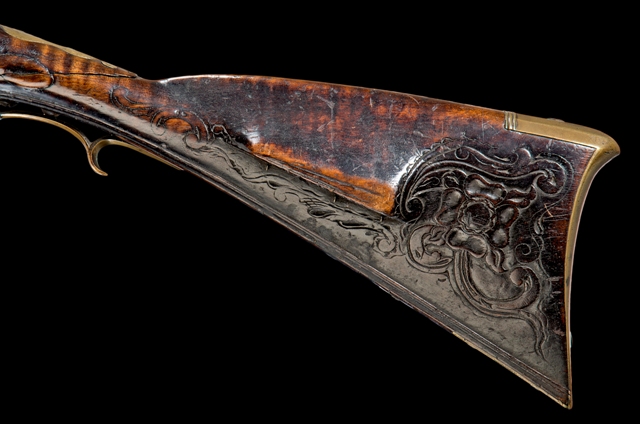
This has always been one of my favorite guns because it is dramatic and unusual. However, I have a love-hate relationship with Berry, or Berrys if you accept the father and son hypothesis, because they were immensely creative but the execution is sometimes disappointing. He or they were prolific carvers but definitely not of the caliber of Isaac Haines. Then again what other colonial or golden age makers were? I definitely will recreate the odd alignment of the patch box but I am not sure I will go as far as having the lower butt molding run right through the brass. I discussed this project with Allen Martin and he urged me to do all the funky stuff. I like funk and folk but not crude. We will see what happens. I would appreciate reading folks thoughts about that. One change I will make right off is I will beef up the wrist at the comb a little both in width and height. On the original pictured above, that point measure only 1 3/8" in height. There are 3 Berry's I've seen with this stock architecture and 2 have broken wrists. Not a good sign.
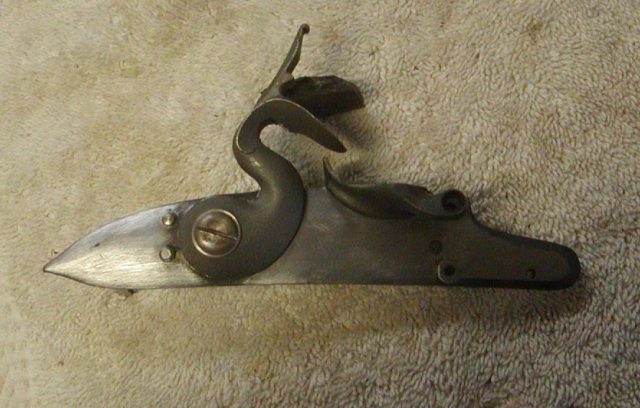
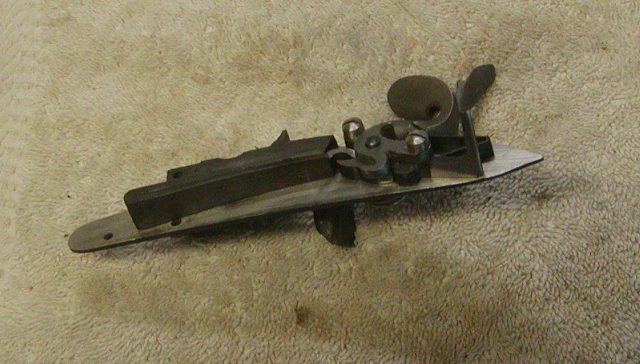
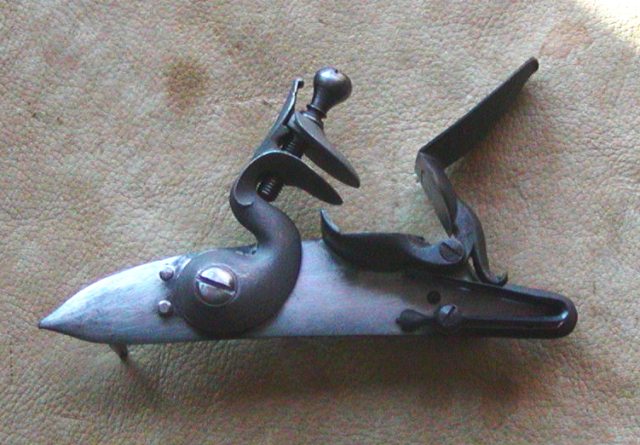
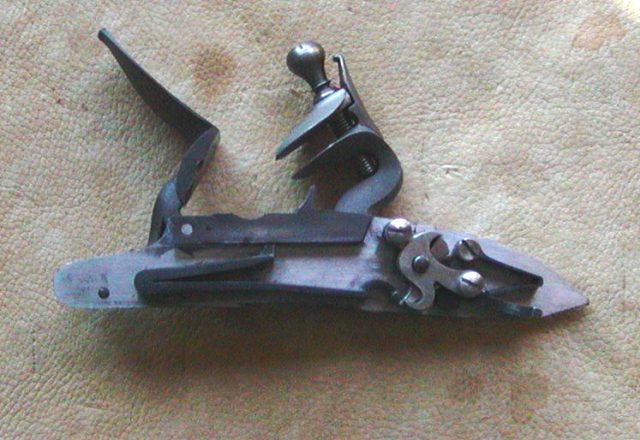
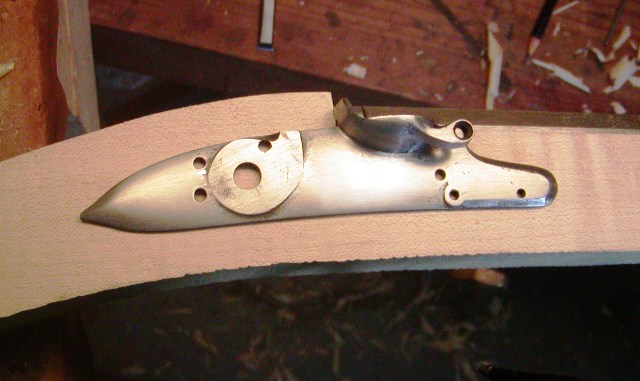
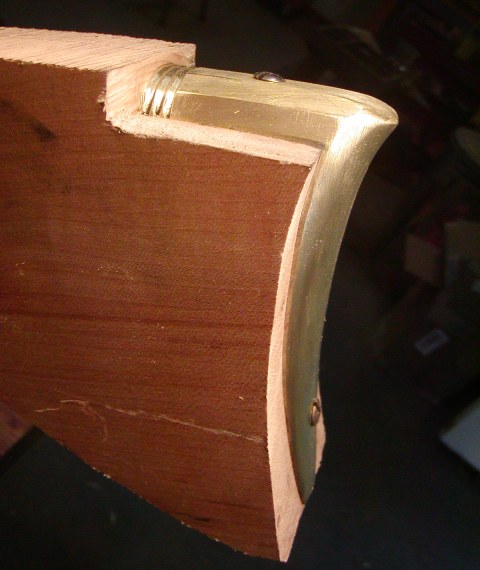
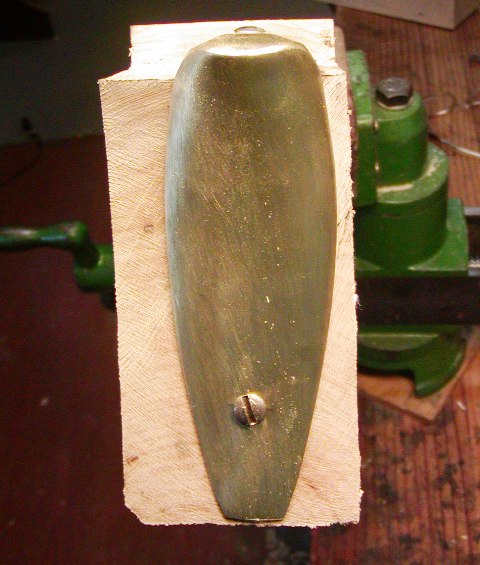
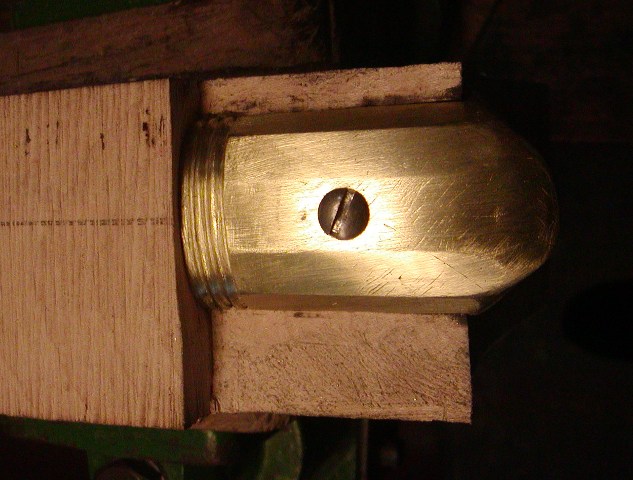
I am using a sugar maple stock with moderate curl cut and dried in Vermont. The barrel is a "C" weight Allentown profile by Rice in 54 caliber. The original rifle has a barrel about 1/2" longer and smaller caliber but a similar profile. However, the original gun weighs 12 lbs. Mine will be lighter and much better balanced. I have a sand cast butt plate that is close to the right style and size. The original is 5.5" tall. Mine is 5.375" tall. I still need to find a good trigger guard. The lock presents another problem. All of the commercially made round-faced English-style locks that I like are too large. It is critical the lock be scaled correctly to maintain the architecture. The only lock that fits is the L&R Queen Anne. So I am going to build a completely new lock using the L&R plate, frizzen, flintcock, top jaw, and feather spring, and Siler parts for everything else a la Chris Immel (aka Stophel). It will eventually be a very good lock.
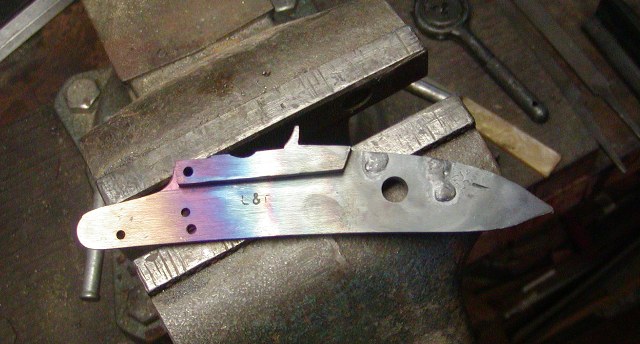
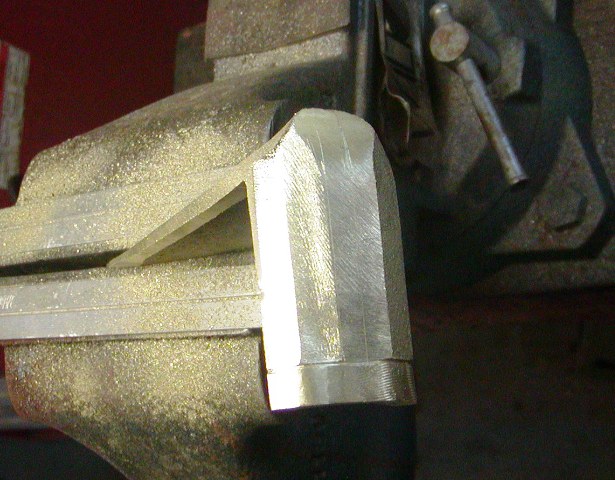
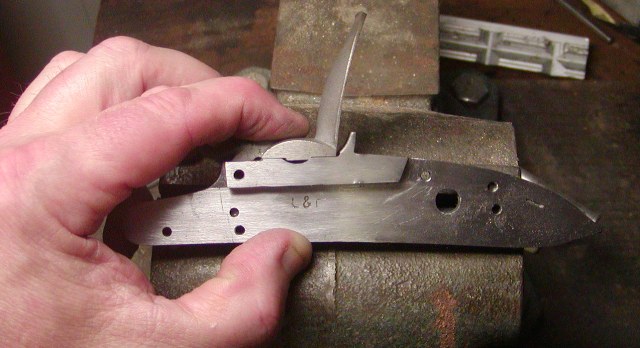
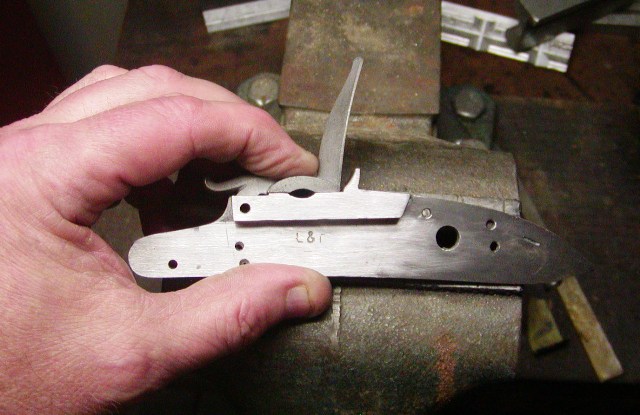
The first job, while I am waiting for the Siler internal parts is to clean up and flatten the lock plate. I don't have a milling machine but I do have good files and I flatten lock plates very precisely. A few swipes of the mill file shows how uneven the inside of the lock plate is. There is always a depression where L&R stamps their logo.
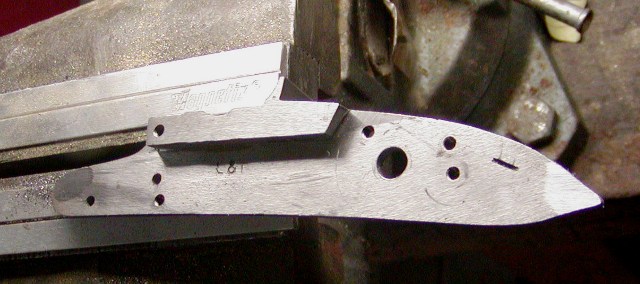
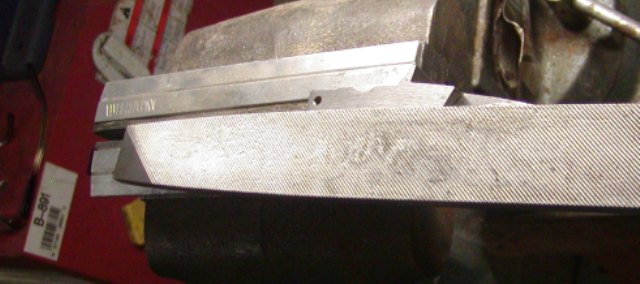
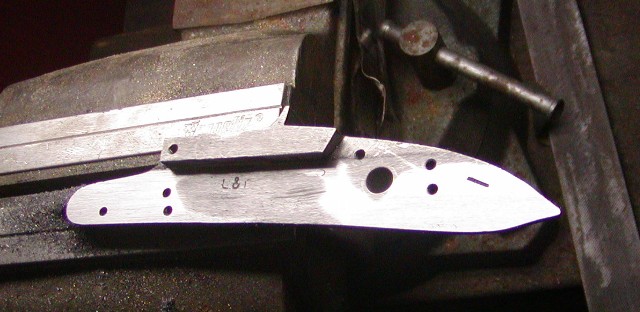
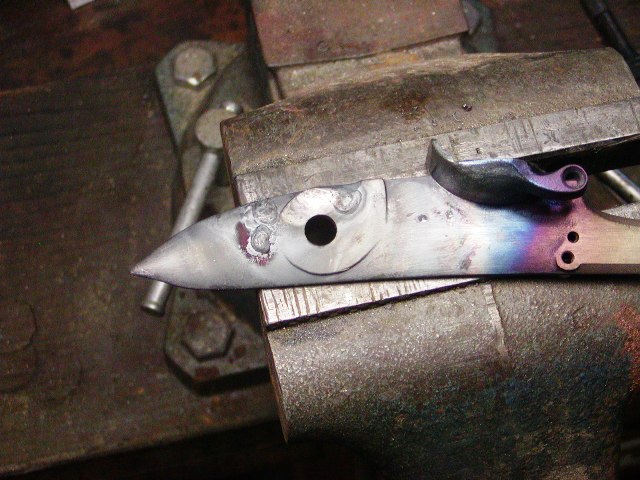
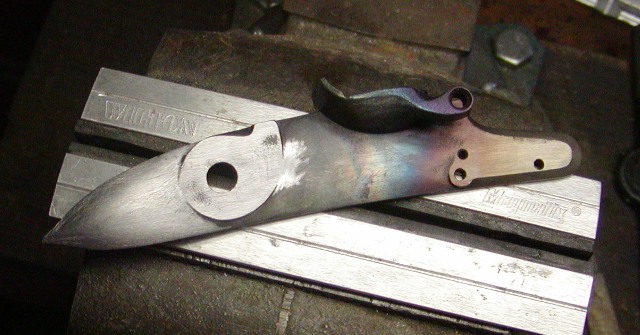
Fortunately, it is in a harmless location, however, on this lock the whole area where the upper portion of the bridle fits was in a depression. Careful filing cleaned that all up.
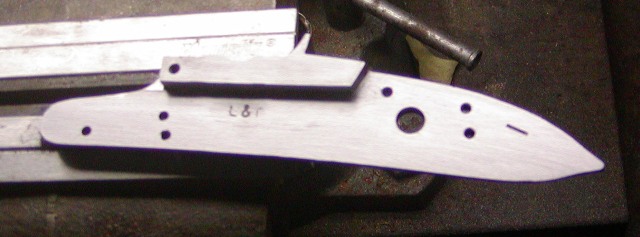
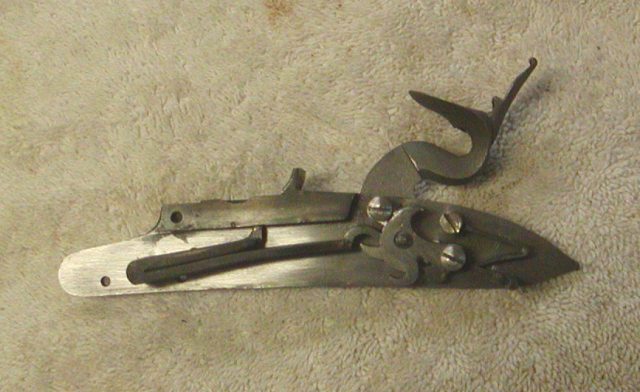
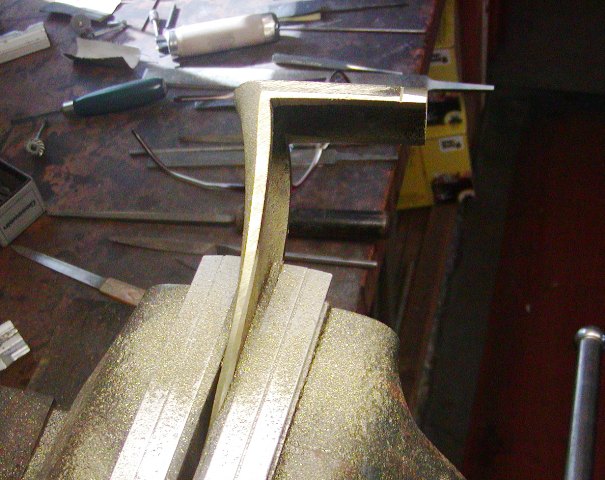
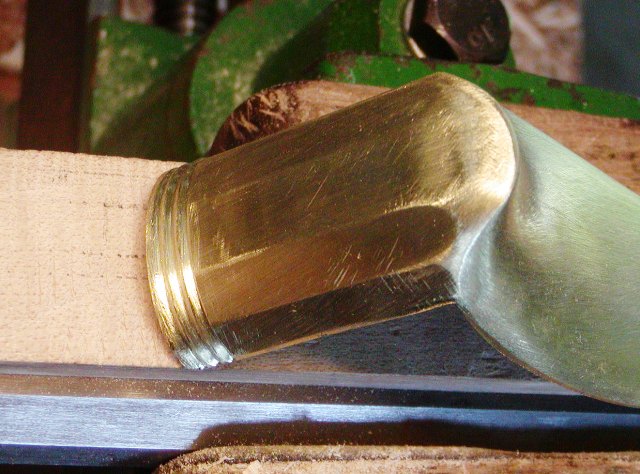
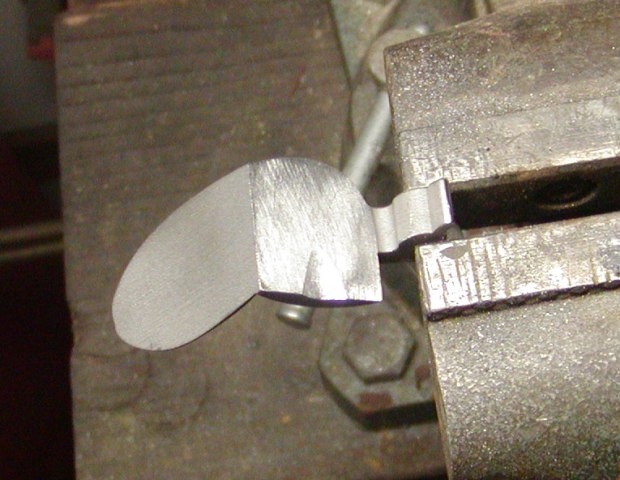
Now it is ready to fit new internal parts. I am waiting for those so I fixed the stupid lug issue on the frizzen. L&R has this lug on the frizzen that fits down into the pan. They advertise that it is a waterproof measure. Actually, it draws water down into the pan as well as compresses the priming powder. Anyway, no locks of that style or time period having anything like that. I am fitting a new frizzen because it will be so much easier to do than fit the fitted frizzen that came with the lock after eliminating the lug. I ground the lug away and filed a proper notch that prevents powder at the vent hole from being compressed slowing ignition (ever thought why all those English locks have that notch?)
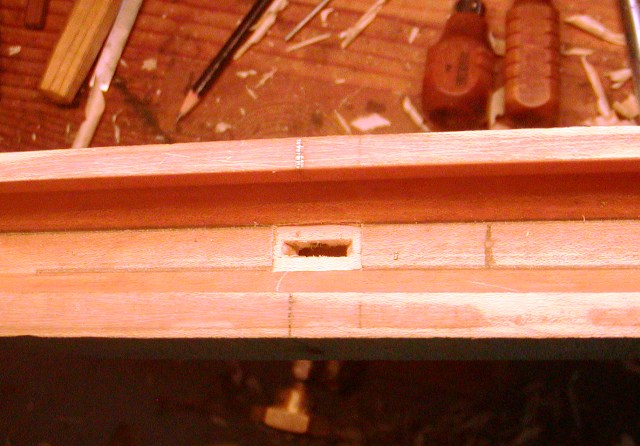
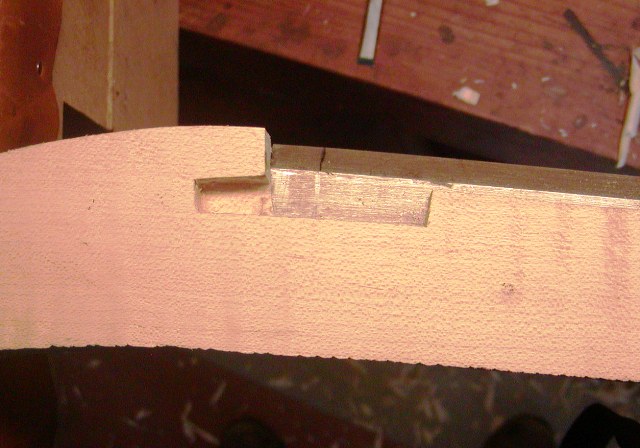
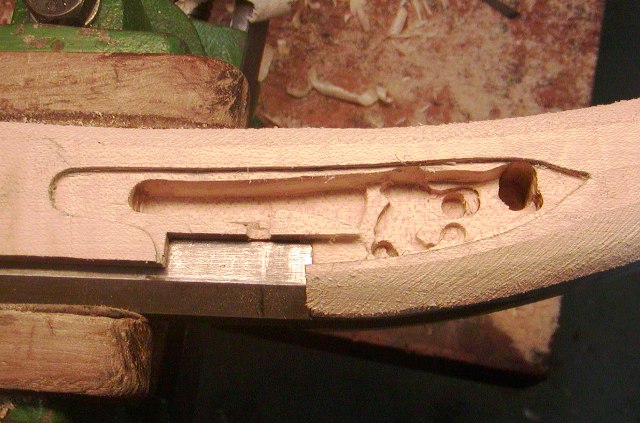
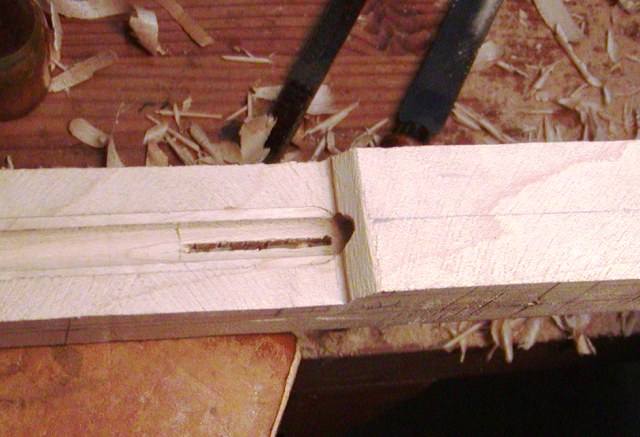
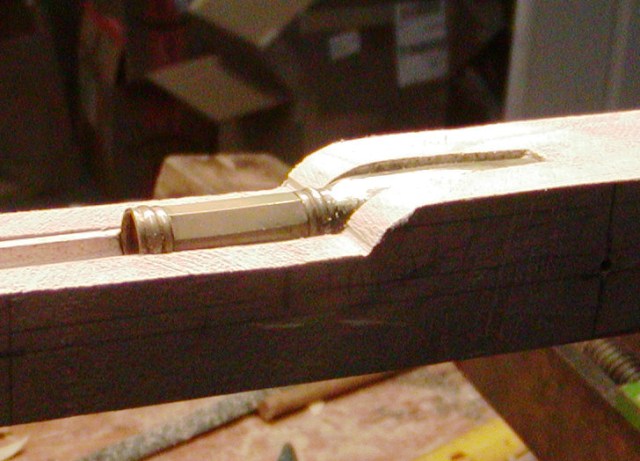
I am still waiting for the lock parts so I worked on the stock. Dave Keck inlet the barrel and ramrod groove and hole for me. He did a great job but I made a miscalculation where the breech of the barrel should be positioned. I am not sure how I screwed that up but the barrel needed to come back almost 5/8" inches. The dark marks on the stock show where the breech ended previously and how much I moved it back.
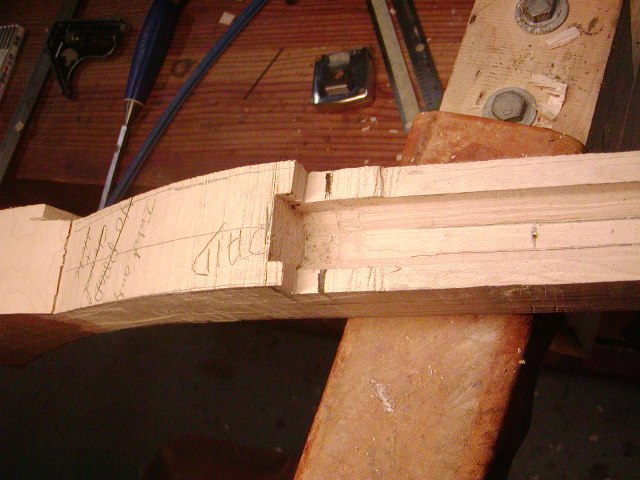
This is instructive because it shows that you can change the position of swamped barrels quite a bit without creating gaps in the barrel inlet. Certainly, a lot depends on the profile of the barrel but I was able to move this barrel back quite a ways with no trouble. It meant cutting out the breech further back and scraping the barrel inlet near the muzzle to accommodate the flare. It worked really well.

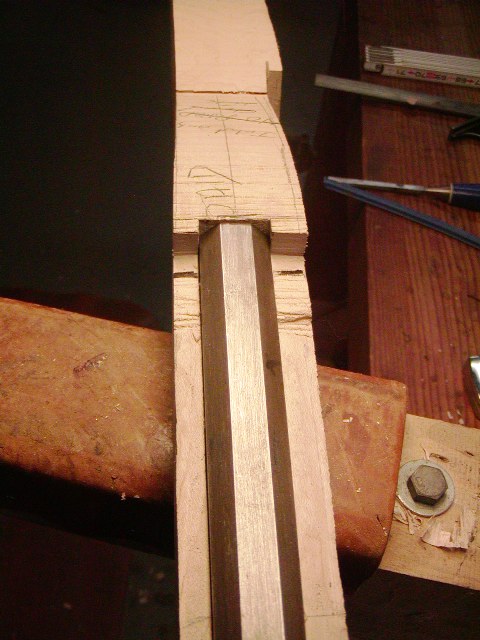
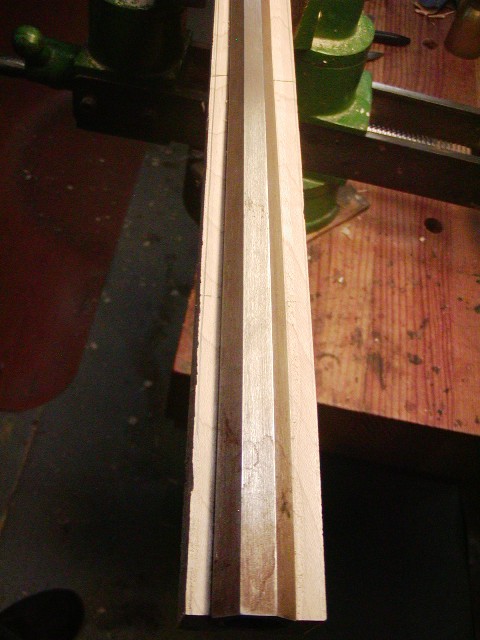
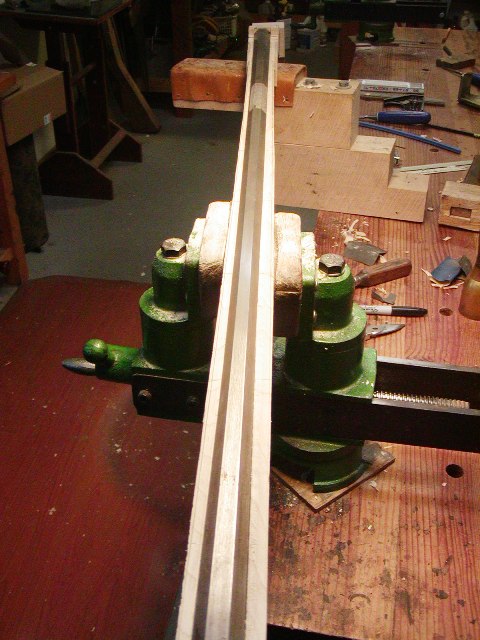
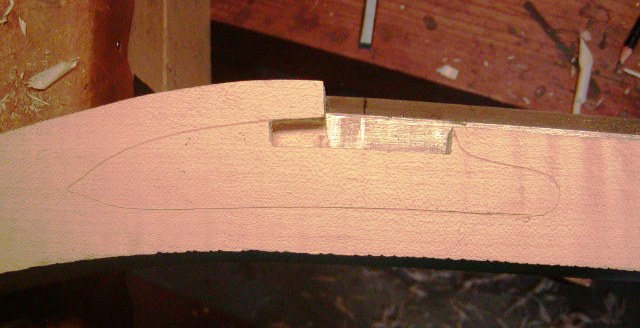
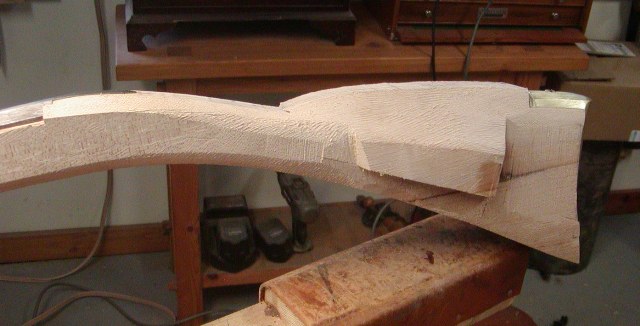
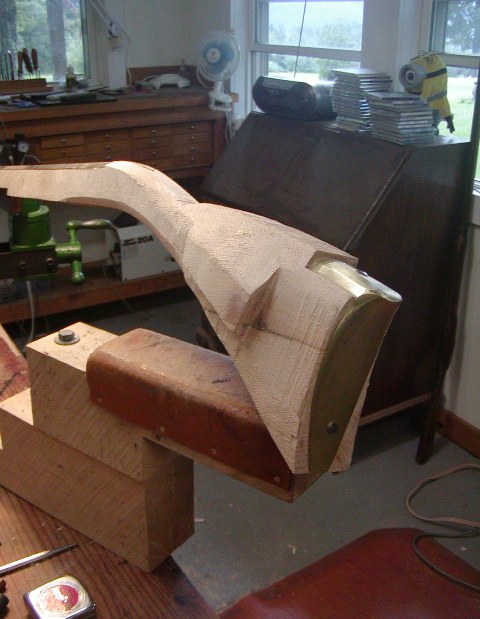
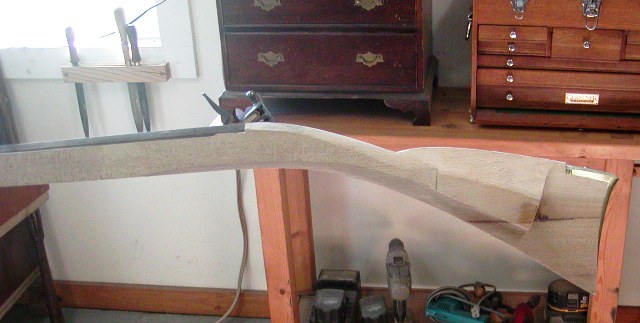
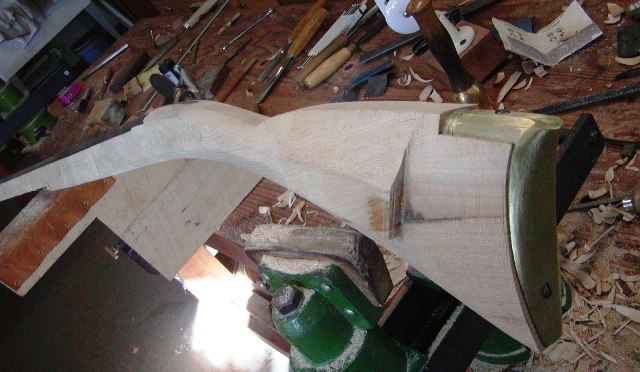
I trimmed up the stock a bit and here is where I am.

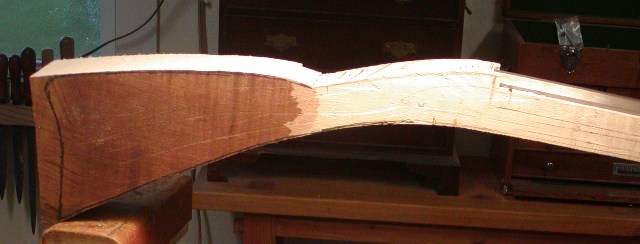
dave
Next up in my queue is an early Peter Berry inspired by the gun below.


This has always been one of my favorite guns because it is dramatic and unusual. However, I have a love-hate relationship with Berry, or Berrys if you accept the father and son hypothesis, because they were immensely creative but the execution is sometimes disappointing. He or they were prolific carvers but definitely not of the caliber of Isaac Haines. Then again what other colonial or golden age makers were? I definitely will recreate the odd alignment of the patch box but I am not sure I will go as far as having the lower butt molding run right through the brass. I discussed this project with Allen Martin and he urged me to do all the funky stuff. I like funk and folk but not crude. We will see what happens. I would appreciate reading folks thoughts about that. One change I will make right off is I will beef up the wrist at the comb a little both in width and height. On the original pictured above, that point measure only 1 3/8" in height. There are 3 Berry's I've seen with this stock architecture and 2 have broken wrists. Not a good sign.
I am using a sugar maple stock with moderate curl cut and dried in Vermont. The barrel is a "C" weight Allentown profile by Rice in 54 caliber. The original rifle has a barrel about 1/2" longer and smaller caliber but a similar profile. However, the original gun weighs 12 lbs. Mine will be lighter and much better balanced. I have a sand cast butt plate that is close to the right style and size. The original is 5.5" tall. Mine is 5.375" tall. I still need to find a good trigger guard. The lock presents another problem. All of the commercially made round-faced English-style locks that I like are too large. It is critical the lock be scaled correctly to maintain the architecture. The only lock that fits is the L&R Queen Anne. So I am going to build a completely new lock using the L&R plate, frizzen, flintcock, top jaw, and feather spring, and Siler parts for everything else a la Chris Immel (aka Stophel). It will eventually be a very good lock.
The first job, while I am waiting for the Siler internal parts is to clean up and flatten the lock plate. I don't have a milling machine but I do have good files and I flatten lock plates very precisely. A few swipes of the mill file shows how uneven the inside of the lock plate is. There is always a depression where L&R stamps their logo.


Fortunately, it is in a harmless location, however, on this lock the whole area where the upper portion of the bridle fits was in a depression. Careful filing cleaned that all up.

Now it is ready to fit new internal parts. I am waiting for those so I fixed the stupid lug issue on the frizzen. L&R has this lug on the frizzen that fits down into the pan. They advertise that it is a waterproof measure. Actually, it draws water down into the pan as well as compresses the priming powder. Anyway, no locks of that style or time period having anything like that. I am fitting a new frizzen because it will be so much easier to do than fit the fitted frizzen that came with the lock after eliminating the lug. I ground the lug away and filed a proper notch that prevents powder at the vent hole from being compressed slowing ignition (ever thought why all those English locks have that notch?)


I am still waiting for the lock parts so I worked on the stock. Dave Keck inlet the barrel and ramrod groove and hole for me. He did a great job but I made a miscalculation where the breech of the barrel should be positioned. I am not sure how I screwed that up but the barrel needed to come back almost 5/8" inches. The dark marks on the stock show where the breech ended previously and how much I moved it back.

This is instructive because it shows that you can change the position of swamped barrels quite a bit without creating gaps in the barrel inlet. Certainly, a lot depends on the profile of the barrel but I was able to move this barrel back quite a ways with no trouble. It meant cutting out the breech further back and scraping the barrel inlet near the muzzle to accommodate the flare. It worked really well.


I trimmed up the stock a bit and here is where I am.


dave


