splinter84
36 Cal.
- Joined
- Jan 4, 2013
- Messages
- 66
- Reaction score
- 0
I made some progress on my GPR kit the last 2-3 weeks. I haven’t had much time to post pictures or post my progress. I apologize for that. The pictures below show the finished trim pieces and stock assembled. I had to exchange my barrel due to machine defects. I am still waiting for my new one to arrive, so she isn’t finished quite yet. The metal trim was treated in a vinegar bath for 4 hours and then another bath of transmission oil for a week. I just let the pieces soak in the oil until I needed them for assembly. I am not sure how “rust resistant” the vinegar treatment will be. I guess time will tell.
I decided on Tru-Oil for the stock finish. I wanted something simple that would be easy to maintain and repair but still let the grain show through. I applied 6 coats total allowing a minimum of 3-4 hours of dry time between coats. I also buffed the stock with 0000 steel wool between coats as well. The insides of the stock received two coats of finish. The final outside coat turned out to be extremely shiny. Much more shiny than what it is now. I applied MinWax paste wax with 0000 steel wool. The steel wool seemed to tone the shine down to my liking, but still maintain some shine with the wax. I haven’t decided if I like this shiny look or if I want to dull it a bit more since the rifle will mainly be used for hunting. I have plenty of time to decide on that.
Overall, I would say the build has taken a little longer than expected, but then again this is my first one. The butte plate was the hardest to inlet. I did the best I could. She isn't perfect. Overall, I am please with the turn out and can’t wait to get my barrel and tang back.
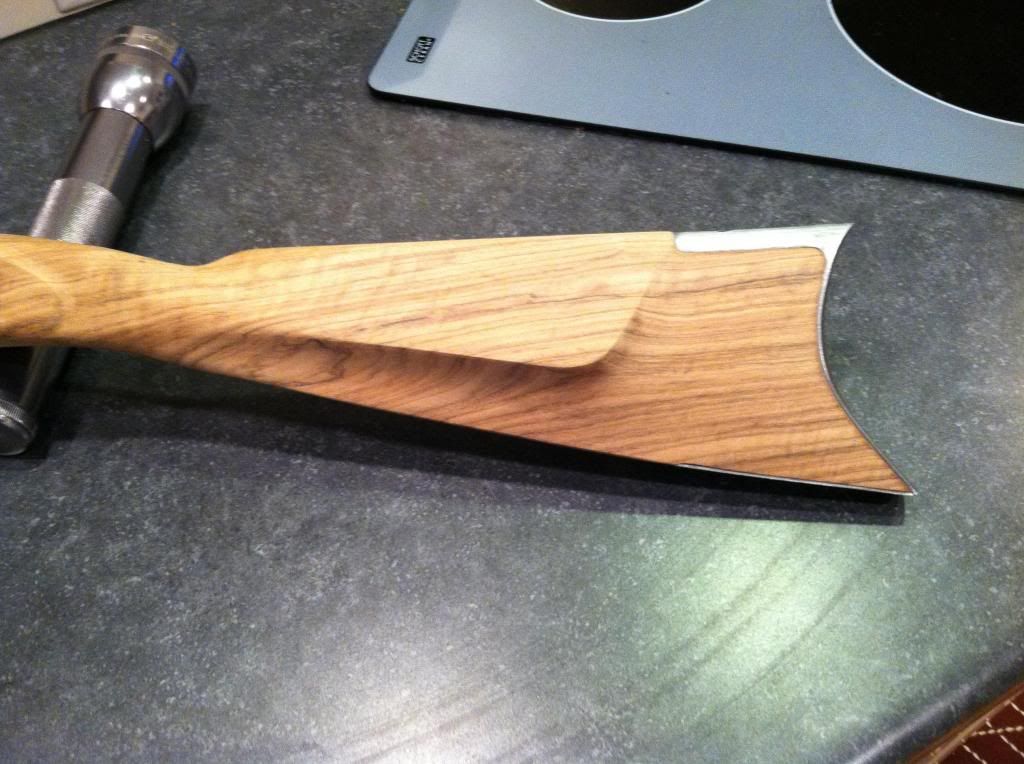
This pic shows the last update of the cheek plate I was having trouble shaping. You will see in the following pictures that I was able to correct the straight lines and work a little curve into it. It may not be HC/PC but I was satisfied with my attempt and outcome.I also sanded a little flute on the lock plate side of the stock for a little more comfortable grip. It made an improvement on the feel of the grip,

Here are few pictures of the finished stock assembly. No barrel or tang yet. I have plenty of work left. I hope you enjoy them.
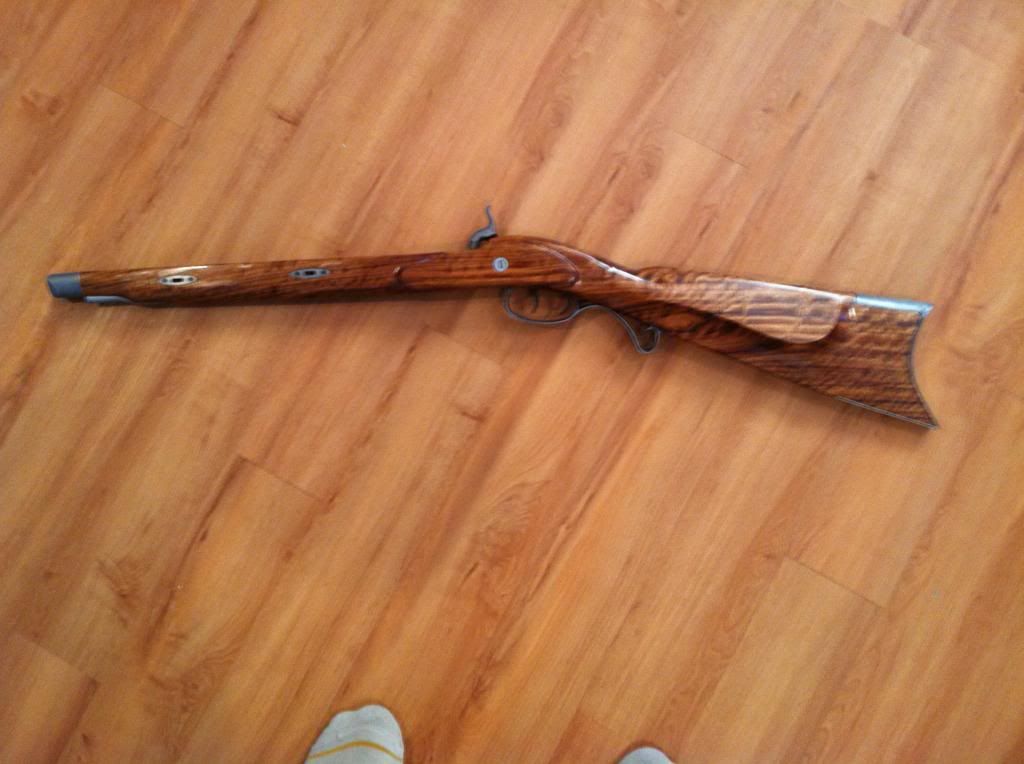
Opposite of lock plate

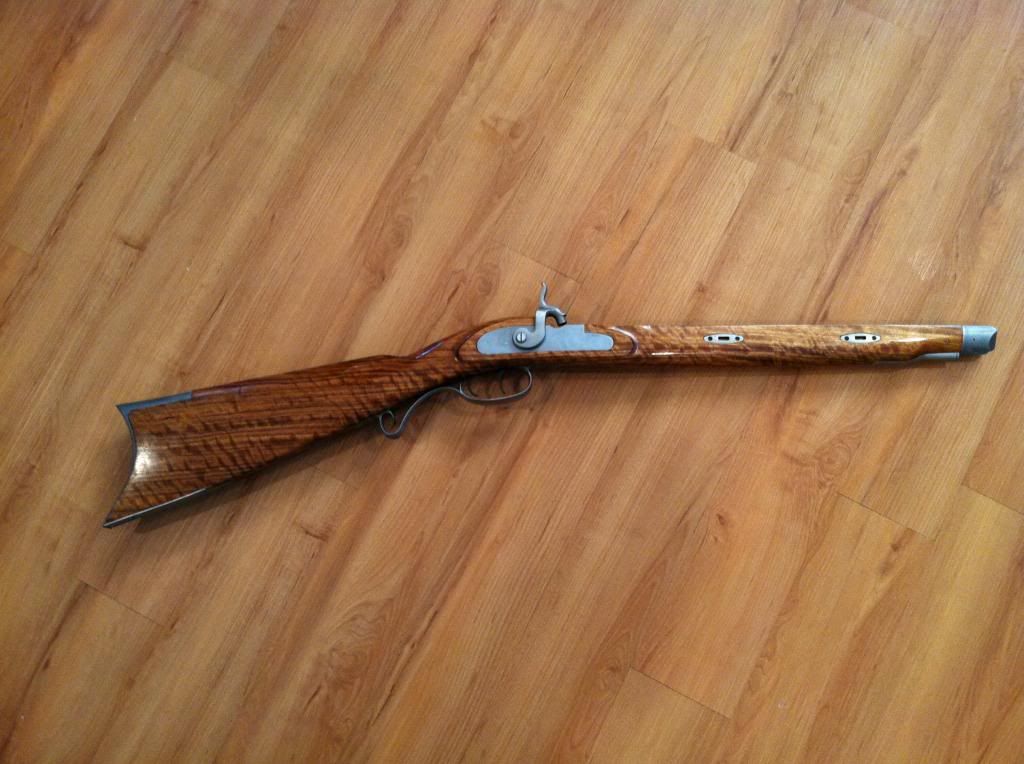
Cheek plate side

Full gun

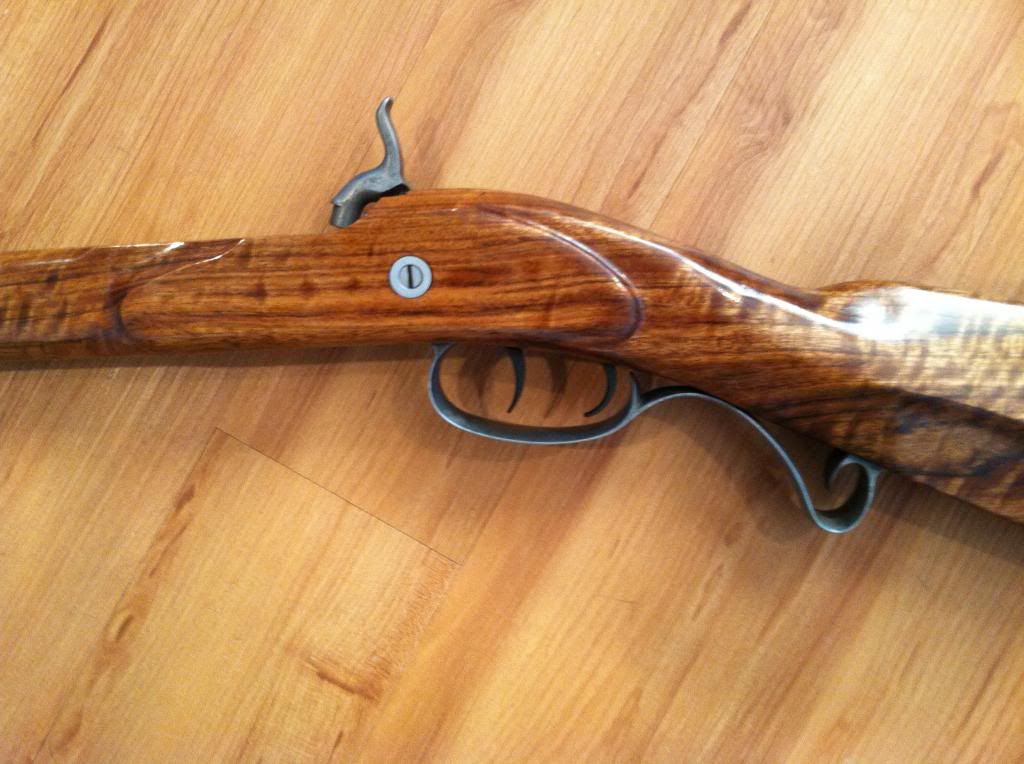
A little close peak at the lock assembly.
 [/URL][/img]
I decided on Tru-Oil for the stock finish. I wanted something simple that would be easy to maintain and repair but still let the grain show through. I applied 6 coats total allowing a minimum of 3-4 hours of dry time between coats. I also buffed the stock with 0000 steel wool between coats as well. The insides of the stock received two coats of finish. The final outside coat turned out to be extremely shiny. Much more shiny than what it is now. I applied MinWax paste wax with 0000 steel wool. The steel wool seemed to tone the shine down to my liking, but still maintain some shine with the wax. I haven’t decided if I like this shiny look or if I want to dull it a bit more since the rifle will mainly be used for hunting. I have plenty of time to decide on that.
Overall, I would say the build has taken a little longer than expected, but then again this is my first one. The butte plate was the hardest to inlet. I did the best I could. She isn't perfect. Overall, I am please with the turn out and can’t wait to get my barrel and tang back.
This pic shows the last update of the cheek plate I was having trouble shaping. You will see in the following pictures that I was able to correct the straight lines and work a little curve into it. It may not be HC/PC but I was satisfied with my attempt and outcome.I also sanded a little flute on the lock plate side of the stock for a little more comfortable grip. It made an improvement on the feel of the grip,

Here are few pictures of the finished stock assembly. No barrel or tang yet. I have plenty of work left. I hope you enjoy them.
Opposite of lock plate

Cheek plate side

Full gun

A little close peak at the lock assembly.


