• Friends, our 2nd Amendment rights are always under attack and the NRA has been a constant for decades in helping fight that fight.

    We have partnered with the NRA to offer you a discount on membership and Muzzleloading Forum gets a small percentage too of each membership, so you are supporting both the NRA and us.

    Use this link to sign up please; https://membership.nra.org/recruiters/join/XR045103

my gpr

Muzzleloading Forum

Help Support Muzzleloading Forum:

This site may earn a commission from merchant affiliate links, including eBay, Amazon, and others.

ryzman

40 Cal.
Joined
Jan 11, 2011
Messages
289
Reaction score
1
wow this kit is no joke.
gpr1.jpg

the stock looks ok... but wish there was more wood around the tang area.
 
I have fitted the tang and barrel and they are pretty close to where i want them. slight barrel spring but well within tolerances of the stock. Everything fits beautifully so far and im going to begin to sand away the cheek rest as it doesnt need to be there in my opinion.
 
I took quite a bit of wood off of my cheek piece also but I didn't go to crazy as I positioned the stock in an aiming and shooting position and noted my cheek,eye and sighting relationship.As you file and sand away on your stock,you will be constantly thinking ahead of what your next move is going to be and how it will look and fit.Making it personal is the fun part of building the kit is what I found.I couldn't have done it without the help of the men on this forum.
Rusty Spur
 
progress... i used multi purpose grease to avoid breaking a screw head off.
gpr3.jpg

and the cheek rest is a thing of the past...
gpr2.jpg

there is still a little extra wood that i will take care of when i do the final sanding of the stock.
 
i have a pretty substantial gap here... im thinking i have to drill out the factory holes and glue a dowel, then re drill another hole that lines up better.
gpr4.jpg
 
Oh oh,look out,he is on a roll.
Your stock has some nice figure to it.You aren't wasting any time either.Have you found yourself getting up before the rooster yet?
Rusty Spur
 
Boy some of you guys are sure getting pretty wood for your stocks. Mine are not nearly so, I am jealous!
 
Great! you got that looking good.That wood is beautiful.That's going to be a nice looking front stuffer.
 
trying to keep the thickness of wood equal on both sides of the stock is tricky. it takes lots of work to make it right.
more progress today...
gpr6.jpg
 
im not sure what to do here... should i leave a little wood on either side of the toe plate or should i sand down flush with the metal?
 
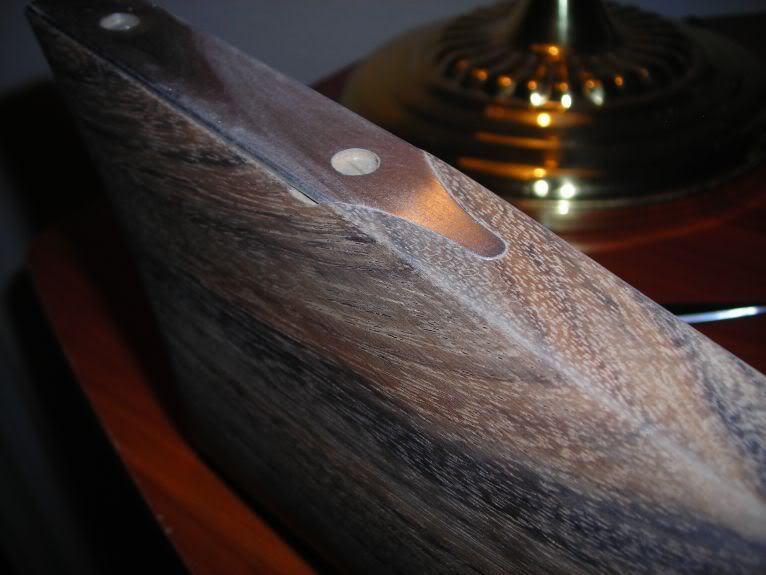
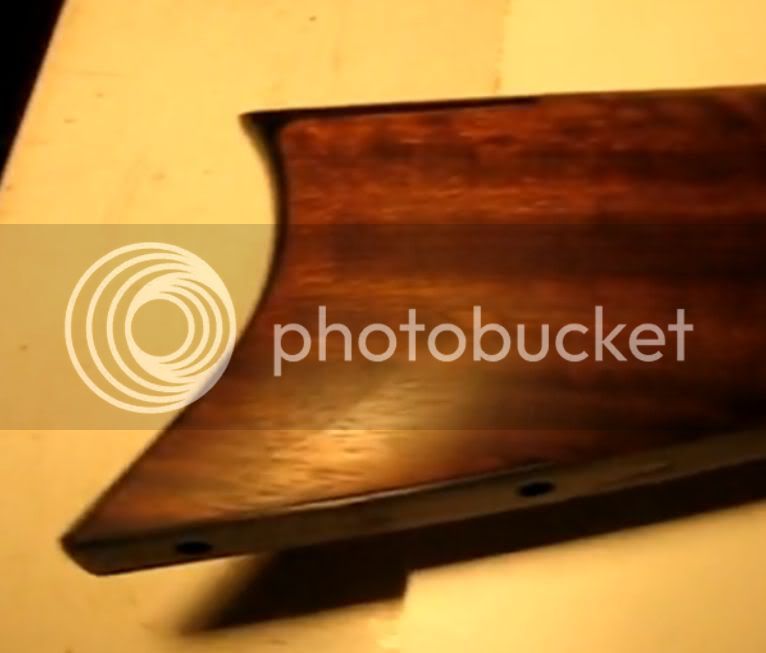
File the side of the toe plate and the wood together, so you end up with a bevel on the toeplate and no little "step" left on the wood. It should end up being a perfect blend. Then you need to sand those two bottom corners their entire length, so the they are parallel. Otherwise, you will have a narrow part by the toe plate, then it will widen out just past that.

Once the toe plate and wood is filed, you can strike a line with a straight edge against the corner of the toe plate. Do the other side and make sure the two lines are straight and parallel. Sand up to the lines with a sanding block, then ckeck to ensure there are no bulges or inconsistancies in the flow. Keep sanding until everything flows from the buttplate to the triggers. You'll need to roll the sanding block as you sand, to make the sides blend in. Sounds complicated, but it will just come naturally when you start sanding. Bill
 
this is what the Lyman is producing. the guy with the camera gives a nice closeup of the toe plate and currently i have something pretty similar.
youtubegpr.jpg


here is a pic of the toe plate after taking a file and removing wood and metal at the same time to create a tighter, cleaner fit...
gpr7.jpg


its tough to find closeups of an original hawken and i dont know that they even had toe plates... they must have i guess...
 
getting to work on the area of the lock. love how the fit is tight and clean all around.
gpr8.jpg

gpr9.jpg
 

Latest posts

Back
Top