• Friends, our 2nd Amendment rights are always under attack and the NRA has been a constant for decades in helping fight that fight.

    We have partnered with the NRA to offer you a discount on membership and Muzzleloading Forum gets a small percentage too of each membership, so you are supporting both the NRA and us.

    Use this link to sign up please; https://membership.nra.org/recruiters/join/XR045103

New flint kit

Muzzleloading Forum

Help Support Muzzleloading Forum:

This site may earn a commission from merchant affiliate links, including eBay, Amazon, and others.
As a general rule, you do not want any "powder chamber" to be any larger than the land-to-land ID.
Why would this be so? I would think a no shoulder transition from chamber to rifled bore would be the best option available.

Short answer: Murphy's Law, "Anything that can go wrong will go wrong, and at the most inopportune time."

Long answer: You don't have to have a shoulder to hang up the patch and jag. The typical cleaning jag, as illustrated below, is designed to allow the patch to "bunch up" in the grooves of the jag when starting to pull it out of the bore.

jags_1.jpg


This action helps to push some of the patch into the grooves of the bore and aid in the cleaning process. You can sometimes feel this as more resistance when pulling the rod and jag out of the bore during cleaning. The extreme example is when one pushes a dry patch down a fouled bore and tries to extract it. There is usually no problem when going down the bore with the dry patch. But when one tries to pull the rod back out, the dry, hard fouling provides maximum friction, forcing the patch to "bunch up" in the grooves of the jag. The result is often a stuck jag and rod.

Tapering the transition from no lands to full lands over a short distance may minimize the risk, but according to Murphy's Law, won't eliminate it. If enough fouling or patch material gathered around the jag in the enlarged section in just the right way, it might not compress enough in the taper section to fit the land-to-land ID and wedge itself there.

Your idea of "a longer jag of brass that keeps part of the patch in the rifling ahead of the groove diameter chamber" might work. I don't know. Might be something to experiment with on a waist section of barrel before you make an irreversible modification to your good barrel.

Phil
If I run into any difficulty as you describe I'll make my jag of brass and put the ribs on the opposite end with only one on the nose end of the same diameter and a tapered into the jag body. That will put all the purchase on the patch at the other end in the rifling. I don't use pre-cut round patches for cleaning but rather square and made of the same shirt felt I use for the ball patch. This leaves tails that are longer than the jag to catch on the ribs at the other end. Nothing on the front end to catch in the 45 degree transition from powder chamber to rifling land top. I don't think it will be an issue at all frankly but if so I will post of it and the solution I propose, effective or not.
 
Well the hardware showed up today but not the stock. Guess I'll go over the plans and get familiar with what they say. The lock is super tight and well fitted! I'm impressed with the quality. Hope the stock wood and mortise layout is as impressive!
 
Well,I read through the entire build plans last night and was that ever money well spent. There was a great deal on how to form various aspects of the rifle and stock to be authentic to period shape , parts positioning and architecture. They also pointed out the common errors many folks make in architecture and construction that I found hugely interesting.
The other thing I really appreciated toward the end was a sequence of construction and why is should be done so.
I guess the first thing while I wait for the stock is to build a new liner of A-2 tool steel. They sent a white lighting and I didn't like it at all. The dish is so deep from the inside I would call it a well not an cone. I propose to make mine precisely opposite with the large cone on the exterior and flush with the arch of the groove diameter powder chamber interior and no cone what so ever.
It was encouraging to find in the construction plans ,in the breeching, that one needs eight full threads of plug length for a safe breech plug depth of .550 minimum, which I had calculated before hand and that the lock needs to be set as far back on the breeching as possible, centering the vent hole the diameter of the vent liner ahead of the breech face. The pan fence is supposed to line up with the breech plug/barrel joint as far back as possible so as not to mess up the lines from the side with the pan fence hump forward.
Boy is there a lot to learn about proper architecture. I had no idea about how important the shaping of the fore arm cross section, barrel channel top convergence, fore arm cap placement , pipe attachment, key placement,side plate positioning etc. is.
I am really getting jazzed about this build and this whole new world of gun building. I've become a know nothing kid again with loads of enthusiasm and not much knowledge. How exciting !
 
I guess the first thing while I wait for the stock is to build a new liner of A-2 tool steel. They sent a white lighting and I didn't like it at all. The dish is so deep from the inside I would call it a well not an cone. I propose to make mine precisely opposite with the large cone on the exterior and flush with the arch of the groove diameter powder chamber interior and no cone what so ever.

I'm not so sure that having the large external cone will be an improvement over an internal cone.
The external cone will move the flash from the pan (heat) further from the main charge. One does not see external cones in historic fire arms. Yes, I know that there are many modern touch hole liners built from an Allen set screw. I hope your theory does work and with a good ball of fire in the pan you might get reliable ignition. But, there is a reason that the White Lightning liners are internally coned.
 
Well Pooh, they sent the wrong tang. Right thread but I need the long lollipop tang so as to be able to get two tang screws into the trigger plate.
I'm not so sure that having the large external cone will be an improvement over an internal cone.
The external cone will move the flash from the pan (heat) further from the main charge. One does not see external cones in historic fire arms. Yes, I know that there are many modern touch hole liners built from an Allen set screw. I hope your theory does work and with a good ball of fire in the pan you might get reliable ignition. But, there is a reason that the White Lightning liners are internally coned.
What is traditional about a liner any way, let alone one with a "well" not just a counter sunk cone, nearly clear out to the pan. Far as I know none of the originals were built with liners but were repaired with them when the vent port through the barrel wall eroded.
I will make mine as stated and I bet it will work just fine.
Makes no sense to me at all to purposely vector main charge gas pressure out of the vent.
 
What is traditional about a liner any way, let alone one with a "well" not just a counter sunk cone, nearly clear out to the pan. Far as I know none of the originals were built with liners but were repaired with them when the vent port through the barrel wall eroded.
I will make mine as stated and I bet it will work just fine.

I am sure that your planned touch hole will successfully direct the heat from the pan to the main charge. After all, the touch hole liners using the Allen socket work.

On a similar note, you are correct that most originals were built using a direct drilled touch hole in the barrel. Liners were seen on the most expensive of firearms. Yes, The Chambers' kits do not have nor does Chambers honor warranty work on his barrels that have an aftermarket touch hole liner installed.

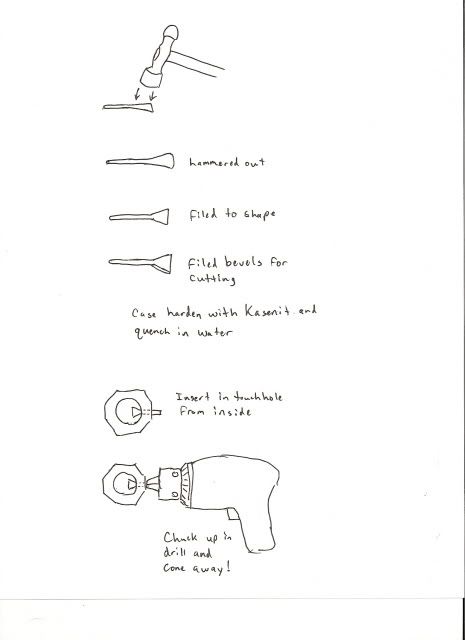
However a lot of design was done to make internal coning tools to be used on original rifles. These were inserted in the breech and used a right angle drive to a cutting bur to make an internal cone. If an external cone, which is far easier to produce than an internal cone, was a real improvement, then why are external cones or wells not seen on original firearms?
 
Go to the message in the seating the ball thread for the picture of the internal right angle drive coming tool. Page 5, Topic 82.

Hatito friends,
And Happy Christmas to you all.

The misinformation of the "expert" at the gun club is the very reason i do not allow anyone to tell me what to do with my FL. But that is another thread.

However, In regards to the subject, Personally i have never needed to strike or tap my FL. Its my belief this practice came from the "self priming" technique we spoke of in the Touch hole thread. In such cases as with my reenactment gun, i will bounce the stock on the ground or give it a slap to send powder into the already closed pan. Thus self priming the lock.
With a regular FL, i have never needed to do either of these things. The proper touch hole size and a clean pan suffices just fine in my experience.
As with all things, each FL is unique and has its own personality, so anothers experience might be different.

If you are having this issue, i might suggest..
1. checking the size of your touch hole.
2. looking into a coned touch hole liner
3. coning the outside of the touch hole. (provided this does not compromise the pans ability to seal.
(coning the inside can be done too, and was done historically. It requires removing the breechplug and a special tool.)

View attachment 2250

These things unique to Rifles.

Short starters... I stopped using one 30 some years ago. Along with the priming horn.
Wood wipers... All i use. my loads are not tight enough to require a short starter or excessive pressure, plus my muzzle is coned which is incredibly helpful.
But like i've said i don't competition shoot. And i always use short strokes to seat the ball. Usually about 3 to 4 at least.

In the heat of battle, i may be tempted to not be quite so frugal, hence why many military arms have metal rammers. But it is my opinion, if they were that close, that i could not load properly, i would not be patching anyway, but loading as a musket. However, there is documentation for undersized ball (carry of two different sizes) for use in combat.
 
One of the things that got me to thinking about vent shape and length is a inexpensive Moruku flint pistol I have that has no liner at all, is not coned and is angled forward which makes it longer than normal. First angled vent I've ever seen! The gun is very reliable and fires as quickly( sensory evaluated ) as any other flint gun I have seen.
The liner I am making will have a shallow, exterior cone only. Also I want to avoid any alteration to the breech face so as to facilitate cleaning. The plans that came for the rifle build show a slight cavity of breech face removal to clear space for the breech side of the vent body, I wish to avoid.
To accomplish this I will thread the liner enough ahead of the breech face to clear it and if necessary drill the liner vent after positioning and fully in-letting the lock, to the pan center.
The radial bored, no cone interior of the liner will allow this.
 
Well fiddle, the fancy grade maple stock is back ordered for my gun and is the reason it has not shown up. Track of The Wolf said they could not give me a date. Guess I'll call them again Monday and see if they have any extra fancy in stock. I hate these partial order show ups. It gets you chopping at the bit then makes you sit on your hands.
 
Well fiddle, the fancy grade maple stock is back ordered for my gun and is the reason it has not shown up. Track of The Wolf said they could not give me a date. Guess I'll call them again Monday and see if they have any extra fancy in stock. I hate these partial order show ups. It gets you chopping at the bit then makes you sit on your hands.
The build is going well and am getting the barrel work going while waiting on the wood. Got the breech plug fully seating making full circular contact with the breech face and barrel shoulder while simultaneously drawing up on the tang lugs at the barrel rear.
Next I'll make the vent liner out of A-2 tool steel left in the annealed state. I'm going to make it as described earlier only with a deep reverse cone on the exterior. This will shorten the vent length just as the White lightning liner does only vectoring the pan flash inward instead of the main charge blast outward. I'll make the liner but wait until the stock comes before drilling and tapping the barrel.
The liner will be positioned in the barrel wall after the stock comes and lock is partially inletted so as to get the vent lined up with the pan center. Also I want the liner in place when I lathe bore the lands out of the barrel breech area, to just ahead of the liner for a smooth powder chamber of groove diameter, with no vent liner corners to trap fouling.
Got the iron sights and butt hook casting lugs filed off last night and am ready to mill cut the barrel dovetails and fit the sights tonight or tomorrow.
So far things are going smoothly and the wood is the only hold up. Guess I'll just keep on with the barrel work until the wood gets here. I could have them ship a walnut stock ,which they have in inventory, but had my heart set on some fancy maple.
Got the breech plug indexed/fitted and barrel flats draw filed and sanded in preparation for sight fitting and browning.
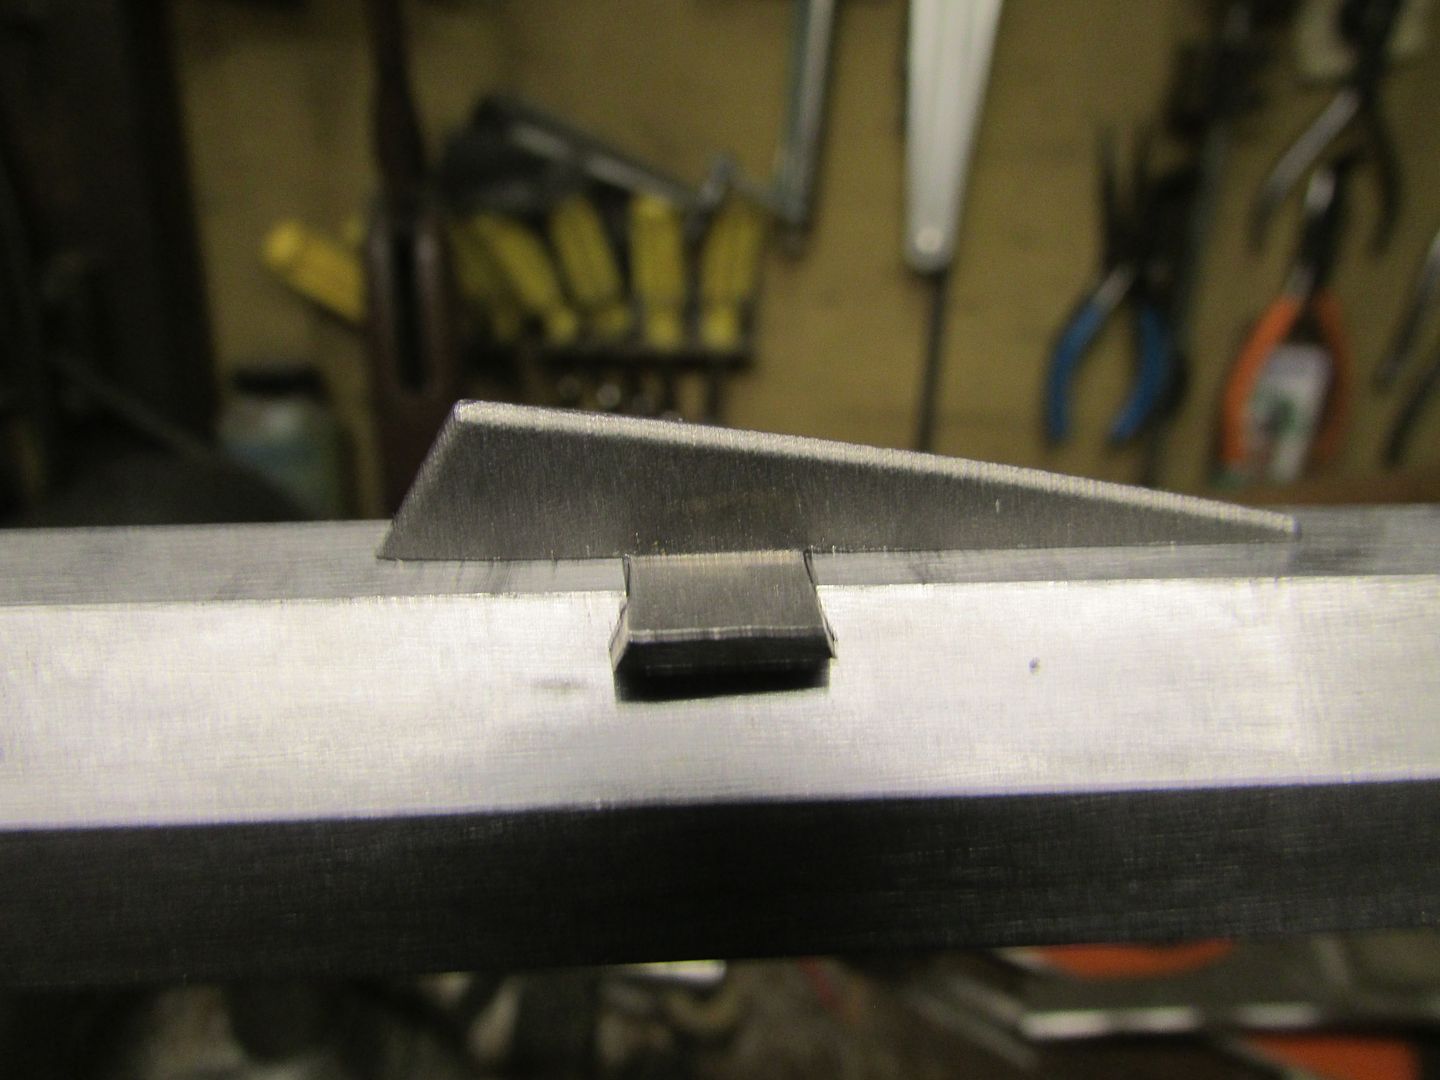
Front sight dove tail cut and fit went well at .068 depth. No gaps under the sight blade or dovetail showing any light gaps so got that part right. Do the rear tomorrow at .048 depth and take some pictures. I guess I can go ahead and brown the barrel and some of the furniture along with making the vent liner while waiting for the stock.
I have the tap and die for a 1\4 x 28 tpi thread but see the White lighting is a 1/4 x 32 thread and was wondering which I should use on the vent liner for this light .45 cal 13/16's barrel. The flat to groove diameter barrel wall is roughly only .175 if memory serves so perhaps the finer thread would be the way to go.
With the 28 pitch each thread draws up .0357 and with the 32 pitch each draws up .0312 that will allow 5 threads with the 32 tpi or 4.8 with the 28 pitch plus what ever the bore curve allows top and bottom of the chamber arch, according to my calculations, No?
Give the idea I described on vent construction and fitting a try to see how it works. If no good I can always go back to the White lighting style.
 
Last edited:
While the 4.8 threads are enough to safely hold the liner and provide enough internal cavity for your touch hole liner, the Chamber's White Lightning liner gives more threads although not as deep as a 1/4-28 liner and a better internal cone for optimal ignition. I also appreciate that after the installation flats are removed from the White Lightning liner, the barrel has a clean, no slot look at the touch hole.
 
While the 4.8 threads are enough to safely hold the liner and provide enough internal cavity for your touch hole liner, the Chamber's White Lightning liner gives more threads although not as deep as a 1/4-28 liner and a better internal cone for optimal ignition. I also appreciate that after the installation flats are removed from the White Lightning liner, the barrel has a clean, no slot look at the touch hole.
I do like the clean ,no slot, liner face look as well but mine will have a deep exterior cone inward which reminds me of why I better wait to brown the barrel until after the liner is installed and draw filed flush with the exterior.
I think at this point I'm willing to put up with a bit of strange, vent face appearance for the sake of experiment as I do not care fore the design concept of the White Lighting, deep interior cone, at all. Makes no sense in my mind at all to purposely vector internal pressure outward when the vent length can just as easily be reduced with an exterior cone.
Far as I can tell most originals had no vent liners or interior coning at all unless needing a repair.
 
With a 13/16" barrel that's only .8125" FTF. You may want to thin down your lock bolster to the point your main spring is busting through in to the RR channel, as well as in to the barrel channel to keep the lock panel thickness looking properly proportioned. Does the lock have a bevel to the face of it? You may want to increase it to get the lock raised even higher off the wood, which will let you thin the lock panels down even more. Up to you if you want to file the front down some, which will kick out the tail of the lock the way that swamped barrels naturally do. That will make your wrist a bit wider, which, on that barrel thickness, you may want to have.

Most pre-carves also come with pretty thick webs, an the barrel not perfectly located for the lock either. You'll likely wind up moving it down and back in order to get it located properly for the pre-determined lock location.
 
I do like the clean ,no slot, liner face look as well but mine will have a deep exterior cone inward which reminds me of why I better wait to brown the barrel until after the liner is installed and draw filed flush with the exterior.
I think at this point I'm willing to put up with a bit of strange, vent face appearance for the sake of experiment as I do not care fore the design concept of the White Lighting, deep interior cone, at all. Makes no sense in my mind at all to purposely vector internal pressure outward when the vent length can just as easily be reduced with an exterior cone.
Far as I can tell most originals had no vent liners or interior coning at all unless needing a repair.
With a 13/16" barrel that's only .8125" FTF. You may want to thin down your lock bolster to the point your main spring is busting through in to the RR channel, as well as in to the barrel channel to keep the lock panel thickness looking properly proportioned. Does the lock have a bevel to the face of it? You may want to increase it to get the lock raised even higher off the wood, which will let you thin the lock panels down even more. Up to you if you want to file the front down some, which will kick out the tail of the lock the way that swamped barrels naturally do. That will make your wrist a bit wider, which, on that barrel thickness, you may want to have.

Most pre-carves also come with pretty thick webs, an the barrel not perfectly located for the lock either. You'll likely wind up moving it down and back in order to get it located properly for the pre-determined lock location.
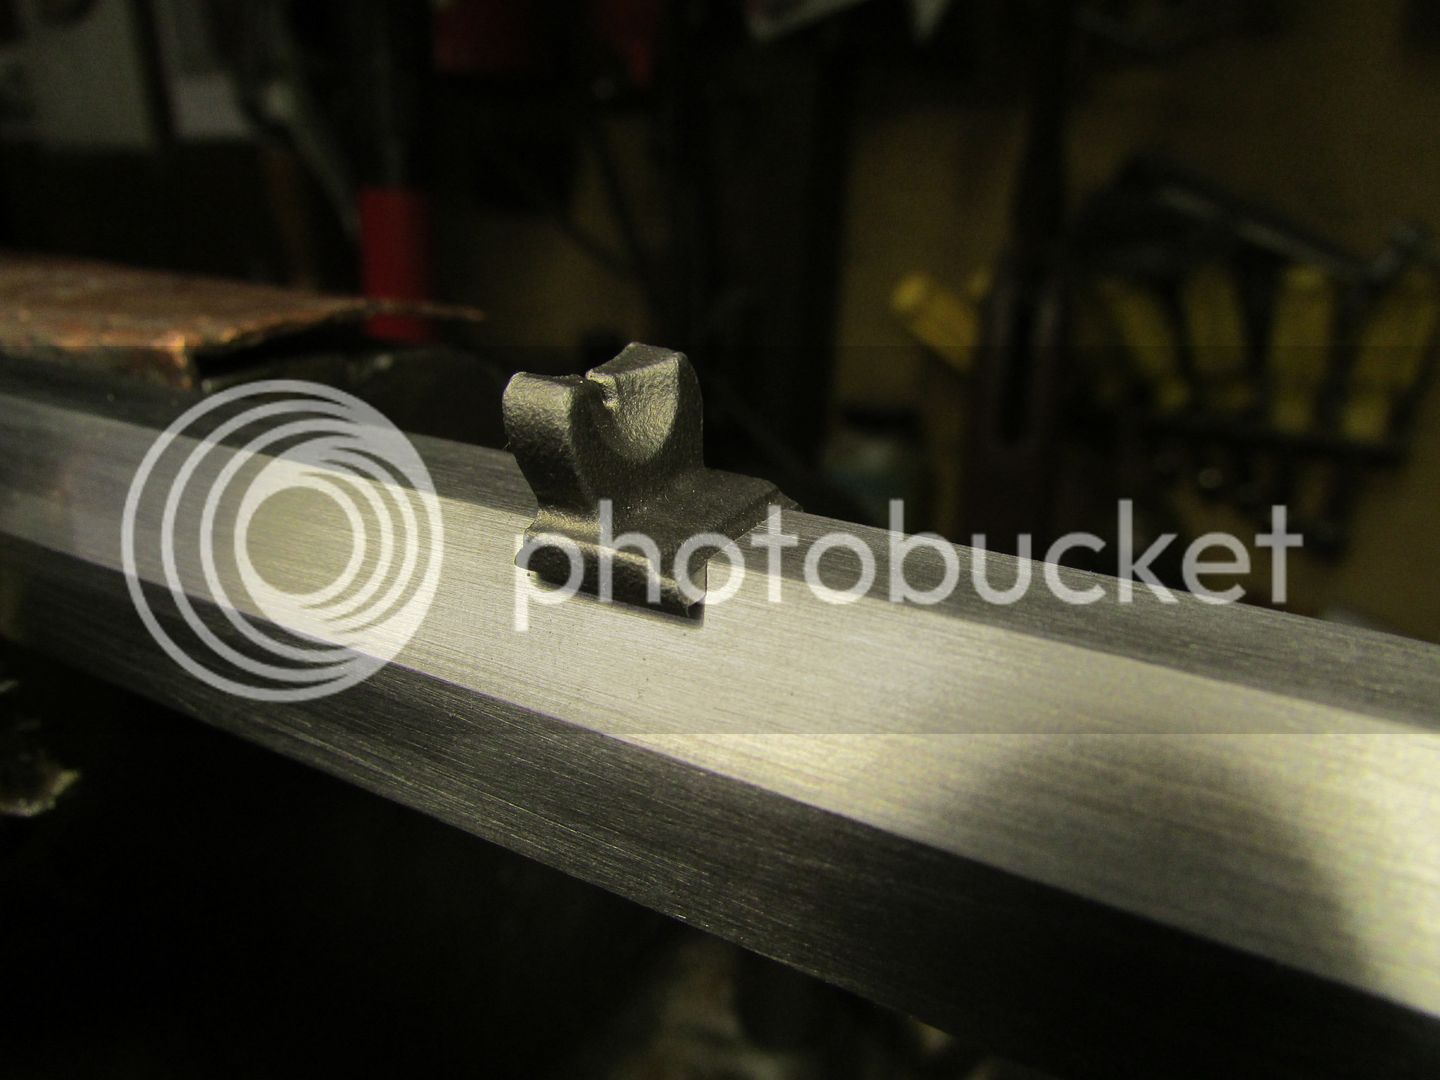
Yes, the lock plate is beveled. Not having the stock sure is holding things up for me! Got some pictures but photobucket is not co- co-operating tonight, of the finished sight and tang installation. I have a thing about precise dovetails and sight fitting but truth be told they will look out of place to authentic hand filed or chiseled dove tails. Metal machining work is the easy part. The rubber will hit the road when it comes to getting the architecture, in-letting and shaping right.
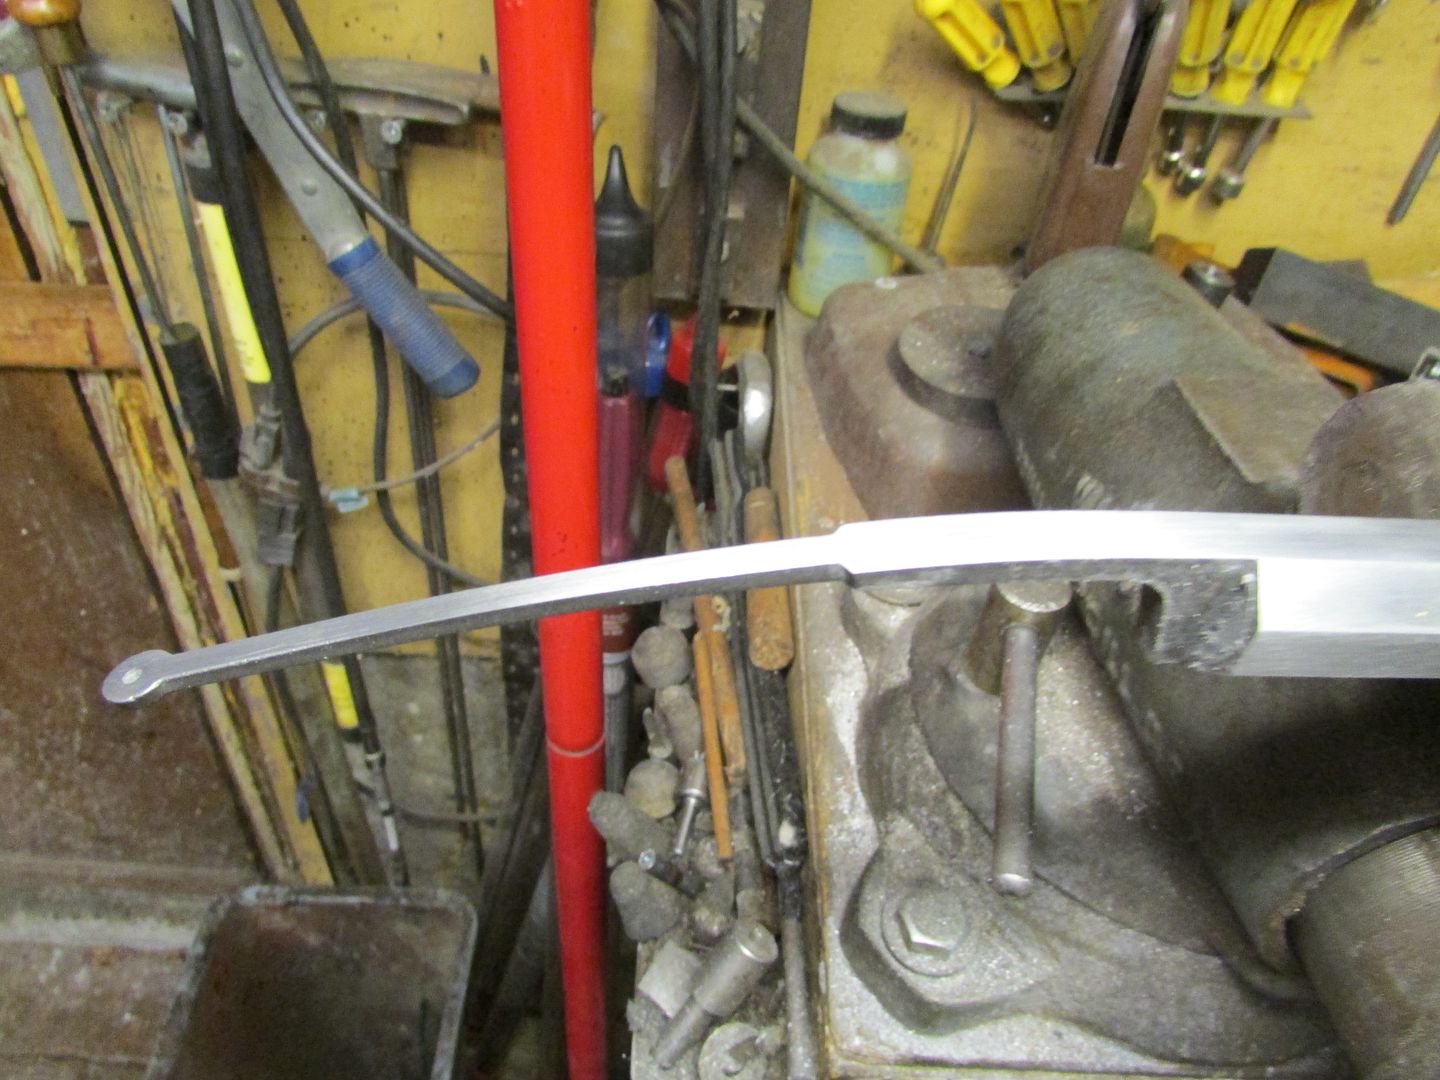
Found a small casting crack mid tang that will need milled out to the bottom and welded up, always something!


Finally got photobucket to work.
 
Oooooo. That's going to be a cast iron bytsh. But there's no law against an upward sloping vent. ;-)
Yeah,I'm wanting a well made, correctly shaped "plain Jane" ,meat and potatoes gun.I don't give a fiddle for all the shiny "dodads" that make a gun look like an electric guitar made in Juarez Mexico,to my eyes! I like the fit,finish and wood grain to be the eye candy.
I have seen some modest carving that accents the shape and form that I really like and of all things a bit of silver wire inlay worked into the carving that floats my boat, both of which I have no experience or known skill to execute so will probably have to do without.
 
Last edited:
Back
Top