North Hampton Pouch project by Splinters

Muzzleloading Forum

Help Support Muzzleloading Forum:

This site may earn a commission from merchant affiliate links, including eBay, Amazon, and others.

HPS

36 Cal.
Joined
May 11, 2014
Messages
90
Reaction score
0
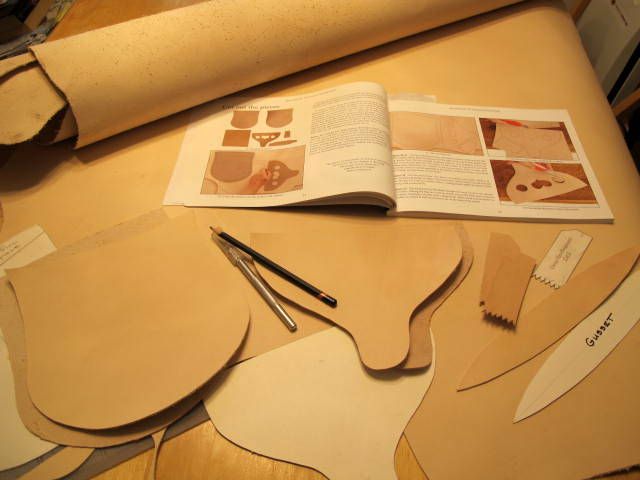
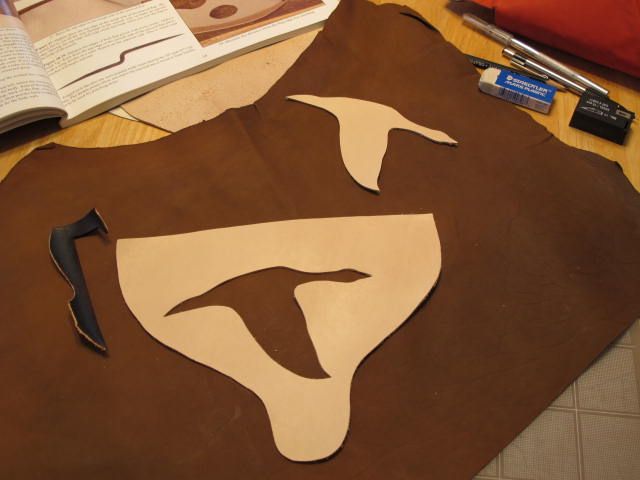
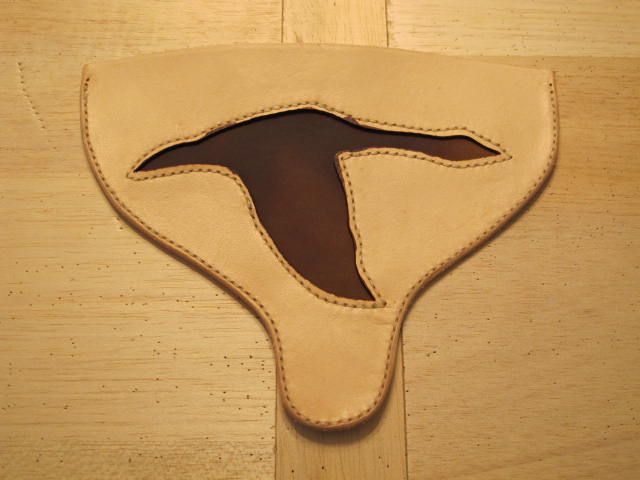
Started my first pouch using T.C. Albert’s book “Recreating the 18th Century Hunting Pouch” as my guide. The pattern will be after T.C.’s North Hampton Pouch with the exception of the inlay design. I’ve choose to use a stylized goose on the wing as my inlay design. The inlay is suede that I’ve had for many years with the smooth side up or in view. When I started to wet the edge of the pouch flap for burnishing I got a small drop of water on the suede which left a dark stain. Thinking about how to at least even the spot out I decided to spray a fine mist of water over the whole area and let dry. The result was a pleasing shade of the entire suede area. Anyway, this started me wondering about a water replenent application to protect the suede when using the pouch. I would prefer a soft look to the suede and wondering if something in the order of neatsfoot oil or maybe TOTW’s Trapper’s Pure Mink Oil would be a possible choice. Reading ahead in the book I see that T.C. suggests a finish application of shoe polish on the rest of the pouch but of course I don’t think I want to do that to the inlay area. Suggestions or recommendations would be appreciated. The dye I’ll be using is Fiebing’s Leather Dye in dark brown.


I like it!

If you're planning to dye that leather, be real careful around that inlay. My experience with suede says I'm clumsy enough I need to dye the leather before installing the inlay.

As for "protecting" the suede, I've never had much luck with anything. I just let nature run its course and call it "antiquing." :wink:
 
I'll bet Gander Mountain will like that inlay. Bring it to one of their stores, maybe they'll give you a discount. :hmm:
A discount at Gander Mountain means you'll be paying straight retail instead of Retail + 10%. :haha:
 
Thanks Mick and to you all for your comments

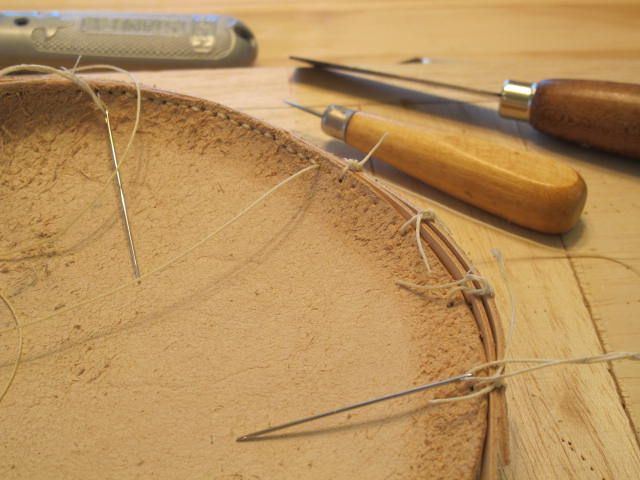
Yesterday was spent cutting the welt strips and then started stitching the welt and gusset to the back section of the pouch. I do believe this is going to be the hardest steps for me but we’ll see. Anyway, a fun project and should teach me some dos and don’ts.

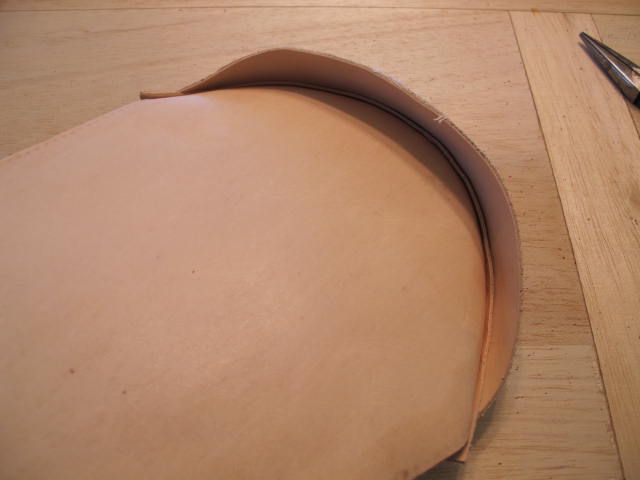
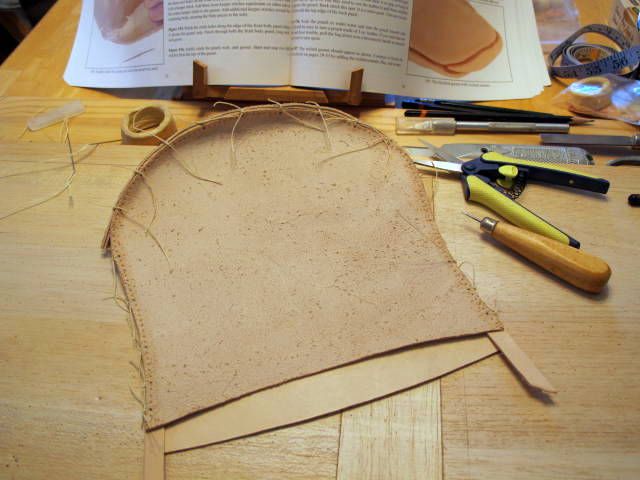
First photo shows some of the important keeper stitches to hold welt and gusset in place to the back (the knots loosened overnight but I pulled them tight before punching the stitch holes with the awl). Second photo shows the reverse side with gusset and welt stitching complete. Third photo is of the front side at this juncture.


Question: Please, how does one calculate the length of thread needed to saddle stitch a given length? I'm either coming up short or much to long. :td:

Signed Stumped :confused:
 
I generally take the length of the seam and multiply that by the # of plies plus a half to determine the approximate length of each leg of thread when saddle stitching. All that sezz is that 2.5x the length of the seam is about right for two thicknesses of leather and 3.5x including a welt.

Not precise and varies with the leather thickness, but close enough for good with 4-5 oz. With 8-9 oz I up it an extra seam length, or 3x for two plies and 4x for three plies.

Depends too on how tight a stitch you run, but I get them really tight, or at least as much as possible without puckering thin leather like 2-3oz. With such light leather I generally go 2x for two plies and 2.5x for three.
 
Thanks very much. Just printed your reply so I can refer to it as needed. Thanks again. :thumbsup:
 
In looking at your photos, it occurred to me there may be another variable. I'm using a tightly wound 4-ply prewaxed thread (this stuff) that's a lot thinner than other guys use. Looks thinner than yours too. I'm betting I use a little shorter threads on my seams as a result.

Bottom line, play with it, and measure your lengths against the lengths of your seams. You might come out to 2.75x compared to my 2.5x or some such. But in using the seam length as a reference, you should be able to get real repeatable.

BTW- Click around on that thread I linked. I happen to like dyed prewax, but a lot of guys don't. This stuff comes in plies from 2 up to 12, as I recall, and you can mix or match colors. Best of all, I run across it all the time in good arts and craft stores, usually in their book binding section. Nice to see the colors first hand and not pay shipping.
 
Thanks for that. In fact I was wishing the thread I was using was a little thinner. I am using pre-waxed linen from Tandy's but I'll be checking out the craft store and see if I can find something close to what you mention.

Thanks again.
 
If you want thinner thread just remove/ untwist 1 or 2 strands from your thread, and use . Save these untwisted strands for sewing on buttons, doing beadwork or sewing up your next project of a lighter leather. Believe me there will be more!!!
This has worked for me for better than 40 yrs. and you only need one size thread that way. I like 6 strand myself.
Oh yea, I think you'll like un-waxed thread better as it can be dyed to match or contrast the leather you are working with, as you wish. Still needs to be waxed before stitching.
have fun the pouch is looking real good. :thumbsup:
 
Splinters said:
...pre-waxed linen from Tandy's....

Yeah that's pretty thick. Worse yet, you'll find "lumps" on it here and there.

The thread I linked is equally strong, about half as thick, and really smooth. Plus it's bunches cheaper per yard. Good stuff all around. I use it for lots more than muzzleloading leather gear.
 
Thanks for that. Another good idea. Love this forum for all the great input, experience, ideas and making one feel they are among friends.

P.S. Brownbear: your method of calculating the thread length worked spot on. I used 3.5 times the seam length. I was getting a little worried that there would be enough for the back stitching at the gusset but turned out I had a tad left over. Thanks again.

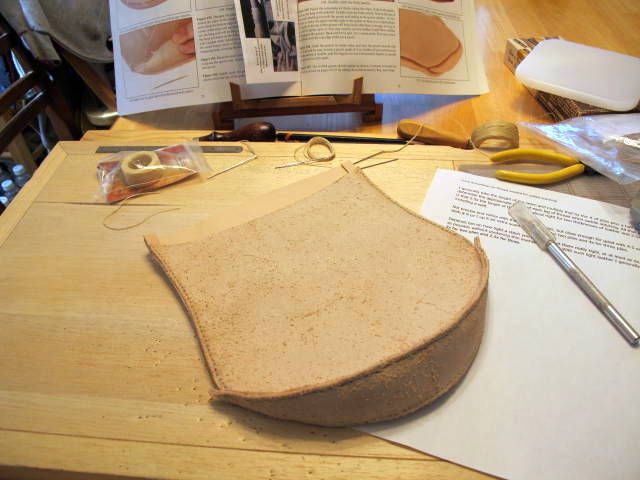
Project at this point:

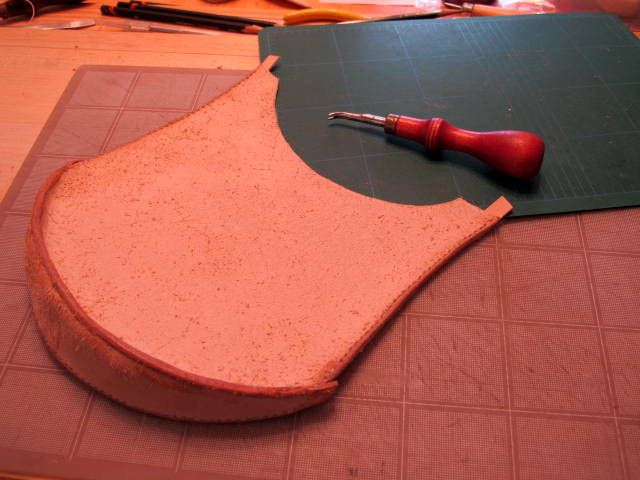
Preparing to soak the pouch in warm water for turning right side out. One thing I will do first is cut a deeper opening in the front panel for making it easier to access the pouch as T.C. suggests on page 29 of his book. I’ve decided that rolling the top edge would make an edge that would be prone to catching when removing items.

Something I did not do and should have was wetting the wilt to help form it to the front and back panels when setting up the keeper stitches. It worked out OK but would have made it easier for keeping the three pieces aligned while stitching the seams. The real test for my stitching now will be to see if the pouch will hold water when soaked. :hmm:

First photo is of all the keeper stitches I took for holding the seams. Second photo shows the pieces stitched but the planned enlarged opening not cut as yet.


Check out Rings 'N Things. They sell many craft items at low prices, including threads and cords. I went to using hemp. Strong stuff and can be pulled apart for thinner thread. I wax as I go.
 
Thanks Rifleman, I'll check it out.

The last step before the soak for reversing the pouch was of course to open up the front pocket for easier access and burnishing the edges. Almost forgot the burnishing until rereading T.C.'s comments.

 
Looking good!

One fine detail after you reverse the bag:

Before it dries, work your way down the seams pinching and shaping them between your finger and thumb. You'll be happier with the shape and hang of the bag after it dries. If you don't do it then, you're likely to have to go back and wet the seams again to do the shaping, so you might as well get it over with right after reversing.
 
Very good point. Thank you. I have my fingers crossed on how difficult it's going to be to turn the pouch.
 
It'll take some doing, you might have to use a broom handle or something similar to get the edges to turn out completely. :idunno:

If this is your first bag you are doing an excellent job keep up the good work. If it's not your first your still doing an excellent job! :bow: :thumbsup:
 

Latest posts

Back
Top