• Friends, our 2nd Amendment rights are always under attack and the NRA has been a constant for decades in helping fight that fight.

    We have partnered with the NRA to offer you a discount on membership and Muzzleloading Forum gets a small percentage too of each membership, so you are supporting both the NRA and us.

    Use this link to sign up please; https://membership.nra.org/recruiters/join/XR045103

novice build along -started

Muzzleloading Forum

Help Support Muzzleloading Forum:

This site may earn a commission from merchant affiliate links, including eBay, Amazon, and others.

john4645

40 Cal.
Joined
Dec 4, 2005
Messages
178
Reaction score
1
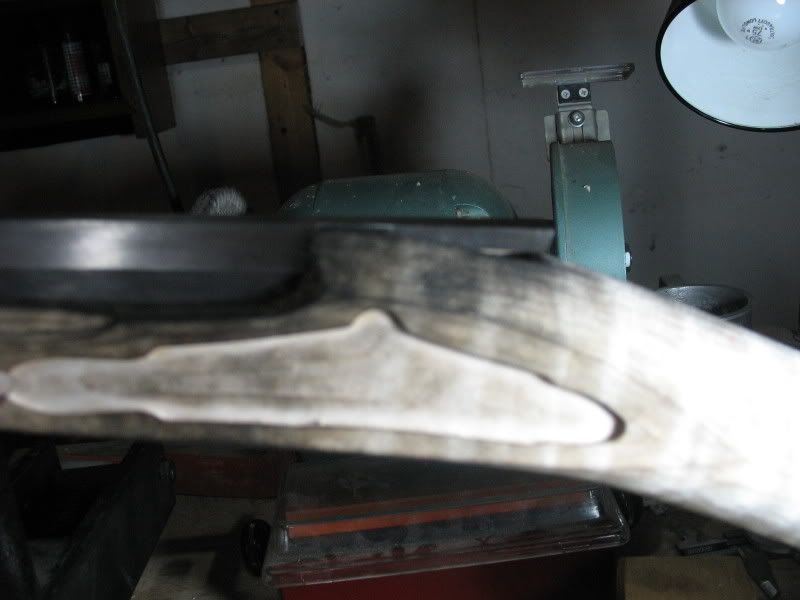
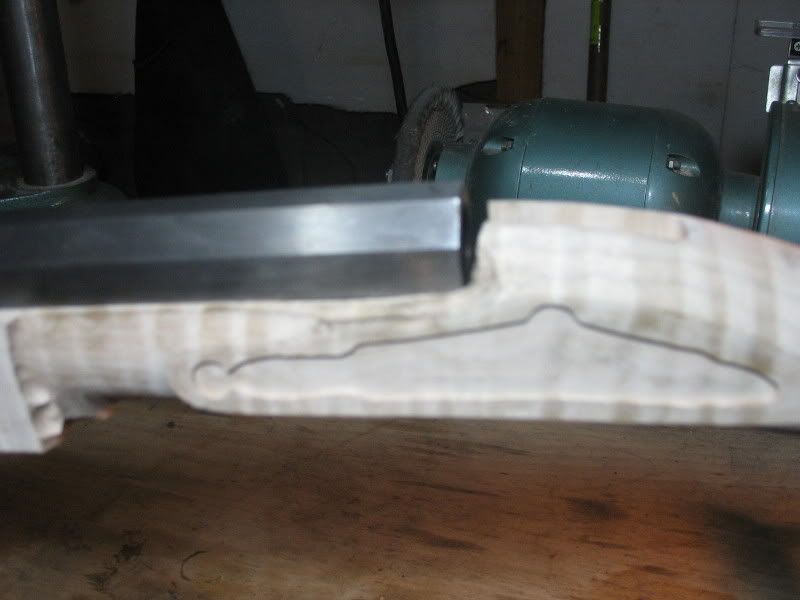
Ok, here we go. I laid out all the parts. Marked the breech plug and removed it. Looks like there will be alittle wood to remove to make it fit flush:

IMG_1244.jpg


IMG_1242.jpg


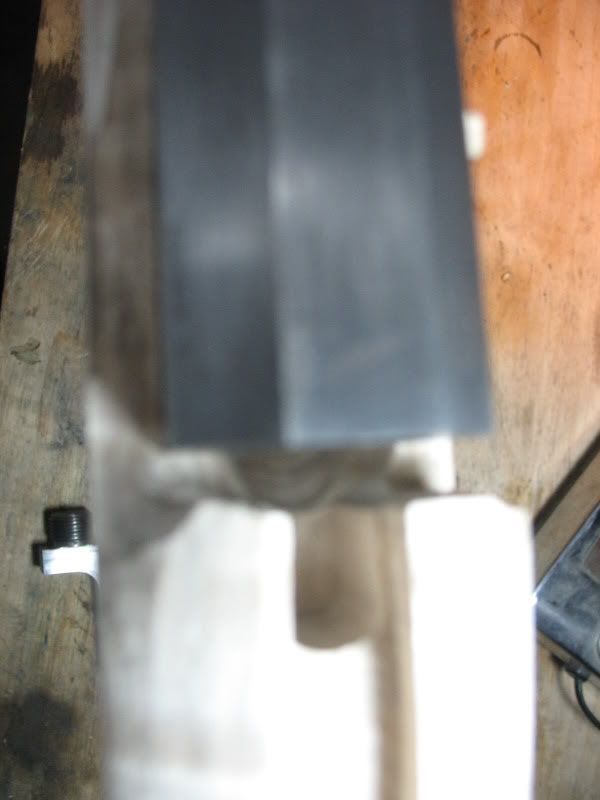
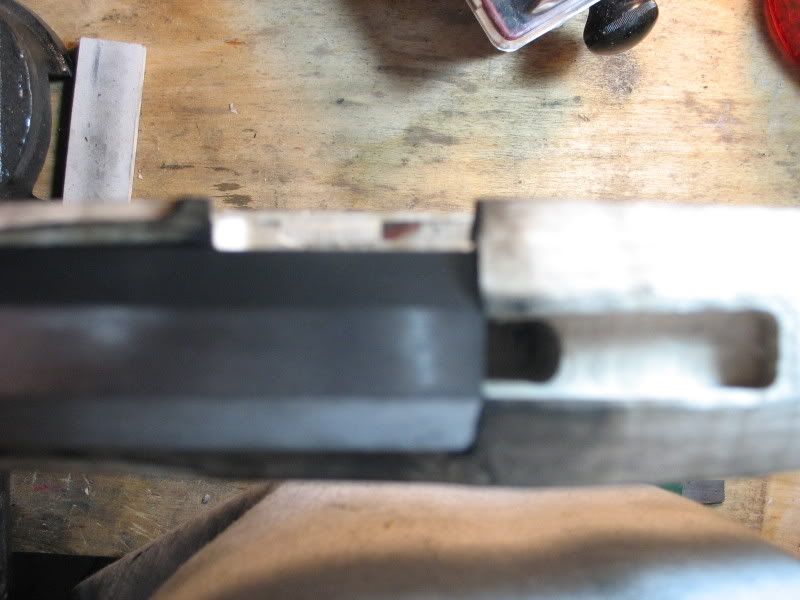
However, the barrel does not fit in the channel. So I got on of these handy dandy scrapers from brownells, a Jerry fisher:

IMG_1243.jpg


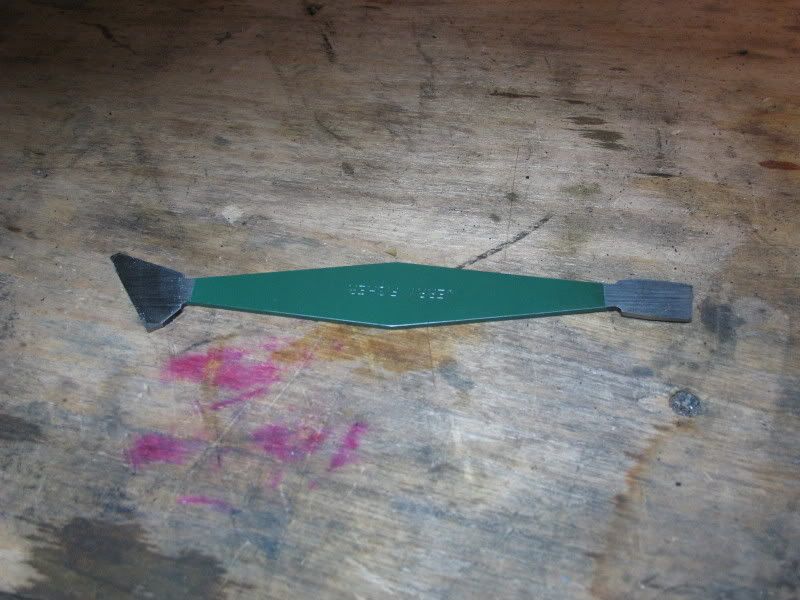
I am wondering then do I carefully scrape the sides and bottom of the barrel channel until the barrel fits?

I posted this before I have done anything so as to proceed properly.

Total tool cost so far:

Jerry Fisher scraoer - $10.00
 
At this point you need to get yourself a candle or some inletting black to blacken the barrel, and a light weight rawhide or rubber mallet.

Blacken the barrel and insert it into the stock, tap it with the mallet and remove the barrel, use your scraper to remove the black transfered to the wood. Just watch out for the sides and back near the top of the channel, if you remove to much wood in this area it will be a pain to repair.
 
Lipstick worked well for me instead of lamp black,
but it can be a little messy. That scraper looks like a cool idea!
 
One thing to watch as you're seating that barrel- keep an eye out for tipping from one end to the other. Nothing scientific and nothing to measure, but if it's pointed up or down when you're done, it's going to affect how you have to seat the breech and tang. But if it's flat or level, life's a whole lot easier later. Kinda like getting the foundation level and square when you start building a house. Do it right and things progress pretty smooth. But get it wrong and you'll be compensating all the way to the ridge.
 
John, just a basic reminder on inletting.

When inletting something like a barrel (obviously) you will have sides and bottom areas that will transfer your color to the wood. Any SIDE inlet when fitted to Zero will still have full color transfer... [unlike]Bottoms which will have color transfer showing where wood still is to be removed/scraped ...UNTIL they are bottomed, where they too will then have full color transfer.

Point Being: Be VERY careful scraping/relieving the sides of an inlet to the point where the color transfer no longer will show... because when there is no more color transfer to sides there is PROBABLY going to be an ugly gap when it is finished!

It is pretty easy to get tunnel vision when focused on scraping out any color transfer :redface:
 
John,

Tell me about the scraper. Is it the octogon model? How is it working for you?

Don
 
Well, finally got that done. Inletting the barrel took along time way longer than I wanted and longer than squareing the breech. my pics did not turn out but I have good square contact and no gaps.

IMG_1247.jpg


As far as the scraper, if you cannot make your own this seems to work great. it was invaluable to me. I did narrow it a bit to fit this stock better(it is the octagon one).

ok now to inlett the tang? right? that is next isnt it. So my question is how much to cut off? I am going to use a square tang, 1. it is easier and 2. to stay with the earlier period. So I am thinking about cutting off 1/4 inch.

Tool so far:
scraper 10.00
1/4 chisle 15.00
1/2 chisle 17.00
total $32.00

Time: 2 hours
 
One other question before starting the tang.

This is for Mike Brooks or anyone who has done a Silver Virginia kit.

The barrel is making good contact with the bottom flats but there is just a sliver of wood sticking above the barrel breech. now i know this is great for you experienced guys but this is scarey for me (when it comes to carving later).

Were your kits like this?
 
Assuming you mean the barrel seats below the top of the wood, that's fine. You will sand/file it off later when shaping the stock while/after installing the tang.

If you want to take clear pictures, either use a tripod or lay the camera and stock on the table, so it's stable. Also if there's an option/button on your camera that depicts a flower, I think that's suppose to be activated.
 
Yes the barrel sits below the wood but JUST BARELY. I personaly wood like a little more.
 
Take a tiny drill bit and drill a hole about 8" from the breech down into the ramrod channel, insert the ramrod and use a paper clip to check the depth of the web between barrel channel and ramrod hole, max should be about 3/16".
Of course this is only usefull if your barrel is seated to the bottom of the channel. To check this you could make a small ball of modelers clay and compress it with the barrel in the channel, this will tell you how far the barrel can go down before contacting the channel.

If you do decide to drop the barrel deeper into the channel you will need to use inletting black along the entire length of the barrel and remove the high spots along the bottom only, or until the bottom of the barrel no longer touches the barrel channel along its length then look to the lower oblique flats.
 
john4645 said:
Yes the barrel sits below the wood but JUST BARELY. I personaly wood like a little more.
That's fine. Time to put your plug back in and inlet it. Check my building tutorial, I believe this step is covered pretty well there.
 
Ok things are going ok but I have another question: On a Mark Silver Virginia kit do you have to bend the tang to inlet it? I know the pic is not that good but you can see how the tang is quite a bit above the wood. also it does not look like it in this pic but the barrel IS hitting bottom. And if you do have to bend it how is the correct way. Please help.
IMG_1251.jpg
 
You can bend.. a little. that's too much
You have too much wood under the front breachplug area...Tang
Most breach plugs have an angle that is difficult to see when inletting
Try using some inletting "black" I use RED LIPSTICK,but.
Put in on the bottem of the barrel/breechplug and you will see where you are hanging up.
 
john4645 said:
Ok things are going ok but I have another question: On a Mark Silver Virginia kit do you have to bend the tang to inlet it? I know the pic is not that good but you can see how the tang is quite a bit above the wood. also it does not look like it in this pic but the barrel IS hitting bottom. And if you do have to bend it how is the correct way. Please help.
IMG_1251.jpg


I bend them by holding onto the barrel and putting the tang of the breech plug in the vice.. I also pad the jaws of the vice using brass, copper, or aluminum to keep from marring the steel. Just give it a little pull, by using the barrel you do not mess up the threads and you have a lot of leverage....
 
I always bend the tang so that it follows the contour of the stock. Also, between the tang bolster and the underside of the tang, there is a rounded area of steel. I usually take a file and square this area off so I have a right angle between the bolster and the bottom of the tang. It makes it a lot easier to inlet and I think that it makes for a stronger arrangement between the barrel and the stock. The bolster will hit squarely with the stock during recoil and will be less likely to ride upwards out of the stock. This is just my opinion though.

It's okay if part of the tang is above the level of the wood after you get the tang inlet so that the barrel is flush with the bottom of the barrel channel. You can just file it down flush with the top of the stock. Make sure that you have filed a bevel on the outer edges of the tang though, so you don't get gaps when you file down the tang and/or stock to get them flush.
 
Back
Top